Dear visitors of the site, the material presented by the author will be available to show and tell how to make shelter in a snowy forest so that you can spend some time there and spend the night there. Using for construction only those materials that were found directly in the forest itself, the author shows us that even in the most difficult and extreme situations, there are positive aspects.
This material is useful for lovers of hunting and fishing, as well as tourists, and you just need to know the skills of survival in the wild, to all without exception, "you never know what can happen in life"
And so, let's take a closer look at all the stages of construction, as well as get acquainted with how and how the author applied.
Materials1. spruce branches (coniferous tree branches)
2. poles
3. sticks
4. snow
5. rope (bark can be used)
Instruments1. ax
2. sapper blade
3. knife
The process of creating a shelter in a snowy forest.So,
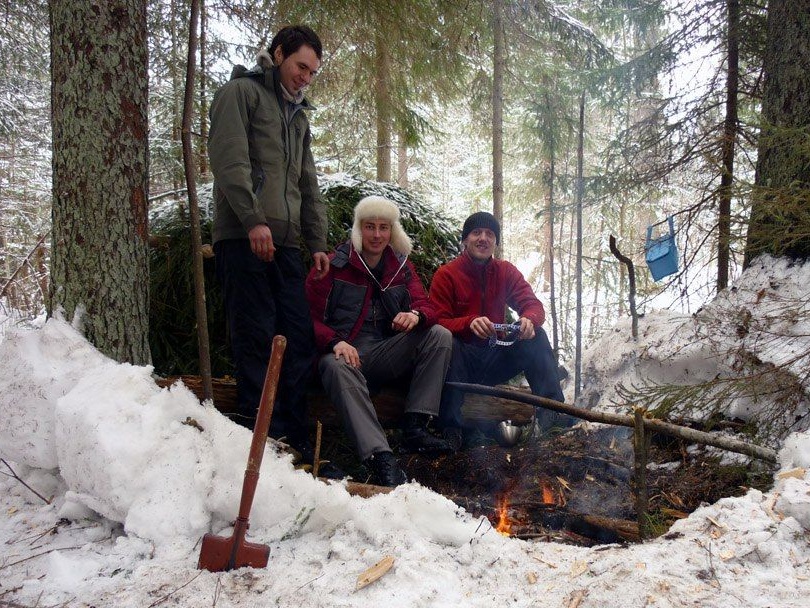
construction will take place on a small elevation in a cold, winter forest, all materials for construction will be taken in the nearest district from the parking lot. This type of shelter construction is designed specifically for an extreme situation, when you do not have a tent with you to hide from the raging weather and spend the night, as well as a minimum of tools and material.
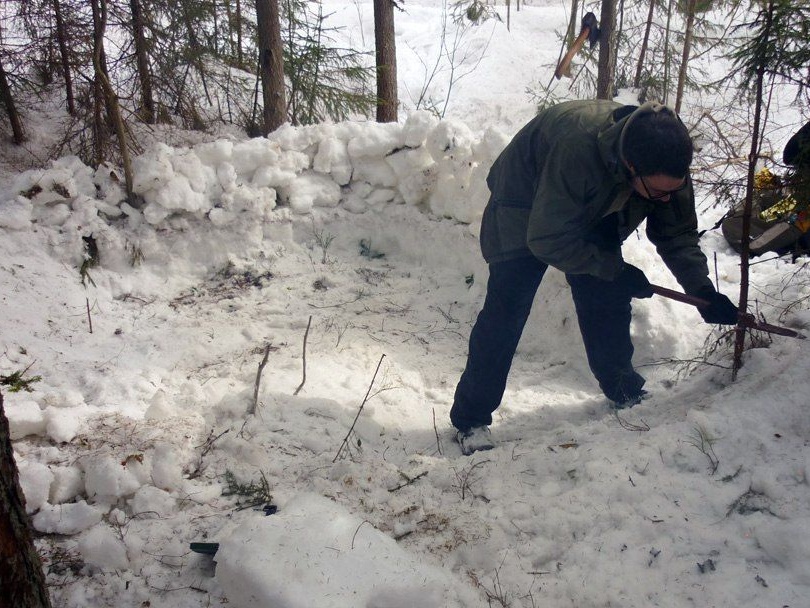
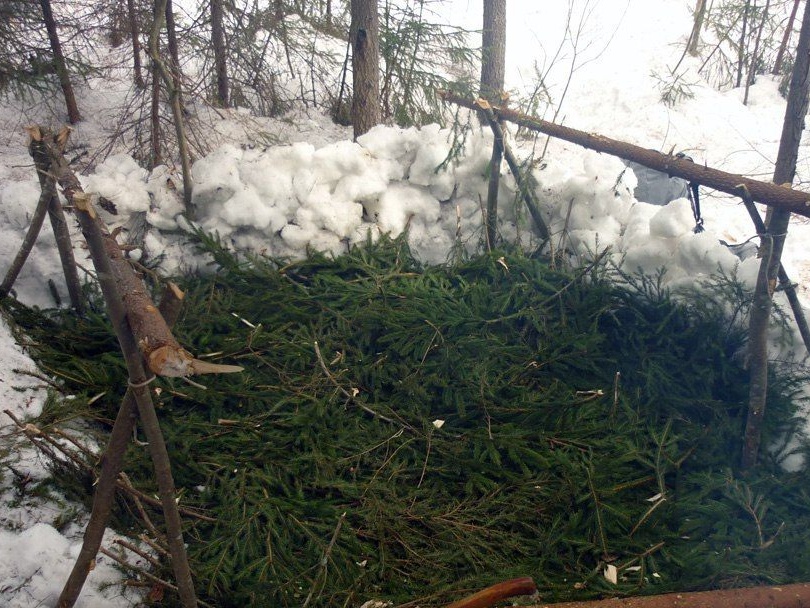
First of all, you need to choose a suitable location for your future shelter, it is best if it is built on a hill. Then you should clear the snow cover all the way to the ground by digging a kind of small comfrey in the snow, you can lay out a parapet from the snow for greater reliability and the subsequent strengthening of the walls of the house. Here is an example of how the author did everything directly.
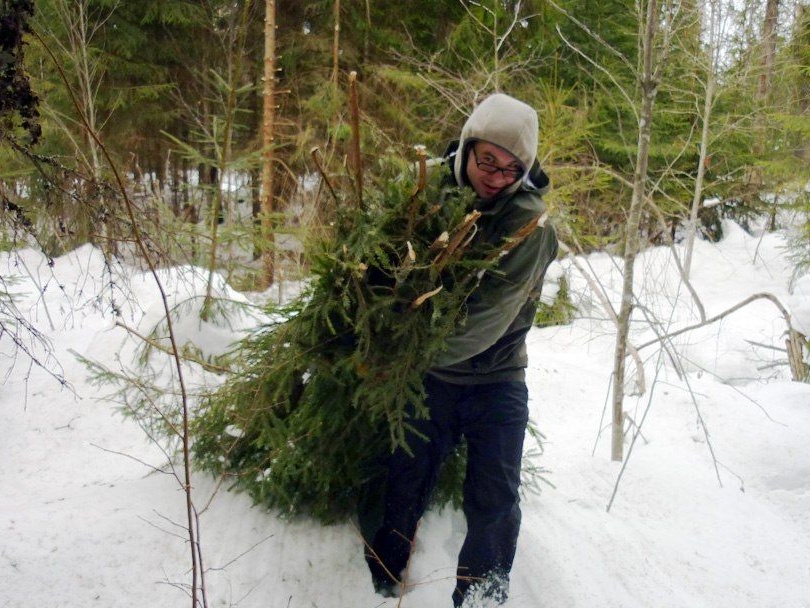
After the hole in the snow is completely open, our tourist begins to collect around the branches of coniferous trees (spruce, pine, cedar) in common people call this material (lapnik)
ATTENTION! Twigs should be cut from the lower parts of the tree, in no case do not break the young trees! Protect the nature first!
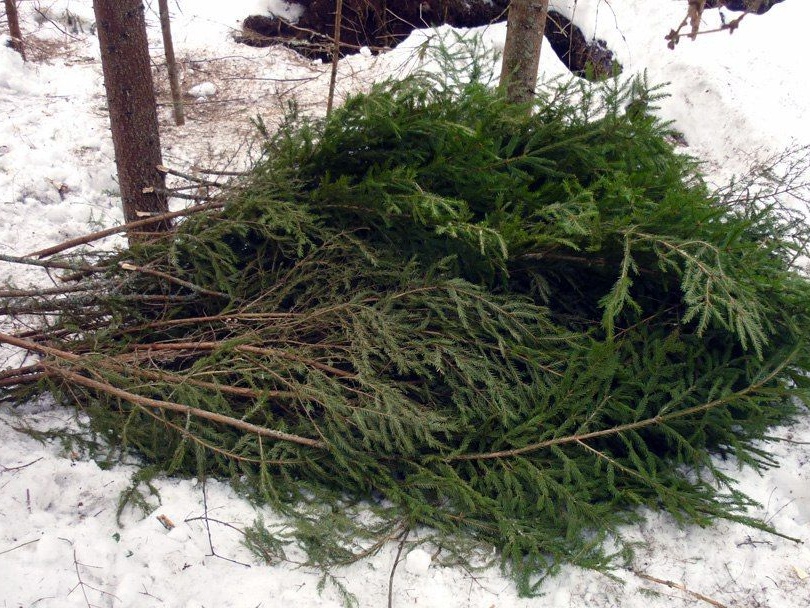
From the prepared branches brought by the author, flooring is made on the ground - this is done so that there is a layer between the icy ground and the feet of travelers. As the saying goes, "Keep your head in the cold, and keep your feet warm." Because having frozen your legs, you can get pneumonia, in the best case, just catch a cold, which is extremely undesirable in a hike.
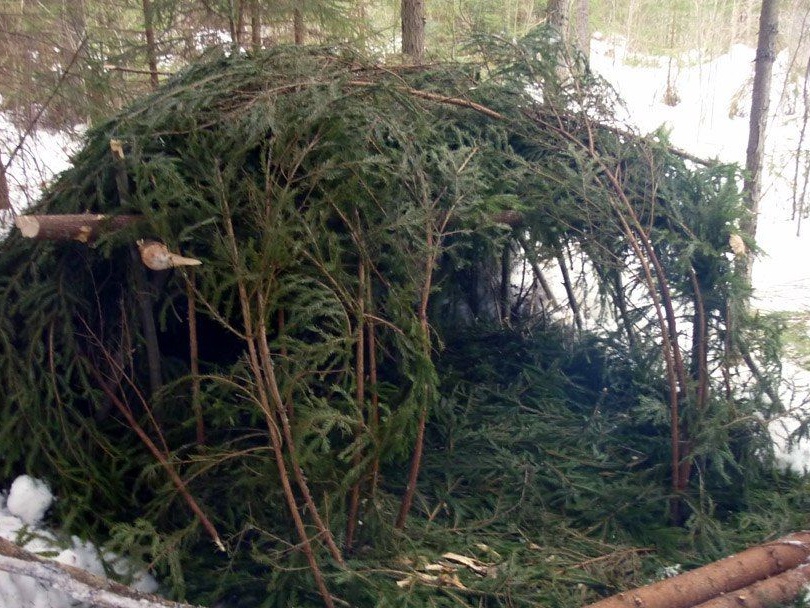
Next, the frame of the future shelter is made of pine poles, the required barrel length is chopped off with an ax or knife and stuck in the snow, the jib for reliability is also set. If there is no ax with a knife, then you have to break branches thinner and preferably dry, it will be easier to break them.
Then the roof is made, if you can call it (crate) the sticks are stacked next to a small interval and are tied to the frame with a rope. If you didn’t have the ropes with you, then you can use thin twigs (hazel, willow) or another tree, the main thing is that they are not brittle in the cold, they should also be warmed a little around the fire.
As soon as the frame is ready, it is covered with paws, starting from the bottom up.
Further, the roof is completely covered with branches, it should be done so that the branches fit snugly against each other and there are no gaps.
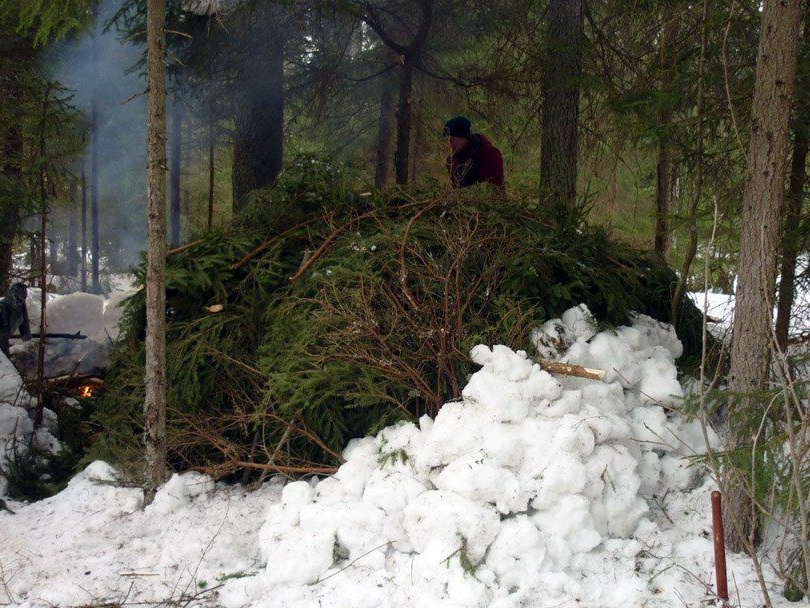
For reliability, the walls of the house should be sprinkled with snow, as this will contribute to the preservation of heat indoors.
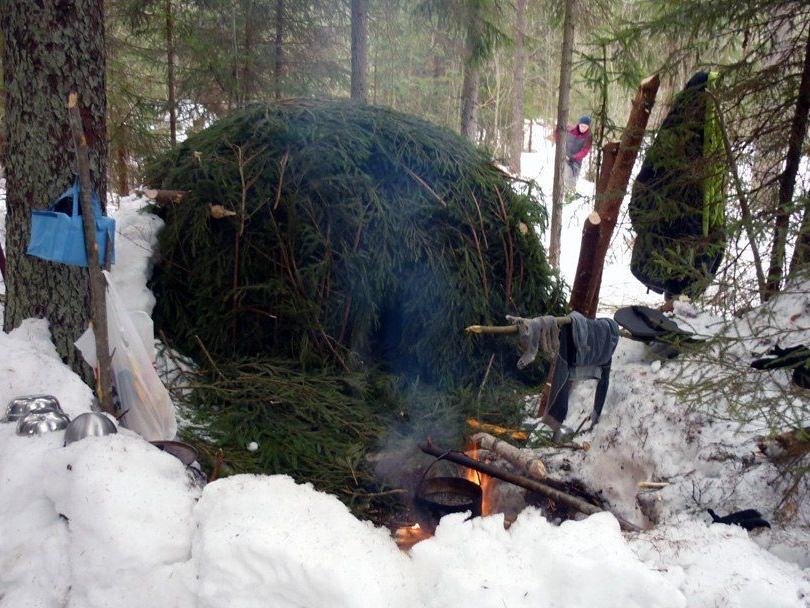
ATTENTION! The bonfire should be built at a more or less safe distance from the hut and stone it if possible "although it is unlikely to find them under the snow." It is also necessary to build a windbreak for fires from sticks so that it does not spread in different directions. Follow the rules of "Fire Safety" because the branches of conifers, even raw ones, can break out like "gunpowder"
According to the guys who built the shelter, they spent an excellent night, the temperature was between -7 and -9 degrees. It is also possible to completely cover the shelter with snow and the temperature inside will be stable, but you should leave a small (vent) at the top so that fresh air circulates.
This concludes the article. Thanks for attention! Come visit often, do not miss the latest in the world of homemade goods!
This article is for informational purposes only!