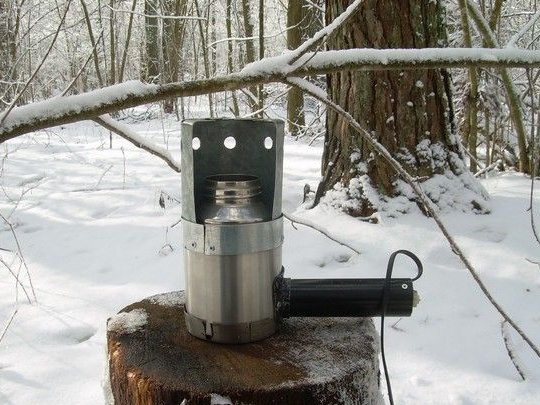
One autumn day we went camping with my friend. It was already cool and by the end of the day a little snow began. At the halt, we got lunch, and Sanya began to heat food on a gas burner. As luck would have it, the gas ran out, and we only warmed up the food a bit. We talked about burners and my friend told me about a stove-grate. I was interested to see such a miracle of technology. Upon arrival home, I opened the Internet and asked Google's nerdy. The more I watched, the more I was surprised. Everything is done very simply, roughly speaking, this is an ordinary tank into which oxygen is blown from below, thereby enriching our bonfire. It's very simple, as I had never thought of such an idea before, probably I just didn’t set a goal. I look through the pages and see that the people themselves are making pretty good options. There are also purchased options, one of them is the “Airwood Light BM” turbo-draft stove.
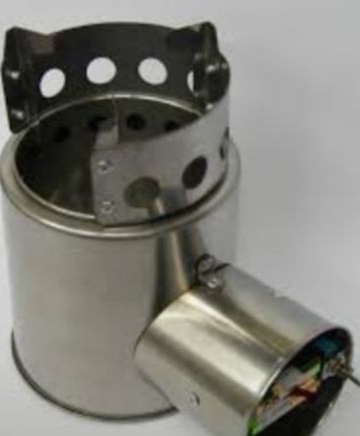
Do not get it wrong, this is not an advertisement. For me, this is just a model for another homemade. Of the minuses for me was: the high price tag and the location of the fan and motor are close to the fire, albeit iron blades. Having thoroughly considered the design of both purchased and various home-made, I did not understand one nuance. Why does the useful air from the turbine crash into the solid interior wall? I found the answer from the seller like this:
"A feature of the Airwood Euro BM model also lies in the fact that the space between the two walls of the stove (between the combustion chamber and the outer casing) is virtually airtight, that is, all air from the discharge unit (blower) is guaranteed to be supplied to the combustion chamber."
Maybe it’s so, according to YouTube videos, it heats water quite well and only inferior to gas for a couple of minutes.
The wall that embarrassed me.
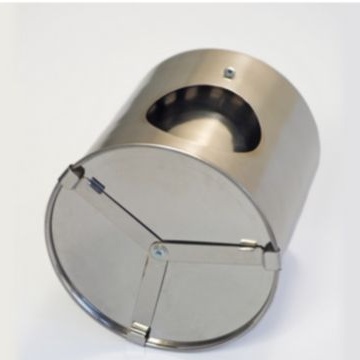
In my opinion, this is not good, I would try to make sure that the air would blow as much as possible from below. Still cold air will “crash” into the hot wall and deform thin steel.
Okay, it's time to get down to business and check everything yourself.
Material:
Old waste thermos
Steel and aluminum rivets 3.2
Thin walled pipe
Galvanizing
Steel bar
Motor and wire
3 bolts and nuts
Instruments:
Riveter
Bulgarian
Bor machine
Scissors for metal
Screwdriver / drill
I found in the kitchen an old non-working liter thermos. Immediately the thought, why not make a stove with it.
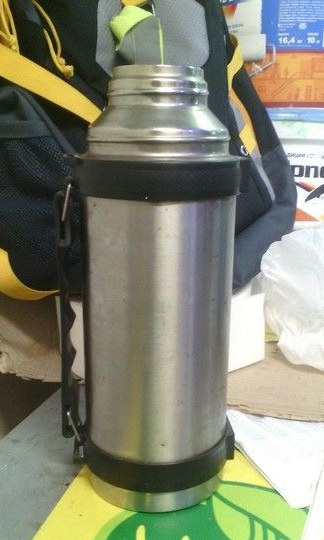
I decided to cut the thermos strictly in the middle. I think if one part fails, so the second so sure :)
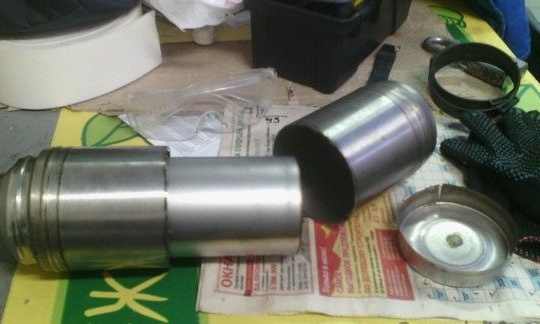
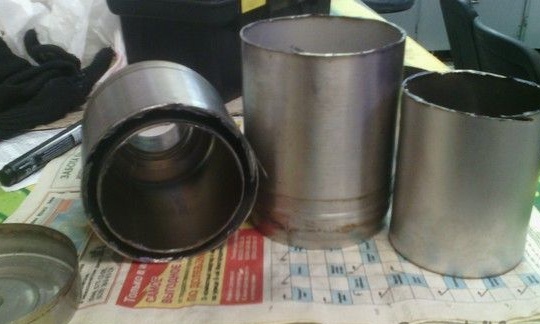
At this stage, my opinion was divided. If to do from the upper part, then it will be inconvenient to throw fuel into a narrow neck. And if you use the lower part, you need to come up with a mount of the internal combustion chamber. Oh, I wasn’t doing it from the top !!!
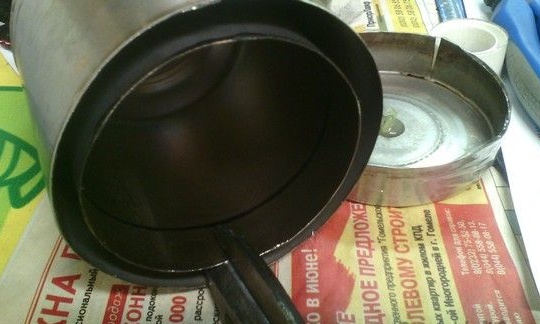
In the upper part of the thermos, the inner flask is already fixed, and it remains only to make the bottom. For this I use a marker, a regular sheet of paper and scissors for metal.
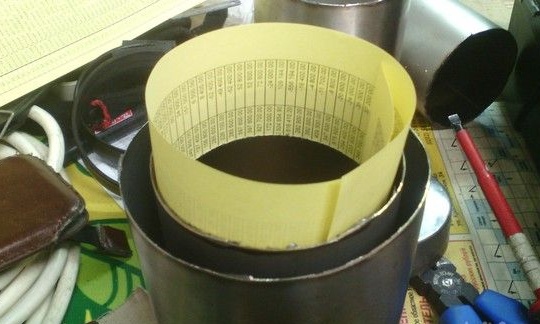
Paper is needed to even out borders.
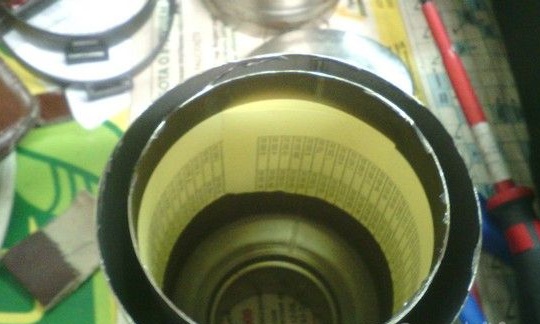
We insert paper, connect the leaves, and mark with a marker. In this way, you are guaranteed to be evenly marked circle.
I cut with scissors.
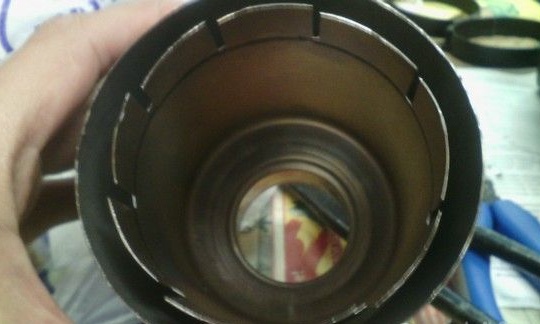
I trim a little more along the edges and bend the bottom.
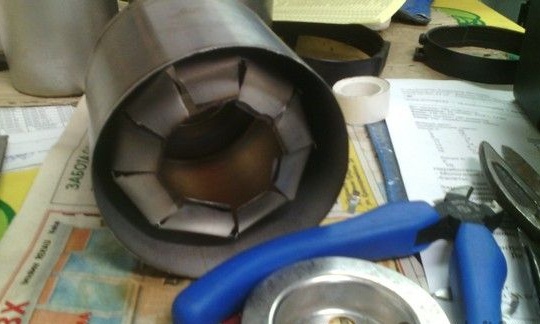
It turned out interesting, for fans of autotuning, you can attach it to the exhaust pipe :)
In the role of the bottom, I use a thicker stainless steel.
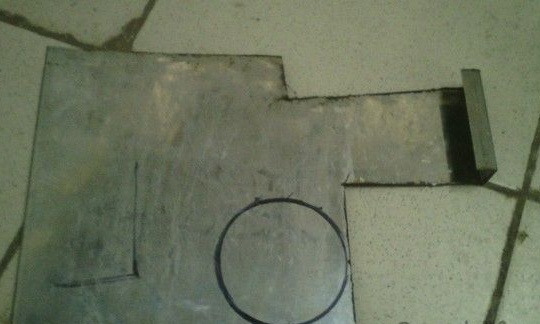
I will not say thickness, about 1.5 mm.
I cut off the grinder! Be CAUTION With this tool, glasses are mandatory and replace the circle only with the machine turned off.
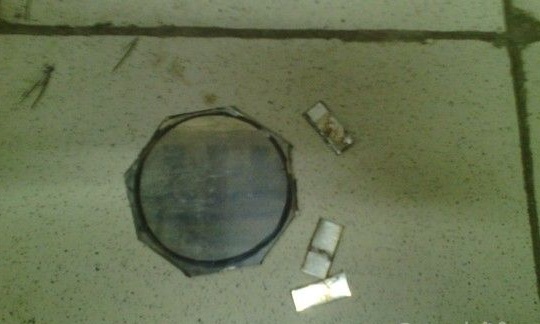
On the emery, I “finish” the circle.
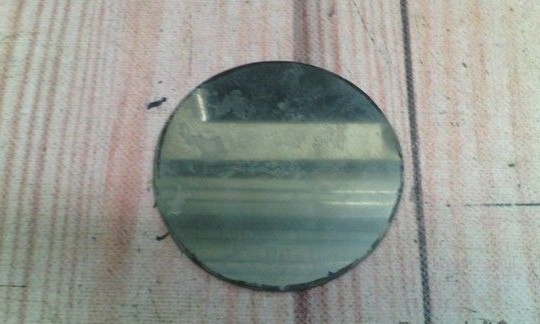
I drill holes in the stainless steel and with the help of steel rivets I attach the bottom.
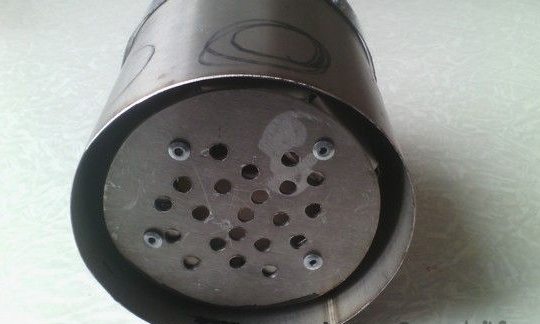
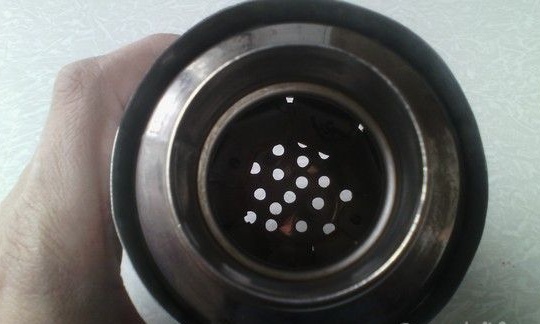
I pass to the top of the grate and think over the design. It is required to make a windproof screen and a stand for dishes. To make an idea a reality, I’m doing such a thing. I cut a strip of galvanized
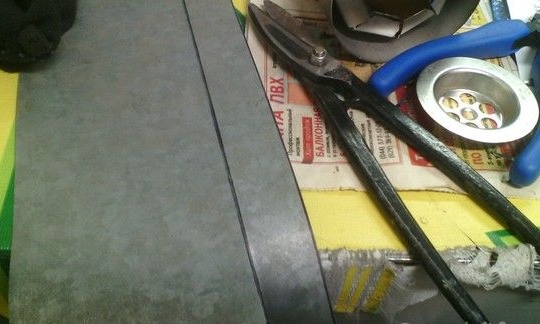
And bend her
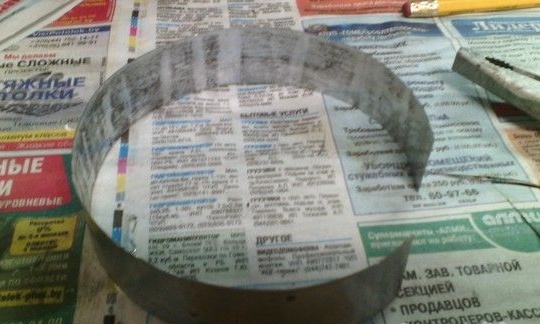
I drill holes in a thermos and in a strip. Using steel rivets, I fasten the strip to the thermos.
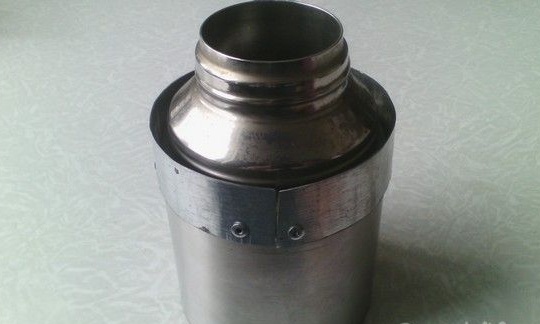
He joined the splice butt and riveted at both ends.
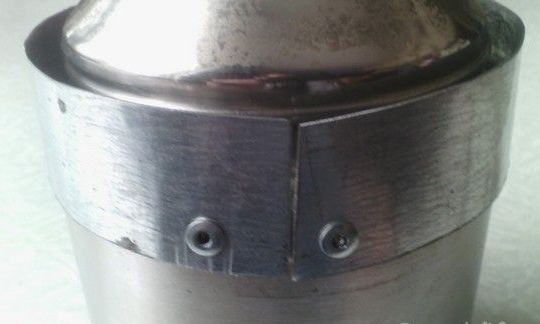
In the role of a windshield and stand, I use the same galvanization.
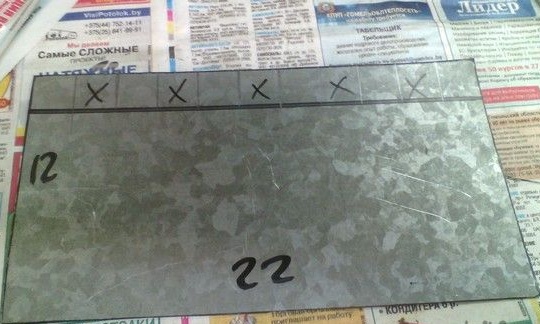
If anyone will do, then select the sizes "for yourself"
Here is such a windproof screen and stand, I got it.
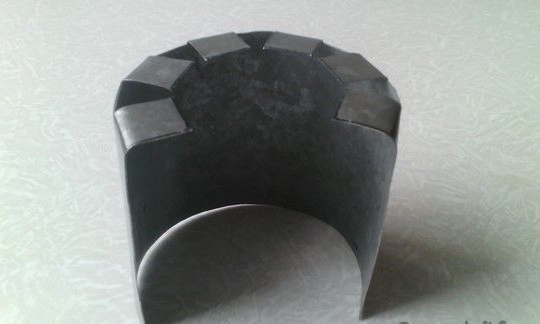
There will still be holes, below in the photo you will see.
Since I wanted to make everything compact and convenient, I had to take a steam bath with the search for a suitable pipe diameter for blowing. I planned to hide the pipe inside the grate.
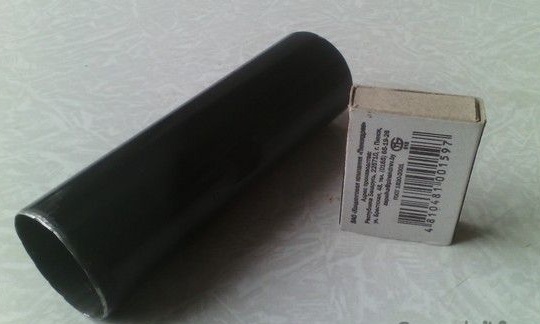
Well, here's something more or less suitable. I took this thin-walled pipe from a broken floor fan.
Also there was such a little thing.
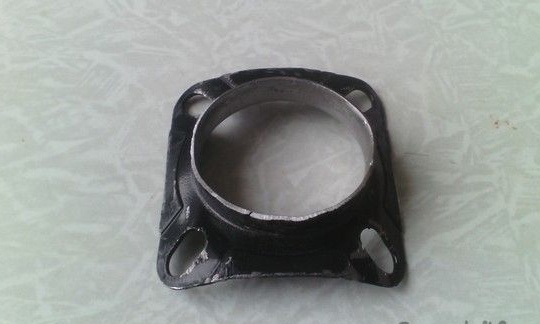
I bent it under the body of the grate.
I decided to fix the pipe to the body of the stove using this connector :)
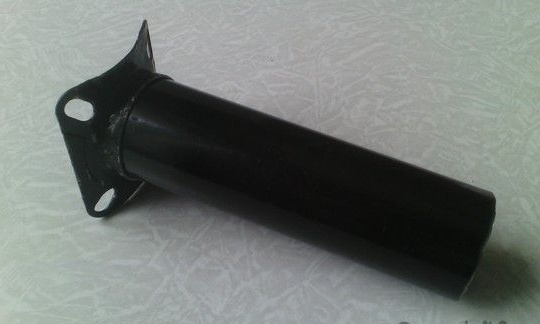
The pipe is fixed firmly and does not fall out.
Mark the inner circle with a marker and cut out the circle.
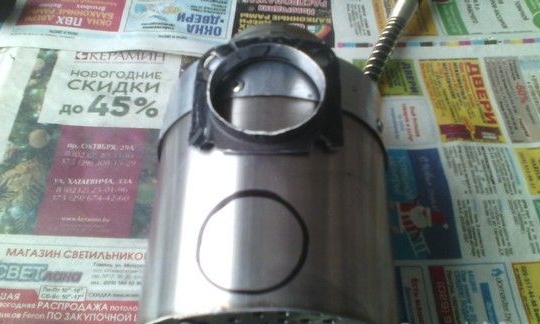
The photo shows that I sawed up a bit of my pipe fixture to the stove.
I cut a circle with the help of my bor machine and a small circle. Uhhhh, the stainless steel “ate” as many as two mini circles. I drill holes and attach the “air adapter” to steel rivets.
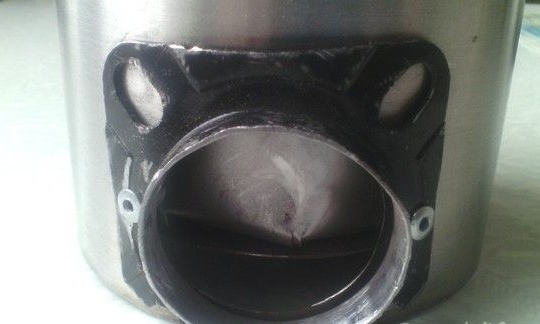
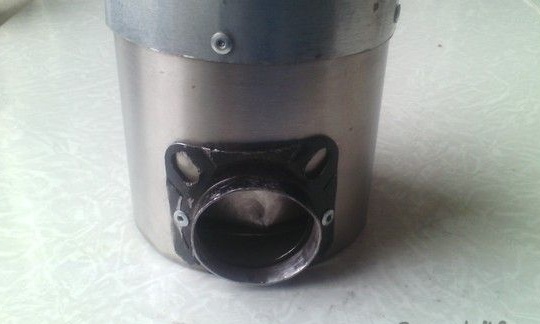
I nevertheless made it so that at least a little could be seen the bottom of the inner chamber. The version of airtight air entering the combustion chamber confused me a bit.
Looks like a hookah :)
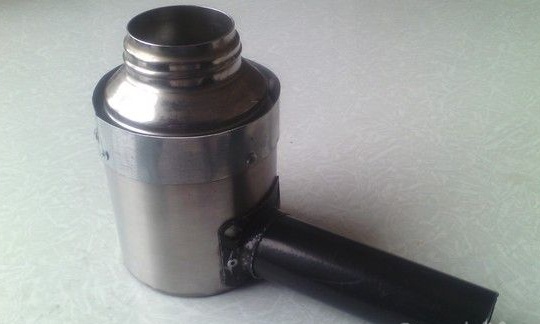
Motor and its mount.
Although the pipe is far away from the fire, I still decided to make the galvanized blades.
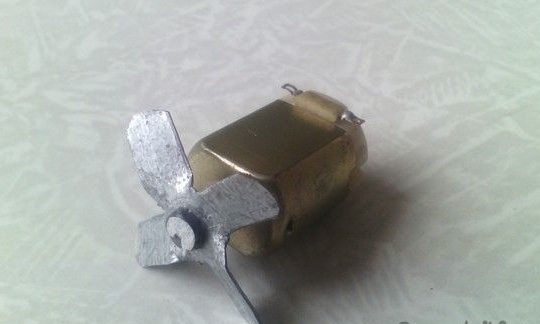
Connected to a voltage of 3V and checked the air flow. For such a baby blowing pretty good.
I made the motor mount from two galvanized bars. To do this, cut two bars of the right size.
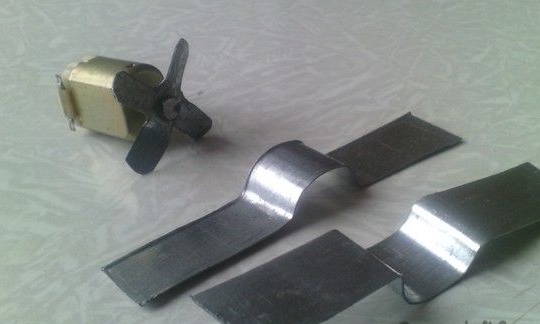
I solder the wires and fix the motor in the tires. I use ordinary aluminum rivets.
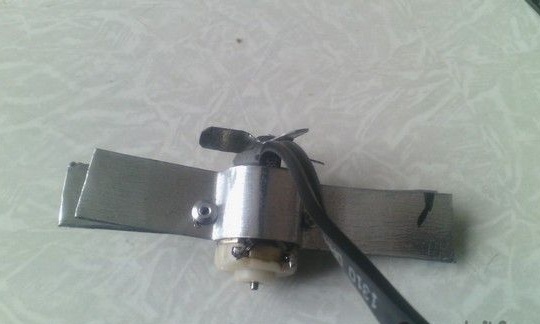
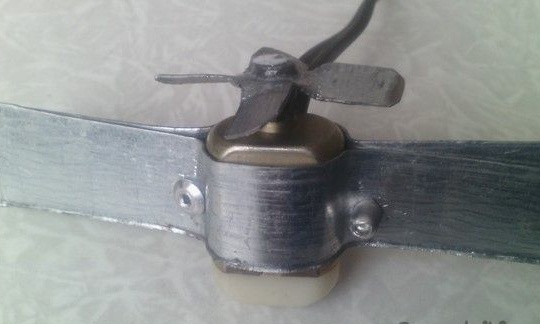
For mounting in the pipe, the shredder must be bent. We cut off the waste tire.
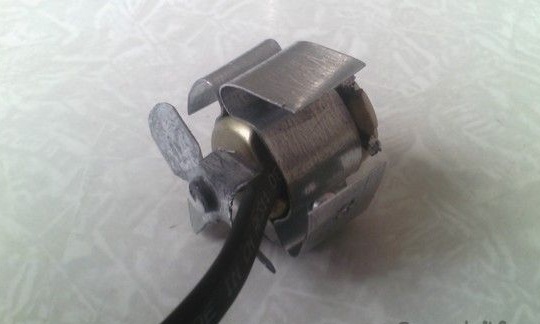
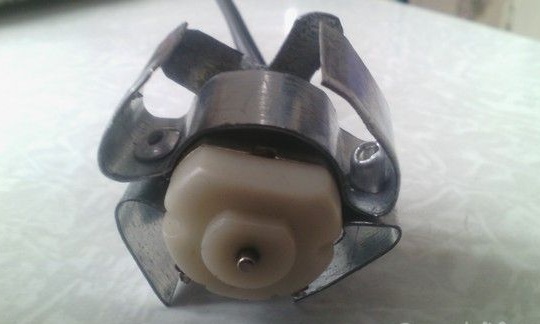
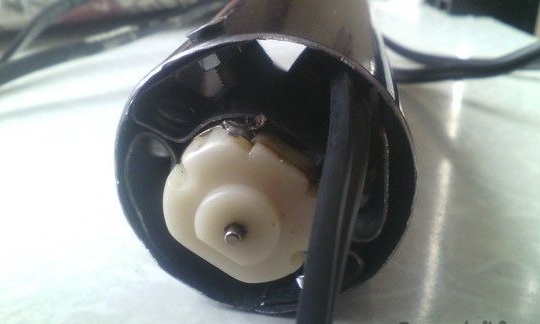
We drill holes in the pipe and fasten the motor. I drilled with a drill 3 and fastened with a bolt and nut.
Just in case, I decided to make a universal stove. And suddenly you forget the batteries or the wire breaks, anything can happen. Therefore, I make another adapt (I don’t even know what to call it) for natural blowing from below.
As always, galvanizing.
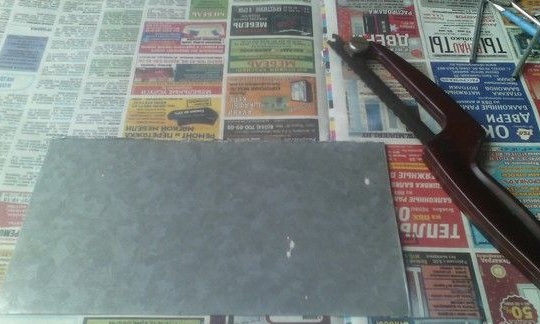
To make the grate stable, I use a steel chrome bar
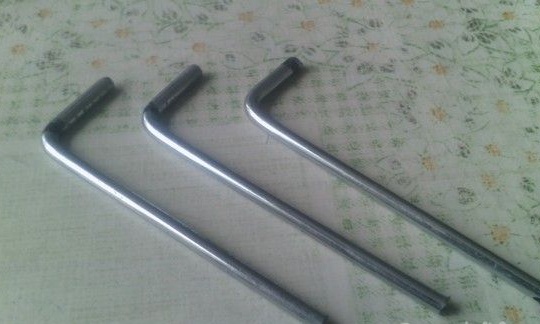
I bend on one side.
I cut a shredder for fastening the rods.
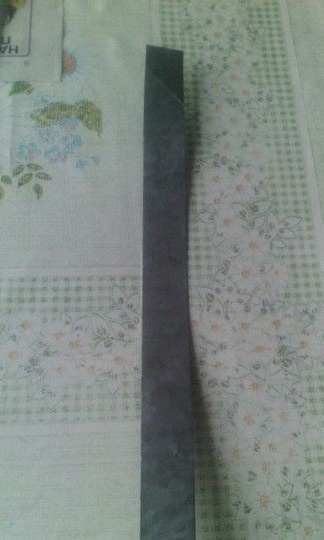
I cut the shredder into the necessary pieces and rivet the bar.
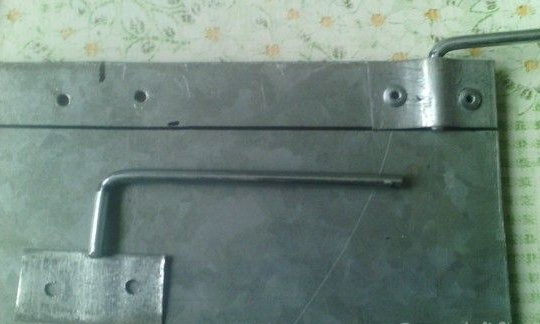
I bend and check my idea.
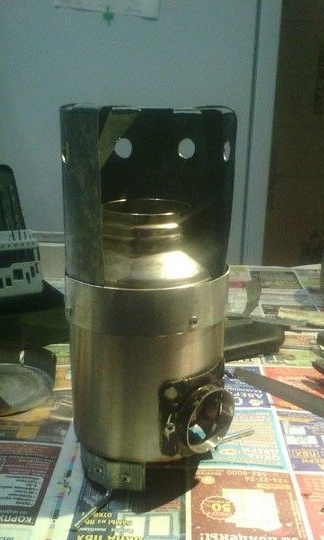
I insert the galvanization to the stop, and a gap for air is obtained. It is desirable to put it on the leeward side. Shchetnochka stands confidently and does not stagger. Holes about which I spoke above are also visible.
If the dishes are wide, then you can insert up.
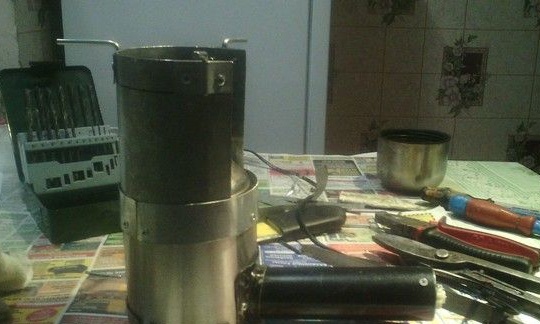
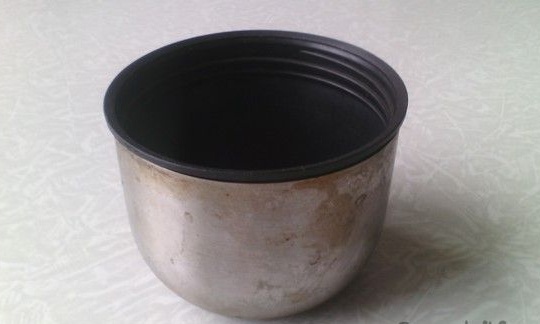
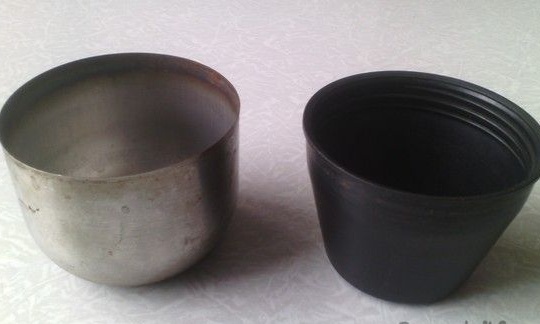
The thermos lid can be used as a last resort as a cup for heating water. A plastic insert, like a mini plate.
Words by words, but it would be necessary to test the chipper in real conditions.To do this, I went on a small solitary hike to the local forest. My goal was to go about 15 km and test my home-made stove, the grate. It was February 25th and in the morning the snow fell and it froze a little.
Maybe someone will like a couple of photos of the morning forest.
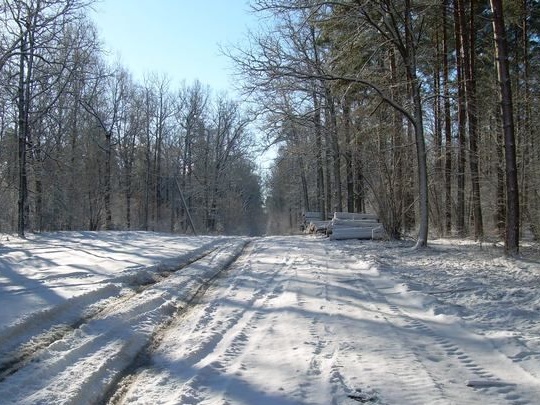
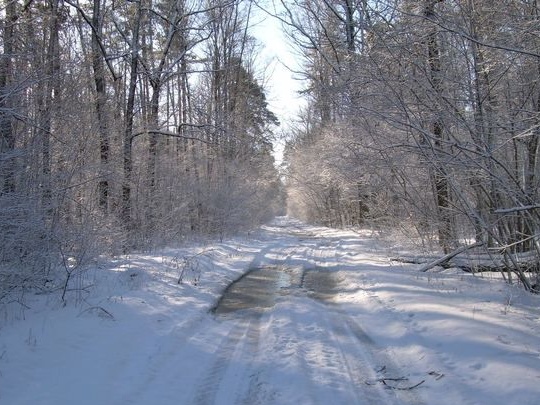
I found a couple of logs and settled on a halt.
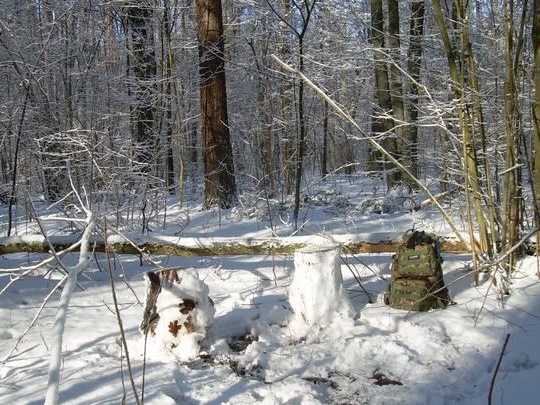
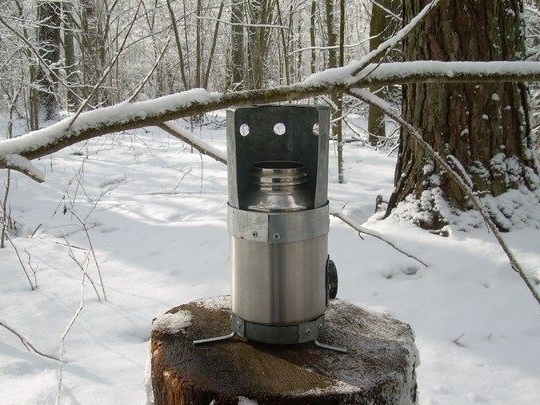
Folded Ashtray
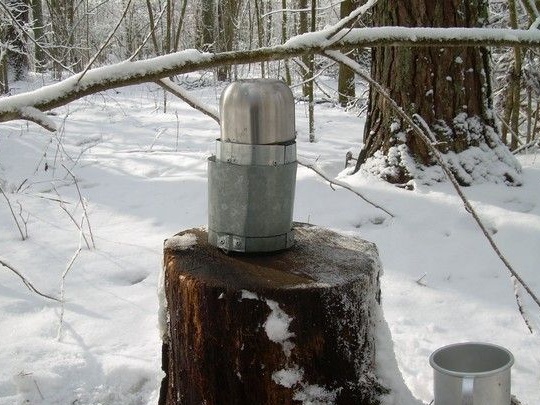
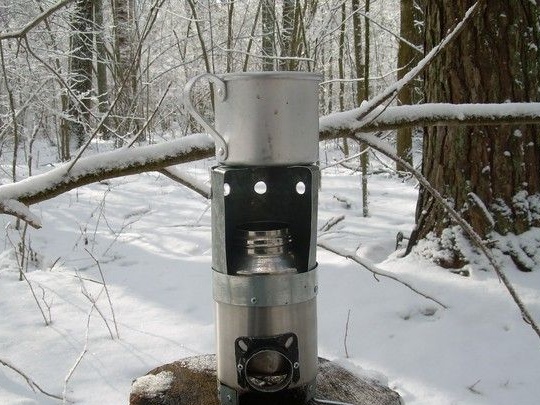
Normal mode
Turbo mode

I connect a shchepochnitsa to usual AA batteries. 3 volts.
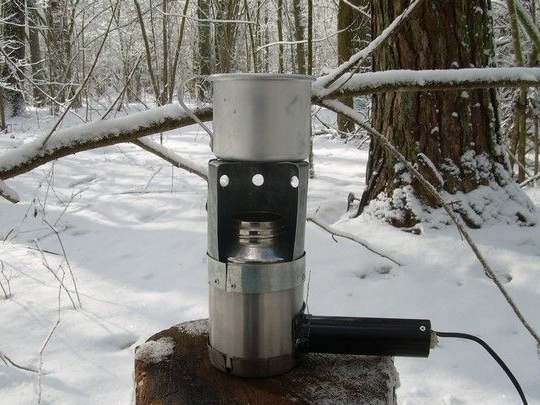
Feedback without pre-decoration: specifically, I did not search for dry firewood, breaking branches from fallen trees. The branches were with a small snow cover and under it a very thin layer of ice, like icing. In the hands of this layer melted. In a word, the wood was damp. In the usual mode, my homegrown stove puffed and smoked like a steam locomotive, flames burst out from time to time and it was not realistic to heat food, just smoke something :). But when you connect the turbine it became noticeably more fun. The coals swelled, and the fire burst forth with a steady flame. In turbo mode, of course, more fun things are happening, just have time to throw firewood. But still, it seemed to me that the air flow was not enough and I would drill more holes in the bottom. I think that such a small stove is suitable for one person, for a maximum of two. She will boil a mug and a pot from under the flask, but something more, I think it will take a long time to wait. Again, it is necessary to test in real conditions.
Small videos on the operation of the stove in turbo mode.

