A tandoor will be a great addition to a summer cottage or other place where you spend your vacation. With the help of this wonderful oven you can cook barbecue in high quality, bake vegetables, mushrooms, fish and much more. In fact, this is a kind of advanced barbecue.
This article will discuss how to assemble a stationary tandoor from brick.
Materials and tools for homemade:
- glass wool;
- refractory brick (to create a furnace;
- facing brick;
- clay;
- cement;
- sheet steel 3 mm thick (or other material to create a cover);
- steel bar or fittings (skewers will be hung on them).
The process of manufacturing the tandoor:
Step one. The first steps of arrangement
To properly collect the tandoor, you first need to understand how this furnace works. The tandoor is a kind of "bag" that holds the temperature inside. So, in order for such a “bag” to hold the temperature for a certain time, it must be made of several layers, more on that later ...
Construction the tandoor begins with the arrangement of the foundation, with the author it is made of concrete. The foundation must be reliable, otherwise the furnace may crack and all the work will go down the drain. The depth of the foundation of the author is 40-50 cm, which is about 10 cm below the soil and plant layer.
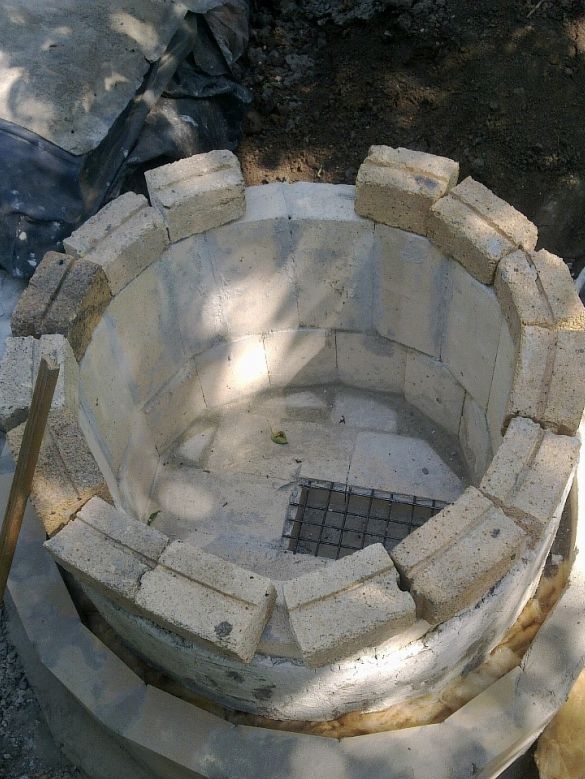
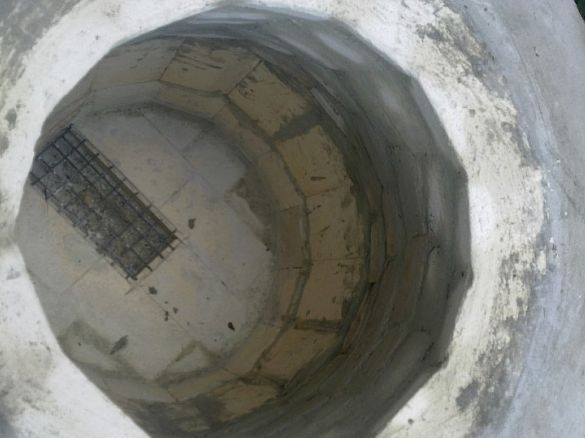
Further, the furnace bottom is built on top of the foundation, refractory brick is used here. During the construction of the bottom, it is important not to forget to make an ash pan; without it, the stove will not be able to burn, since oxygen will not flow.
Step Two Tandoor Isolation
As mentioned above, insulation is very important for the tandoor, if it is bad, the heat will leave the furnace very quickly and cooking will become problematic. As a heater, the author used glass wool.
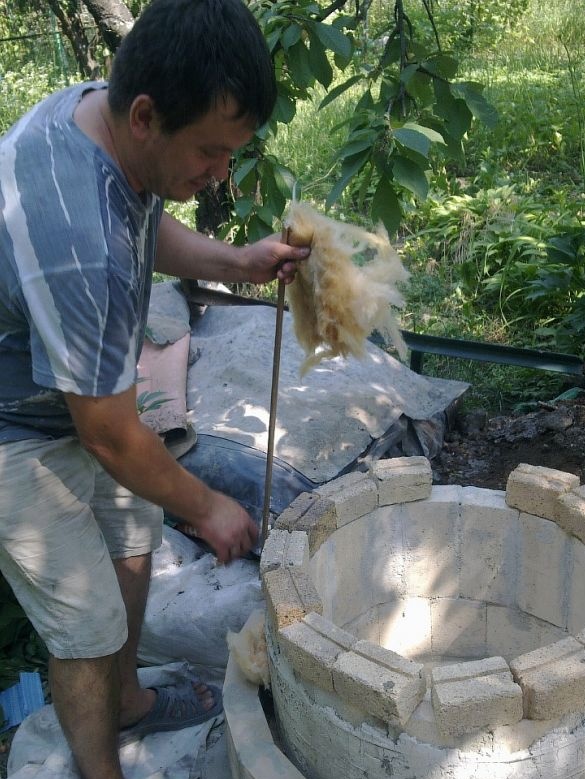
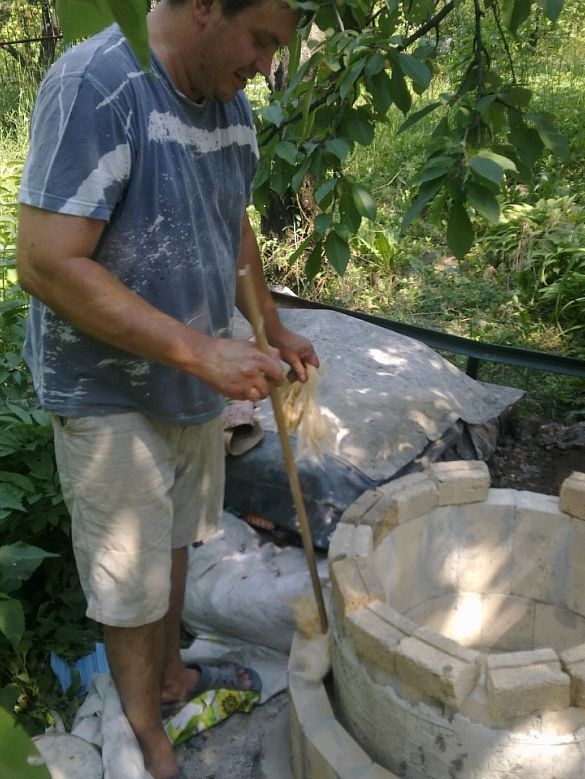
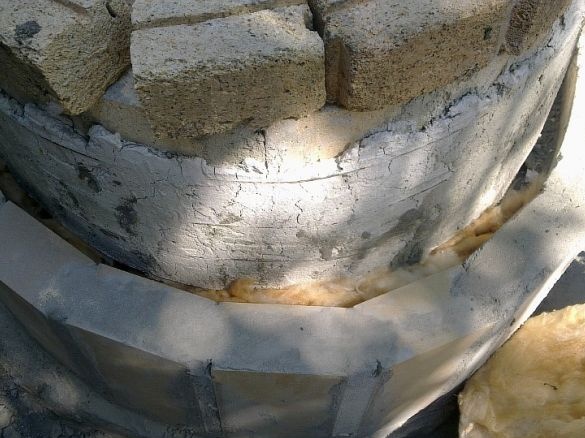
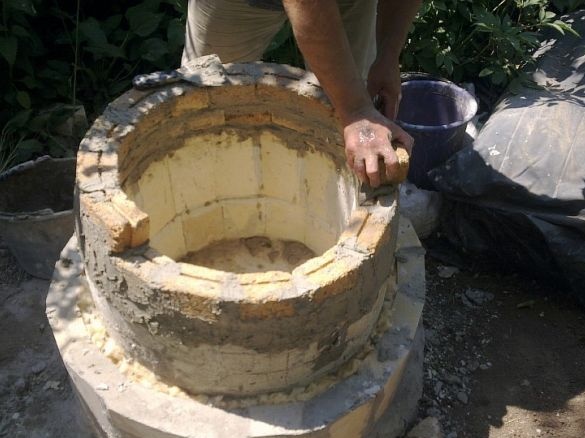
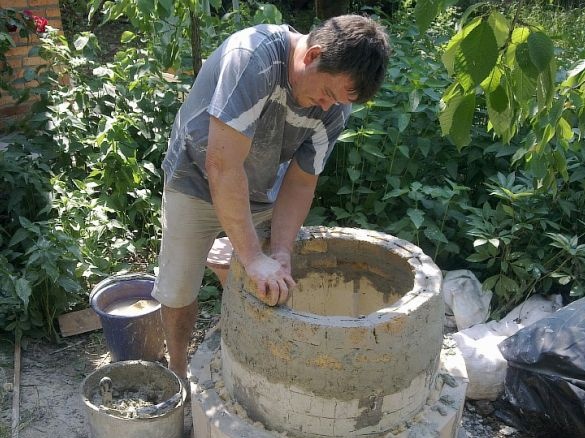
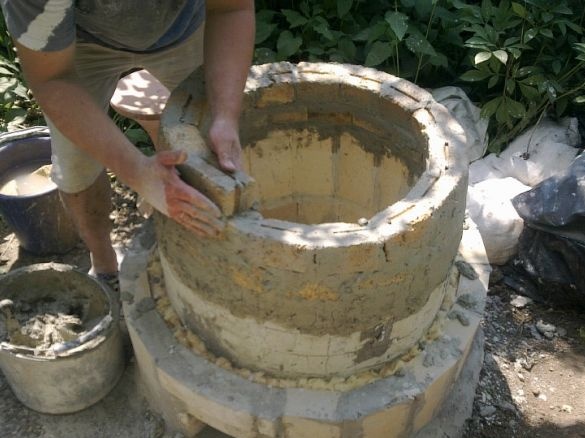
To insulate the oven with glass wool, it needs to be made of several chambers. The first chamber is a firebox, it is made of refractory brick. The masonry mortar used here is fireproof, it is a mixture of clay and cement. The inside of the tandoor is 65 mm, which is equivalent to 1/4 of the brick.
The author decided to make the lower part of the furnace a cylindrical shape, and the upper vaulted one. Outside, the firebox was reinforced with a steel mesh to hold back the deformations that occur when the temperature changes.
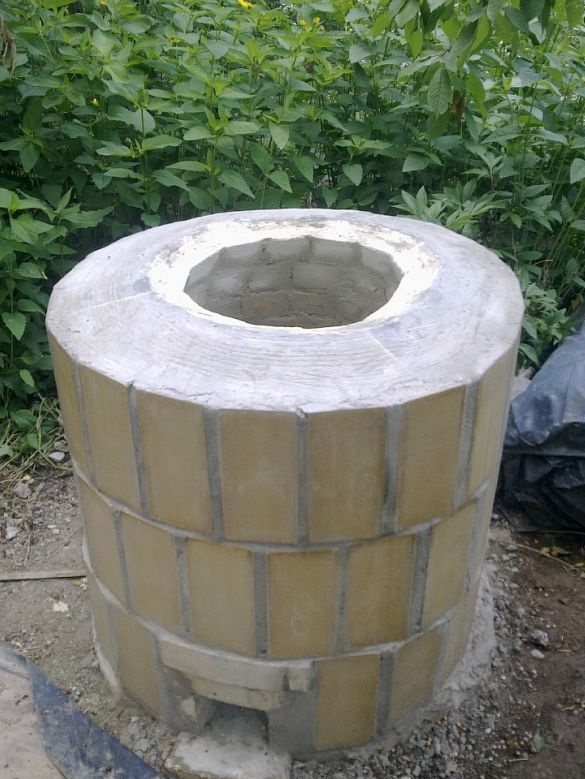
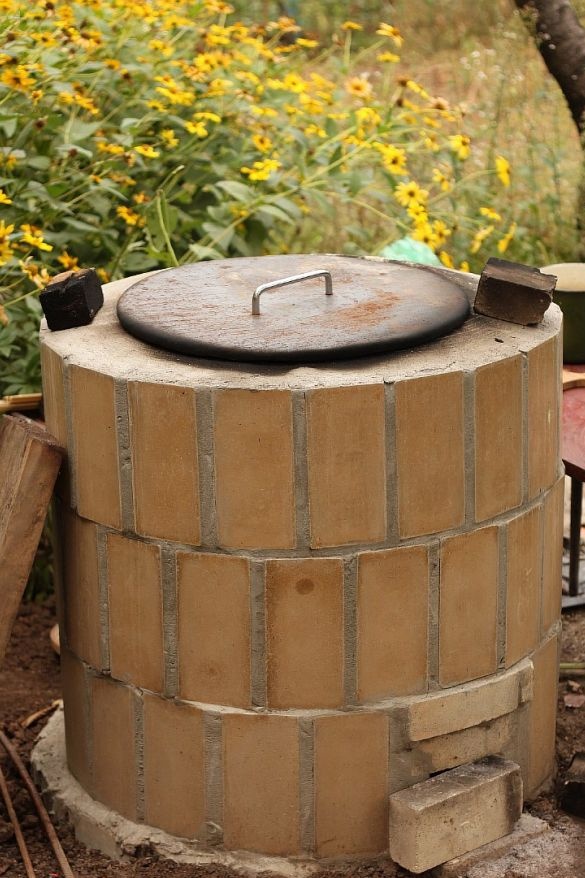
The author made the cladding from the facing brick of a cylindrical shape, its thickness is 1/4 of the brick. As a result, between the furnace and the lining there is a gap of 30-40 mm wide, it is in this gap that the glass wool fits.
Step Three Build the top of the tandoor
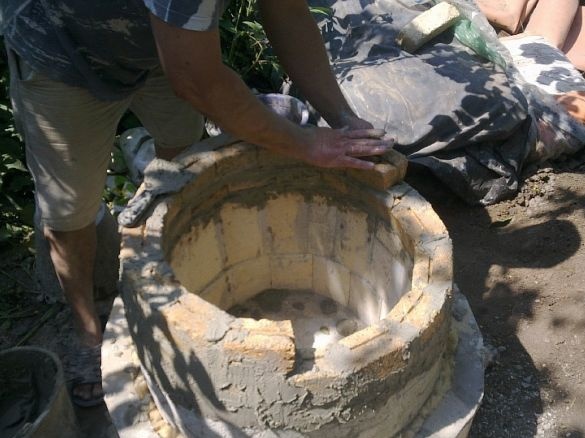
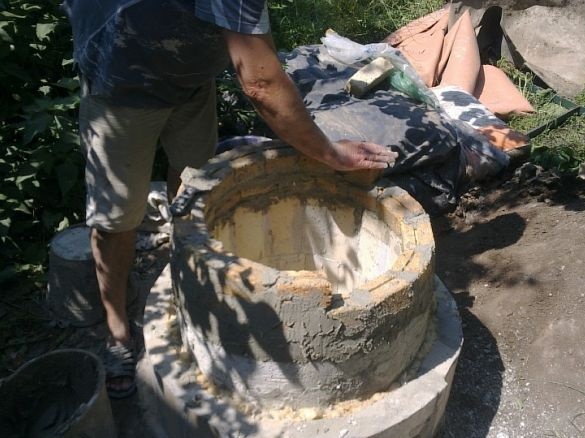
The author makes the upper part of the furnace from cut refractory bricks. This process can be seen in more detail in the photo. When everything is ready, the stove from above is pulled together with a cement screed so that there is a bias from the hole in the furnace of the stove.
The final stage. Cover making and homemade testing
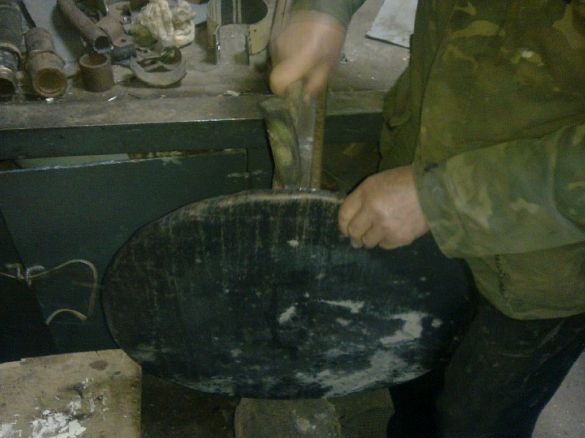
So that food can be cooked in an oven, you need a lid that will hold the temperature. The author made a cover from a steel sheet 3 mm thick. On top of the lid you need to weld or screw the handle, for convenient removal. The handle must be made of sufficient height so that it can be comfortably tackled and that it does not overheat.
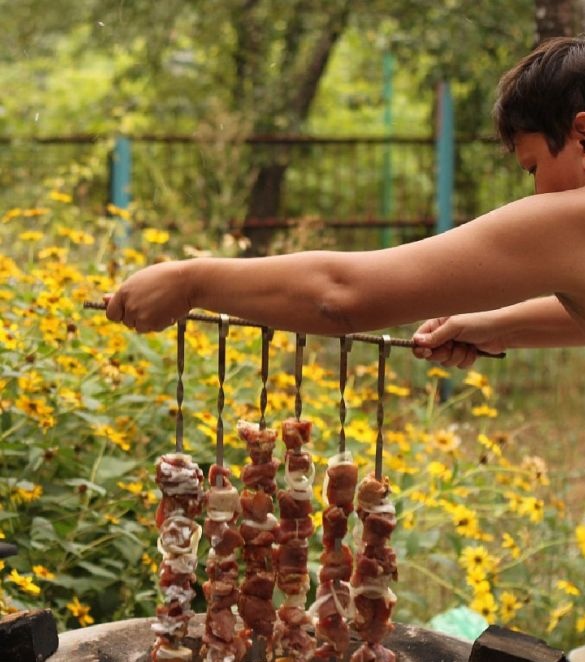
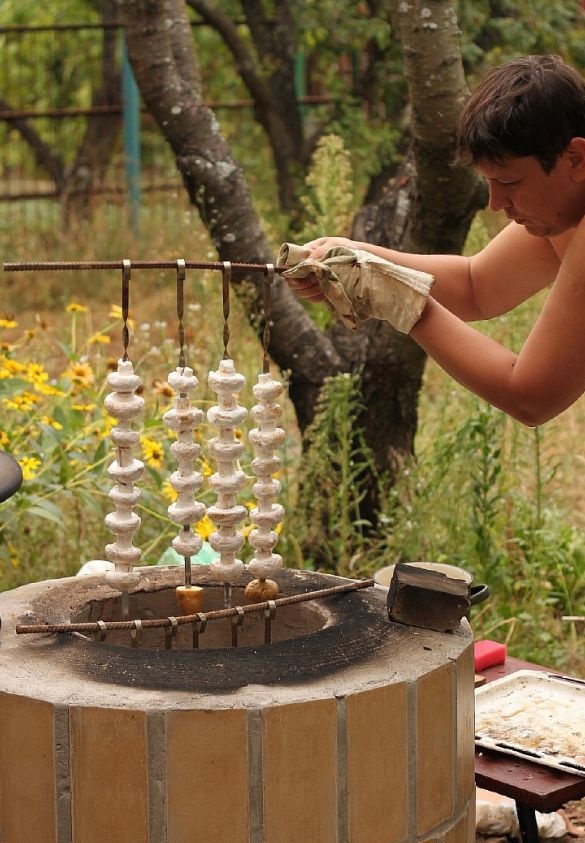
The author began the first testing of the furnace after 3 weeks, during which time the solution froze more or less and the furnace received primary strength. It is best at first to heat the stove a little bit, letting it dry completely, and only then heat it properly. As a result, the author is very pleased with the homemade product and recommends it to others. Apparently, he fried kebab and mushroom pitch there.

