

I can argue, after reading the title of the article, many will say: "this does not happen, this is some kind of regiment." I won’t argue, there’s no reason, everyone has their own truth, but I’m hurrying to present what I have done to your court.
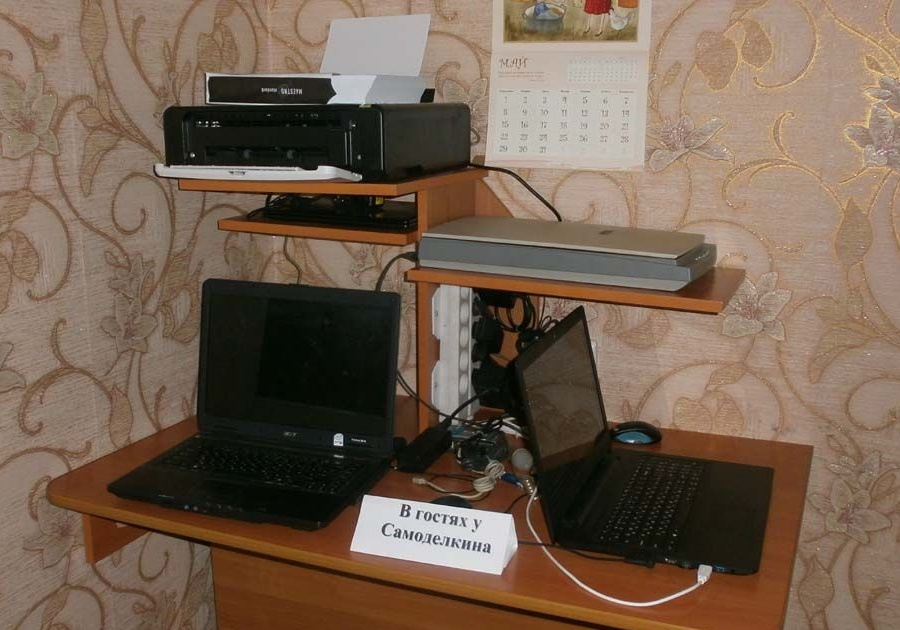
A bit of background. After the move, when the workplace had to be dismantled in the old apartment, two laptops and a printer were temporarily put on this one folding table with one raised "wing." But as you know, everything temporary - the most permanent, the arrangement of the workplace (and I work at home), was slightly delayed.
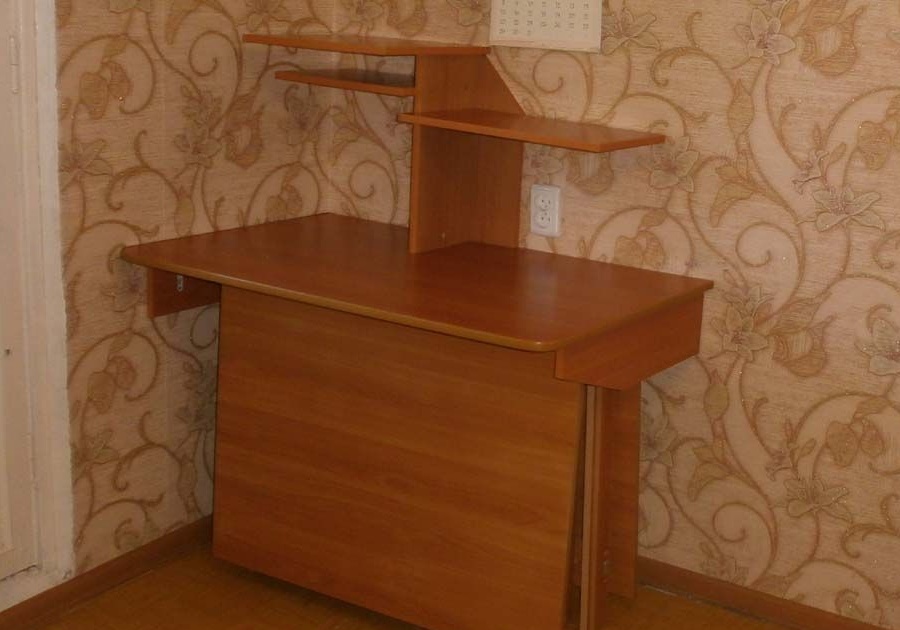
“This can’t go on anymore, I have nowhere to put my legs (the design of the folding table is appropriate), so think and do what you want,” my wife said one fine day, and I had to turn on my imagination and sit down at the sketches. But since the table was supposed to be without legs, the only right decision was to make it in the corner so that it rested on two walls. At the same time, another snag arose: the same folding table, which is got only a few times a year, in the "stowed position" also needs to be put somewhere. Therefore, nothing better than putting inside, I did not come up.
Cut it. Given the small number of parts and the fact that only the main canvas was large, I did not order a whole sheet. I drove to the workshop and for a "small share" - for just over 700 rubles, the guys not only picked the color I needed from the rest of the chipboard, but also cut it.
There are nine parts in total:
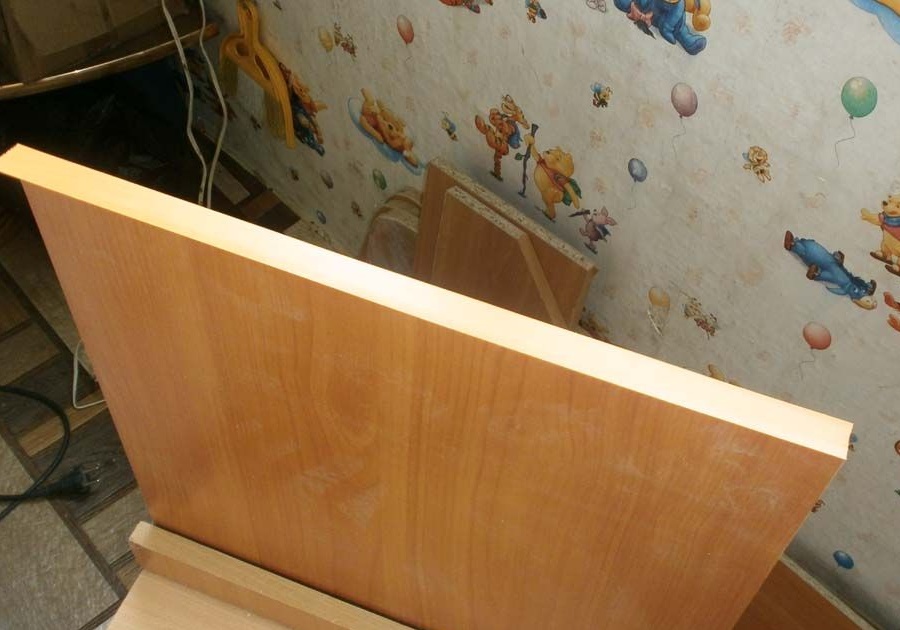
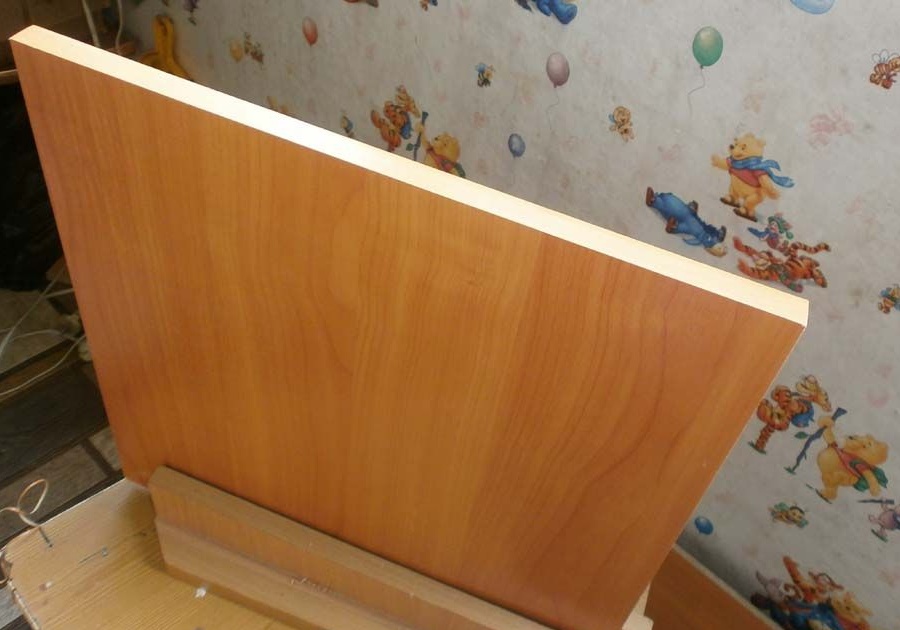
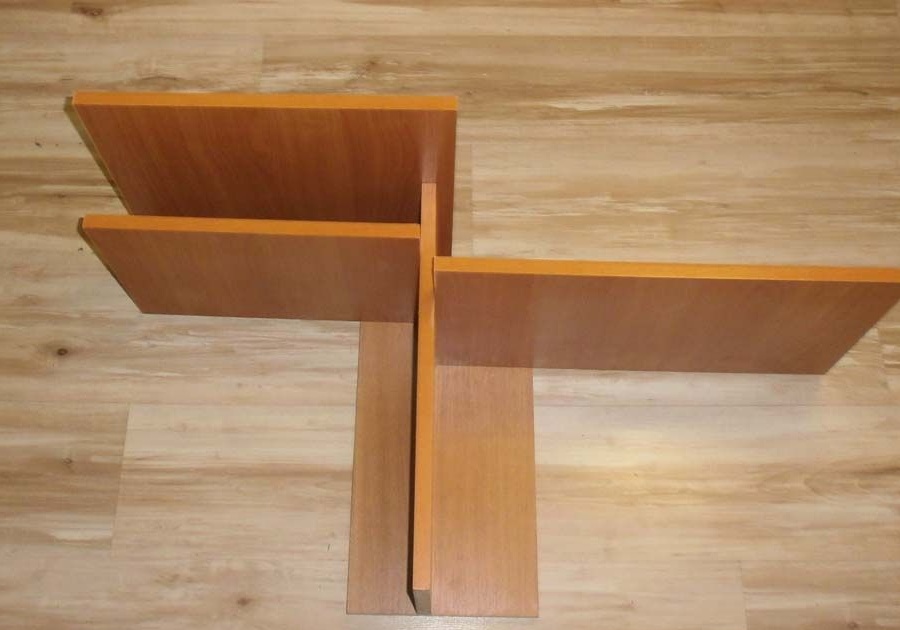
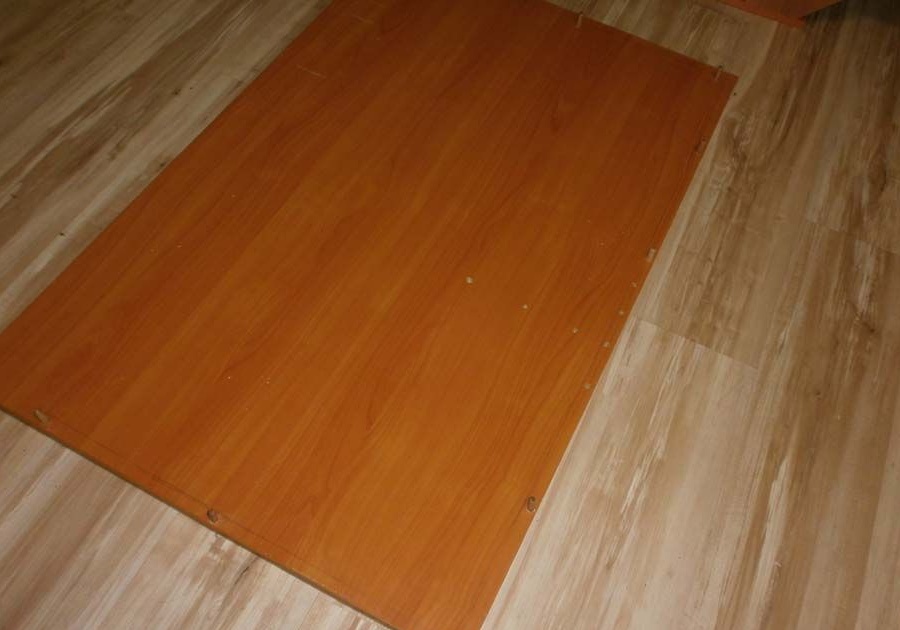
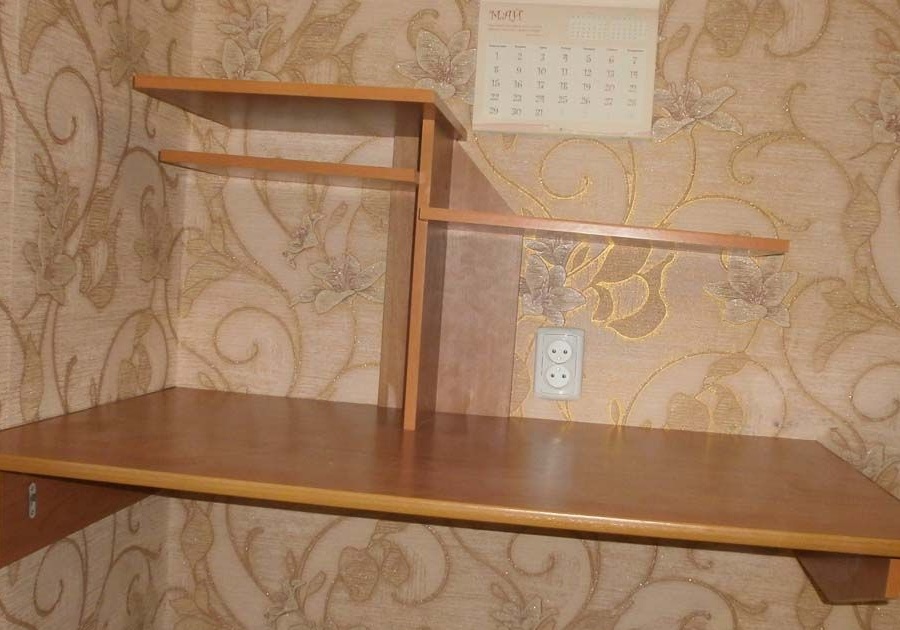
• the main canvas - 700x1100 mm, with two rounded edges (small, with a radius of 50 mm, so as not to beat) and a cut under the T-shaped profile from three sides;
• long stiffening rib - 150x1050 mm;
• two short stiffeners (one beveled a little, for convenience) - 150x600 mm;
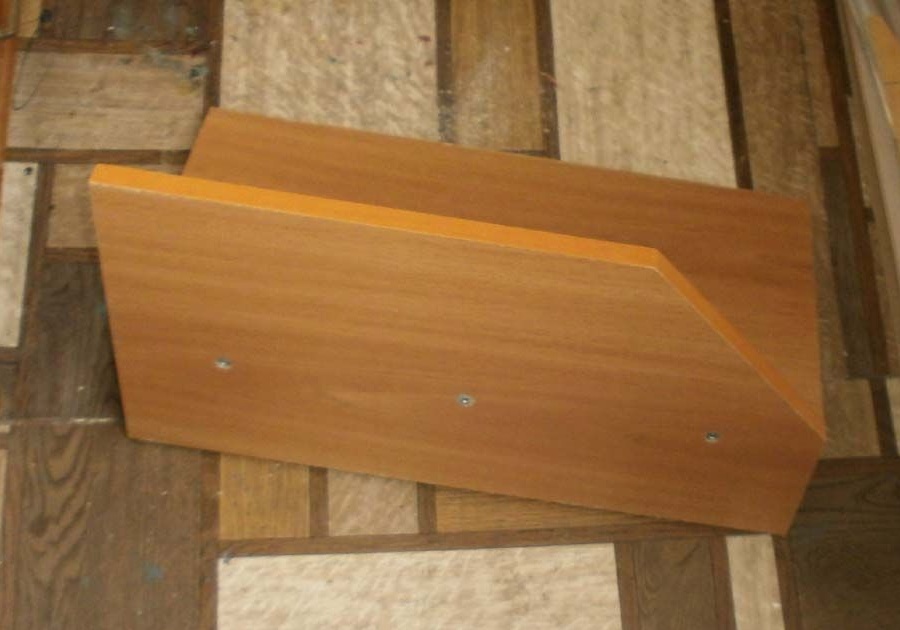
• two more vertical strips, 220x450, the corner of one of them is also cut off, 100x100 mm;
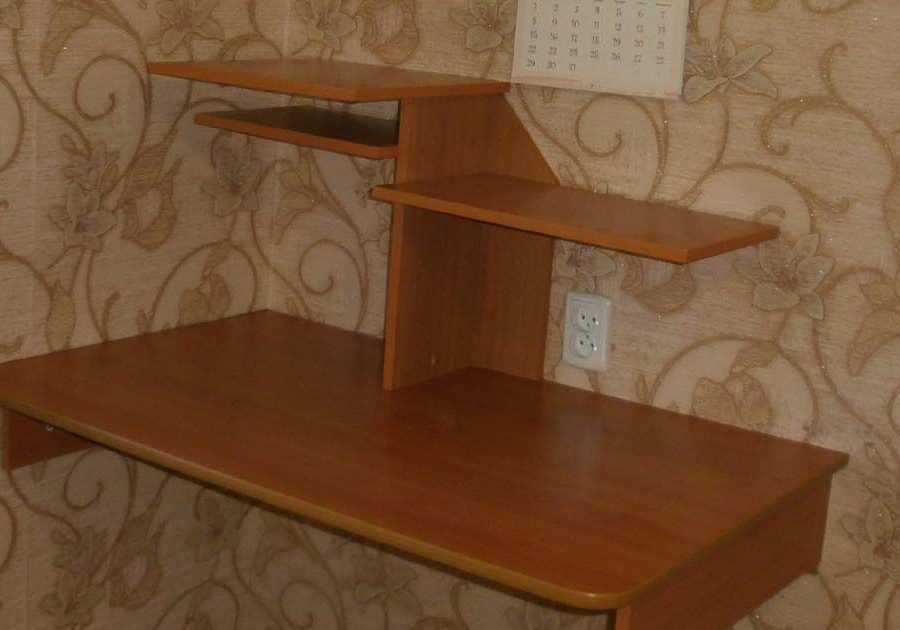
• and three horizontal slats: for a printer - 400x400 mm, for a scanner - 300x500 mm and for another laptop or a stack of paper, 270x370 mm.
In addition, I had to buy (I had a lot available):
• T-shaped profile - 2.5 m.
• wide plastic corners - 10 pcs. plus two narrow ones;
• mug stickers - one sheet;
• hidden canopies - 8 pcs;
• paper edge - 10 m (half left)
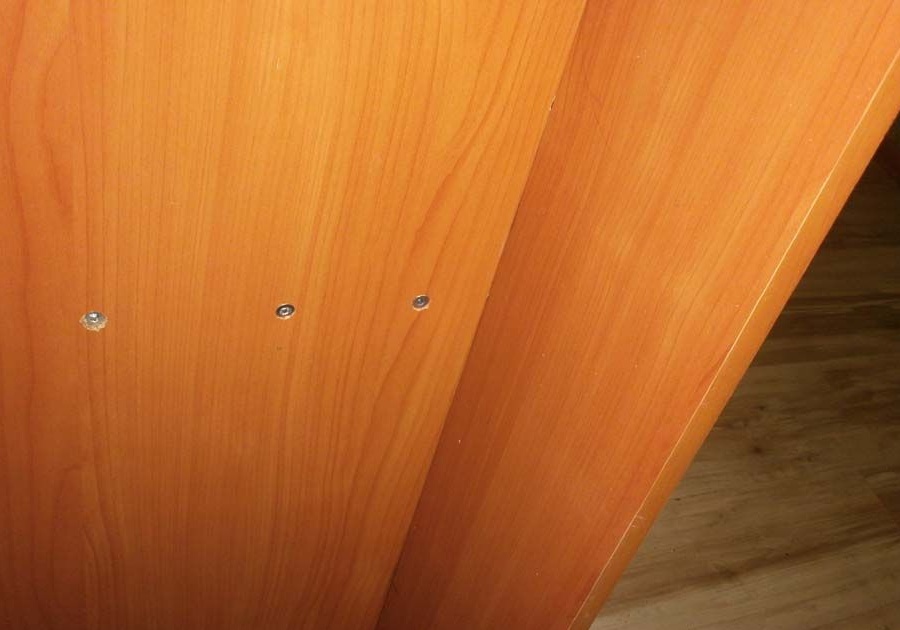
• about three dozen confirmations;
• fifty screws 16 mm long;
• dowels and powerful screws (you can use anchor bolts) to attach the structure to the wall - 6 pcs;
• and a dozen wooden dowels.
Also needed:
• drill for assembly and impact drill to hang a table on the wall;
• 6, 8 mm, as well as welcoming and winning drills;
• hex and cross bits, as well as a magnetic extension cord for them;
• awl, ruler, tape measure, pencil;
• furniture glue: ordinary thick PVA went perfectly;
• iron, knife, felt and whetstone with sandpaper for gluing parts with an edge;
• hammer and mallet.
That's all, you can proceed.
My most unloved part when assembling the cabinet of furniture - pasting by edge. But without it, nowhere, so I stick a piece of paper edge onto the part with a hot iron, pressing it well, rubbing it with a felt bar,
I cut off the excess with a knife and, if necessary, I go through sandpaper once.
And so on all sides all the details.
But with the T-shaped profile, on the contrary, there is no trouble: it poured wood glue into the groove, and lightly tapping with a mallet, hammered it. When dry, cut off the excess with a sharp knife.
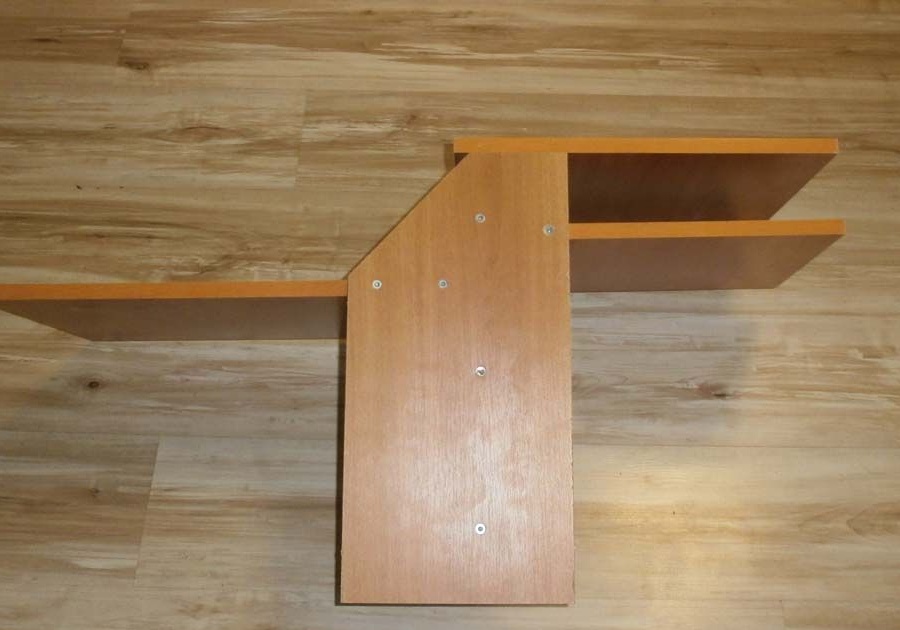
Now I'm starting to collect: I fasten two vertical bars together
I fasten the slats for the scanner and laptop (always on both sides, they weigh a lot)
And one more for the printer on top.

Everything is confirmed: the aesthetics are secondary here, the main thing is reliability.
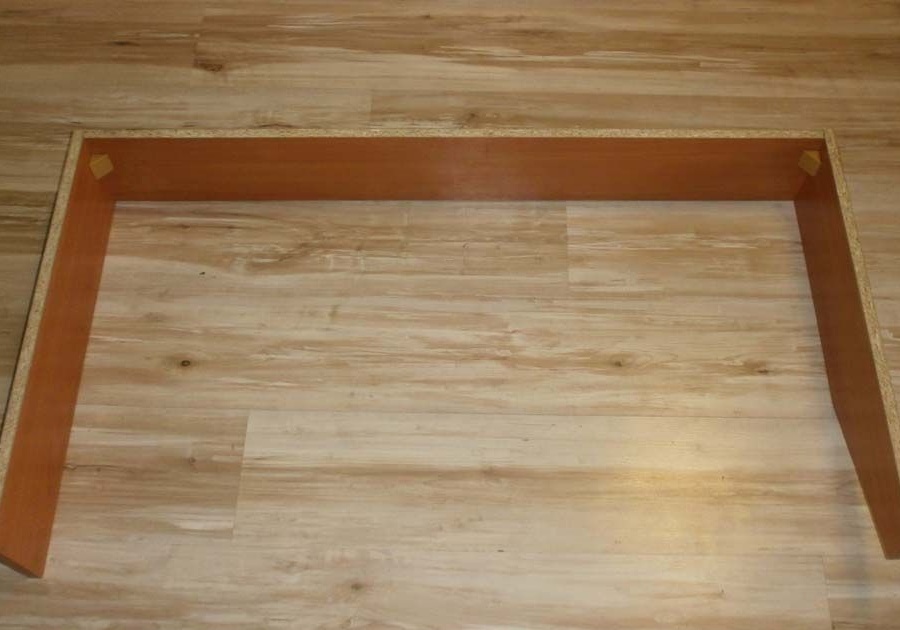
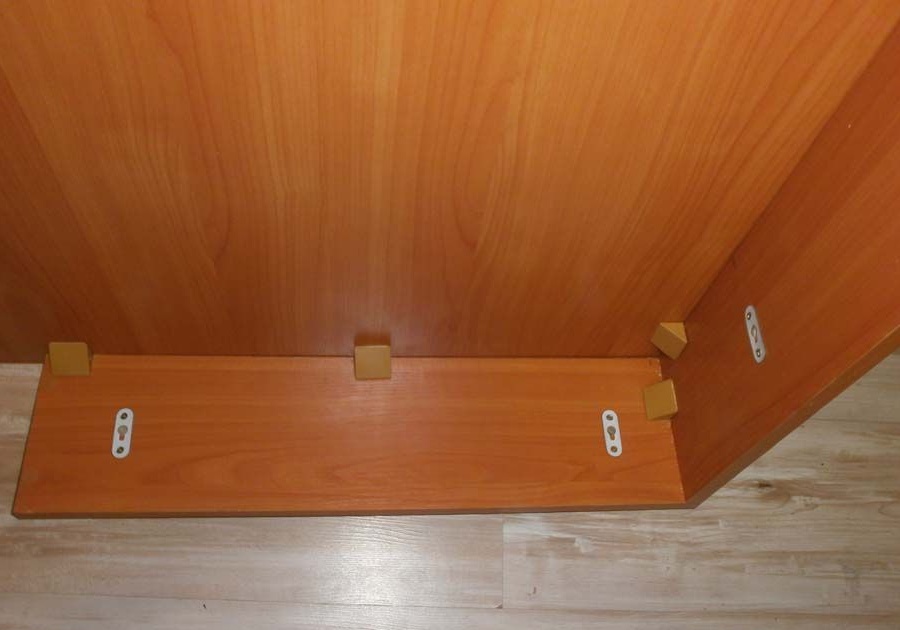
I’m not only pulling together the U-shaped stiffener on the bottom of the table with the same confirmations,

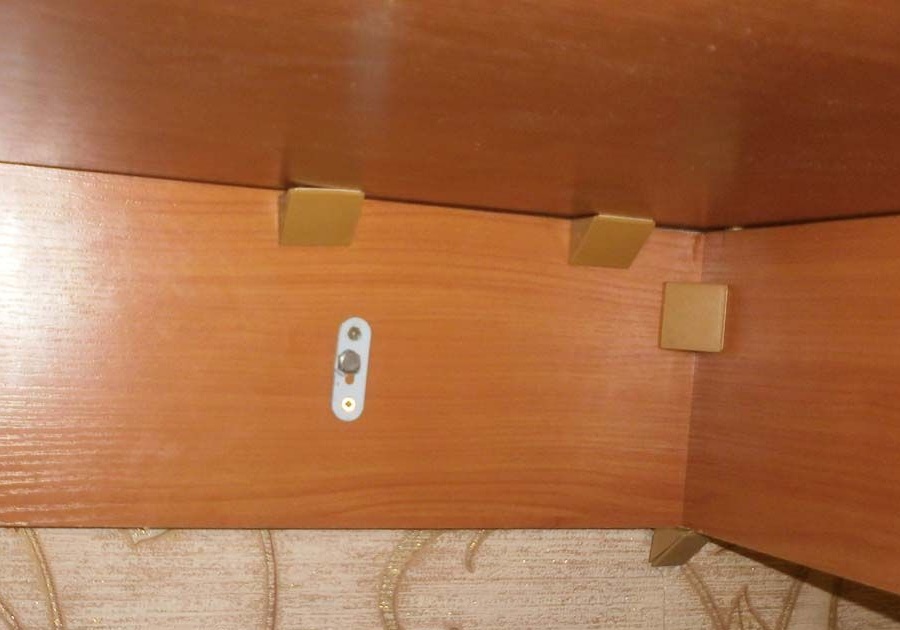
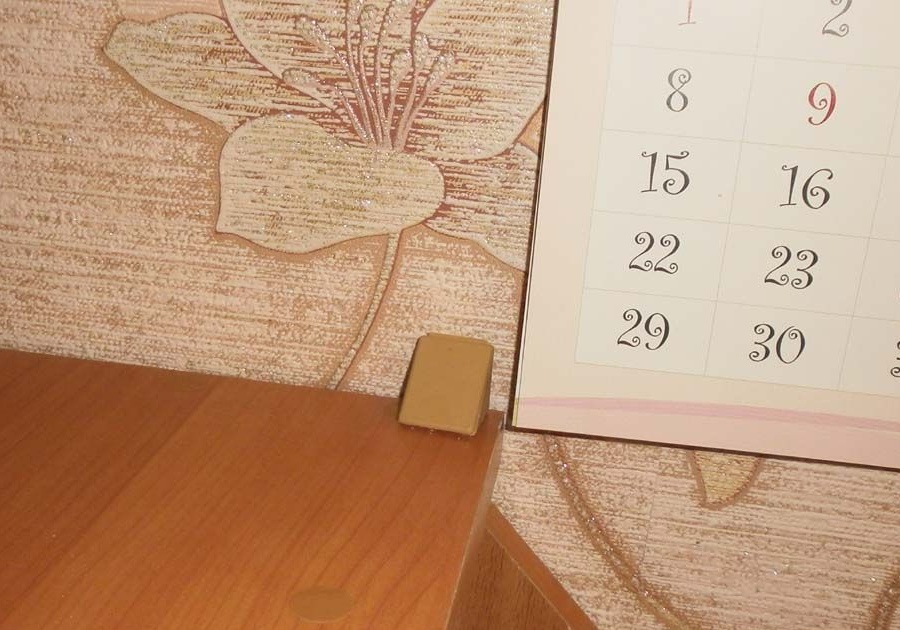
But also I strengthen plastic wide (4 holes for screws), corners.
In it, from two sides that will be adjacent to the walls, I not only make two holes in the 6 mm drill, but also strengthen them with canopies on both sides. Moreover, the narrowing, which is always directed upwards when you hang the shelves, in this design should look down: this way the load is redistributed from the holes in the chipboard, the strength of which is doubtful, over the entire part.
The main canvas, with the T-shaped already managed to dry, I mark with an edge, and drill holes for dowels. With a drill 8 mm, to a depth of 10 ... 11 mm (a limiter to help you, if you are not sure of the hardness of the hand and the sharpness of the eye), and on the same wood glue, I hammer them. Also, to make it easier to assemble then, I make holes
I mark the counter holes in the stiffness profile, I drill them already “with a margin” in depth. First I draw the confirmations the central superstructure to the main canvas, and then I attach a stiffener to it.
It seemed to me the design is not reliable enough and holistic. Therefore, another eight wide corners along the contour from the inside, pulled a stiffener to the canvas.
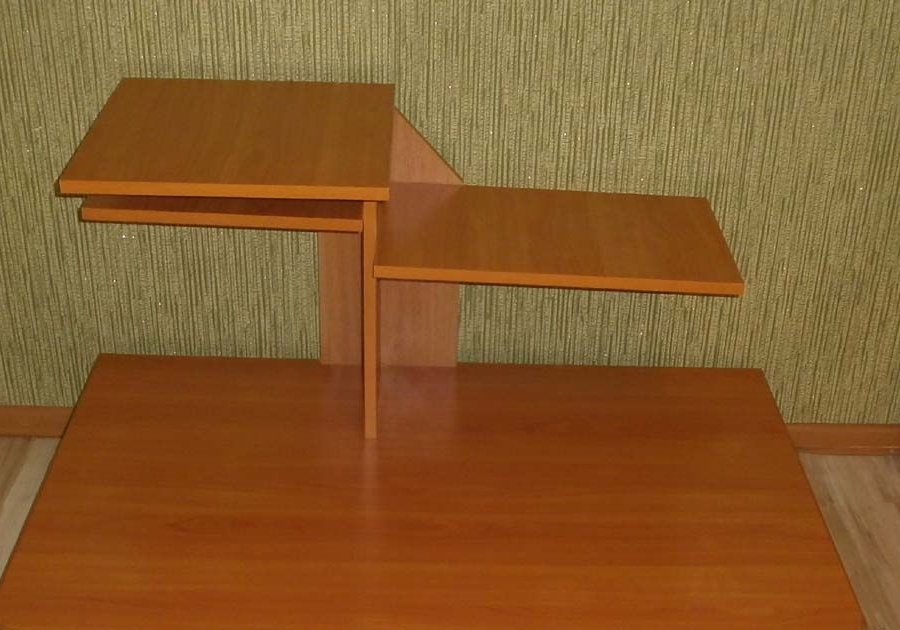
The design is ready, it remains only to pull it to the walls.
However, given the dimensions, and most importantly its weight, was depressed: it was not possible to mark the openings of the canopy. A savvy helped: on a folding table, which was supposed to be pushed in and stored there, put a piece (was at hand) of a 20 mm wooden plate, hoisted the finished structure, leveled and aligned the holes in level.
Drilled, scored dowels.
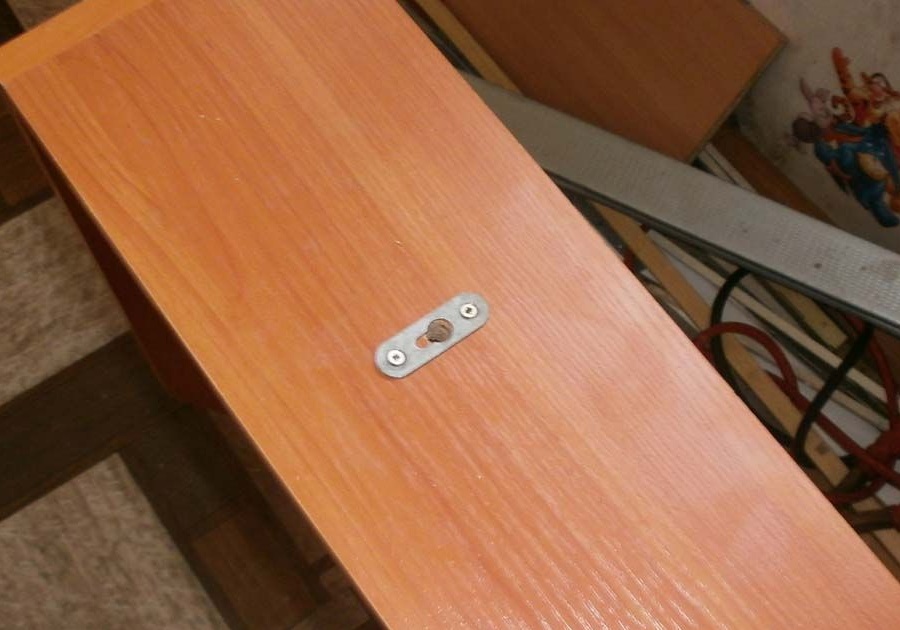
Using the same folding table as a stand, he pulled the structure to the walls: he used special screws, crutches, so I also needed the M10 key.
The design hangs, but somehow loosely, a little "walk".
No problems: two narrow plastic corners in tone, screwed on top and bottom at the extreme points of the structure, made it possible to pull the structure to the wall “tightly”, eliminating any, even slight, backlash.
Now for sure, everything is ready.
It remains to arrange everything, plug the power plugs into the extension cord
And it, accordingly, in the socket. And as the first day of operation showed, even to height increased by 4 cm, you get used to it very quickly.
P.S. “Many letters” came out, I tried to write as much as possible. And yes, the folding table fit in there like a native, as if it were part of the whole structure.