

Hello to all lovers homemade. Probably every master of his craft has a tool that is often needed in work, for example, a file, but sometimes it happens that the handle isn’t comfortable or not at all, or it’s completely absent, and at that moment you need to make such a handle in order to restore the file’s working capacity, for this purpose, a wood lathe is ideal, the assembly of which I will discuss in this article. This machine is designed to process wooden blanks, namely bodies of revolution, with its help you can make various pens, legs, figures for all kinds of homemade products.
I suggest that you familiarize yourself with the video material, where I also spoke in detail about the assembly of the machine.
In order to make a lathe you will need:
* Electric drill
* Oak flooring
* Aluminum profiles
* Wood screws
* Screwdriver
* Electric motor from a sewing machine
* Bicycle camera
* Epoxy adhesive
* Drill
* Hacksaw
* Bearings
* Metal corner
That's all it takes to assemble a lathe do it yourself, the materials, as for me, are very easily accessible, the most difficult thing was to find the engine.
Let's proceed to the assembly of the machine.
Step one.
In order to understand what the machine will look like and already represent the future dimensions, it is necessary to make a frame of four parquet floors, which will be the bed - the main part, it is better to start with it, since all other parts will be mounted on the bed. All four parquet floors must be pre-drilled and then screwed into these holes to form a rectangle.
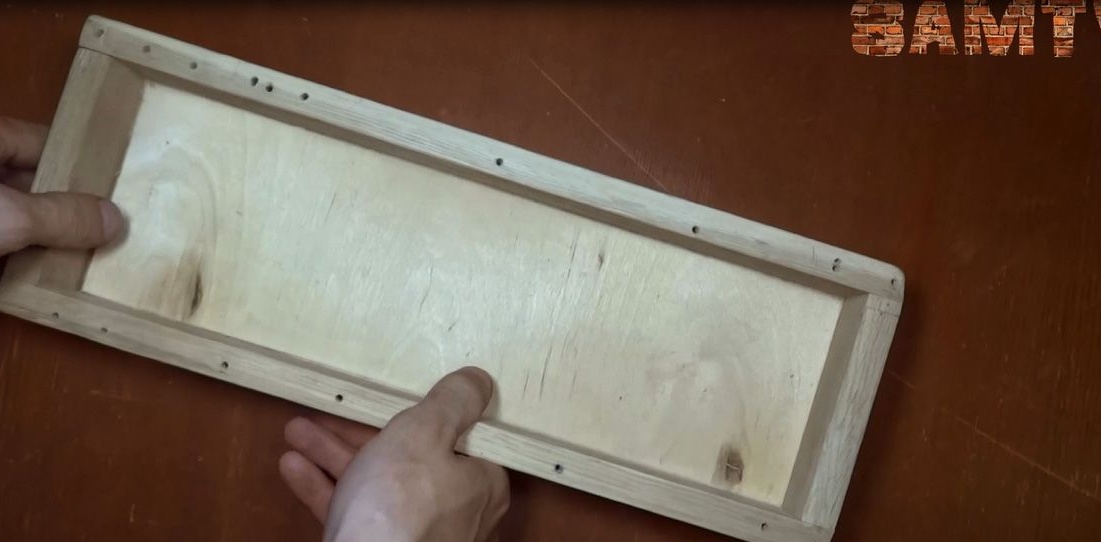
From the bottom, to collect chips, I glued plywood, so that at the end of work it is easy to free this compartment for chips, turning the machine over. To prevent the machine from slipping during operation, I screwed on the rubber legs.
Step Two
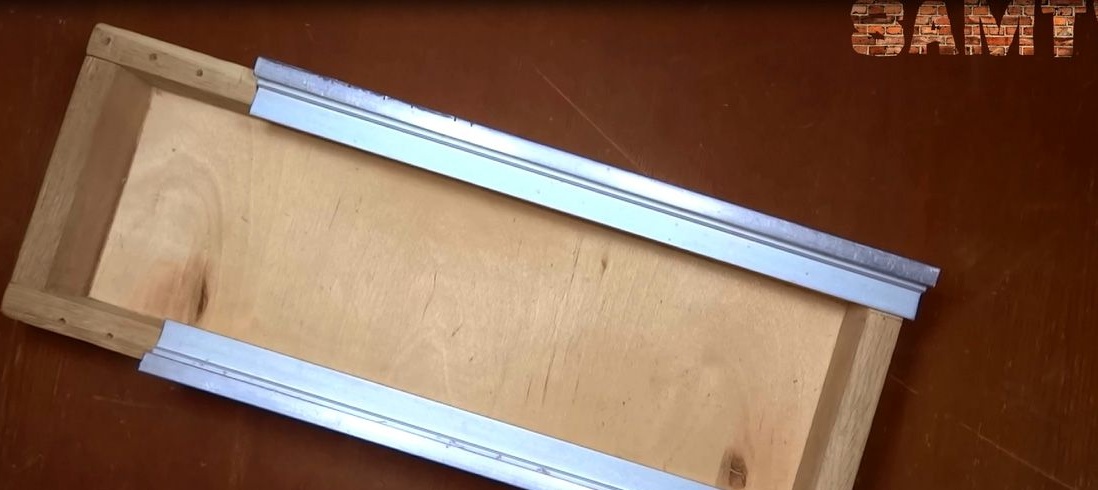
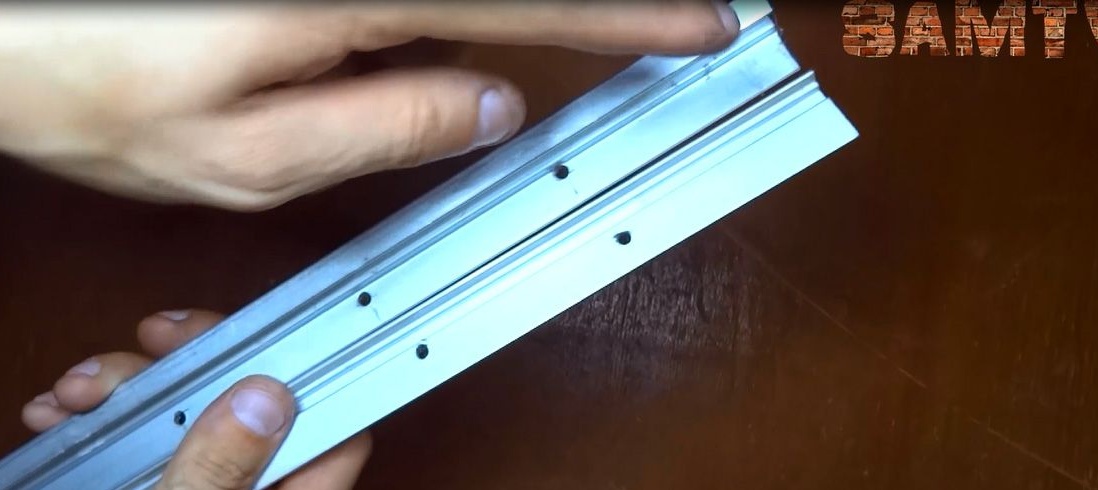
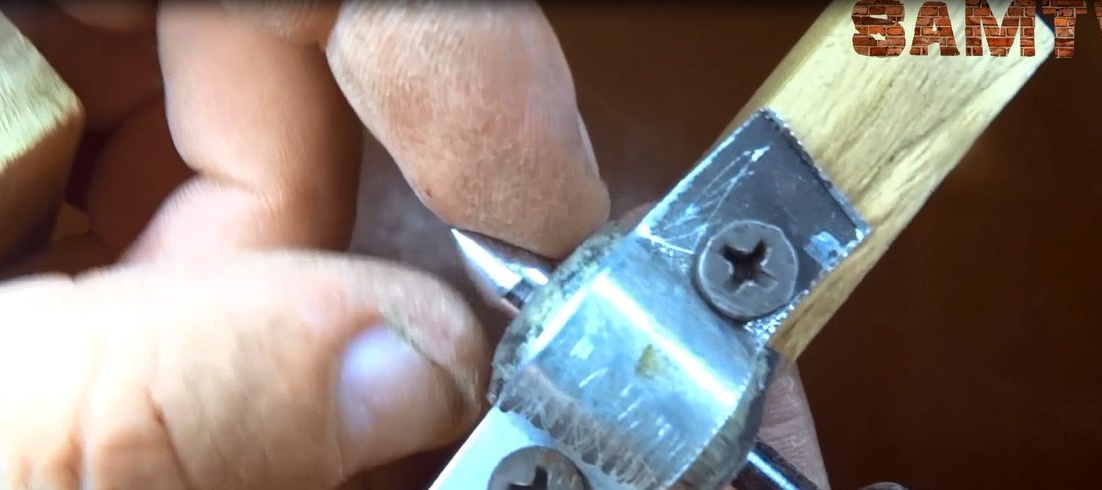
Since there is a tailstock in any lathe, it will also be in my case, so in order to be able to fix it on the bed, you will need two aluminum corners, which need to be adjusted in length and then drilled four holes in each guide and screwed with screws to the parquet flooring on the bed. Before screwing the screws into the bed, it is necessary to drill holes with a drill 1-2 mm smaller than the screw, this is done so that no cracks form.

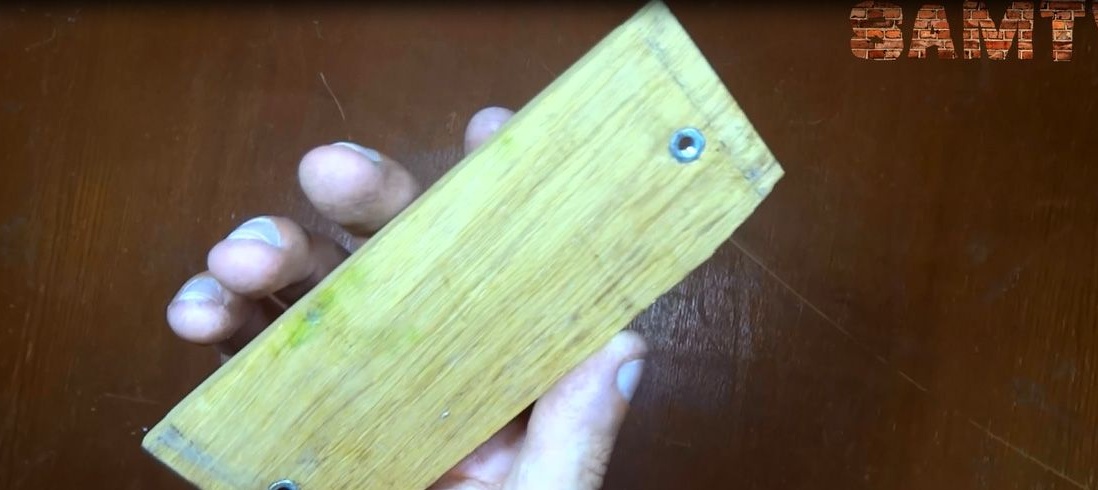
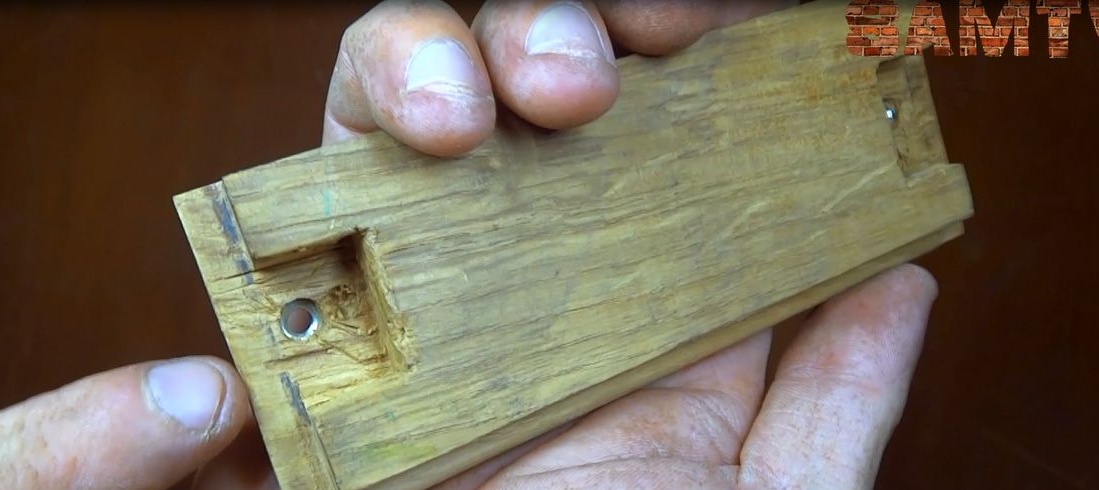
Step Three
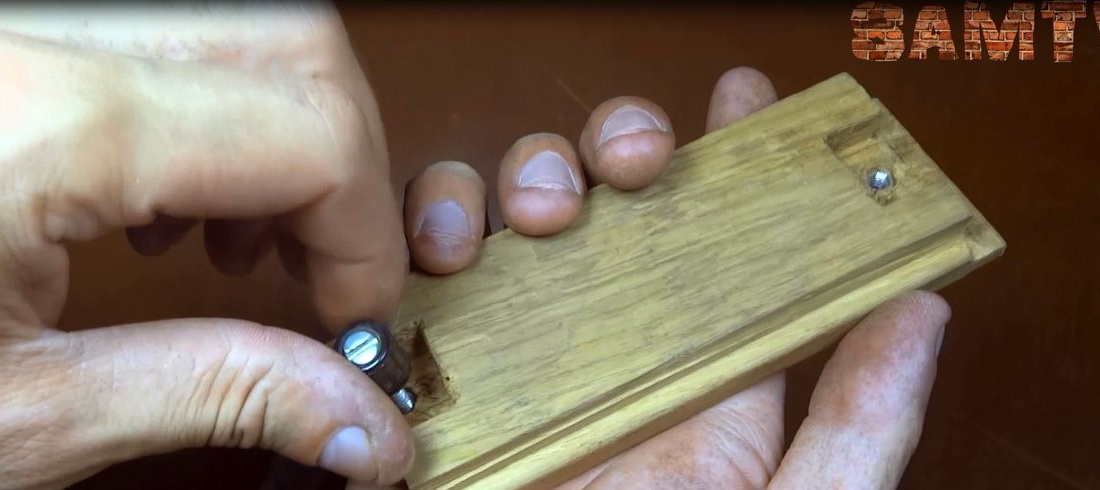
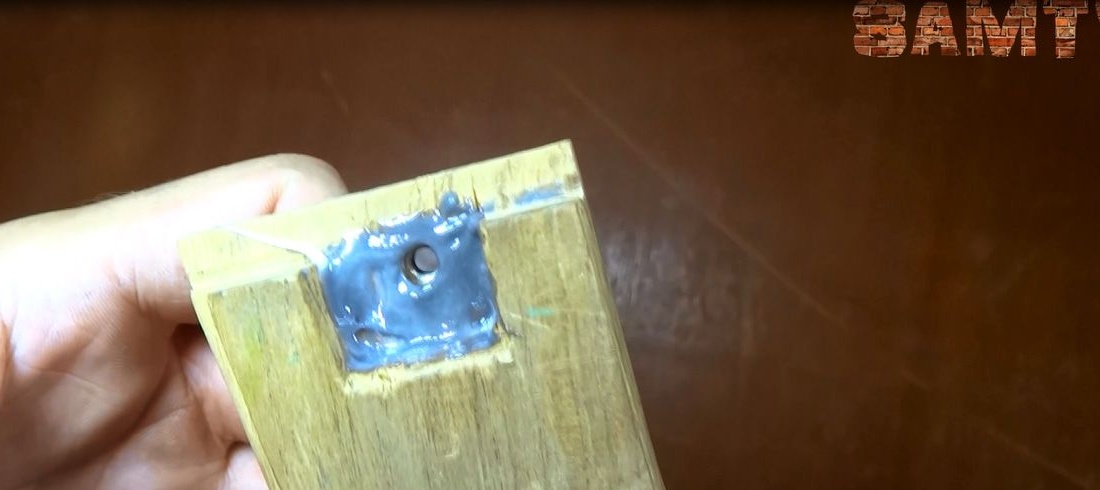
It's time to make the tailstock itself.We cut a piece from the parquet and make a groove under the guides. After that, you need to press in or paste two nuts along the edges of our future tailstock. The nuts will be screwed into these nuts and with the help of this the tailstock will be fixed in a fixed position. In order to prevent the nuts from being pulled out when tightly tightened, coat them with epoxy glue on top.

Step Four
While the epoxy glue will dry, we make mounting under the bearings on the headstock. I also decided to make them from parquet, we drill holes for bearings and press them into their rightful place, for reliability, you can coat the seat with epoxy.
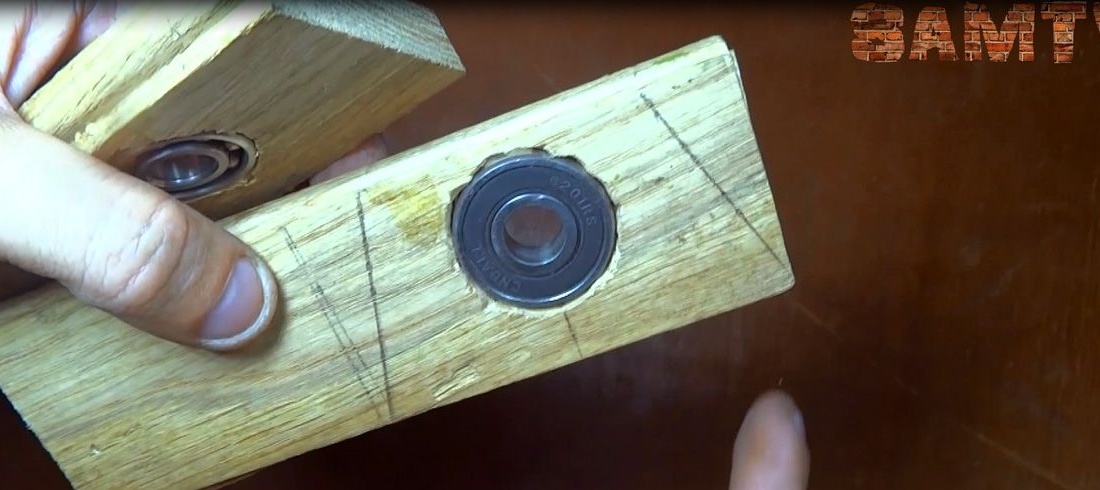
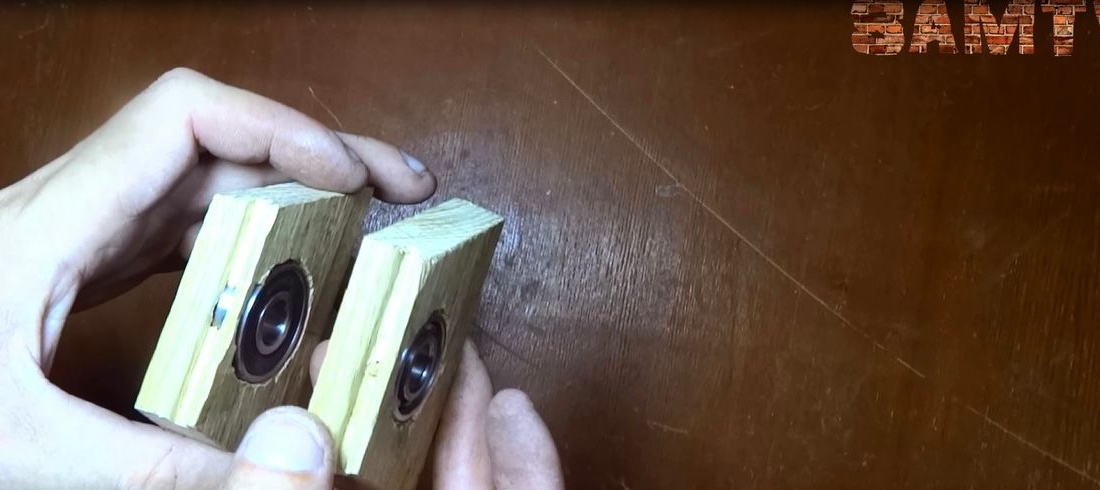
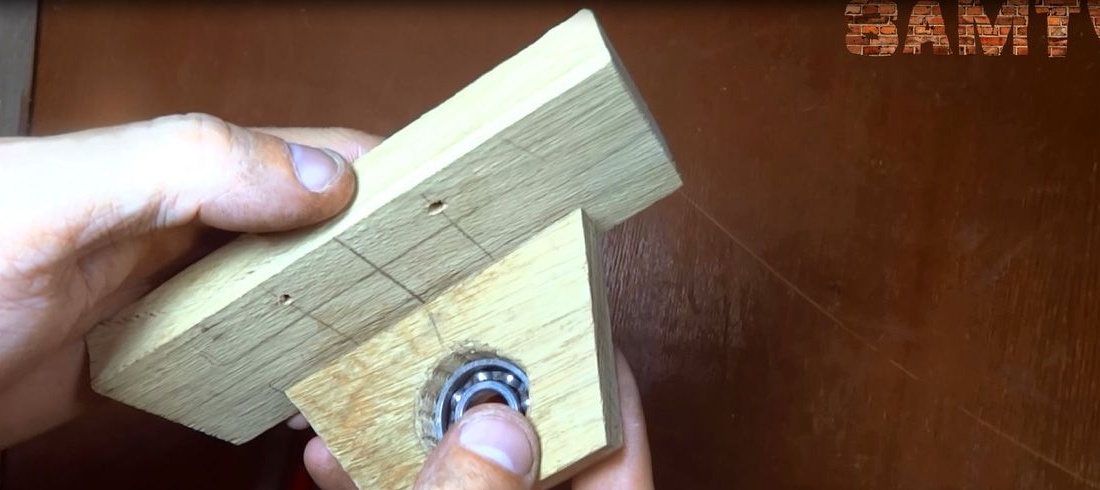
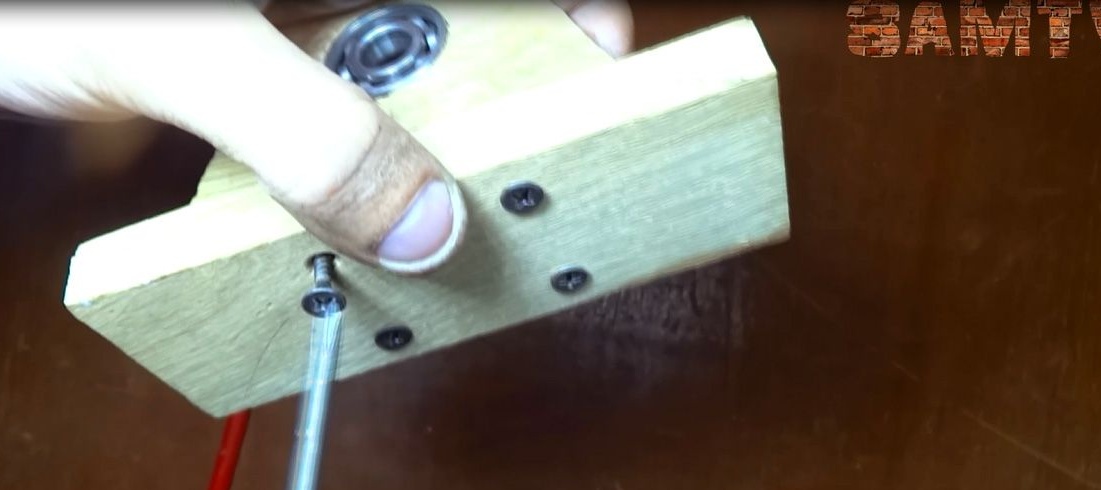
I made the fastenings in the form of an isosceles trapezoid. The base on which the fastenings with bearings will be held is also made of parquet, we drill four holes in it and fasten the previously made fasteners with bearings, setting them strictly in the middle in advance.
Step Five
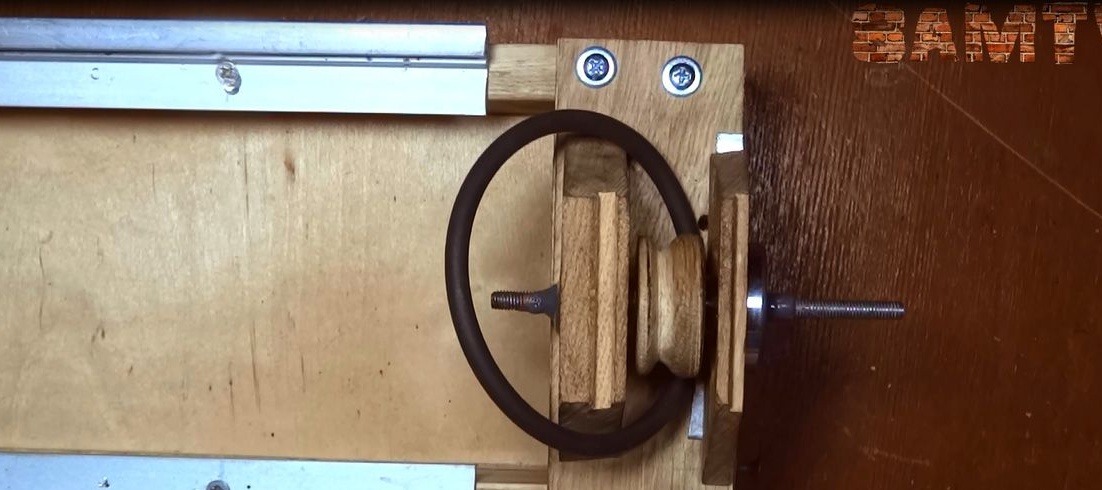
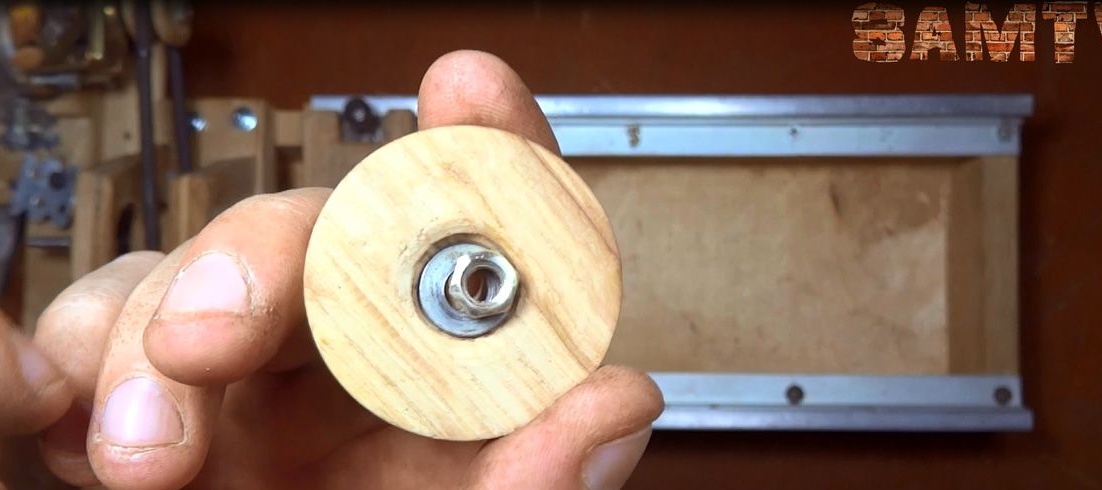
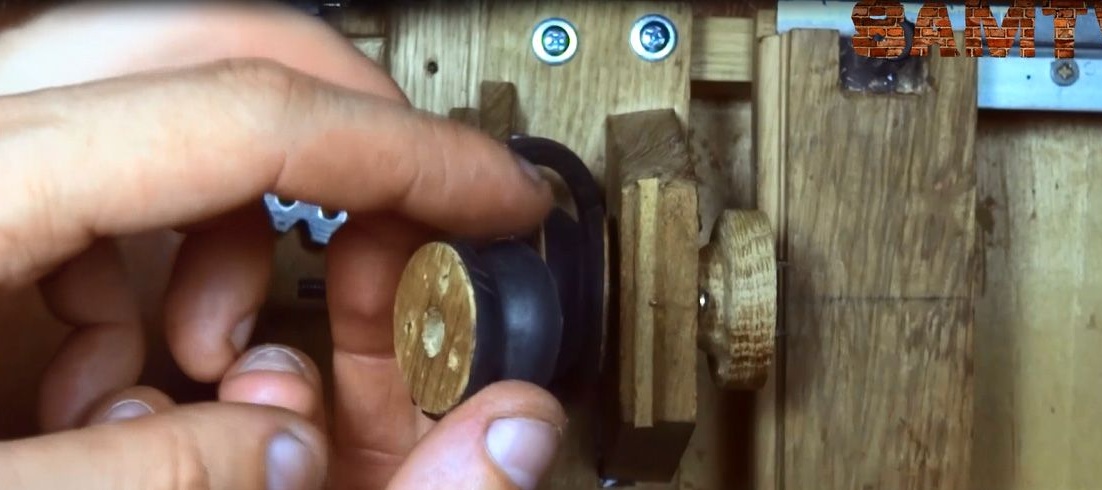
Since in my machine I decided to use a belt drive, I need to make a pulley on the front headstock and on the motor shaft itself, I took a ratio of 1 to 2 to reduce the number of revolutions, but increase the torque. The pulley can be made using a drill by installing a piece of wood in the drill chuck through the pin and pierce it with a chisel or an ordinary chisel.

Then we wind a pulley on a hairpin and we establish in bearings, through washers. Also do not forget to grease the bearings.
Step Six
We install the front headstock and the belt on the bed, for this we drill holes for the screws and tighten everything thoroughly.
After checking the reliability of the rear bearing, I decided that I need to slightly strengthen the design with a thin plank and epoxy.
Seventh step.
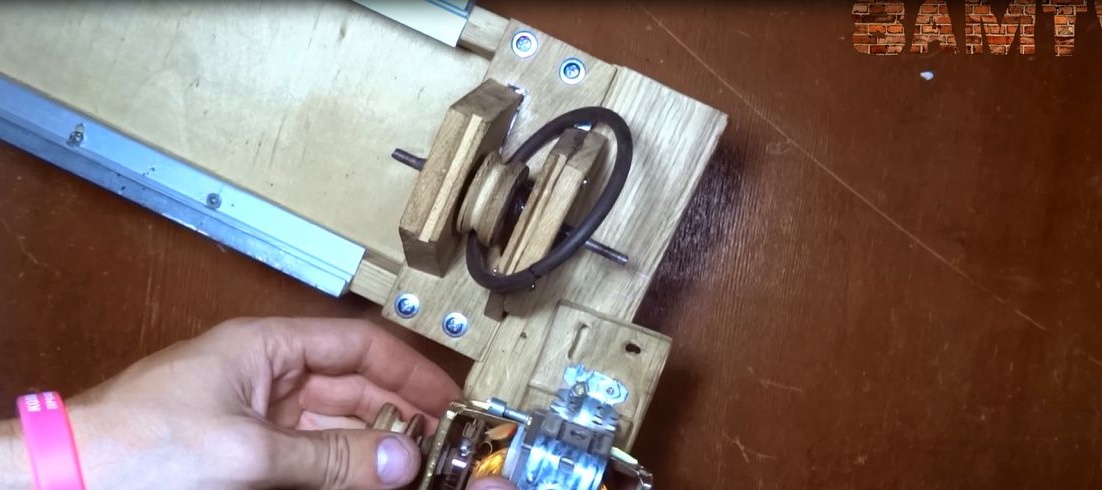
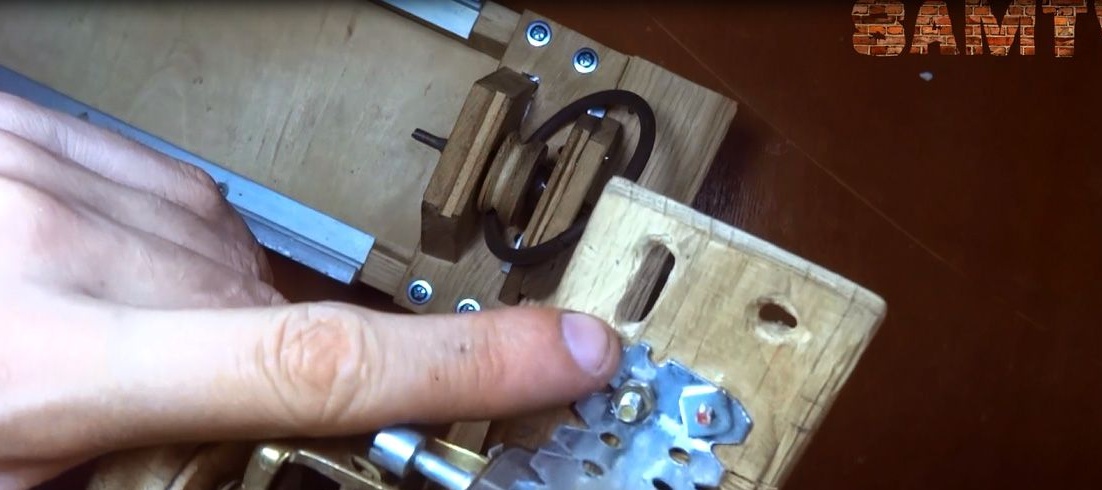
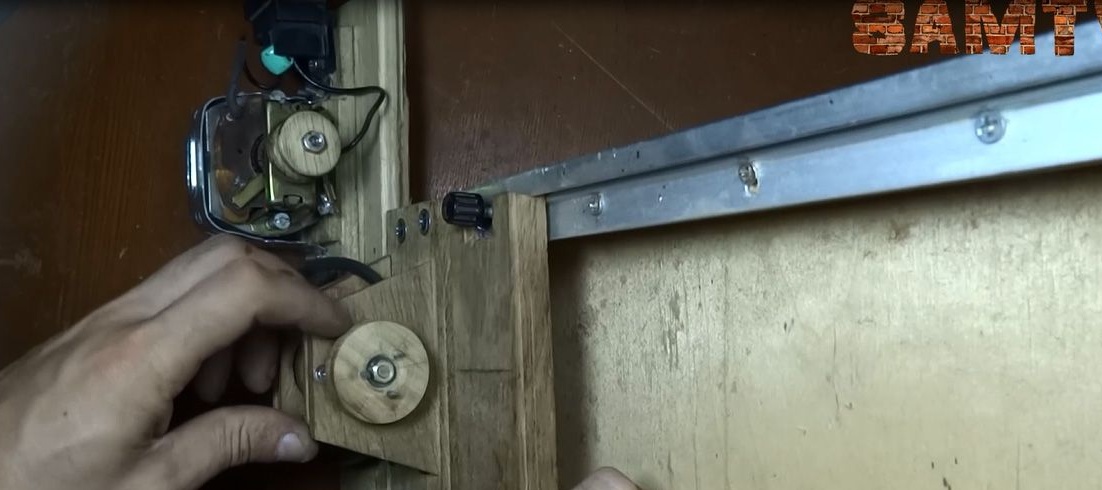
Now you need to fix the engine, and it will be mounted on a special mount, which I screwed with a corner to the end of the bed, and also made a movable platform for the engine, which will allow you to adjust the belt tension, which will prevent it from slipping.

Step Eight.
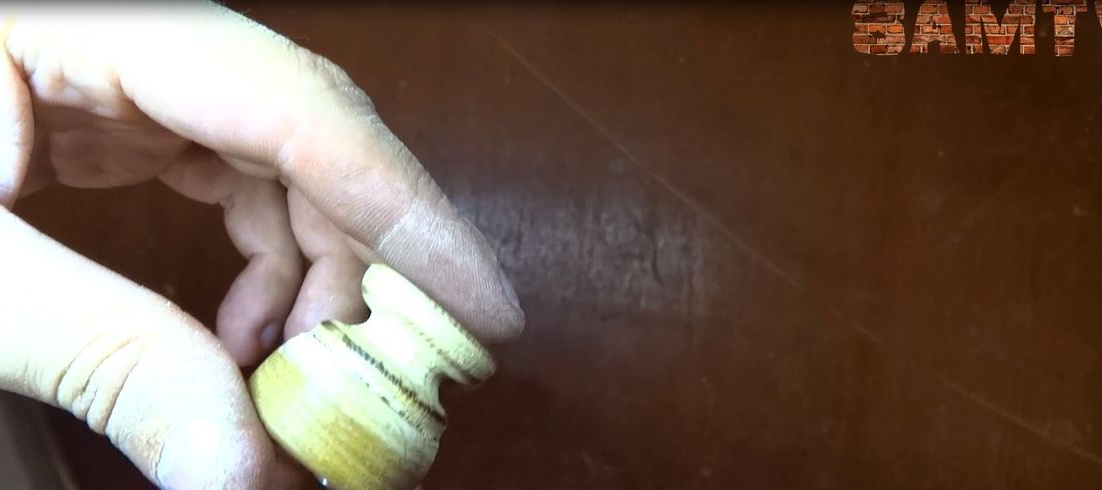
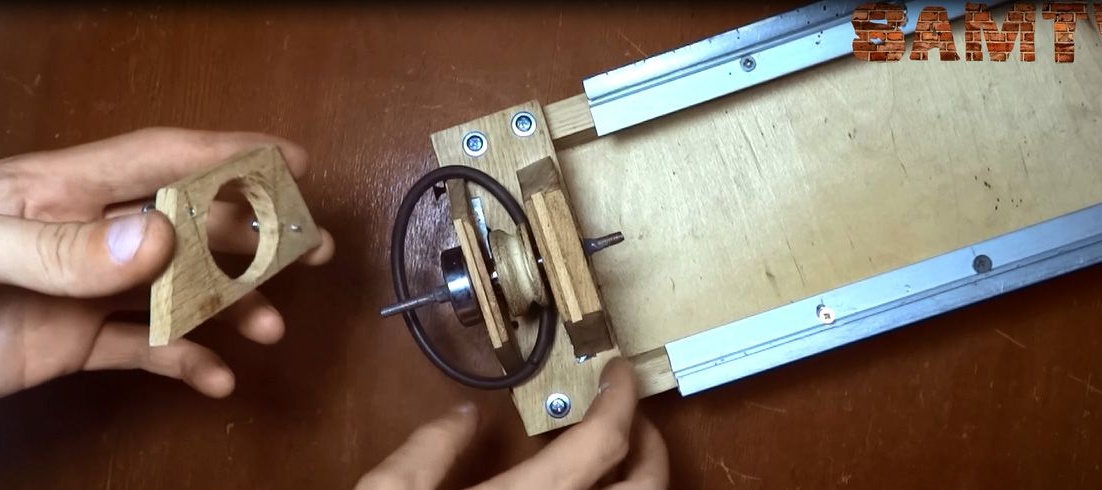
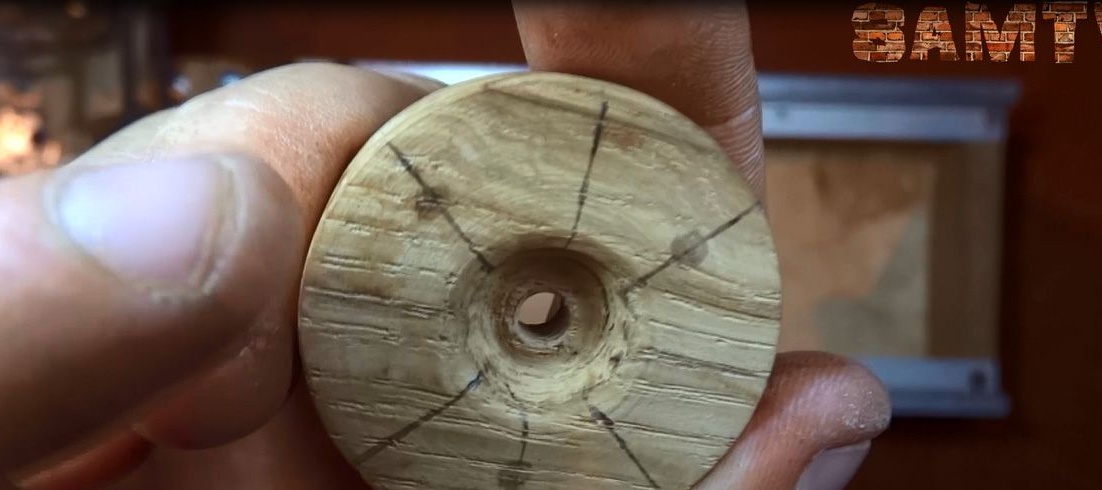
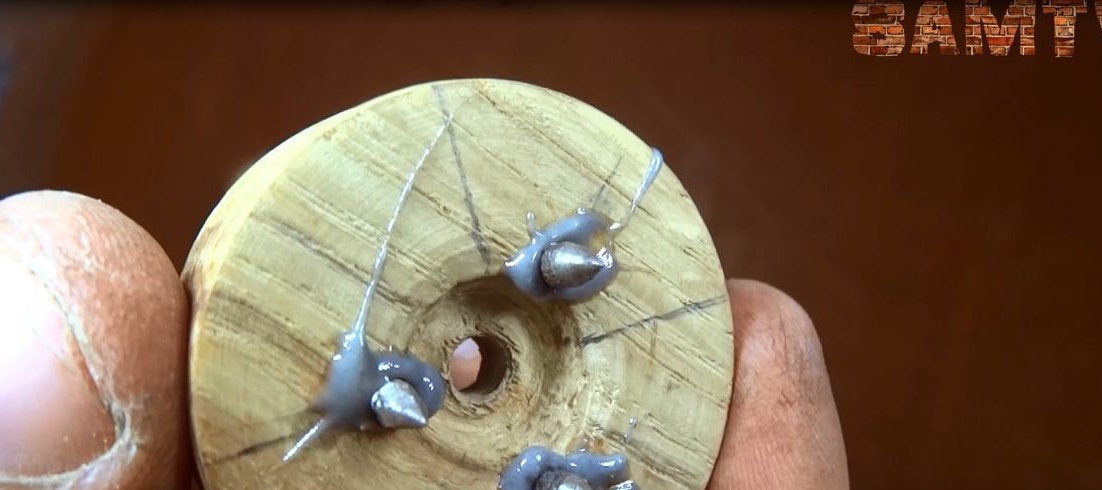
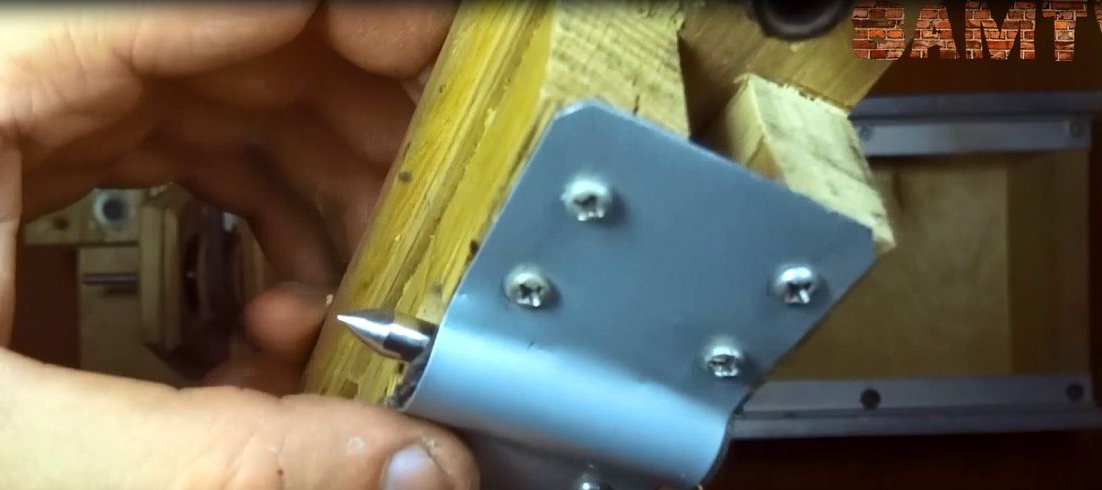
After the engine is installed, we manufacture the front headstock, which will hold the workpiece and transmit torque to it from the engine. The easiest way to do this is to install a square from the parquet on the axis of the headstock and grind it with a chisel to a round shape, then drill holes in three places and glue three pins sharpened under the cone on epoxy glue. After hardening, you can fix it with a nut by placing a washer.
Step Nine.
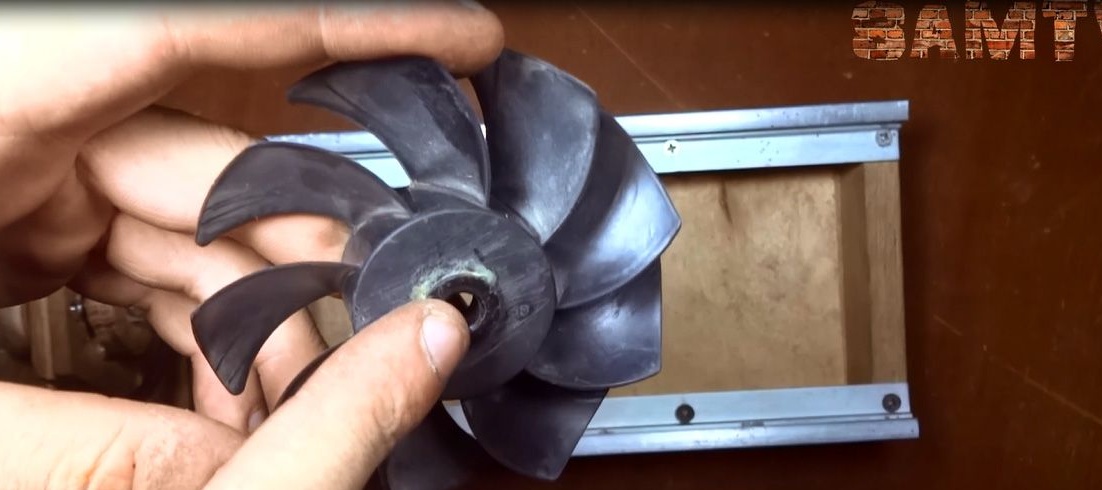
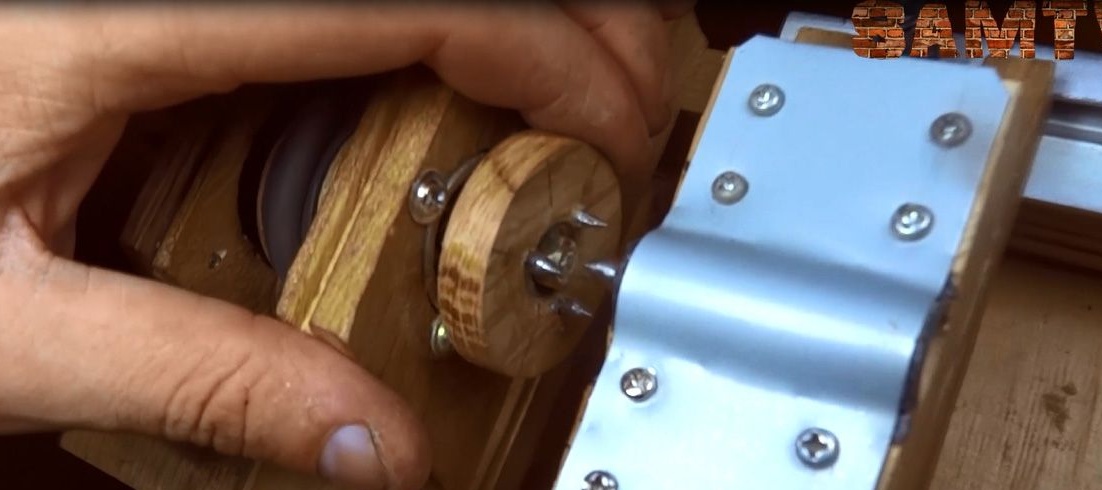
I have a motor from a sewing machine with a pedal that regulates speed, it follows that it is not designed for such loads, so I decided to install a fan on the motor shaft so that its windings would not overheat, I think such manipulations will prolong its life.
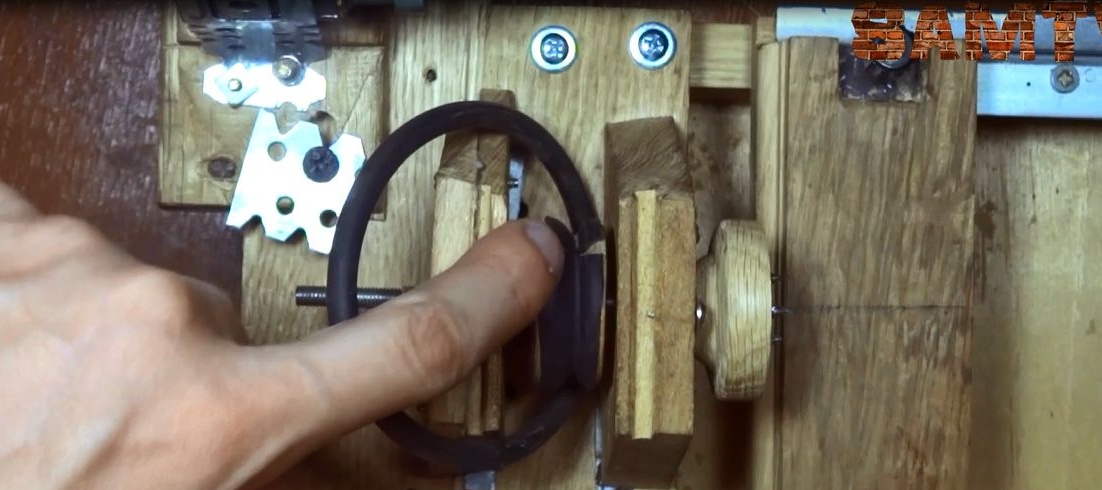
There were also some improvements, the belt on the pulley slipped during the turning of the round platform for the trident, so I glued the bicycle camera on both pulleys with the help of the "Moment" glue.
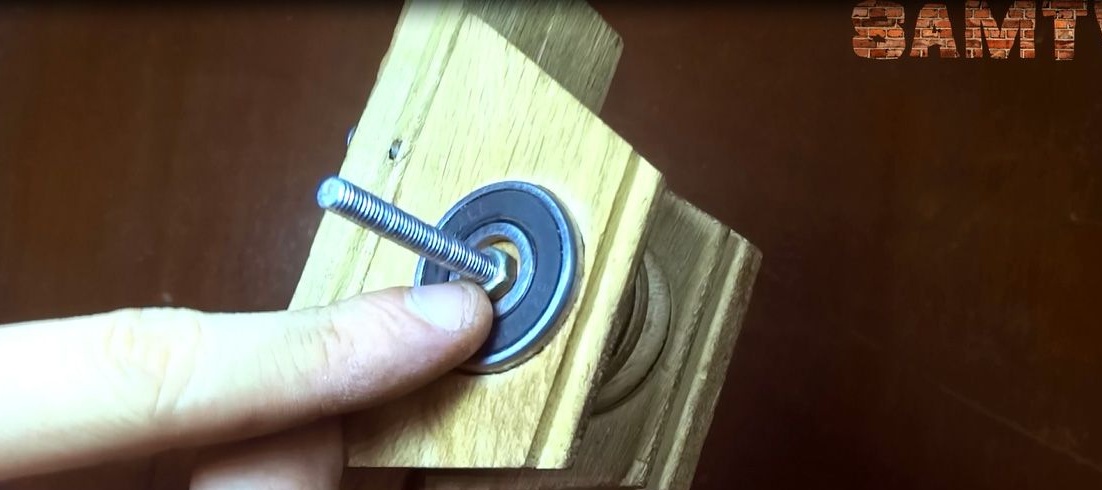
Step Ten
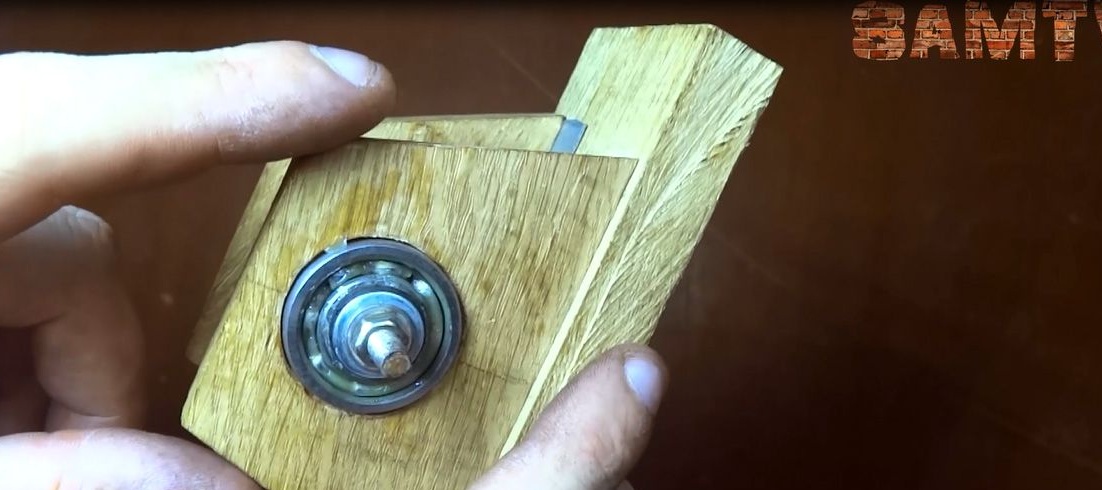
What kind of machine is this if there is no tailstock here. Fix it. The tailstock is assembled from two parquet floors, two bearings and an axis, which must be sharpened under the cone. We put the axis in two bearings, after which they are glued to the epoxy in the grooves on the parquet, which will be the tailstock mounts.
When the epoxy hardens with screws, we fix the resulting structure to the movable part with the lambs, which I made earlier.
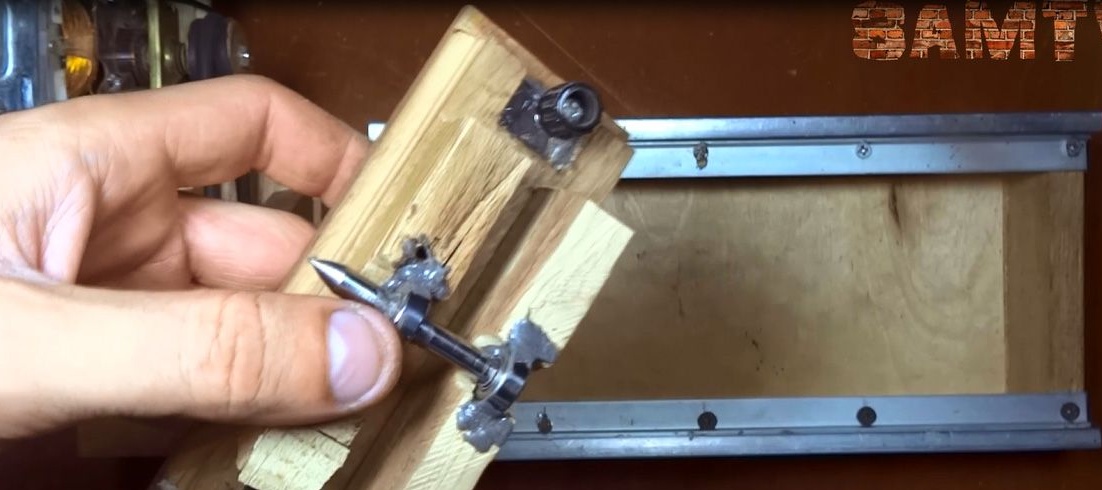
The principle of operation of the tailstock is simple, the tailstock is adjusted along the length of the workpiece and then it is firmly pressed by the lambs, which will prevent it from moving spontaneously. I decided to cover the epoxy with a lid on top, which will make the design even stronger.
Do not forget to check whether the center of the front and rear headstock converge, if so, then everything is fine.
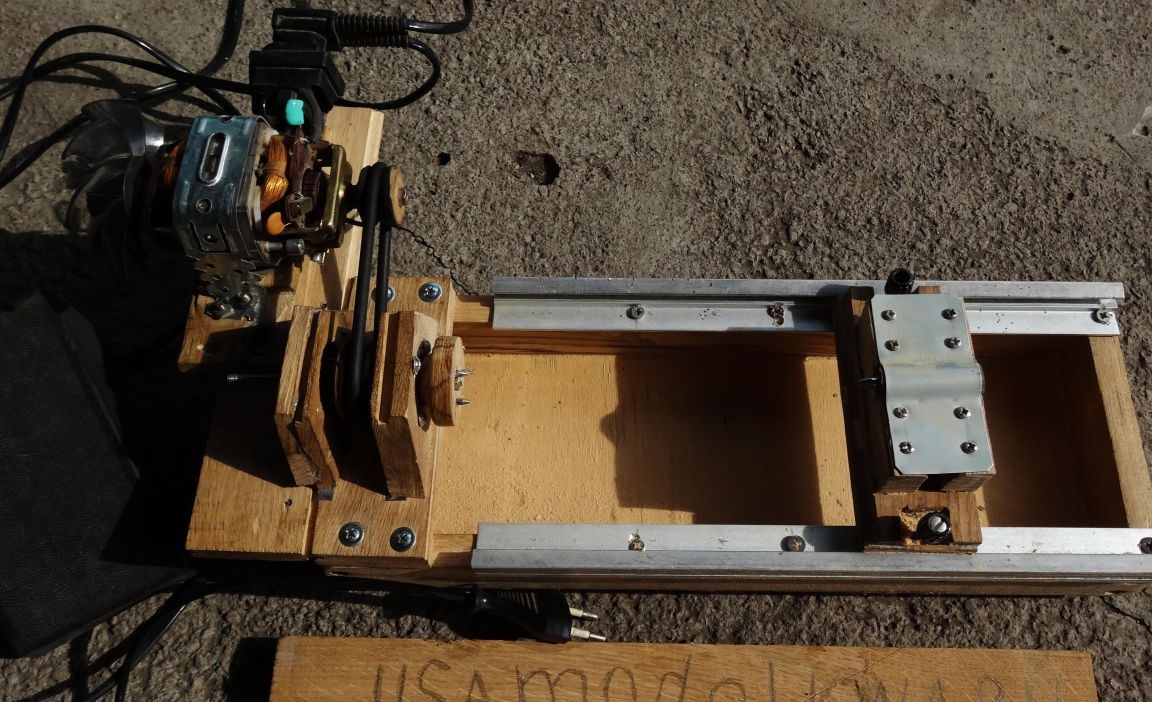
At this, the wood lathe is ready, you can safely proceed to woodworking and grind various carved homemade products on the machine.
Thank you all for your attention and all the success in homemade products.