With epoxy, you can make real masterpieces of art. This substance is not afraid of high temperatures, it is quite durable during physical impact, and even when completely solidified it is not dangerous for humans, at least if you do not bite it with your teeth))
In the east, the theme with epoxy is only just beginning to develop, more and more interesting and delightful appear homemade. Most often, this material is used in the manufacture of various jewelry, as well as in the manufacture of of furniture.
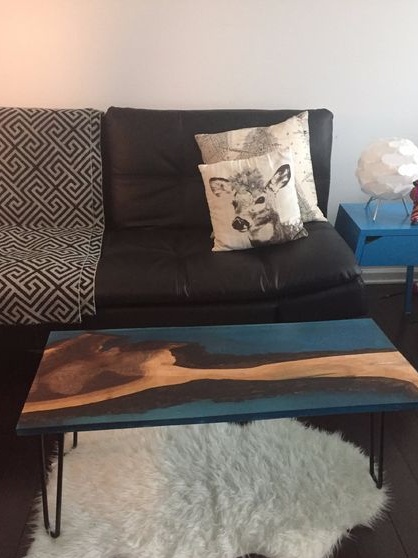
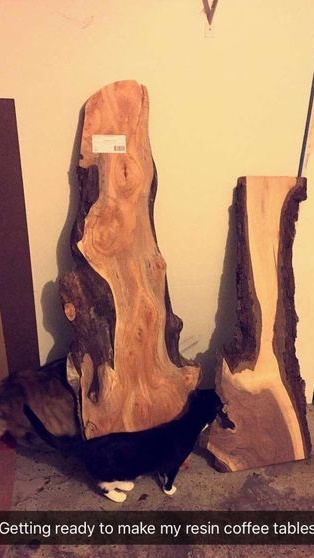
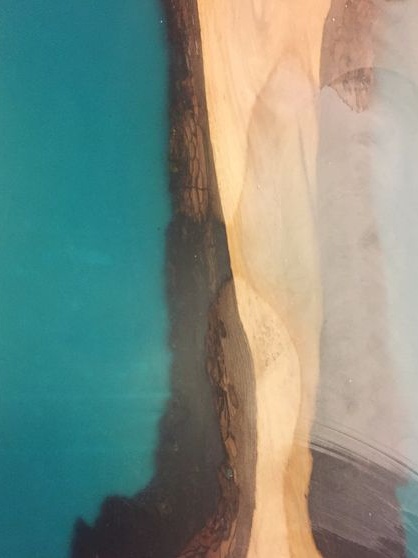
Today we will talk specifically about the manufacture of furniture, or rather, how to make a cool coffee table. In addition to the unique design and appearance, so to speak, the author decided to pour an uncircumcised board into epoxy. You only need to find an interesting shape. However, instead of the board, you can use various roots, tree branches, and so on. Staying on a tree is also not necessary, for such purposes stones, flowers, and even hay or reeds are perfect. It all depends on your imagination.
Materials and tools for making a coffee table that the author needed:
Material List:
- uncut board;
- epoxy for pouring;
- finished legs or materials for their manufacture;
- self-tapping screws or screws for wood;
- wood stain;
- materials for the manufacture of molds.
Tool List:
- ;
- sandpaper of various grain sizes;
- ;
- welding, (for the manufacture of legs);
- latex gloves;
- a hacksaw for wood and more.
The process of making a table:
Step one. We make the mold and prepare the resin
The most difficult part in making a table is creating a mold. Here you will need sheets of fiberboard, acrylic or other similar material. You will need to make a box of rectangular shape. Here the most important thing is that the joints do not pass and the walls do not deform when casting.
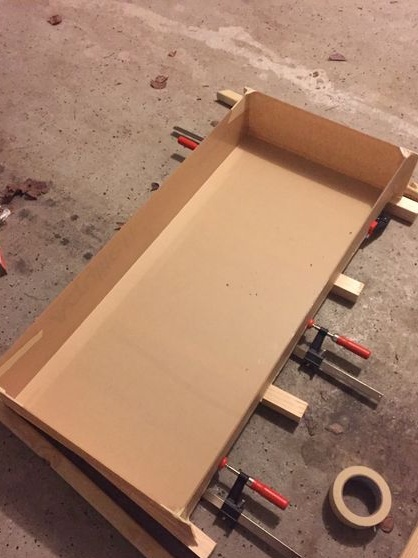
You can assemble the form using clamps, but this is the simplest and easiest option. You just have to glue with masking tape or other tape all the joints so that they do not pass the epoxy.
It is important to set the form clearly horizontally, use the construction level (you can download the application on your smartphone). If this is not done, the thickness of the countertop will not be the same, and this will lead to the fact that the table will be curved.
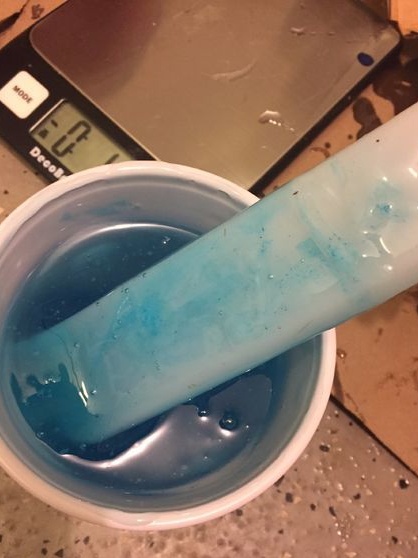
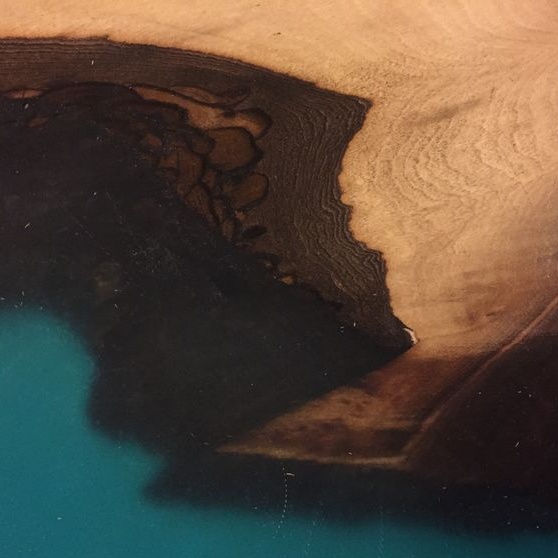
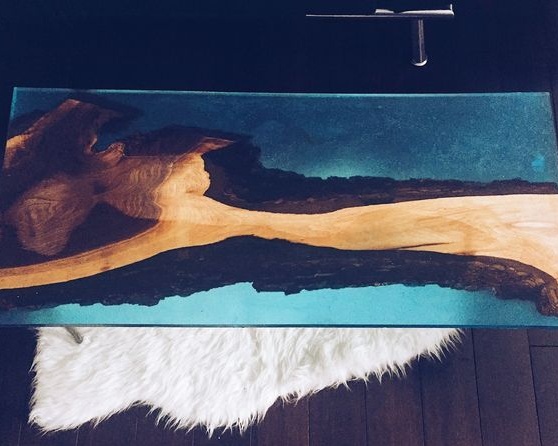
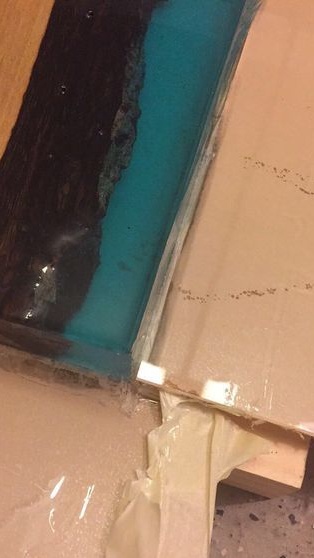
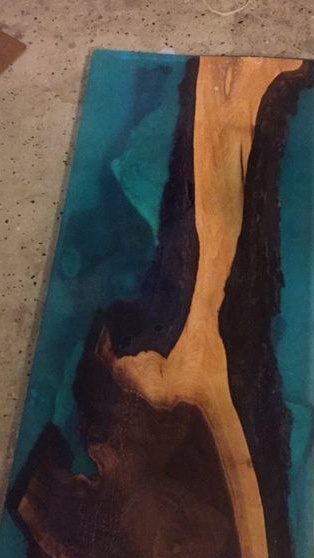
If you figured out the form, now prepare the resin.The author decided to give her a turquoise hue. To do this, add the right amount of dye to the resin and mix thoroughly. It is enough to add a couple of drops of dye, if you overdo it, the resin will not be transparent. The author makes a color for the style of water. Hardener is not yet added. All components can be weighted using electronic Libra. Wear rubber gloves and avoid tar on exposed skin.
Step Two We prepare wood
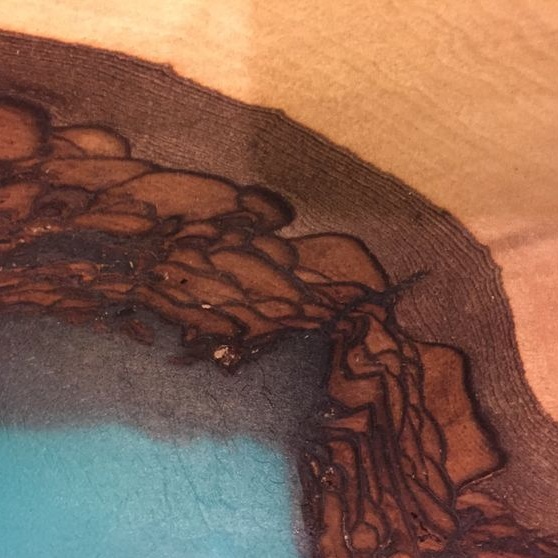
Prepare the right piece of the board, which, at your discretion, will look good on the table. Cut off excess, thoroughly process the surface with an orbital sander or manually. Since the wood at the cut point will be white, it can be painted for beauty, for this we use a stain of a suitable color.
Step Three Mix and pour epoxy
Mix resin with hardener in strictly specified proportions. Place the board prepared in advance in the right place. The form must be lubricated with beeswax or some kind of fat so that the epoxy does not stick to the walls. Some also practice the use of oilcloth. Now we begin to fill, there is no need to rush here, work in a respirator, since epoxy fumes are toxic. Try to carry out the work in a warm room or preheat the resin in advance, since it is more fluid when heated.
After pouring, you will probably have such a problem as air bubbles. Kicking them out is not so difficult, for these purposes you will need a hairdryer. Just heat the resin where the bubble formed. The resin will become more liquid, and the bubble will come to the surface.
In order for the resin to dry well and dry in general, it must be applied in several layers. We apply the first layer, wait until it dries and only then apply the next. The number of layers and drying time depends on the thickness of the countertops. It may take weeks to completely dry the resin ... In some respects, “drying” is accelerated by a slightly larger amount of hardener.
2.5 cm resin layer from the author for about two weeks.
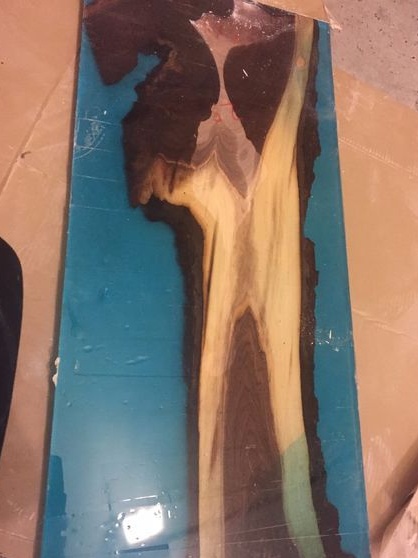
Step Four Remove the form
When the resin is completely dry, the mold can be removed. In this case, do not rush, because with rough work the countertop can easily be damaged. If the mold was well greased, the product should be easily removed from it. The author did something wrong in this matter, and the form had to be broken with a chisel and a hammer. As a result, the countertop was damaged.
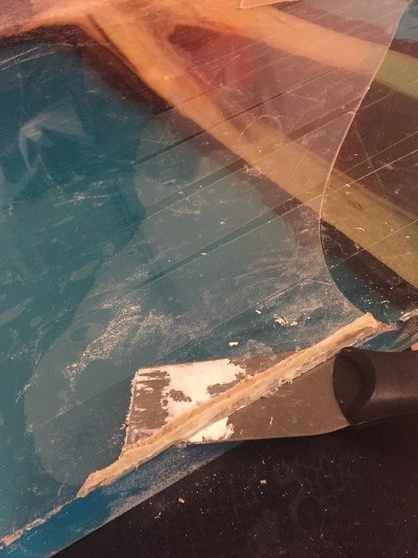
Step Five Sanding countertops
The next step is grinding, however, it is inevitable in the manufacture of any furniture. Your task will be to obtain a perfectly smooth and even surface. Of course, this task can be handled manually, but it is better to use automated tools. Then the orbital sander came to the aid of the author. The grit of sandpaper that you need is 60, 100, 120, 150, 220, 320, 420.
We use large sandpaper to remove various defects, to smooth the surface and so on. Gradually reducing the graininess, we remove rough scratches and polish the surface.
When working, a lot of dust is formed, this dust is very harmful to health both by inhalation and in contact with skin. Use long sleeve clothing and eye and breathing protection.
It happens that in some places the resin may not completely congeal, this happens with poor-quality mixing with the hardener. In this case, the problem area is heated by a hairdryer and the non-hardened resin is cleaned off. Instead, fill it with a new hardener. Also, so that the resin does not stick, it can be cleaned with acetone. But here be careful, as this substance is very toxic and flammable, in addition, it has a strong odor.
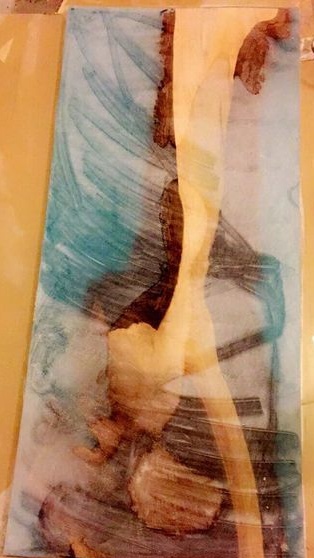
Step Six Top layer of countertops
To obtain full transparency of the countertop, we apply a layer of varnish on it, the use of polyurethane will be a more professional solution. Sand the entire surface thoroughly beforehand so that the coating adheres well to the surface. As for the number of layers, there should be at least two of them. We apply the first layer, wait until it dries, and grind with fine sandpaper. Then we apply the second layer, and then similarly the third, if necessary.
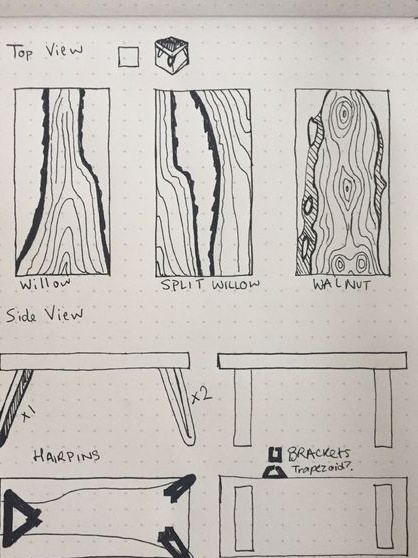
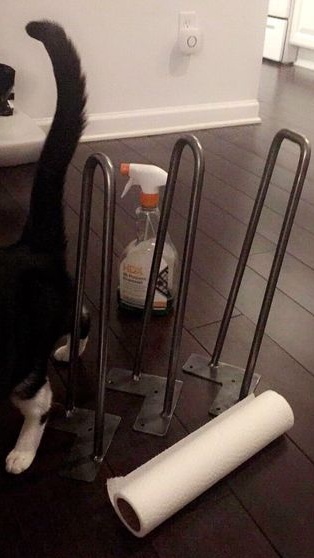
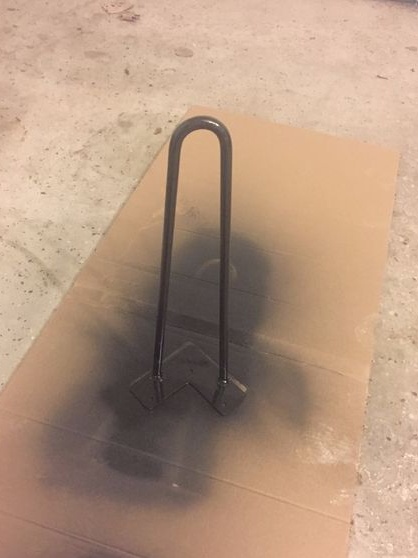
Seventh step. Making table legs
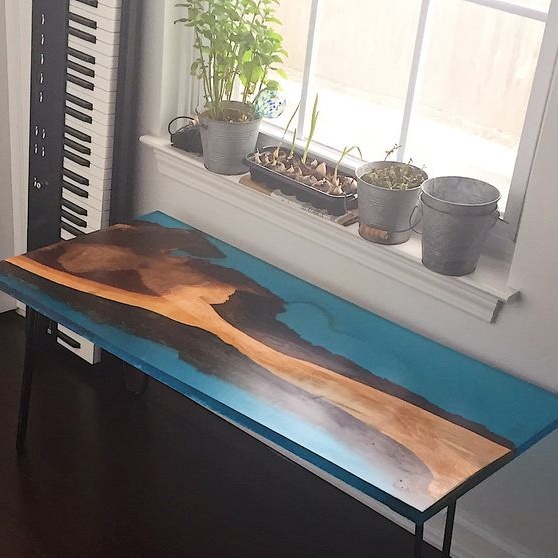
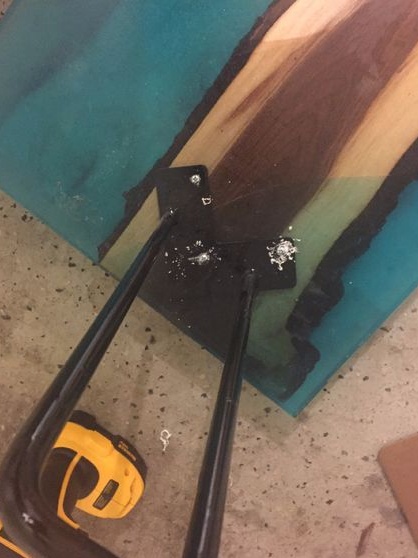
To make the legs, you will need steel rods, bend them in the form of the letter "P". Weld the plates to the opposite side, with the help of which the legs will be attached to the countertop. The author makes the plates in the form of the letter "G". After drilling screw holes in the plates, the legs will be ready and can be installed. Before installation, you can also paint the legs. The author paints them with black spray paint. Before painting, sand the metal thoroughly with sandpaper so that the paint fits well.
Step Eight. conclusions
As can be noted, the table is very simple, though the whole process of work is harmful to health. However, if you use all the necessary protective equipment, everything is not so bad. Still similar work is more correctly carried out on a belt sander, but for the author this pleasure is too expensive.
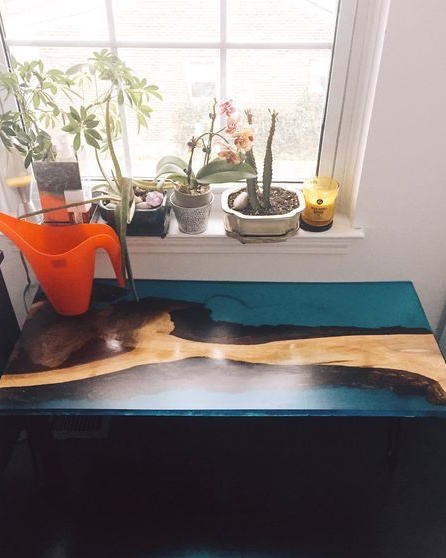
However, the table turned out to be cool and worth the effort.