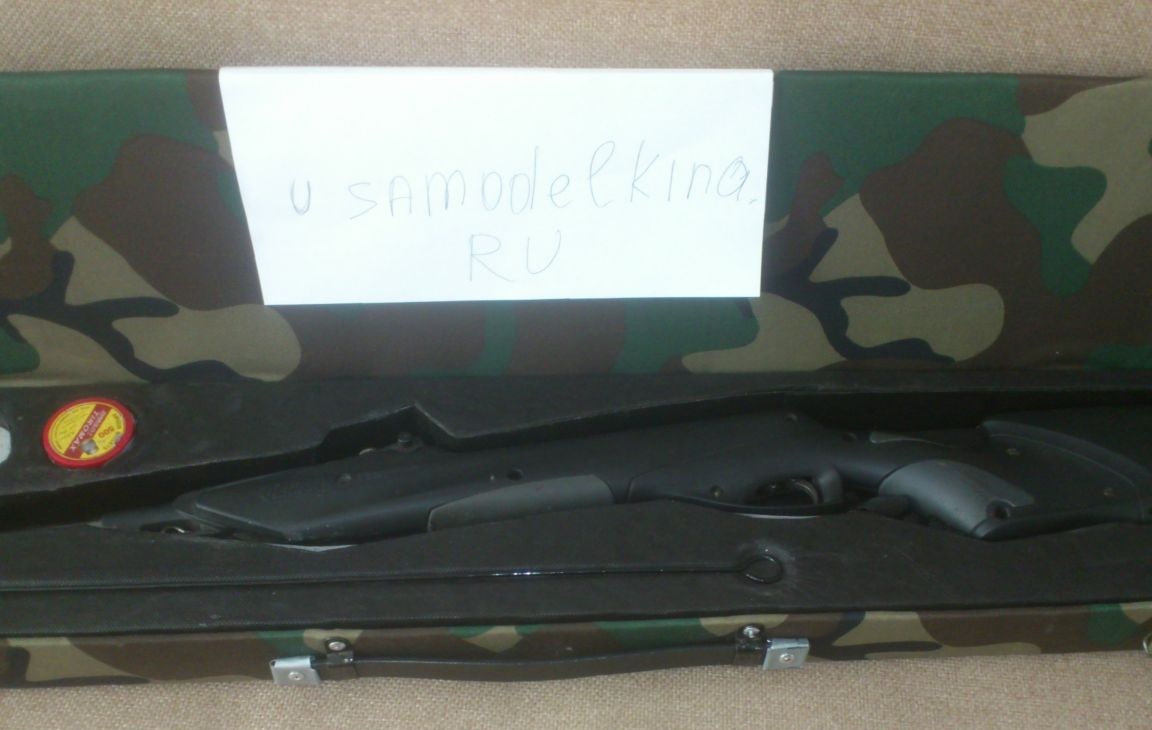
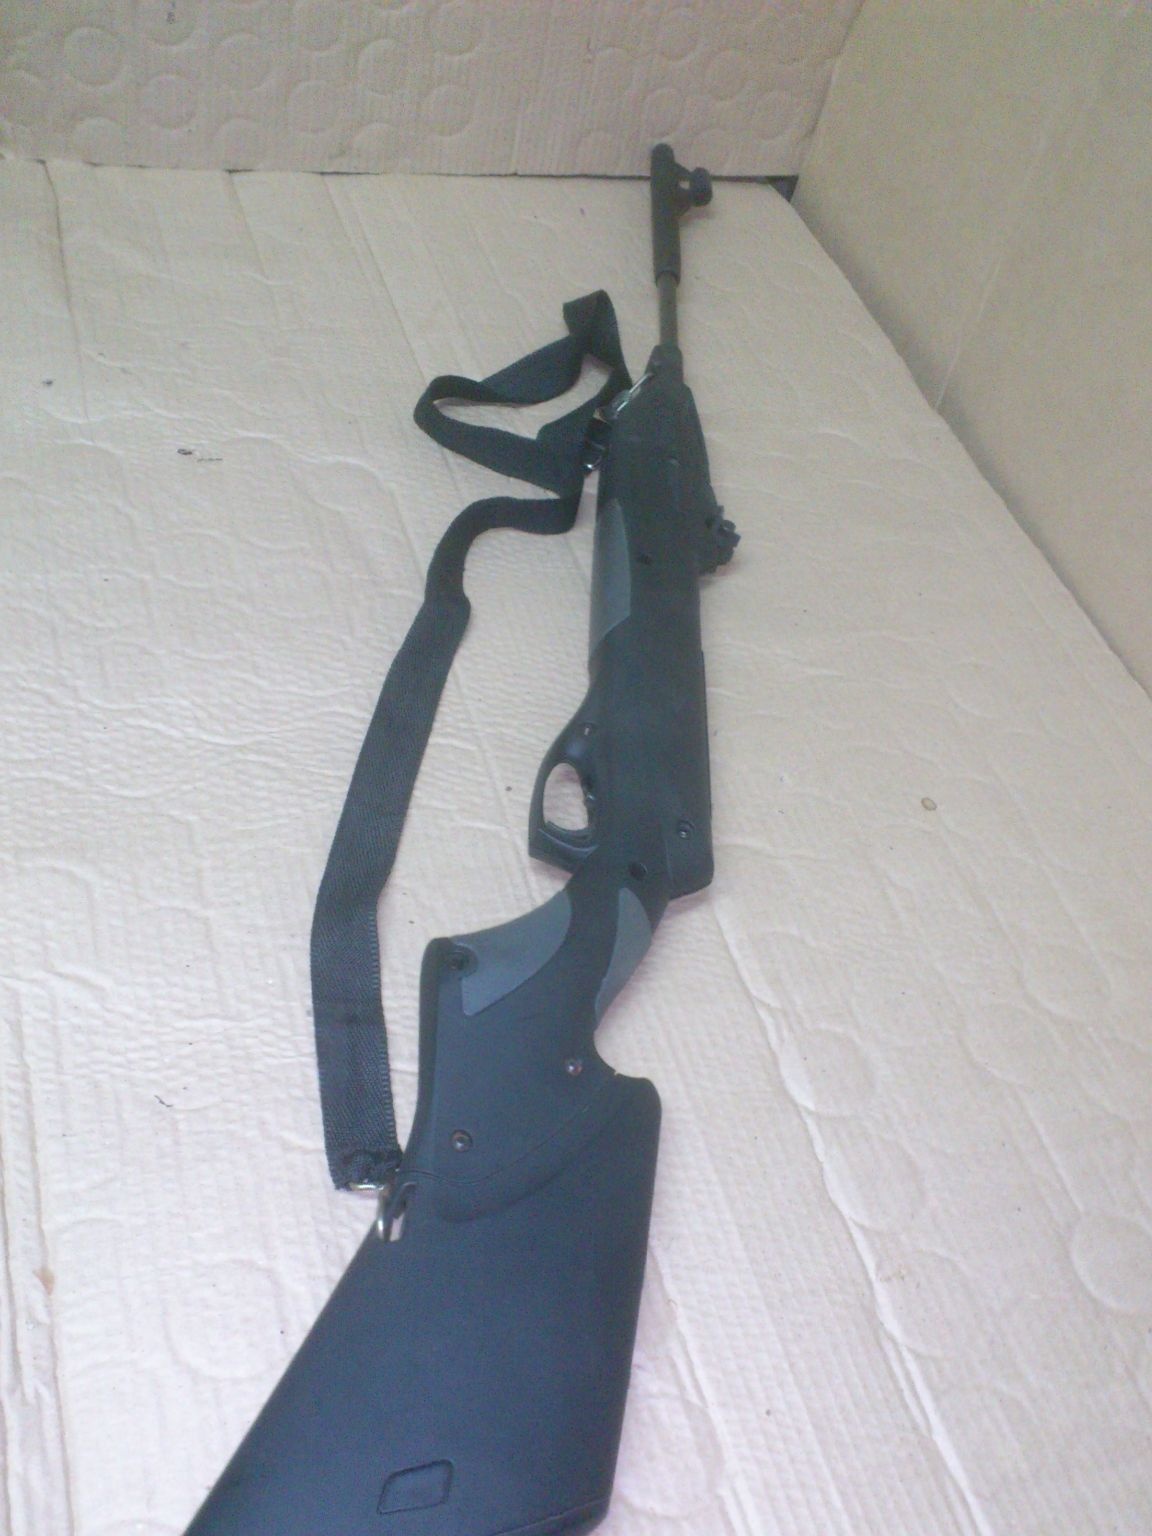
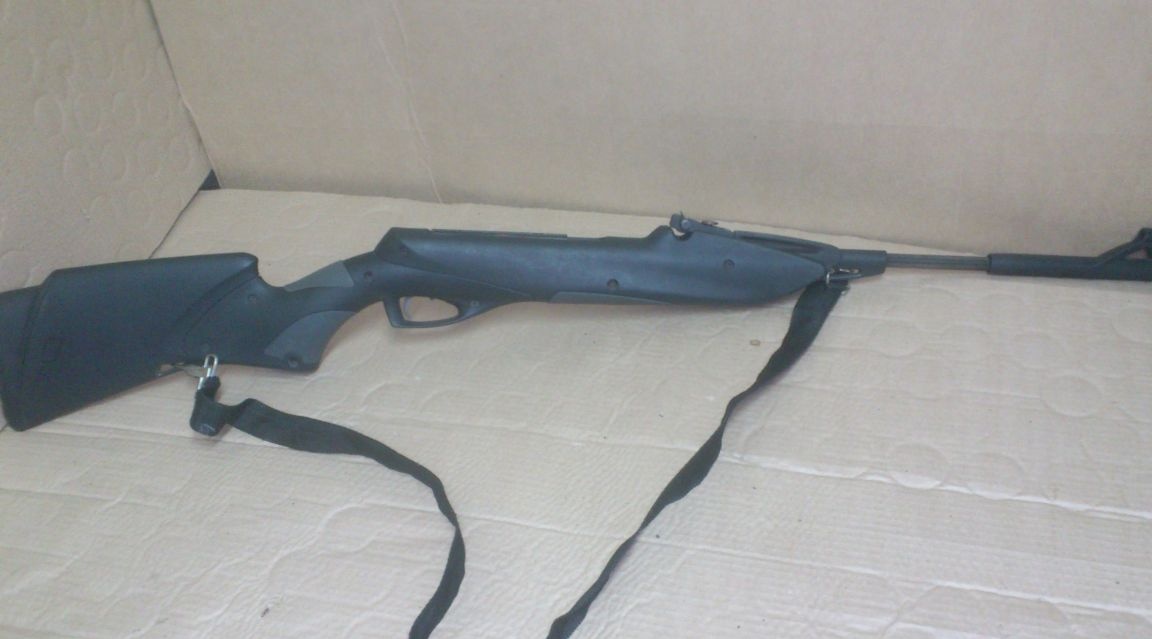
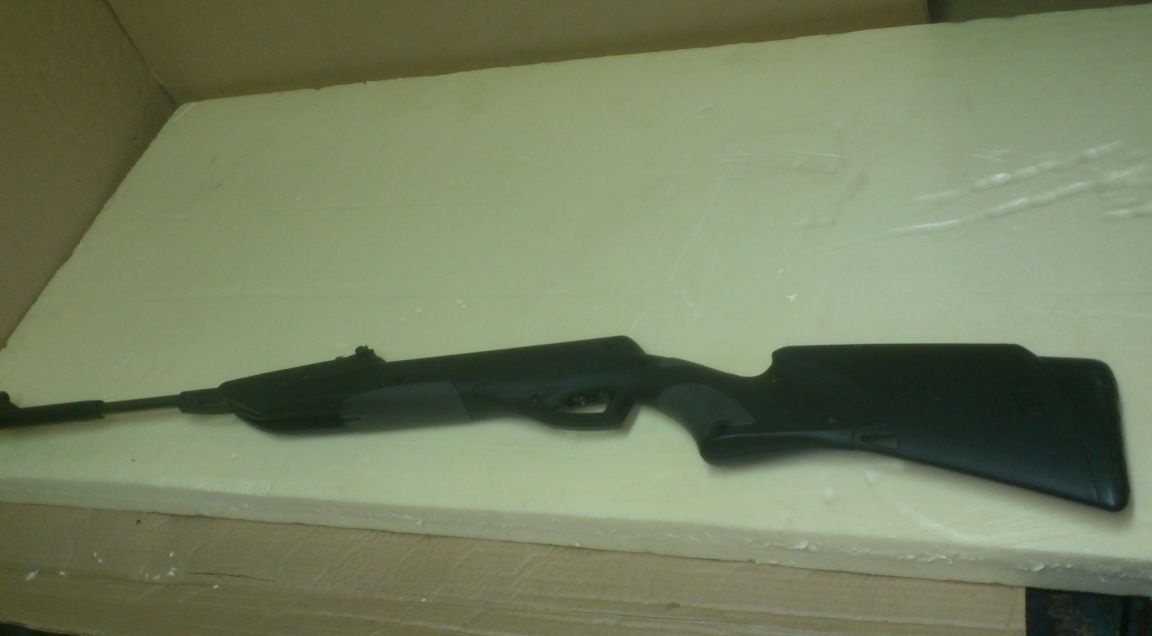
I have an air rifle MP-512. (In common people - "Murka")))).
As I have already written many times, my friends and I often go to the forest "in nature". Our company doesn’t drink much (beer is not alcohol !!!))))), so I always take the “air” with me to shoot plastic bottles or targets for fun, knock down pine cones and so on .. .
It is stored in my basement under a city apartment. And therefore, to bring it and hide it in the car is quite difficult. We have to somehow mask it, wrap it in some rags, or cardboard. Because in the summer the yard is full of people, and, as a result, “Show me”, “what’s it with you,” and even “Let me shoot” ... And I was especially “pleased” with the proposals of my two neighbors: “We’re here we’re going with the peasants for a drink. Do you, they say, have air ... Do you lend yourself to shoot at a booze ??! " ... And sincere surprise - how can you not give it? What is it? So what, that we will be drunk? Well this is air, it's not weapons!"
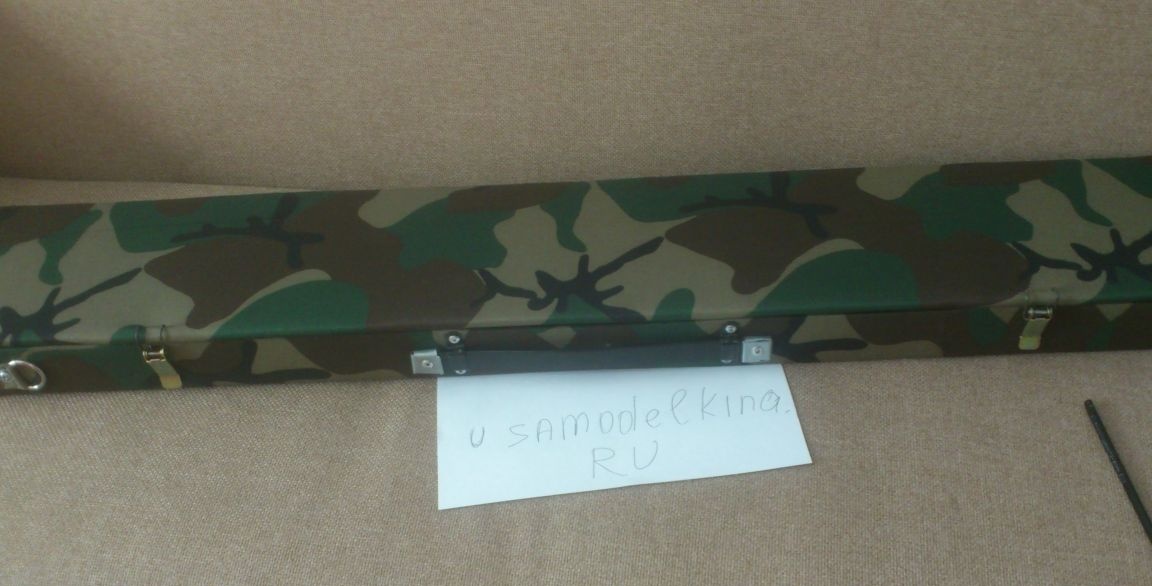
So, to avoid such incidents, I decided to make a case in which you can safely bring it to the car. I carry a suitcase, and I carry it.))) Maybe I have fishing rods in it! ))))
Like all my homemade products, I made it from what was at hand. An exception was camouflage fabric for final decoration - it had to be bought in a store.
And here is what I needed for this:
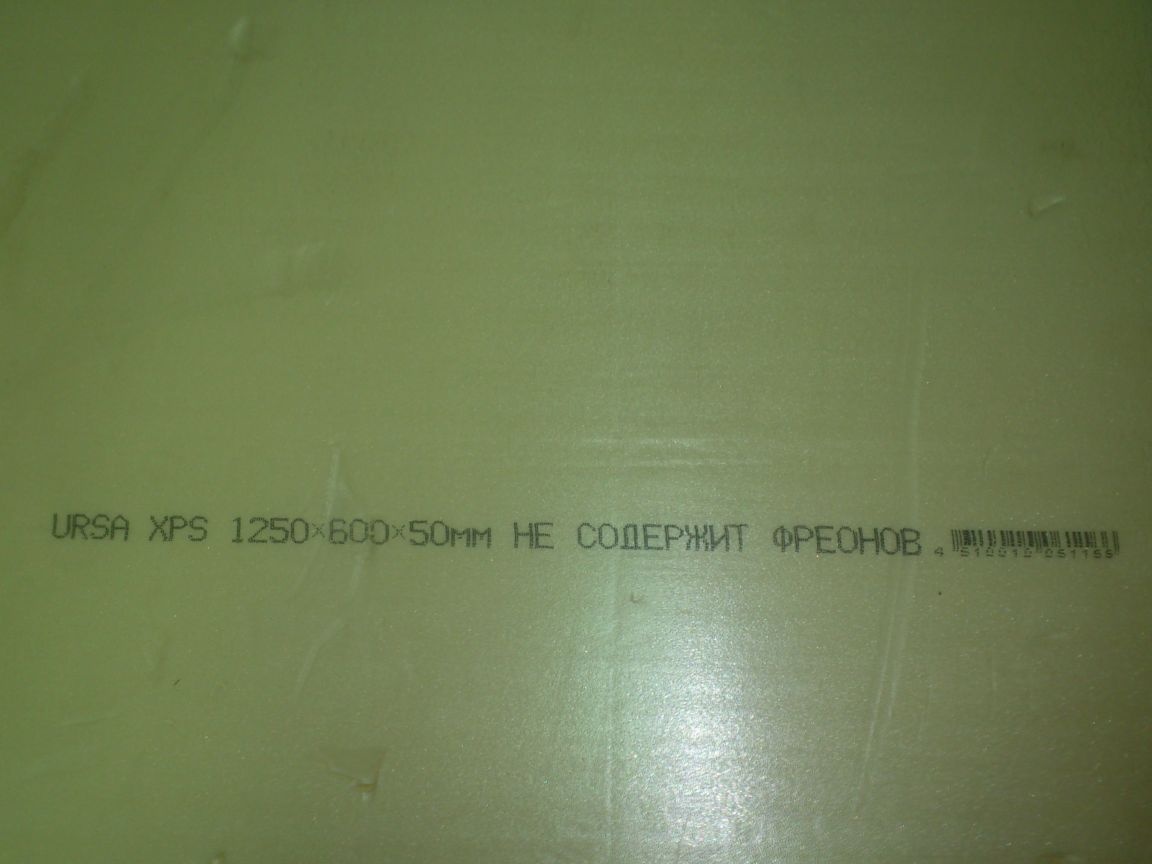
1. Extrusion foam 50 mm thick.
2. Fiberboard (back wall from the old cabinet)
3. Spunbond dense black.
4. The synthetic winterizer.
5. Plywood 6 mm thick
6. Mounting adhesive ("Liquid Nails")
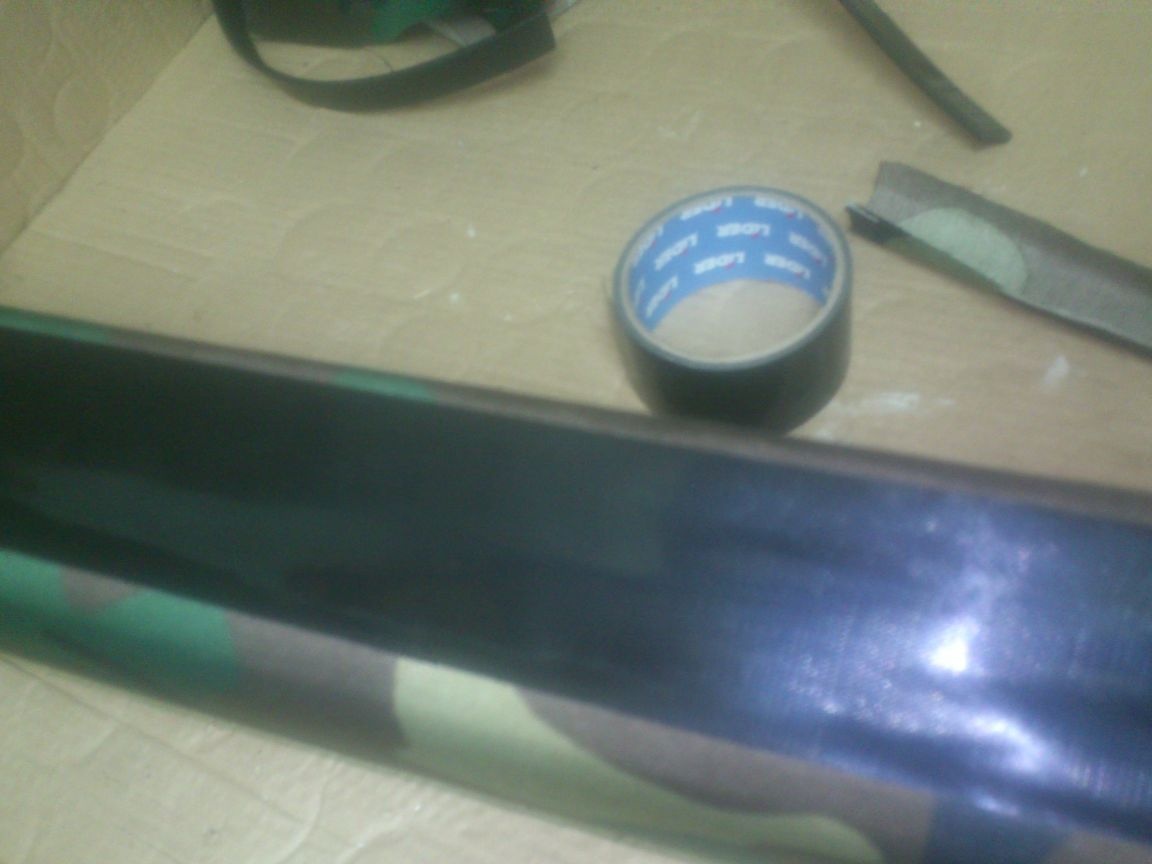
7. "Household tape" black.
8. Furniture fasteners.
9. Old multi-ribbed ("smooth") car drive belt.
10. Cloak fabric camouflage colors
So let's get started.
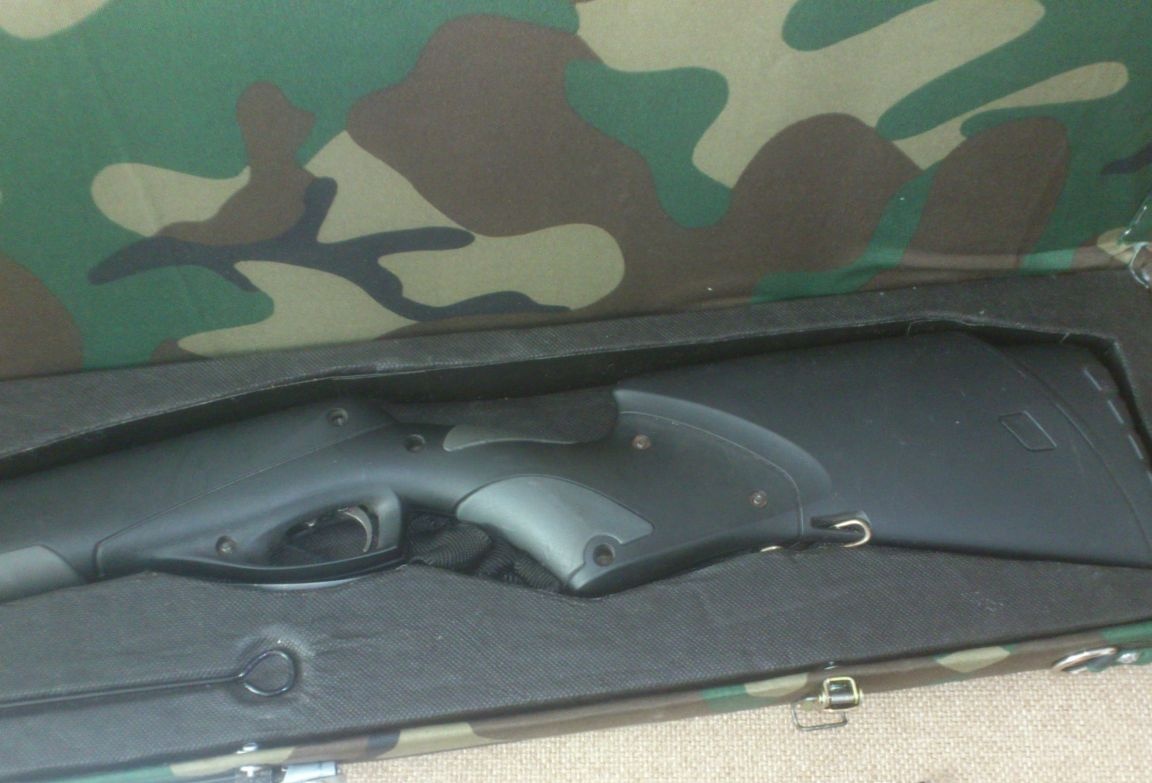
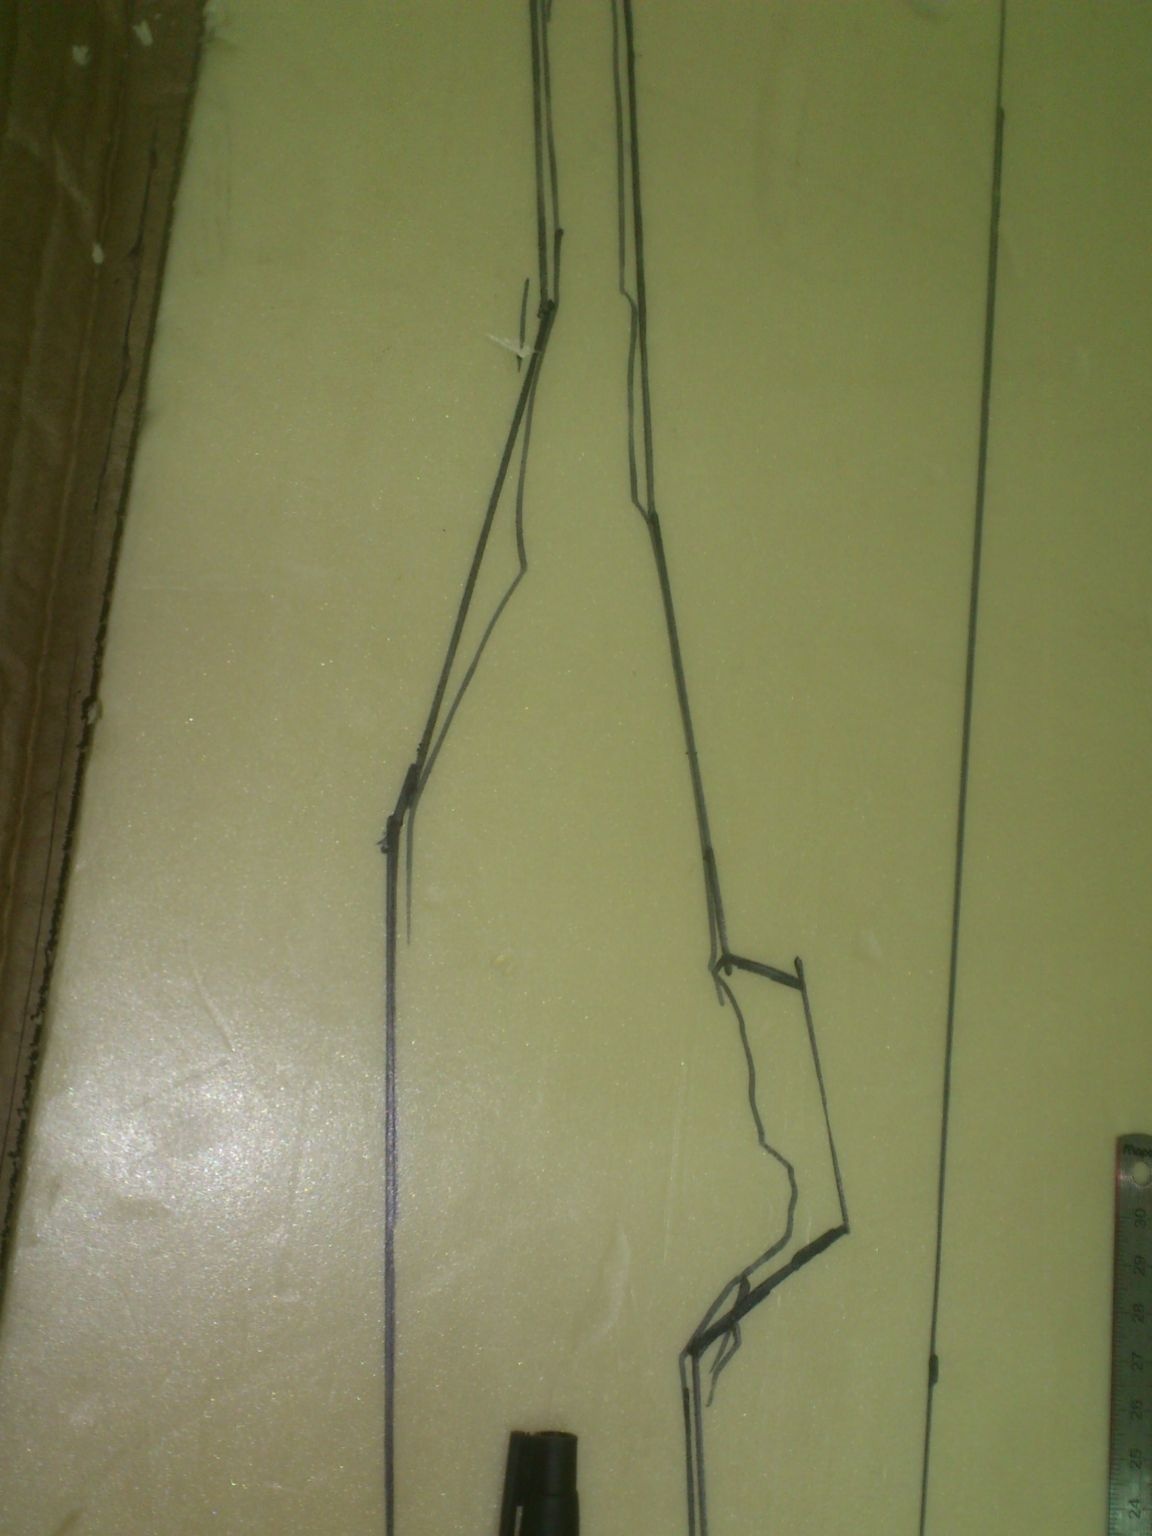
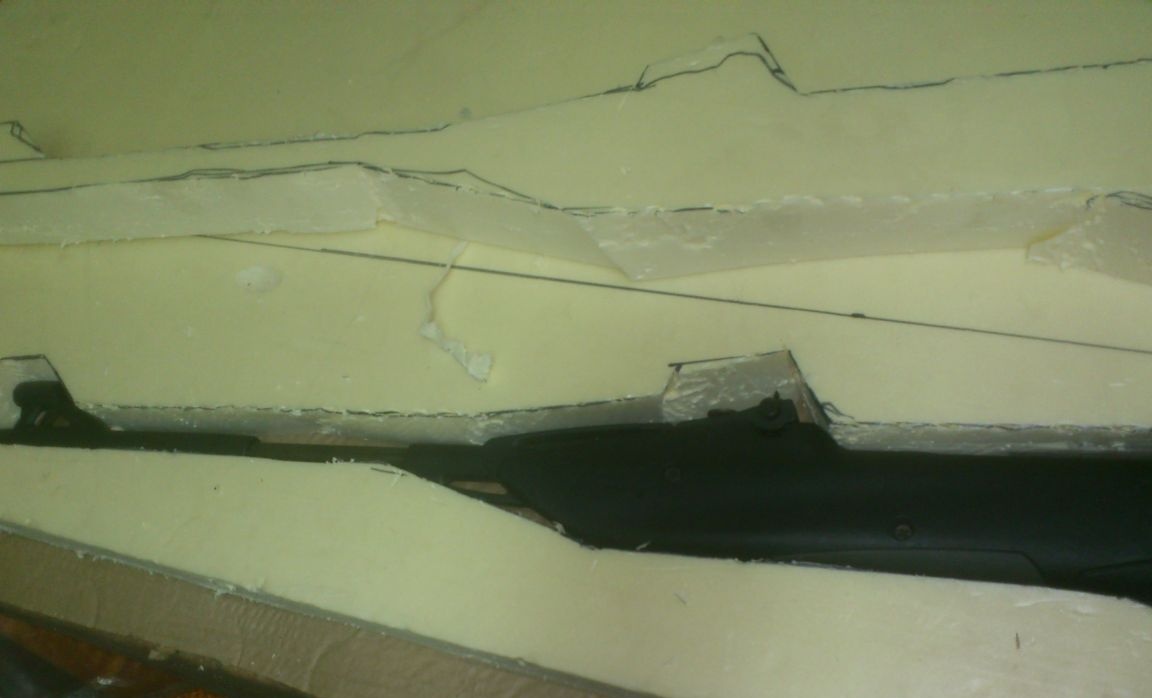
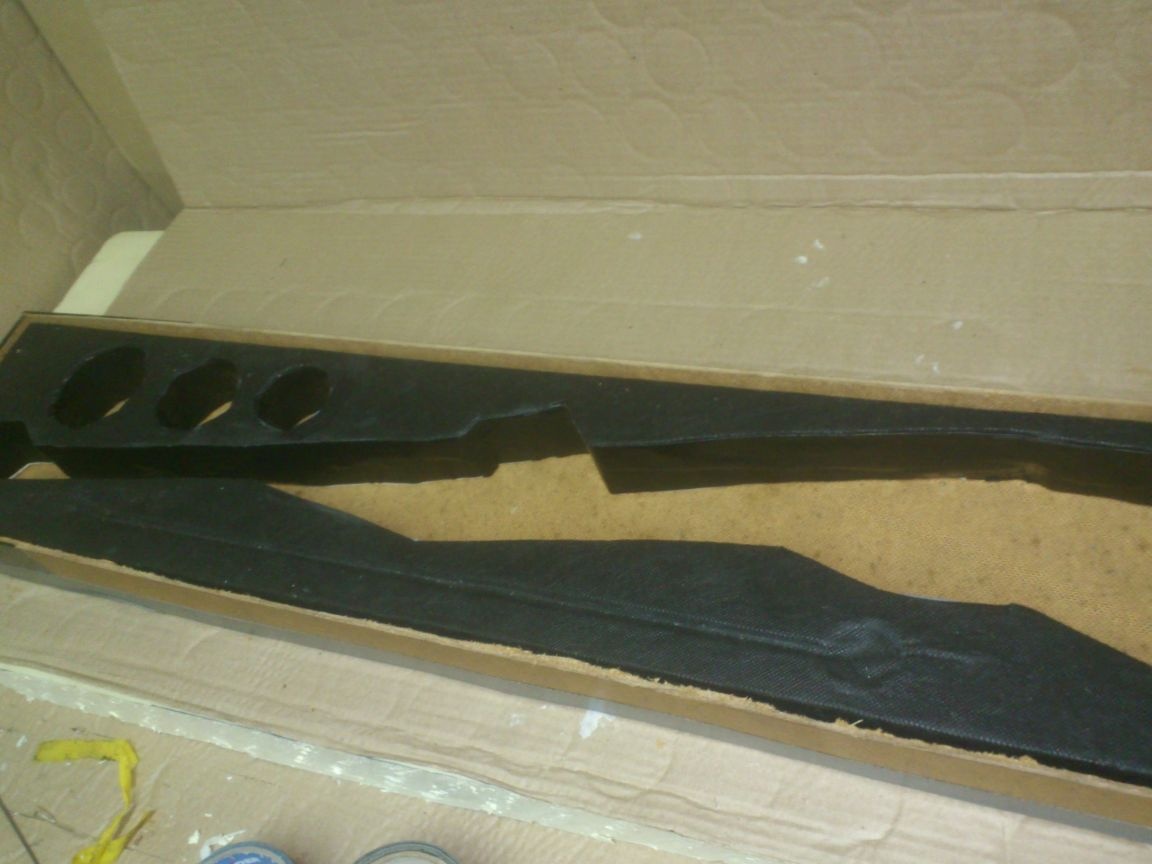
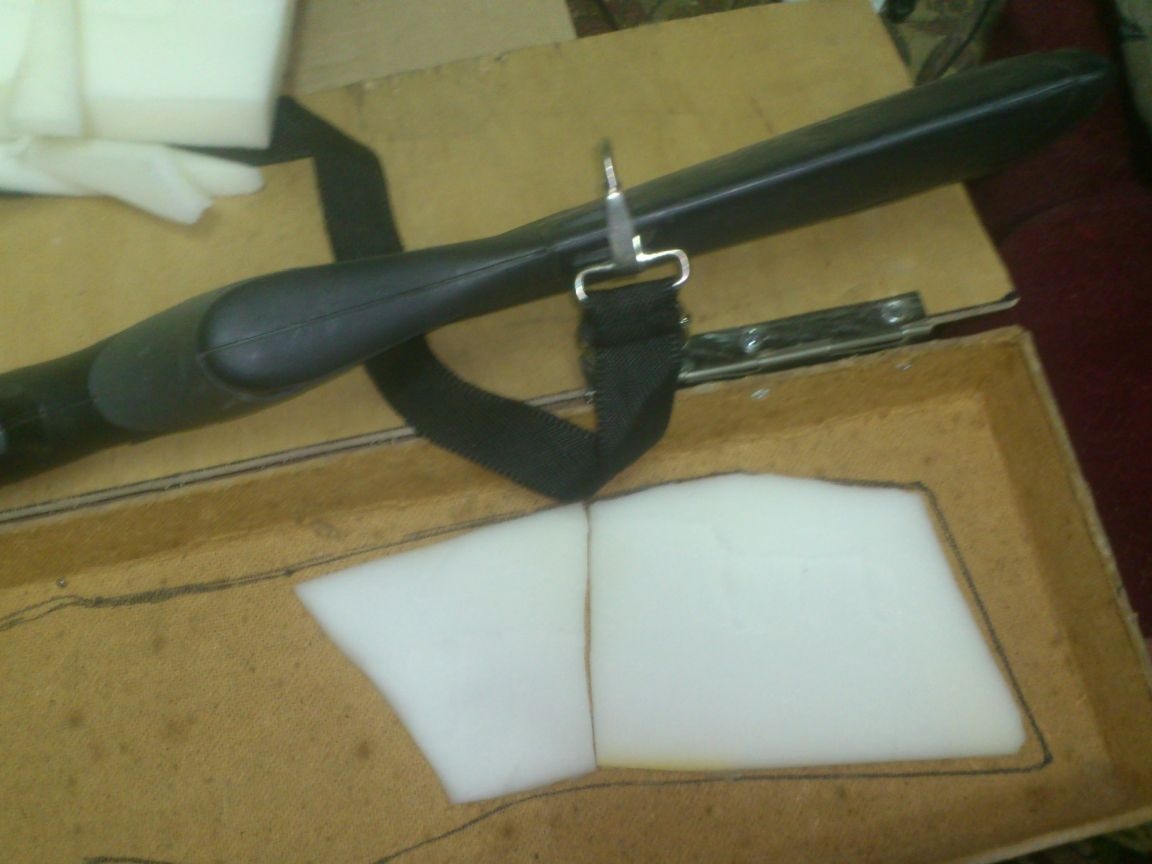
Initially, I decided to make the insides of my "suitcase" out of dense extrusion foam. If you cut in it a "seat" for a rifle by its size, then this will ensure its safety during transportation. (Because often after transportation in auto the sight went astray, for example). I lay for a long time, the remaining sheet of such polystyrene, 50 mm thick, remaining after repair, and, having made measurements, I was convinced that this size suits me.

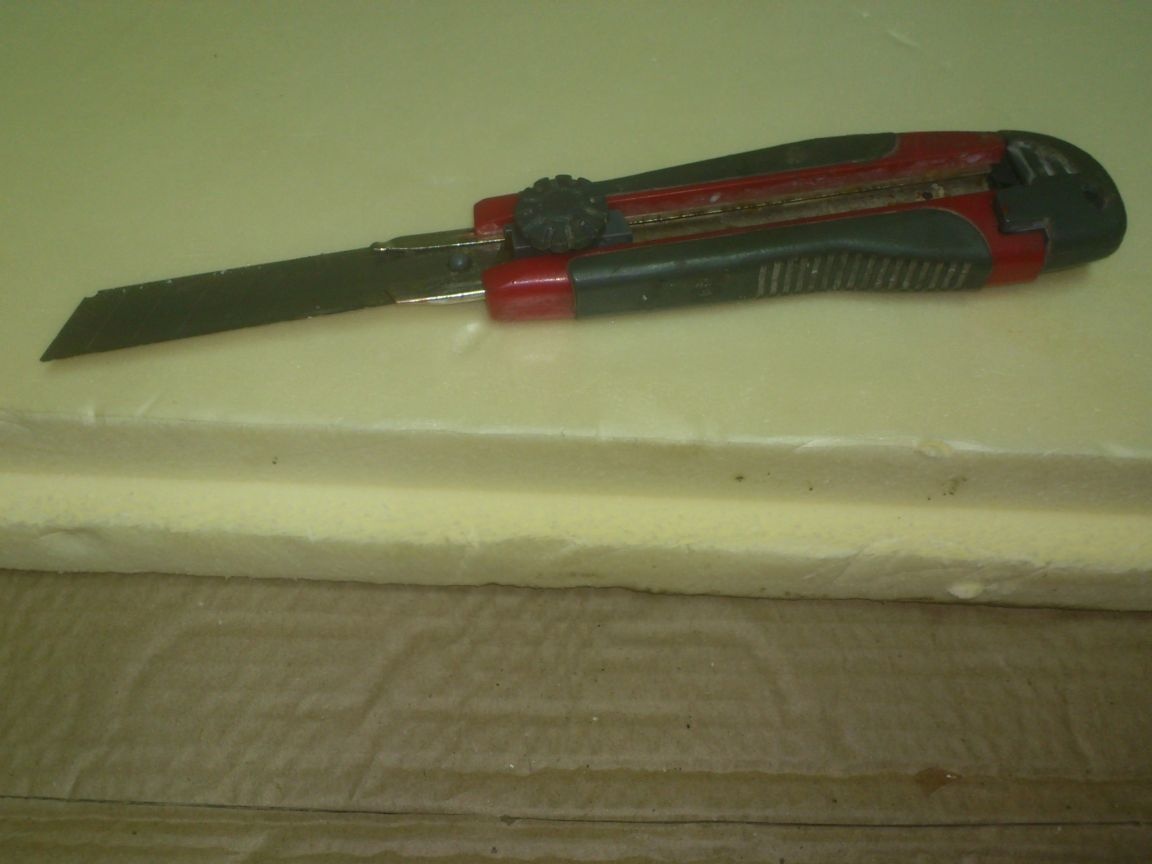
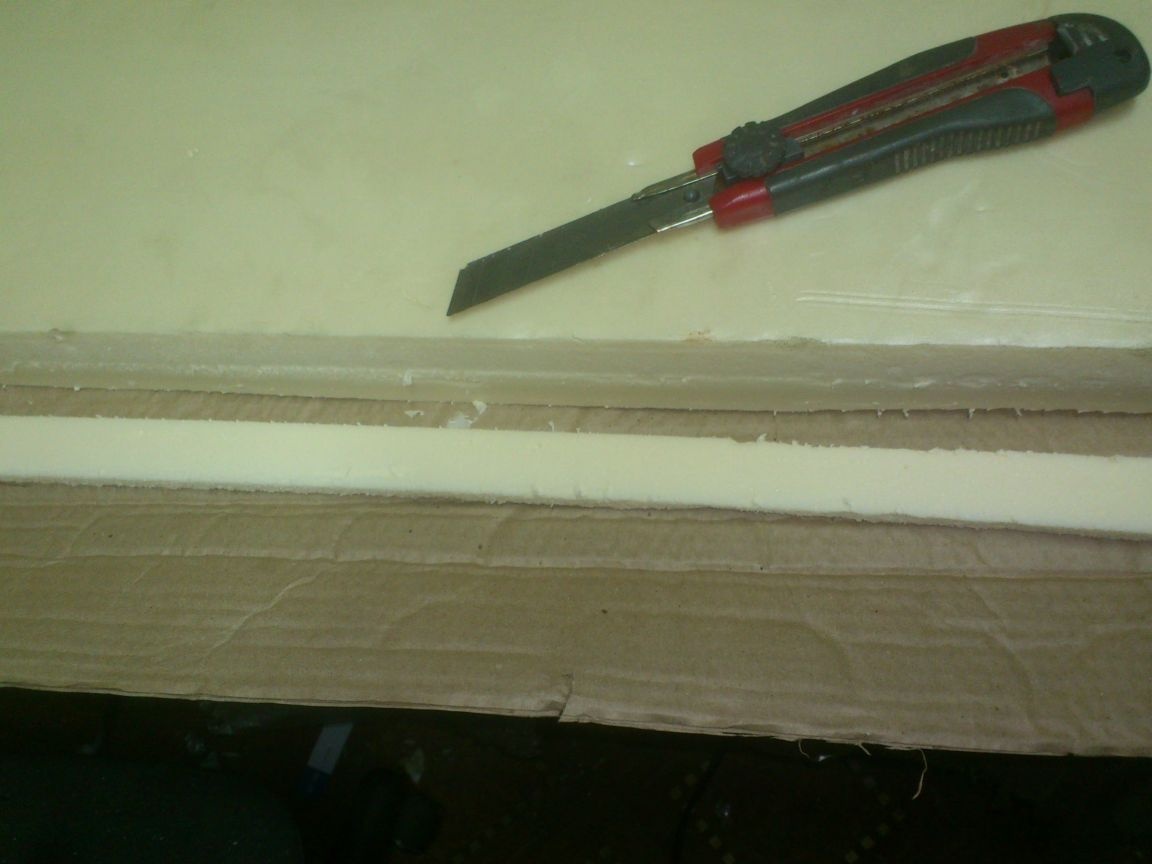
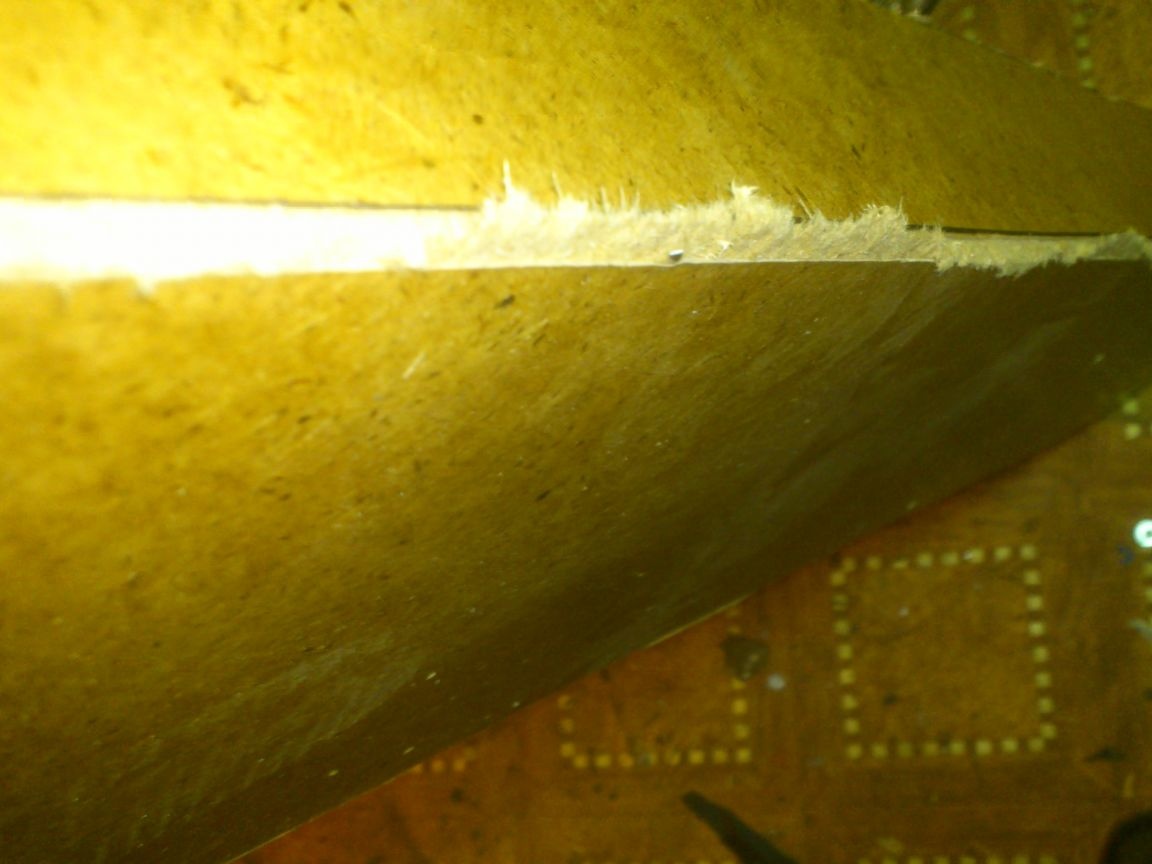
First of all, with the help of a technical knife, I cut a quarter - I do not need it:
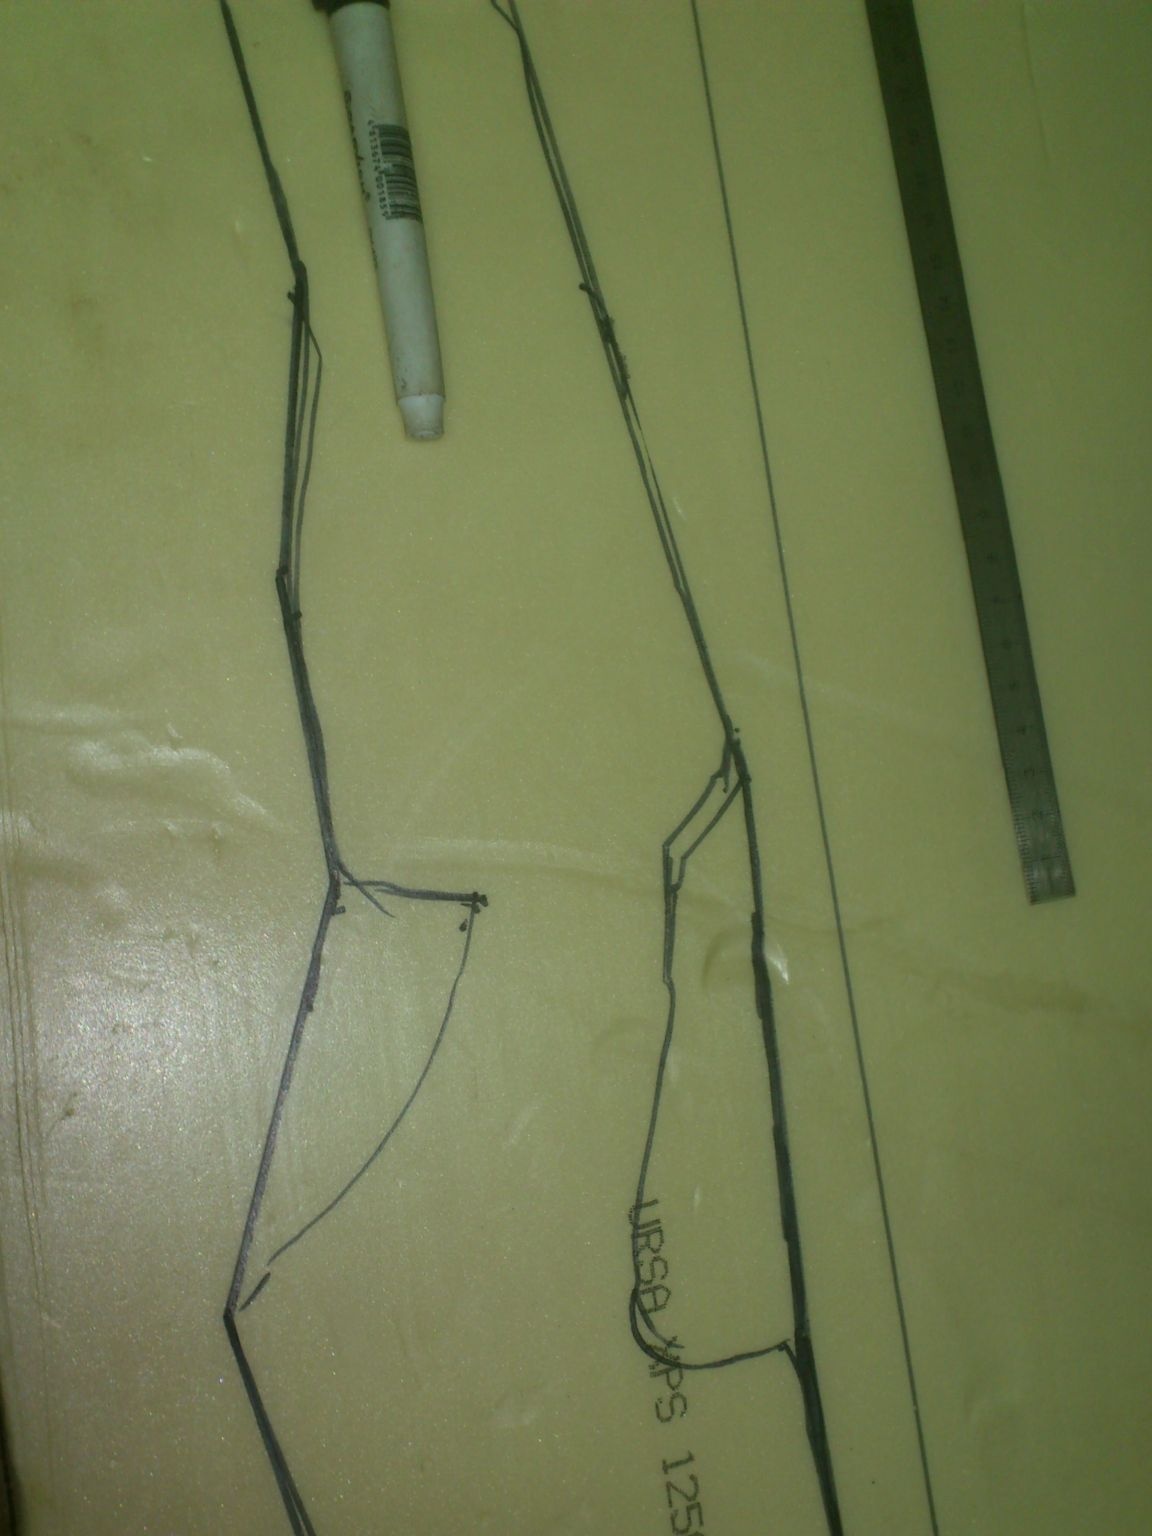
After that, I put the rifle on the edge of the sheet, and, using a tape measure, I determined how wide the strip was to cut so that the rifle fits easily.
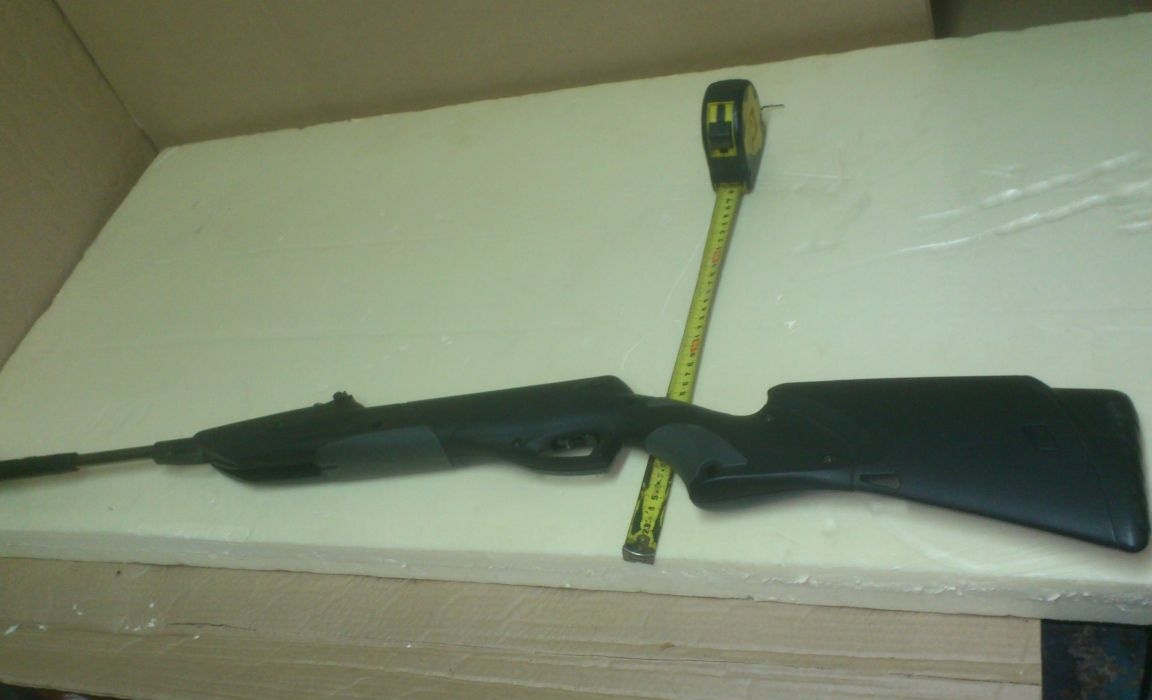

(For those who want to repeat - this size is 180 mm. But I'm not sure that it fits a rifle with a different type of stock! It’s better to measure it yourself!)
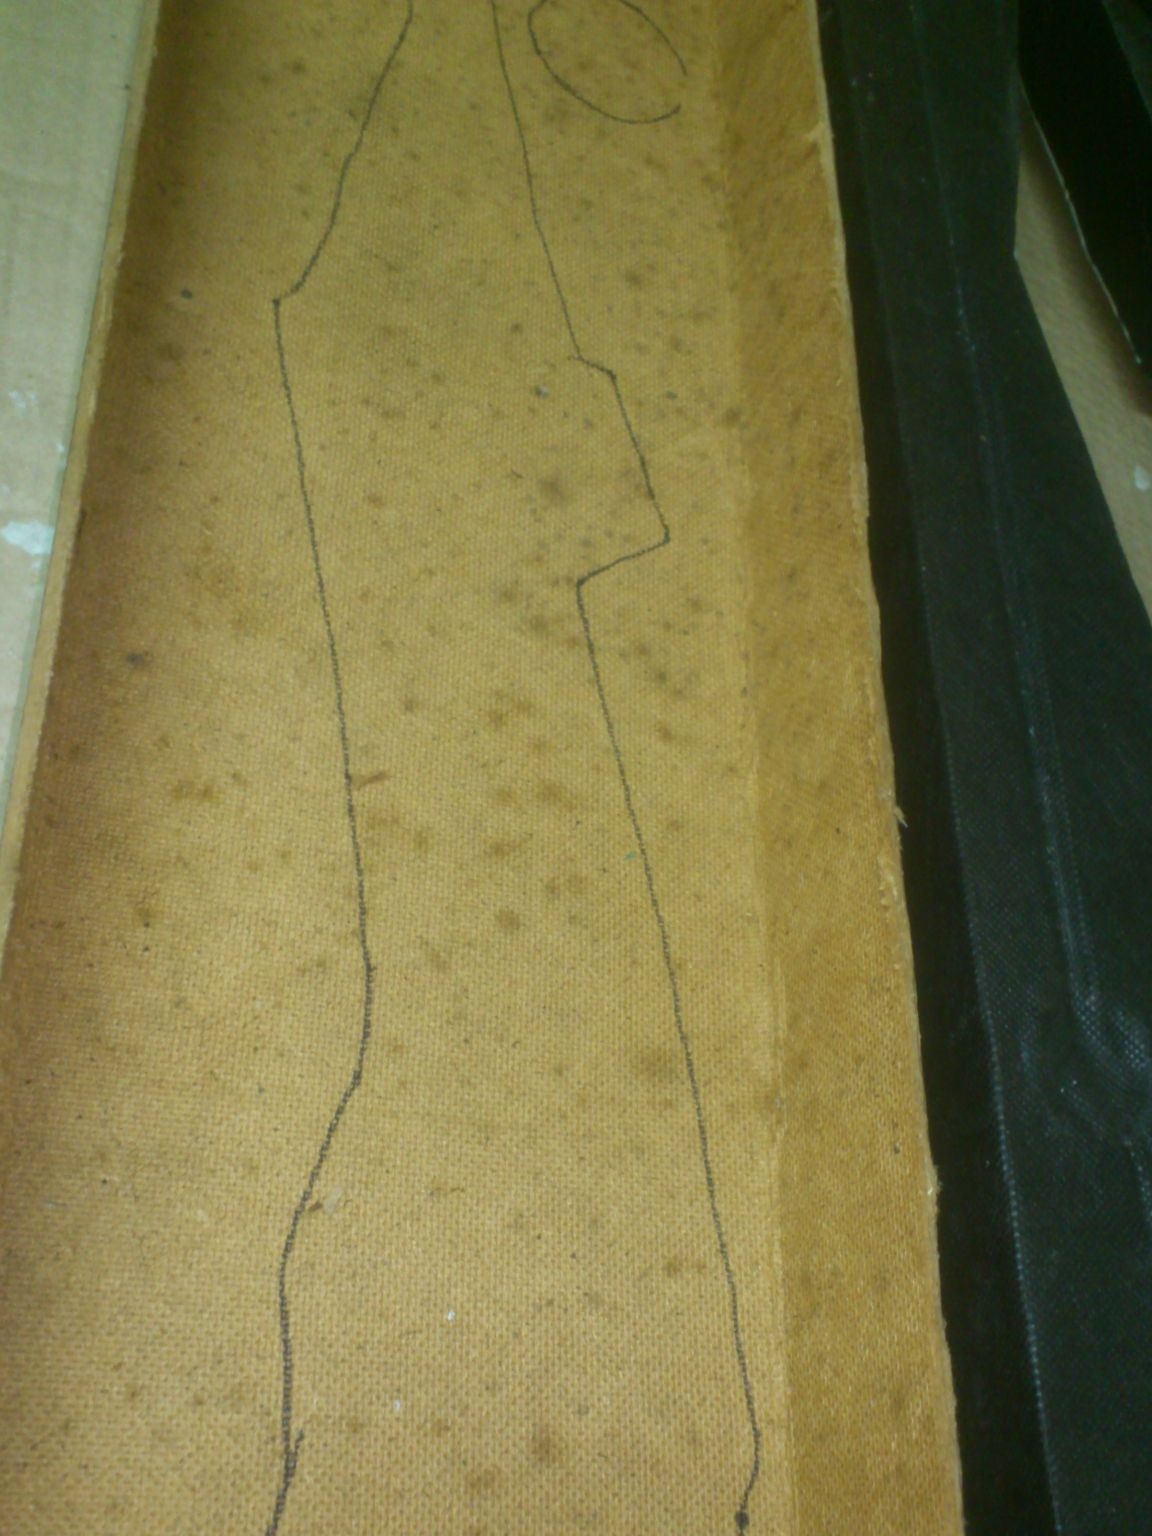
Next, I put the rifle as it will lie in the case, and outlined its contours with a marker:
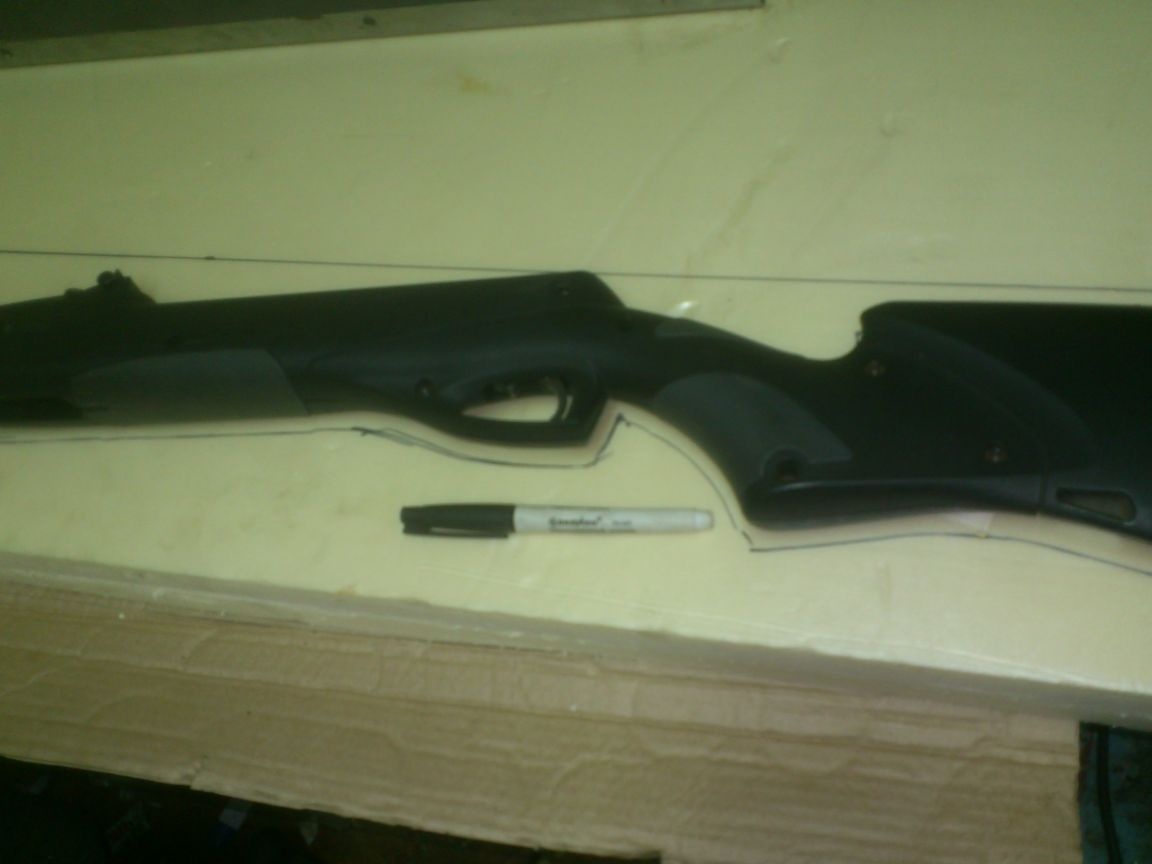
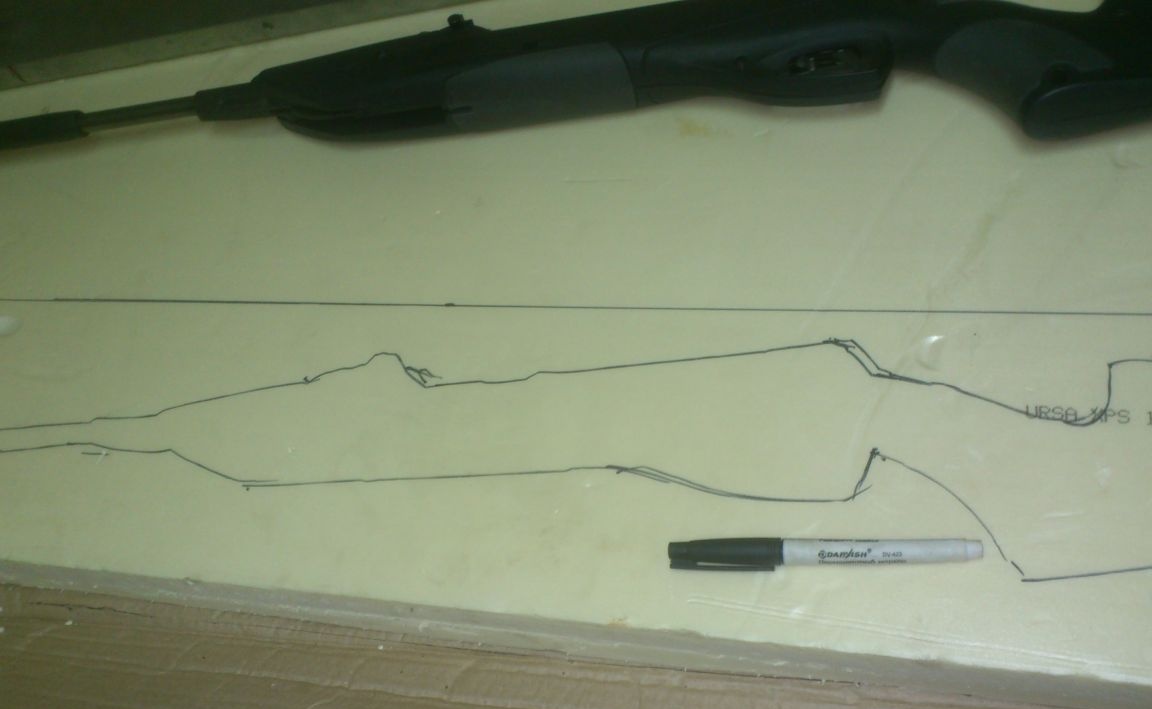
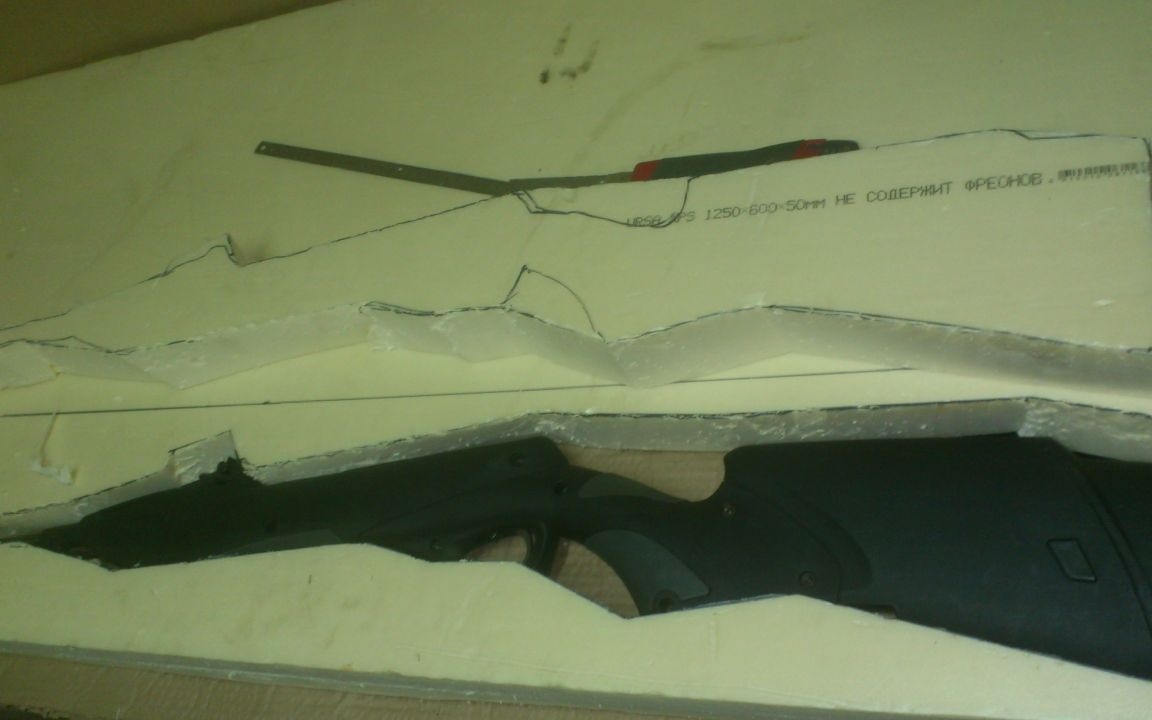
After that, I corrected the resulting drawing, "simplifying" the shape of the rifle:
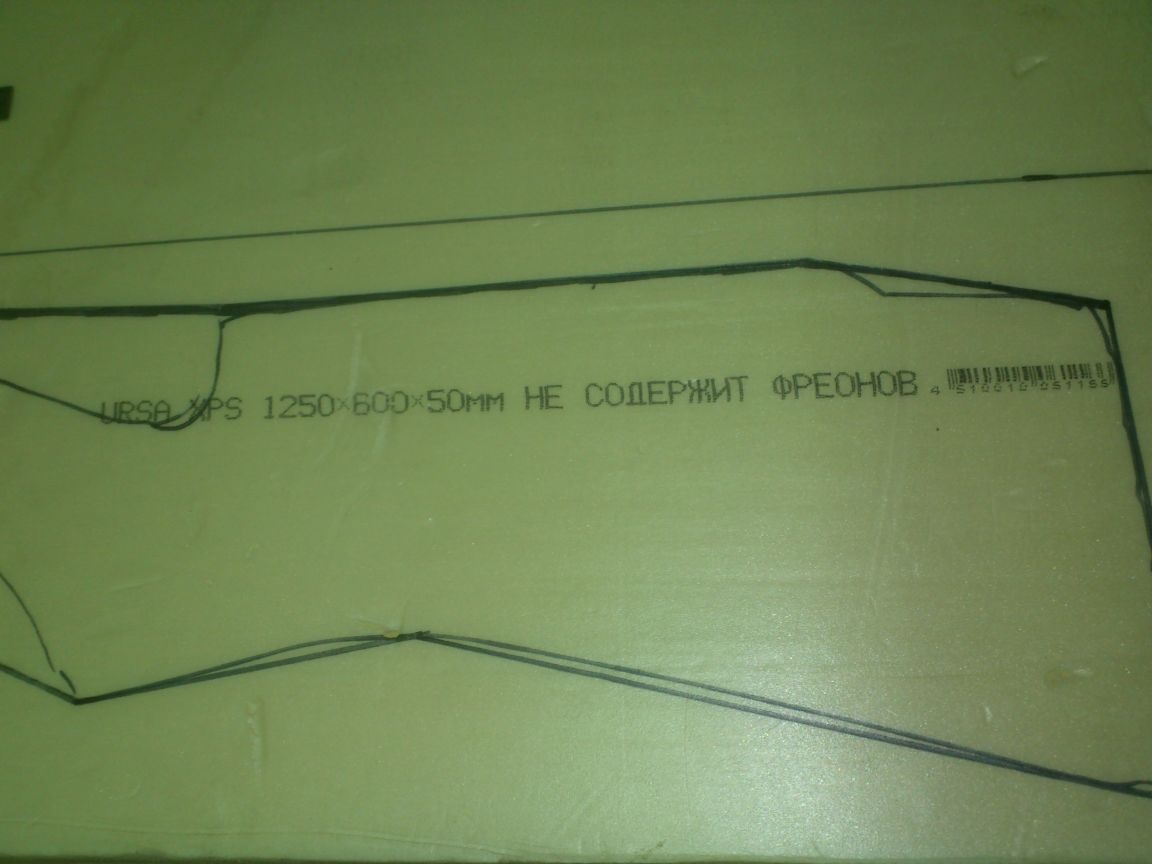
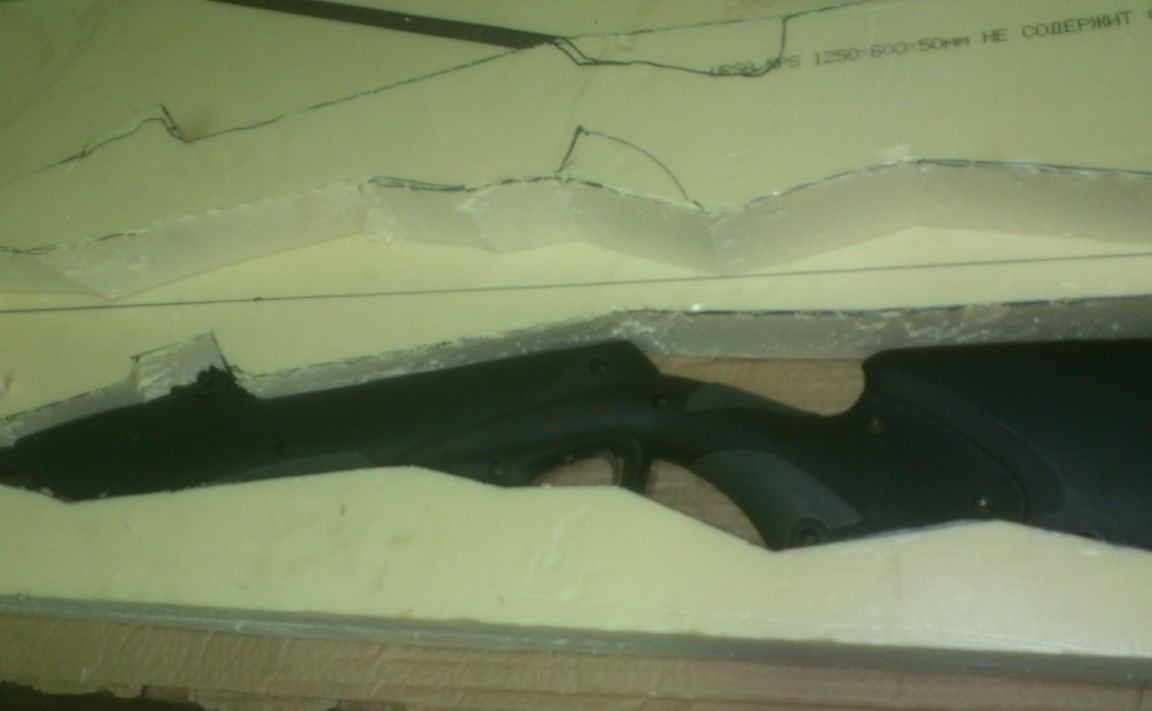
And with a knife I cut a place under it along these lines:
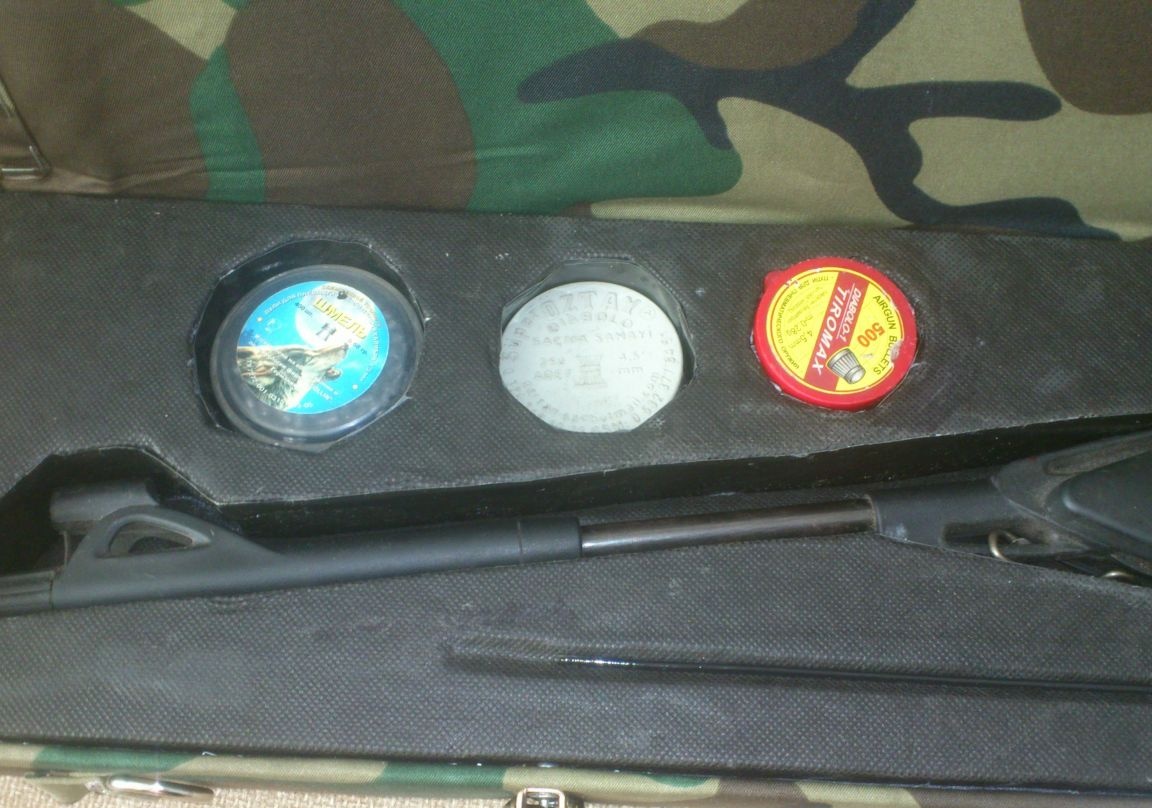
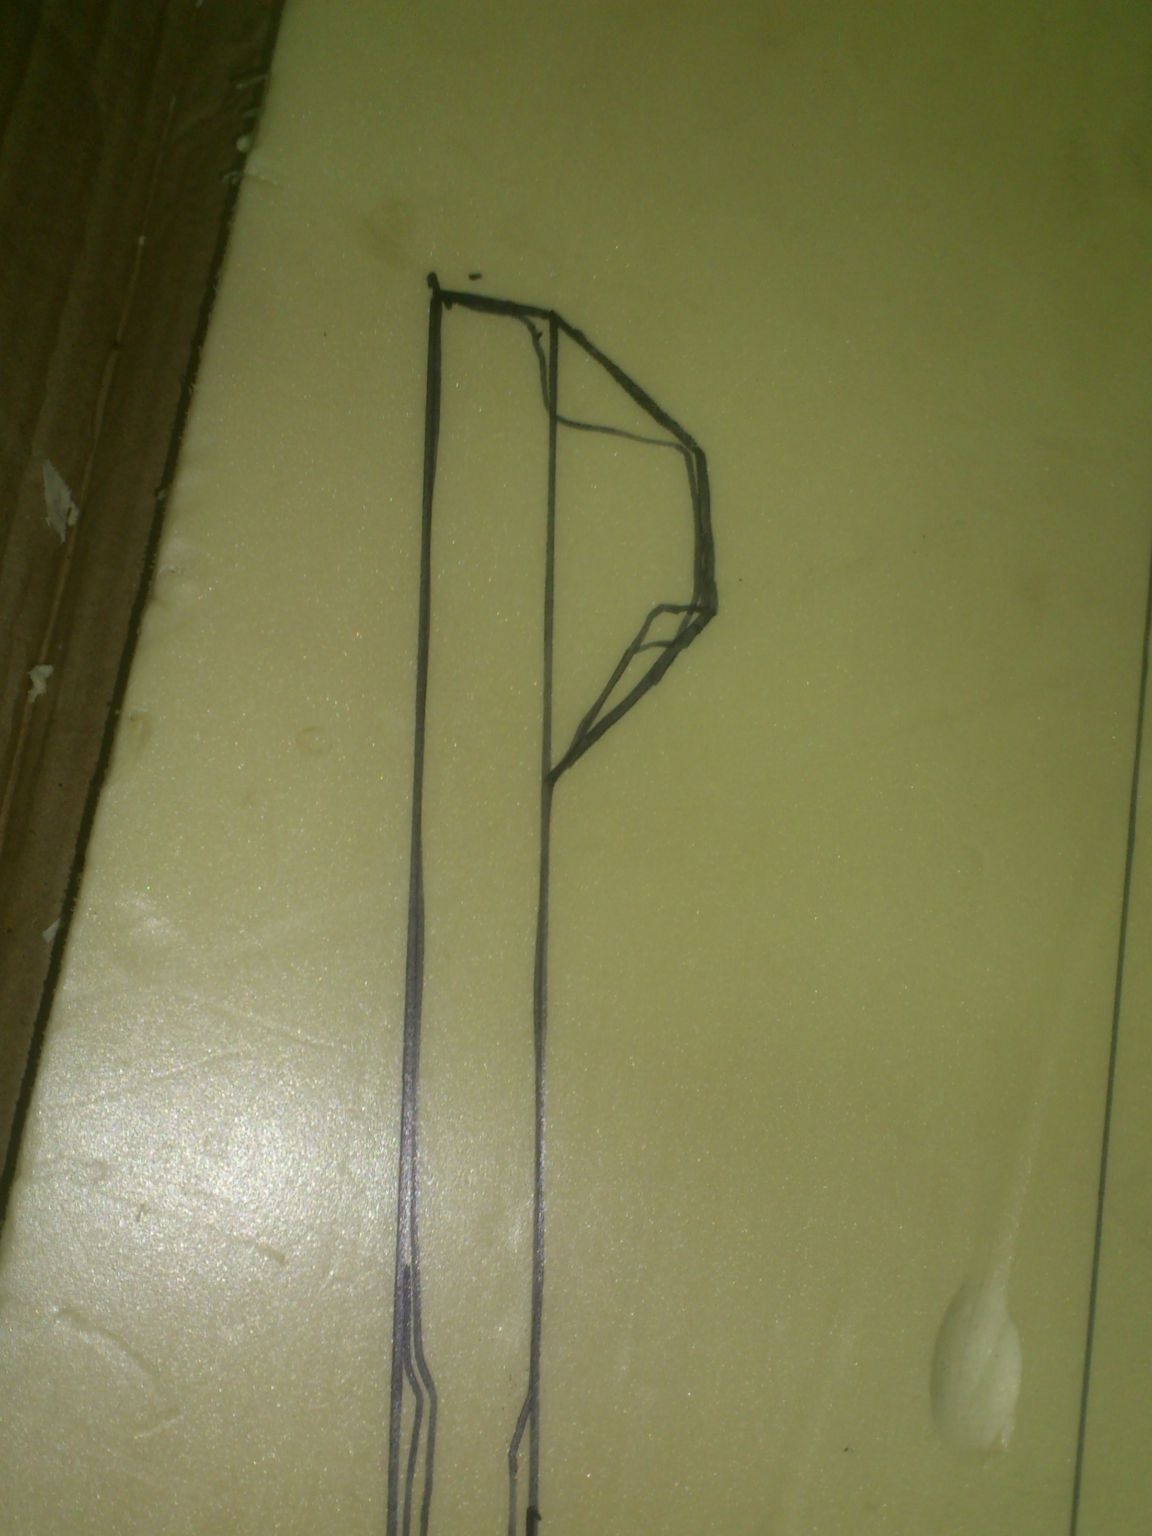
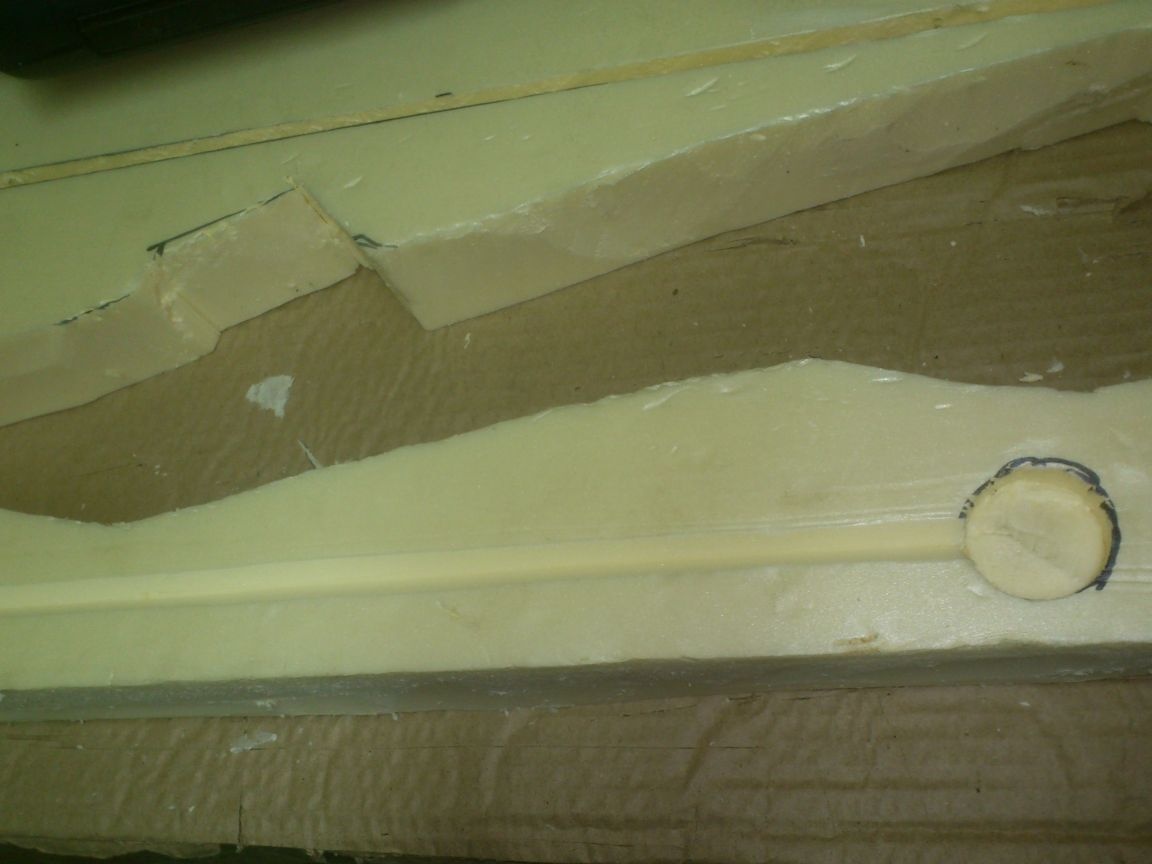
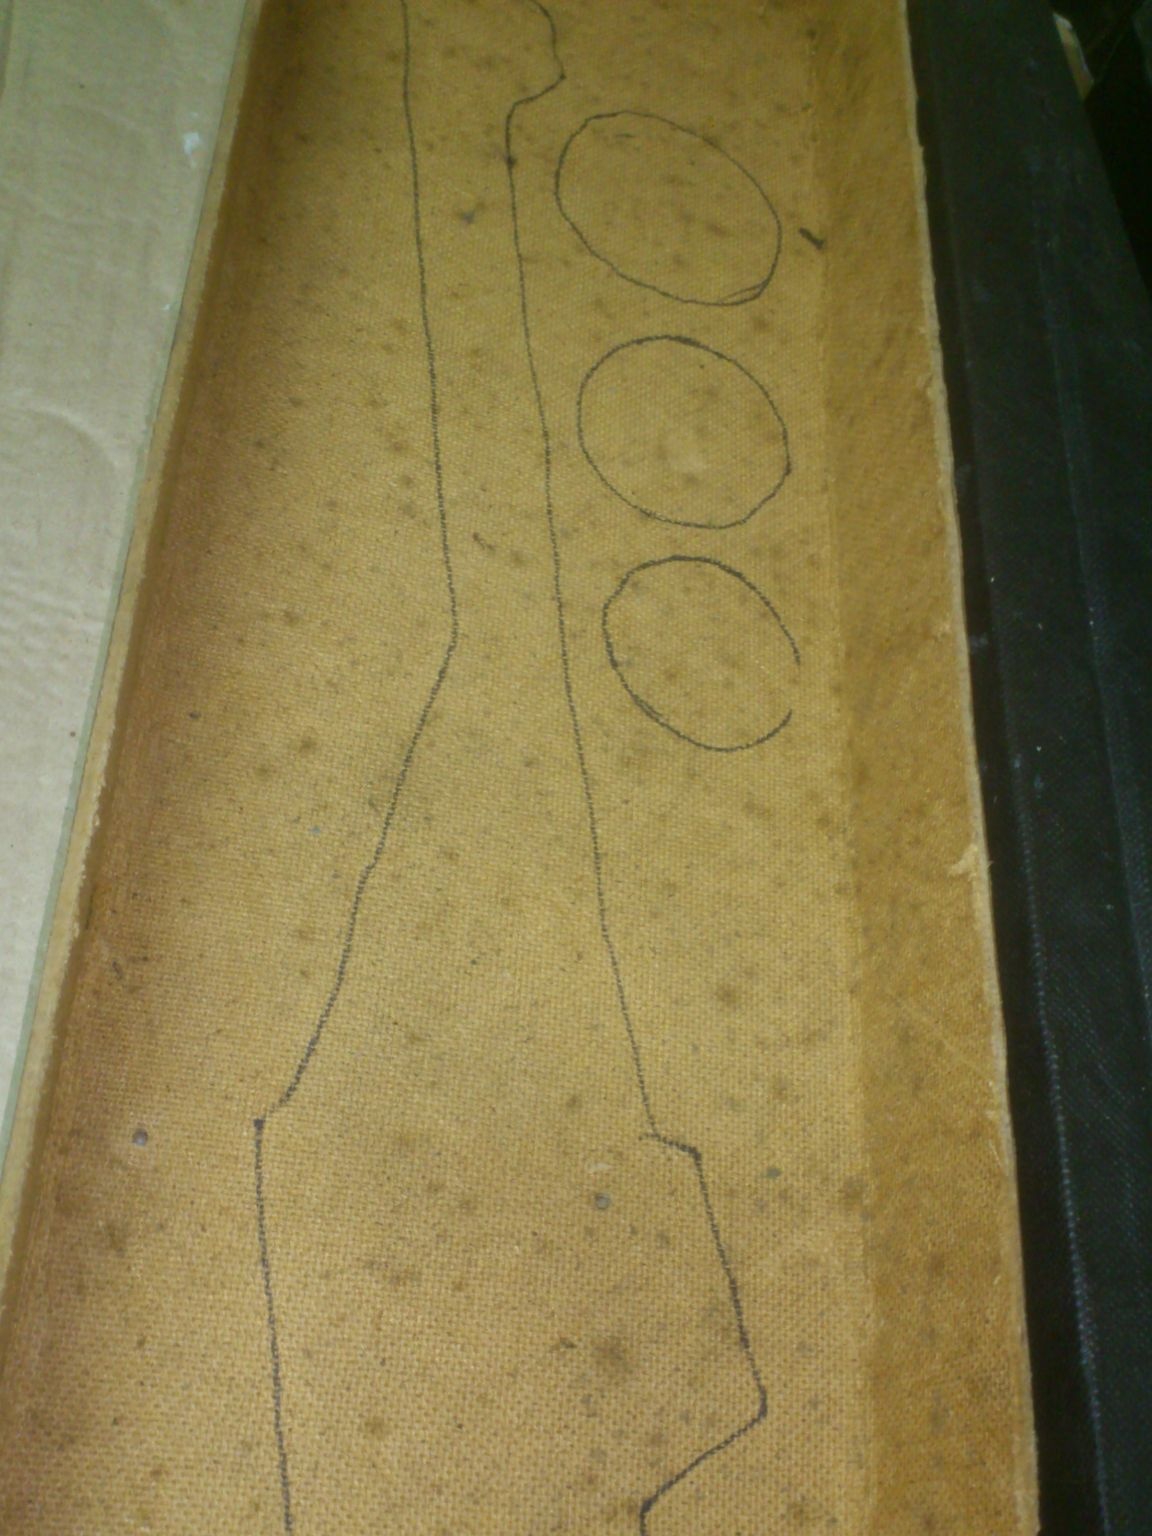
Next cut out a place for laying a ramrod:
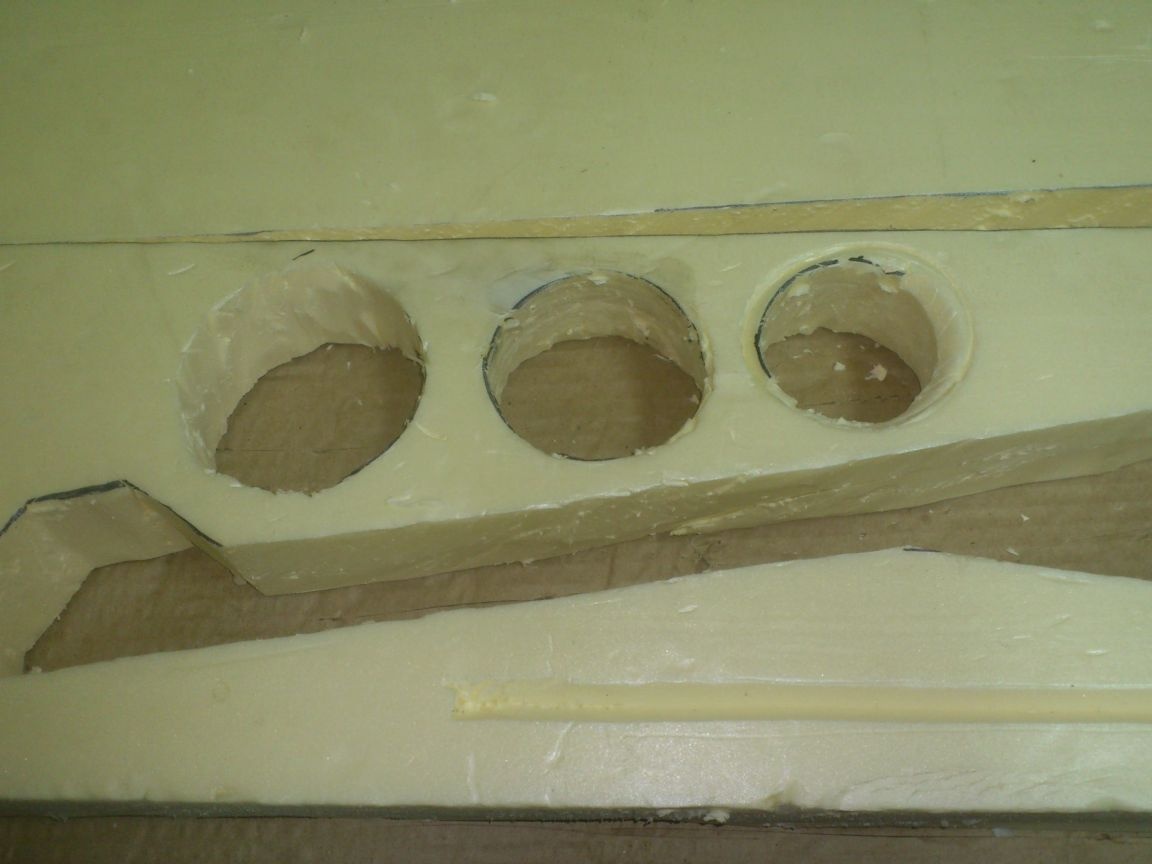
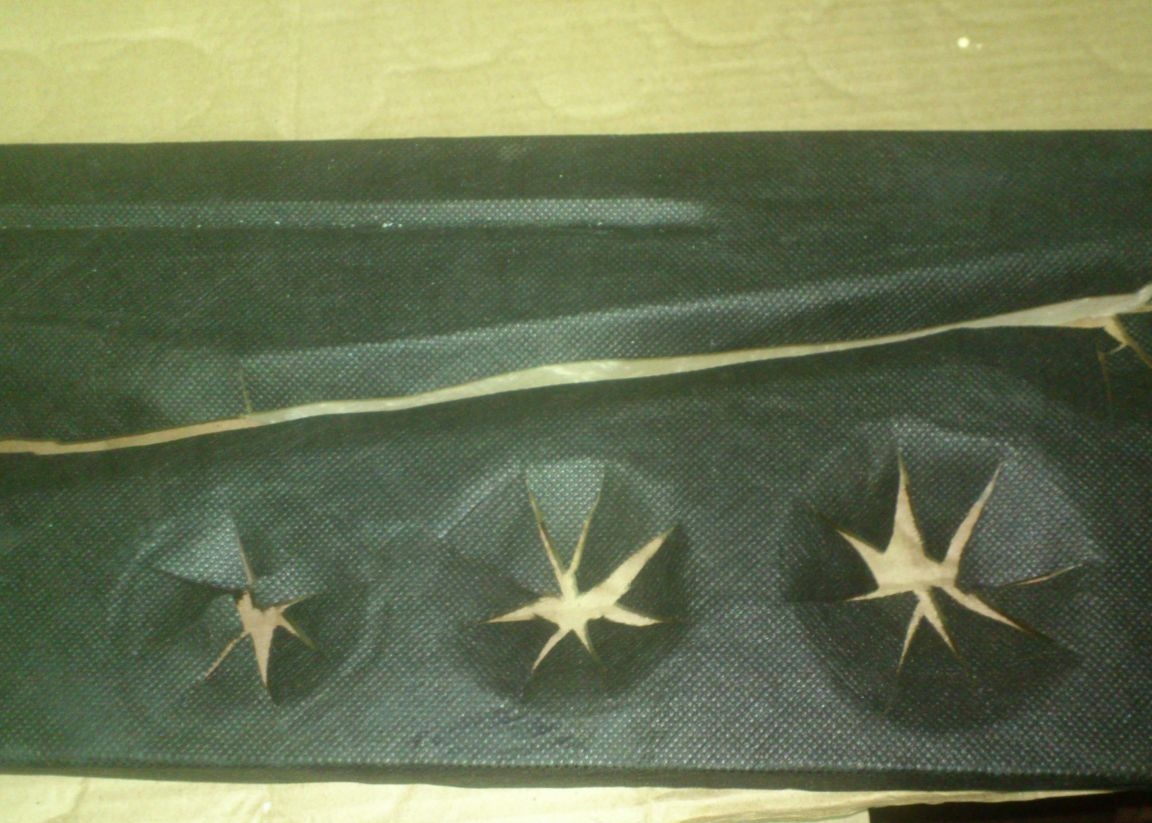
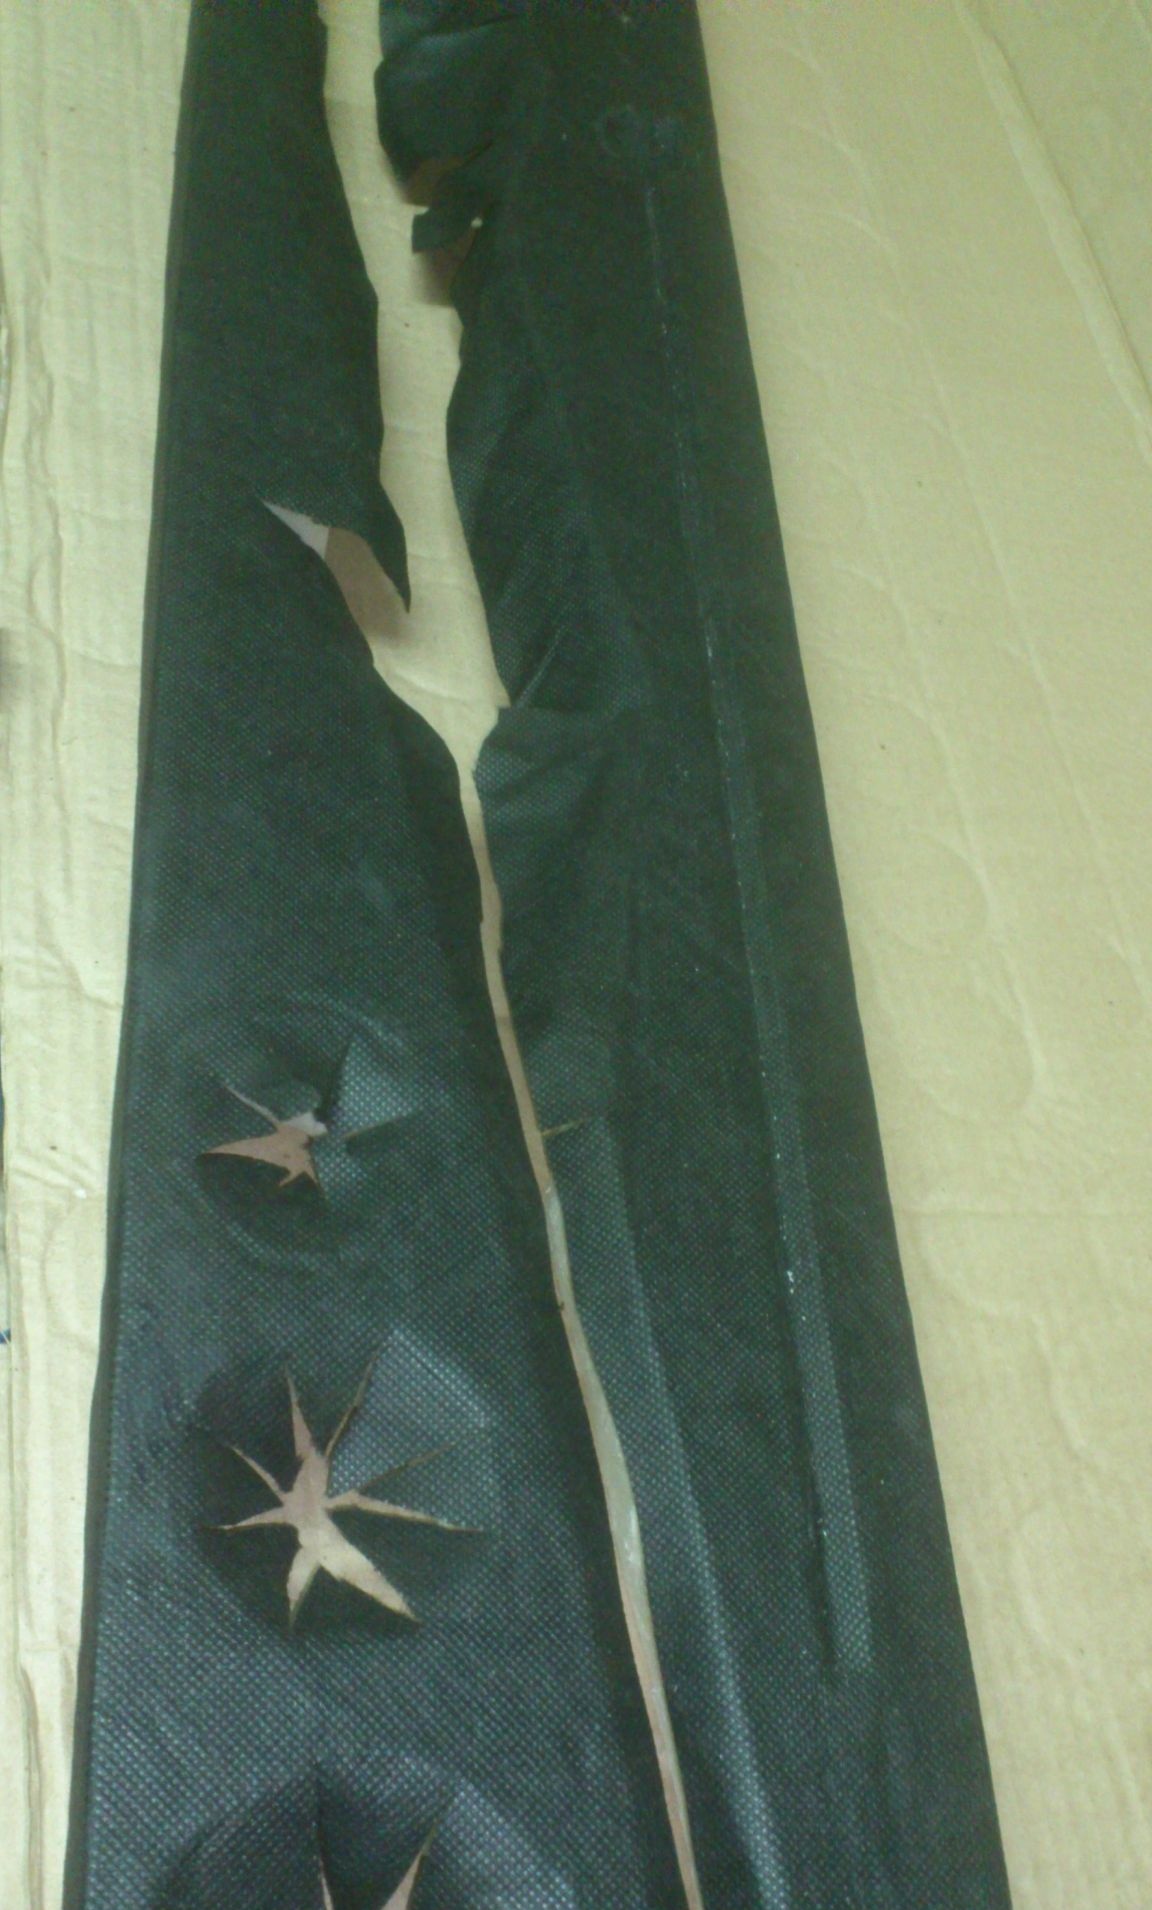
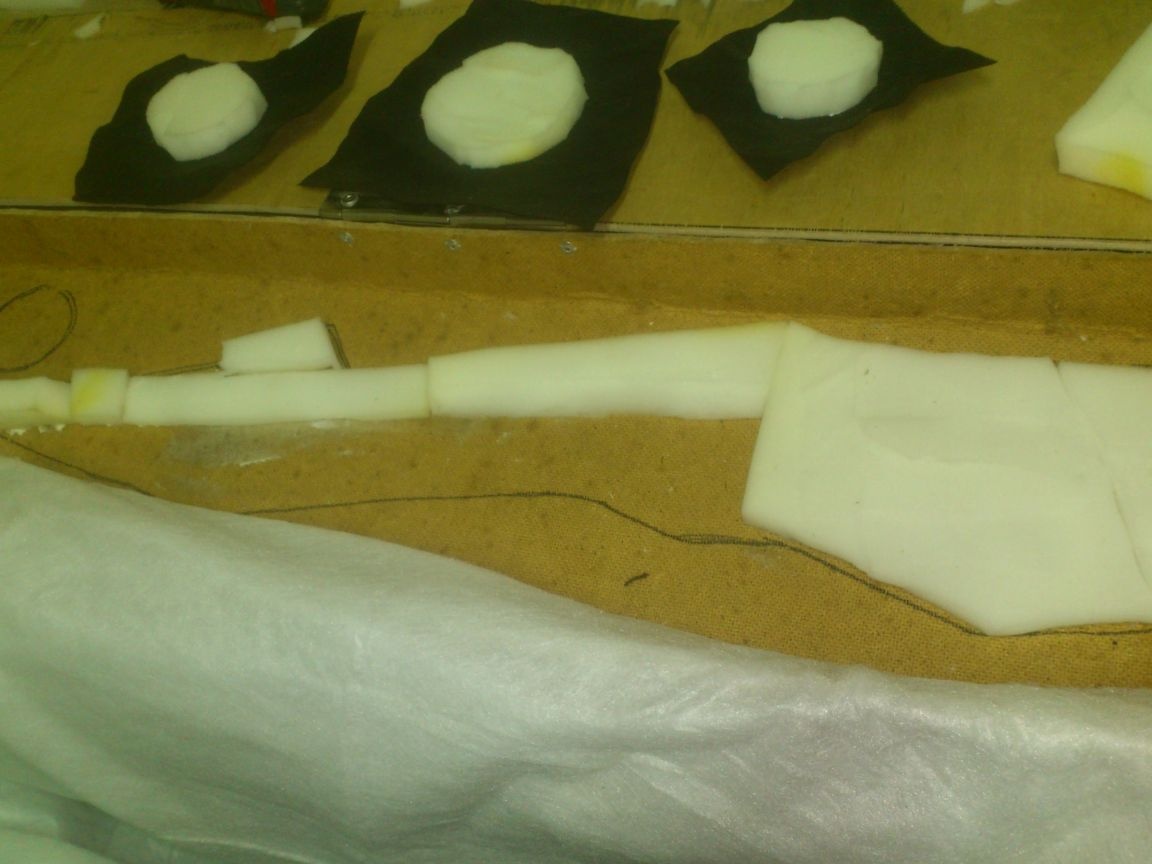
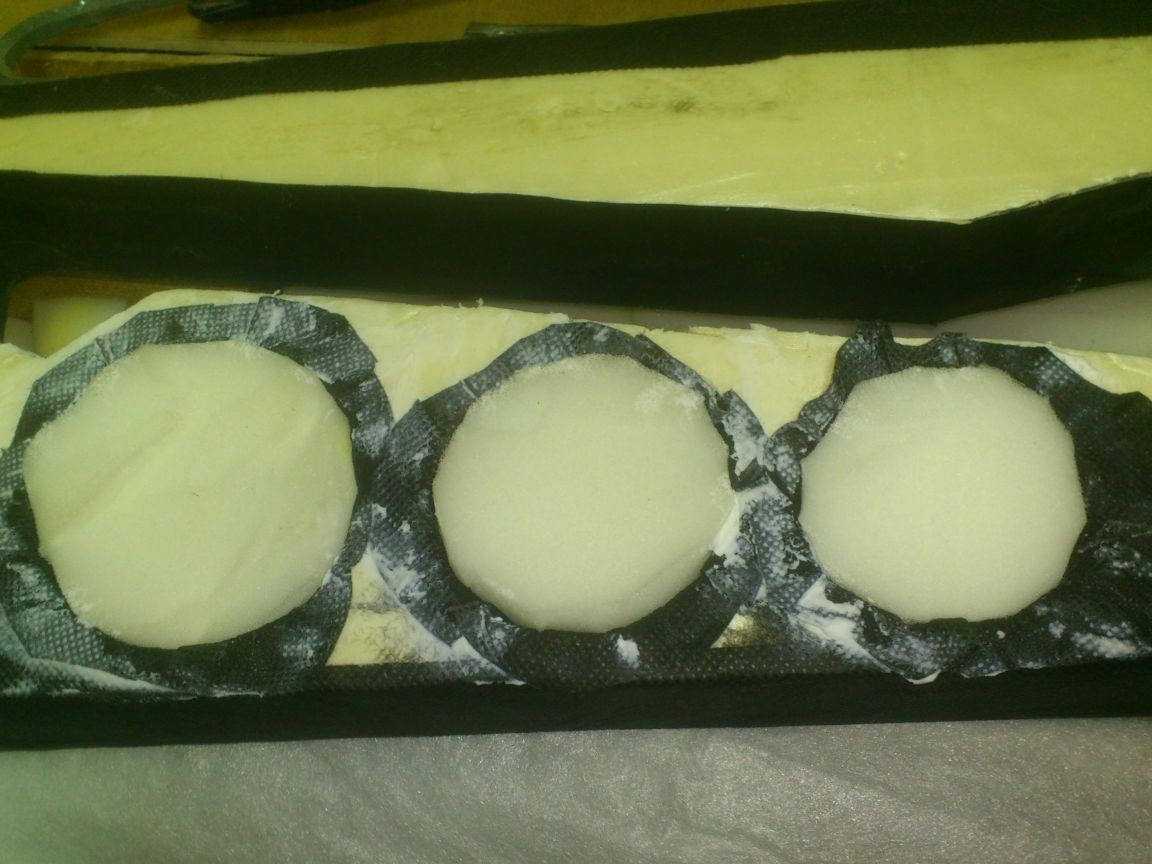
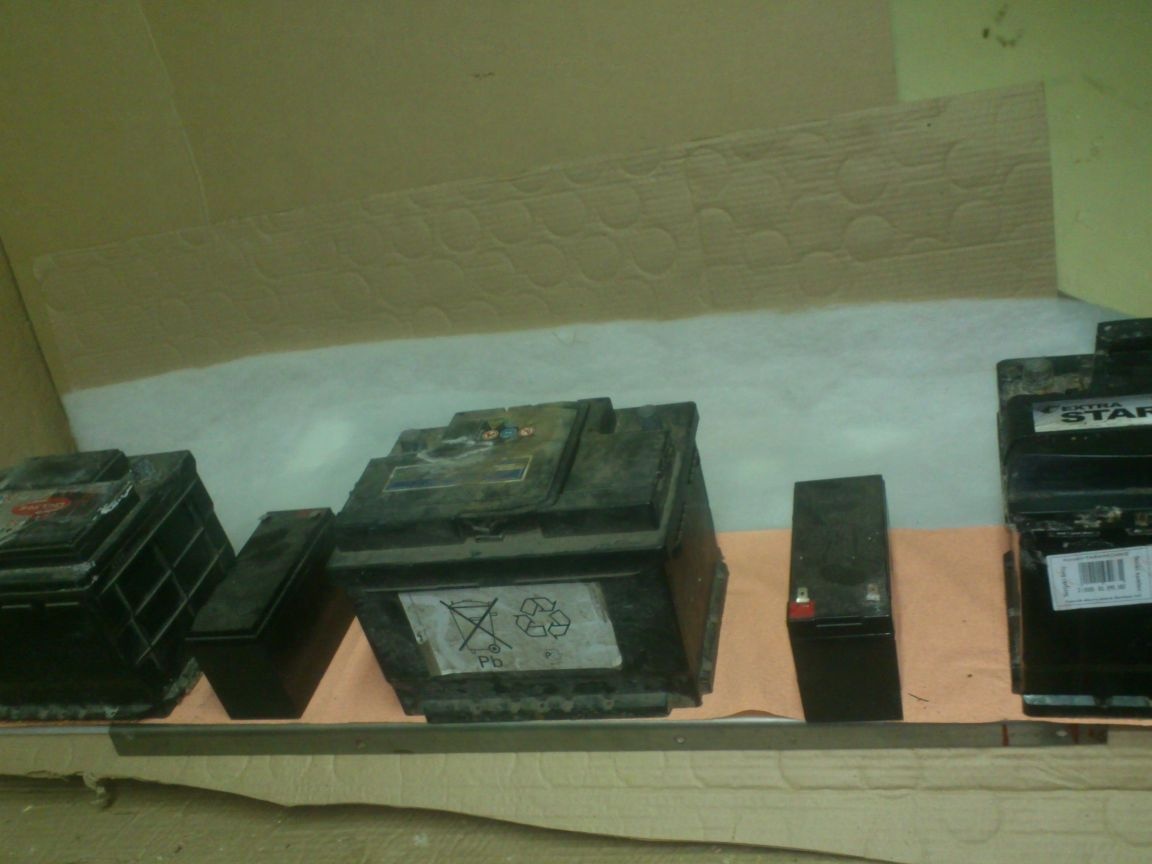
There was a lot of space above the barrel, so I decided to make recesses there for jars with bullets. I took three cans, from the most common bullets in our city, and cut three niches by their size:
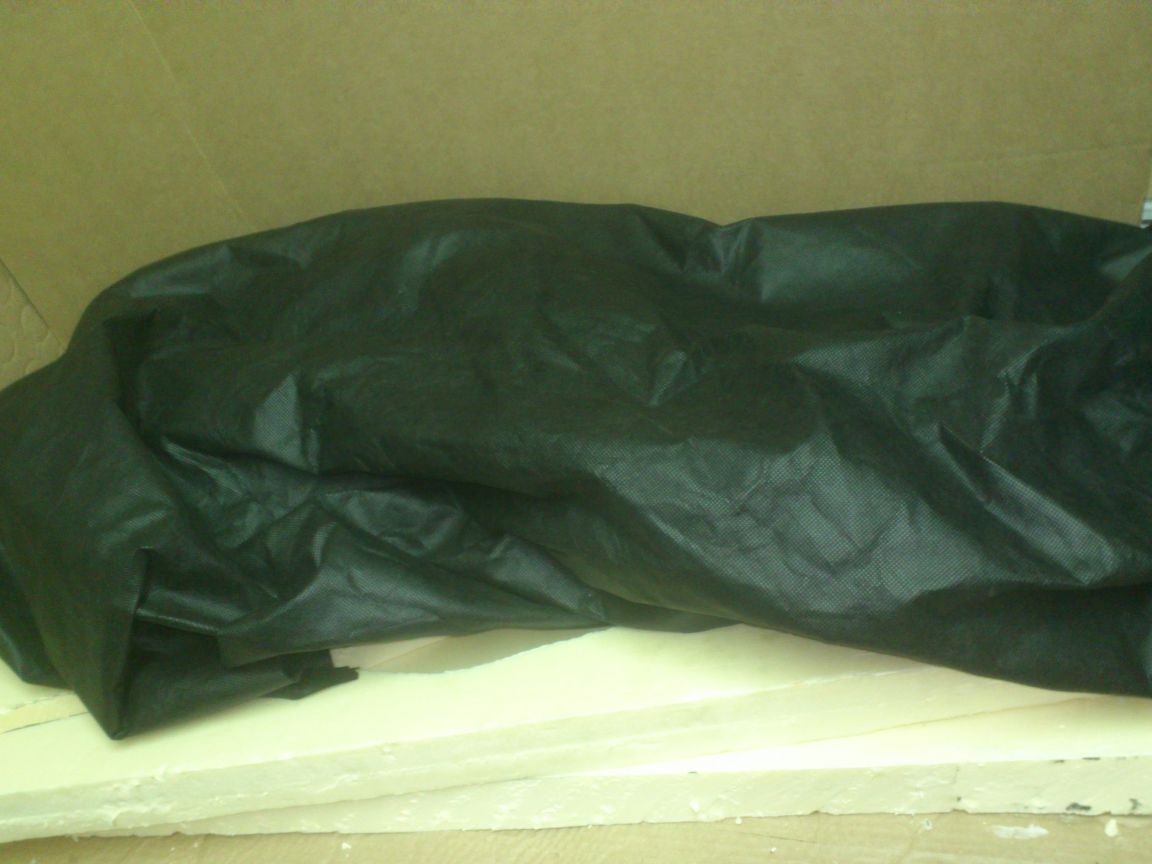
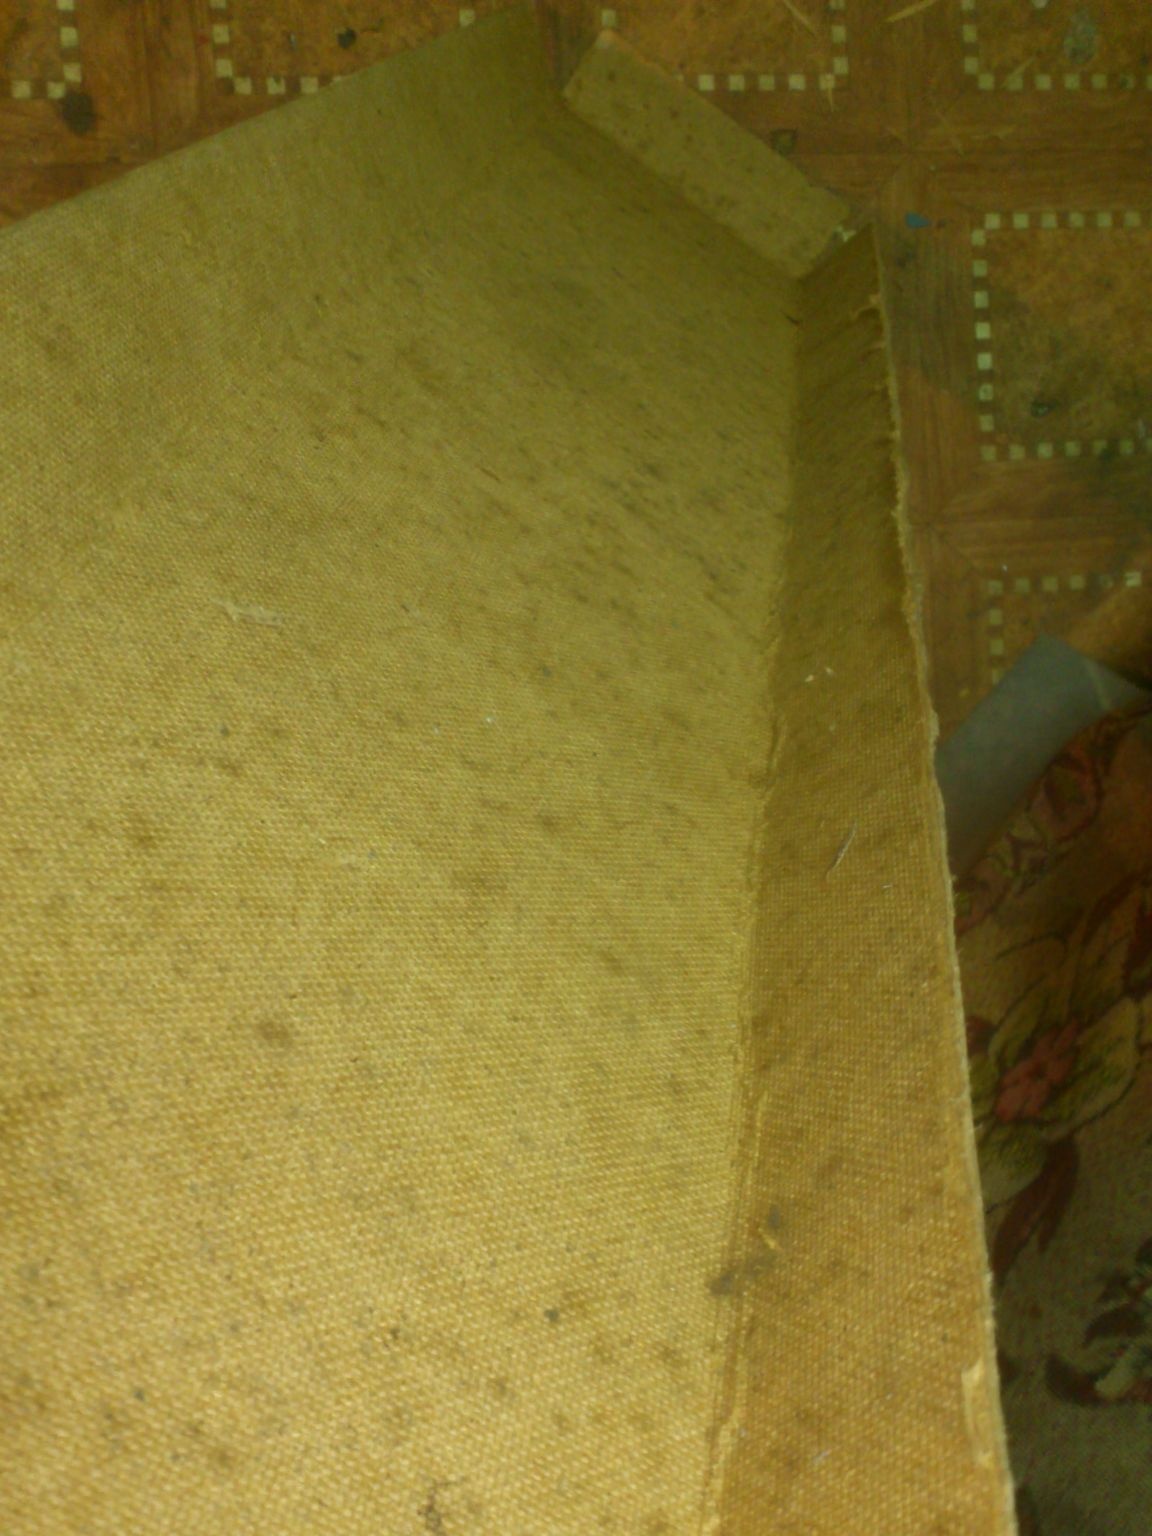
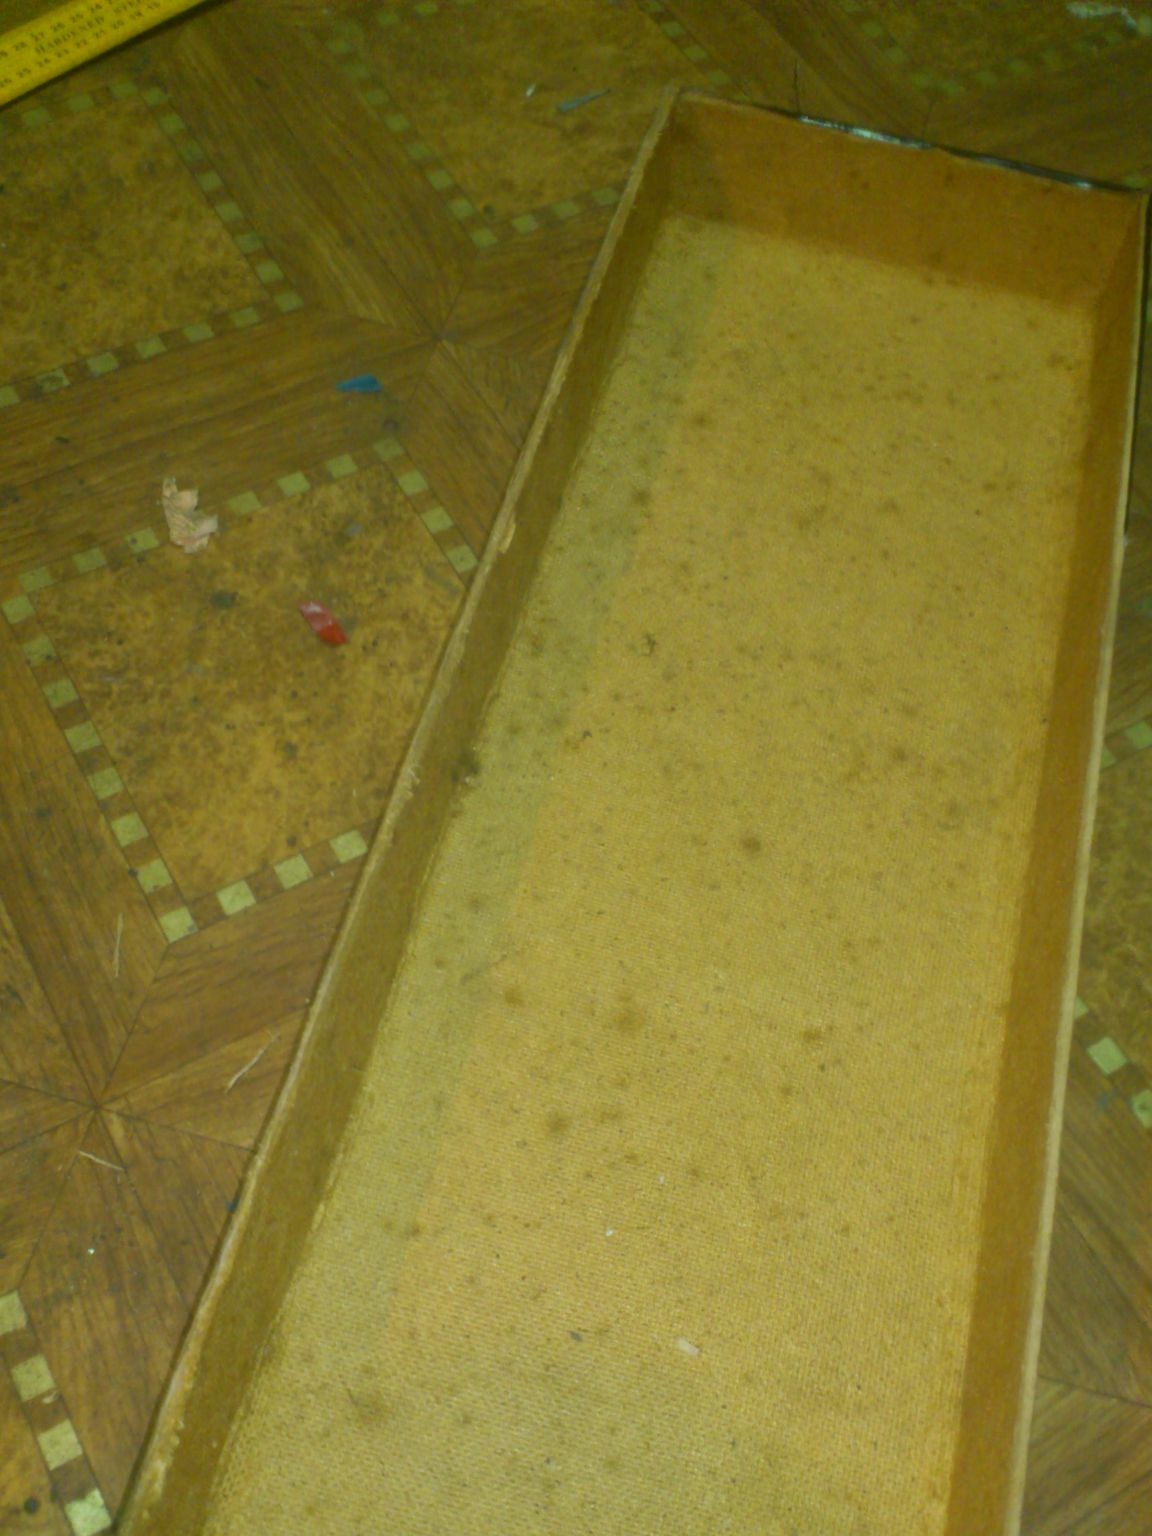
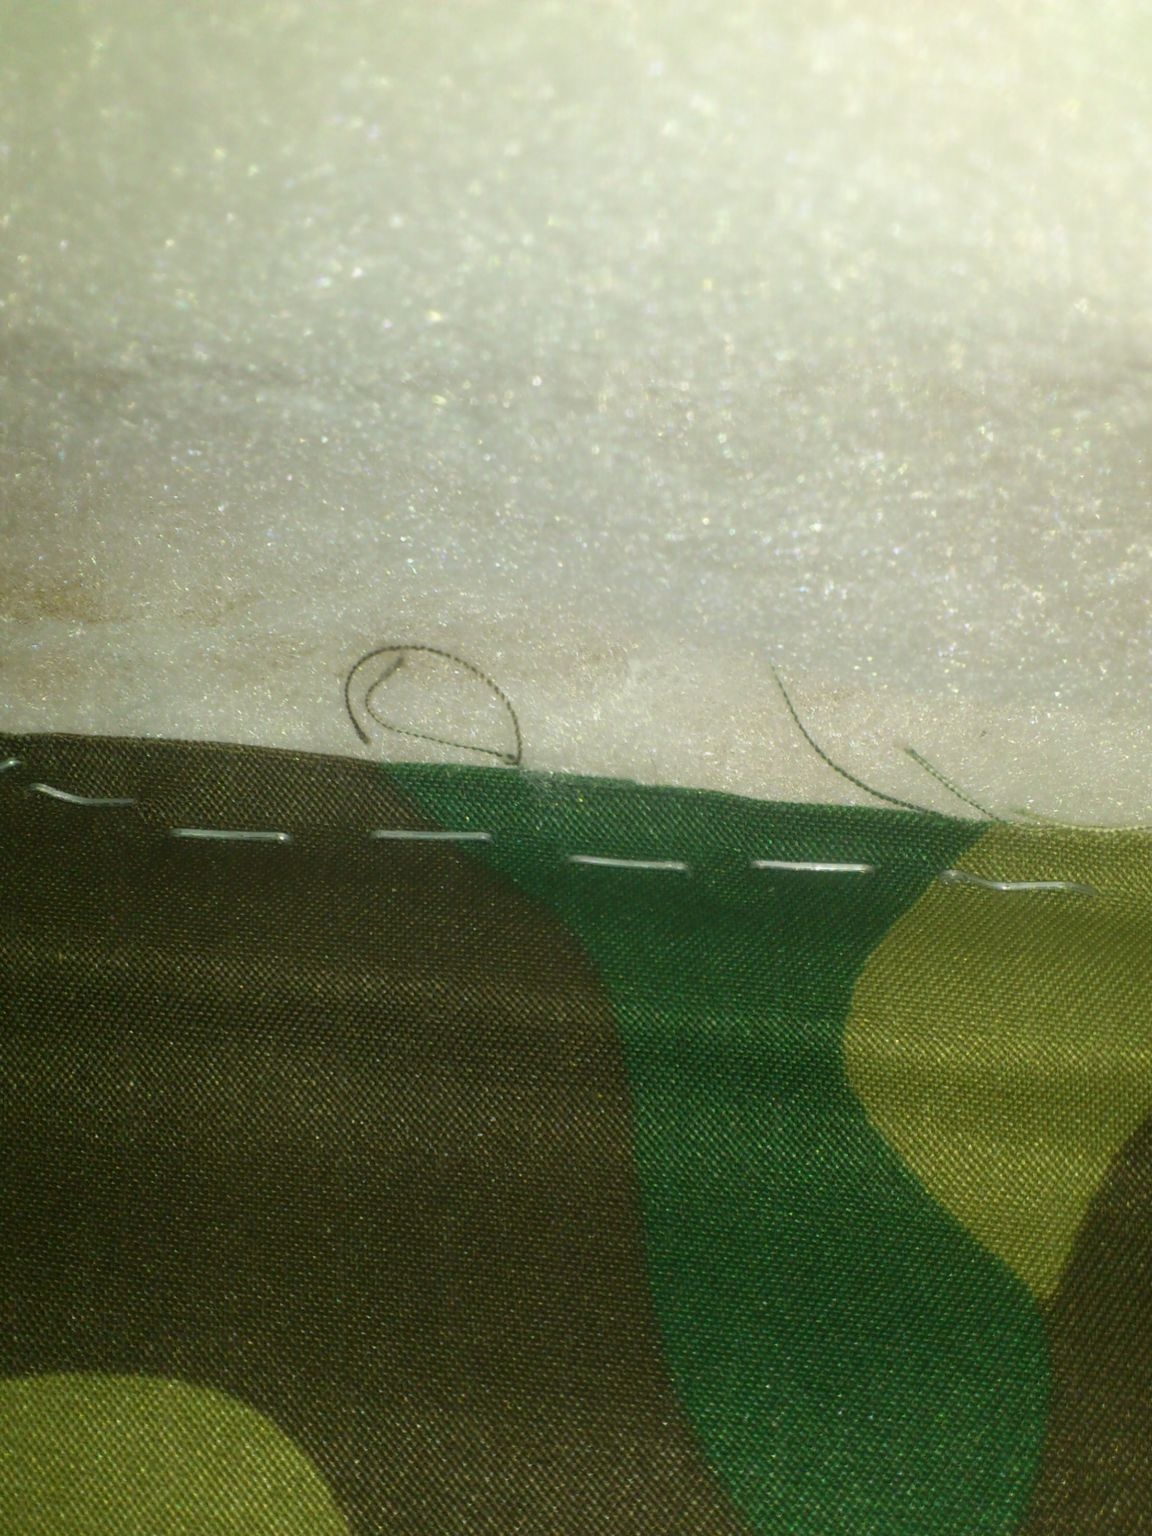
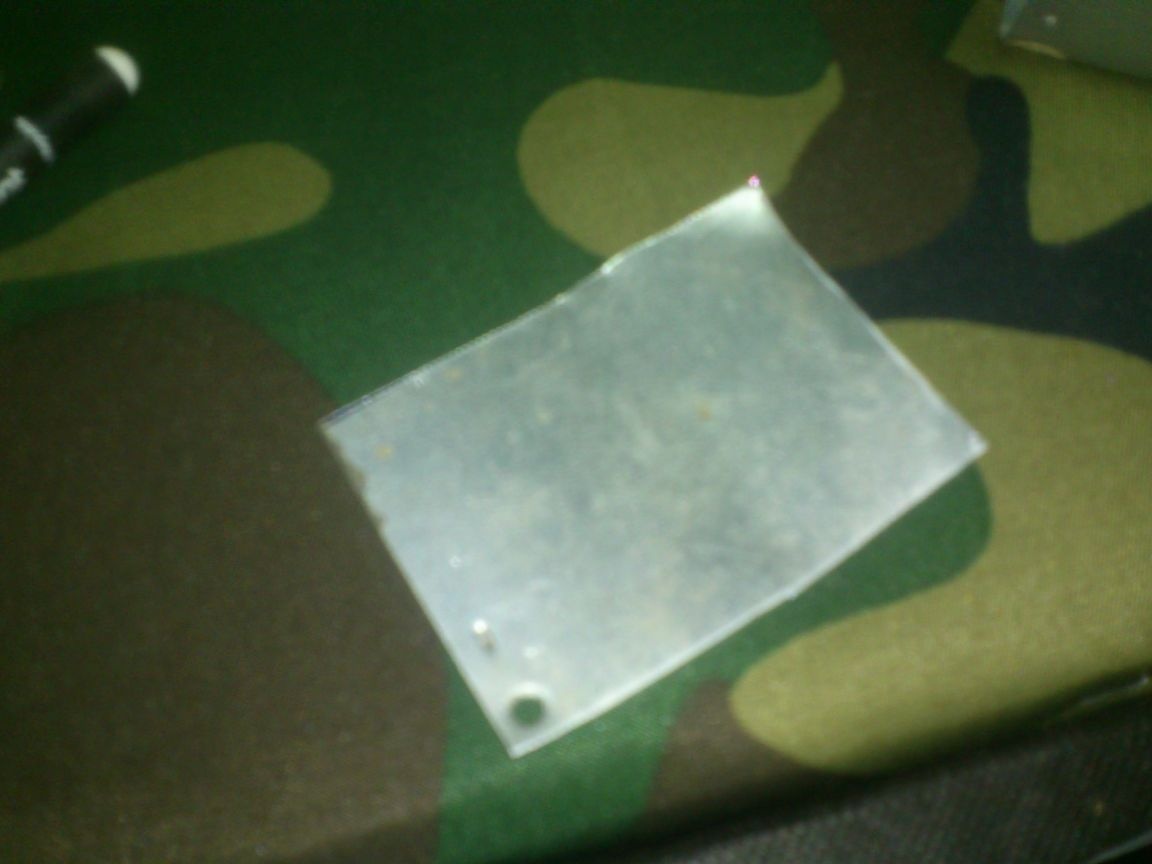
So, the liner is ready. It is necessary to somehow "ennoble" it. As the finishing material, I chose the so-called "non-woven fabric" (other names - agrotextile, spanbond) in black. I have his supply in the basement - the wife at the dacha shelters them with aisles)))).
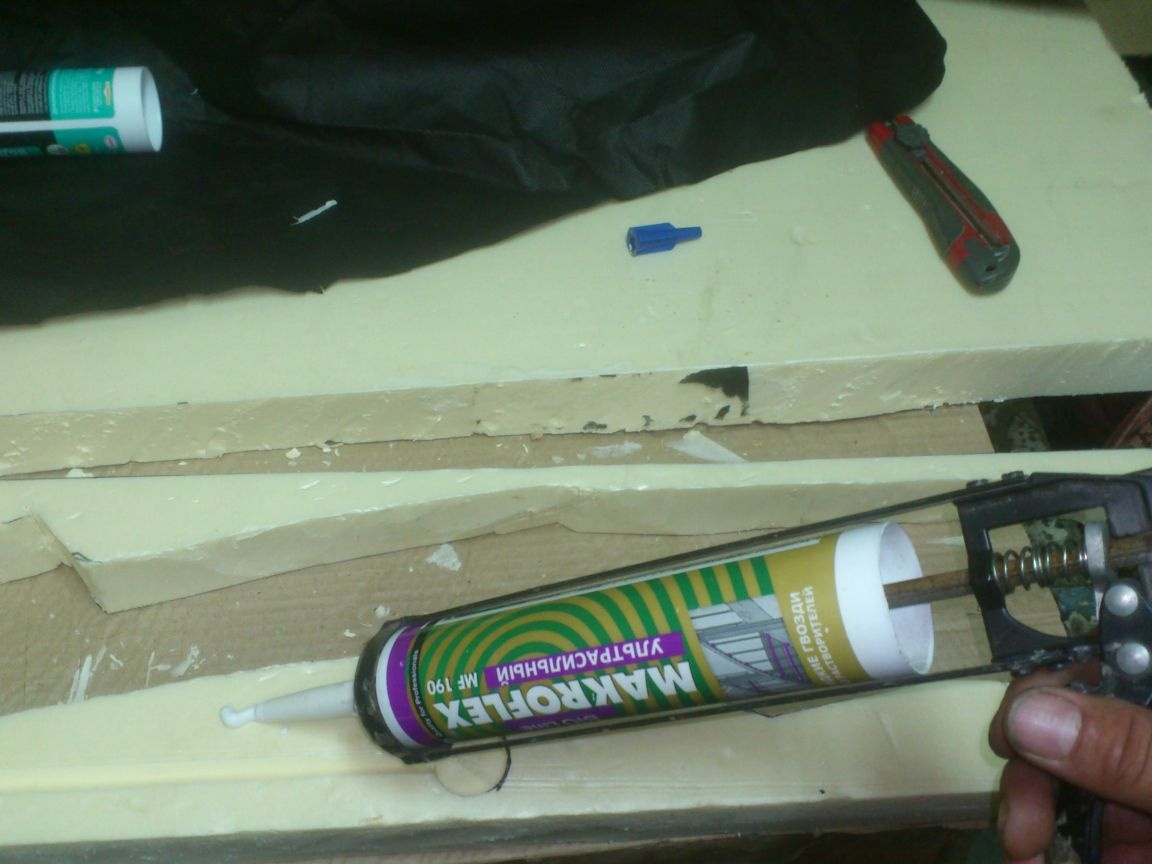
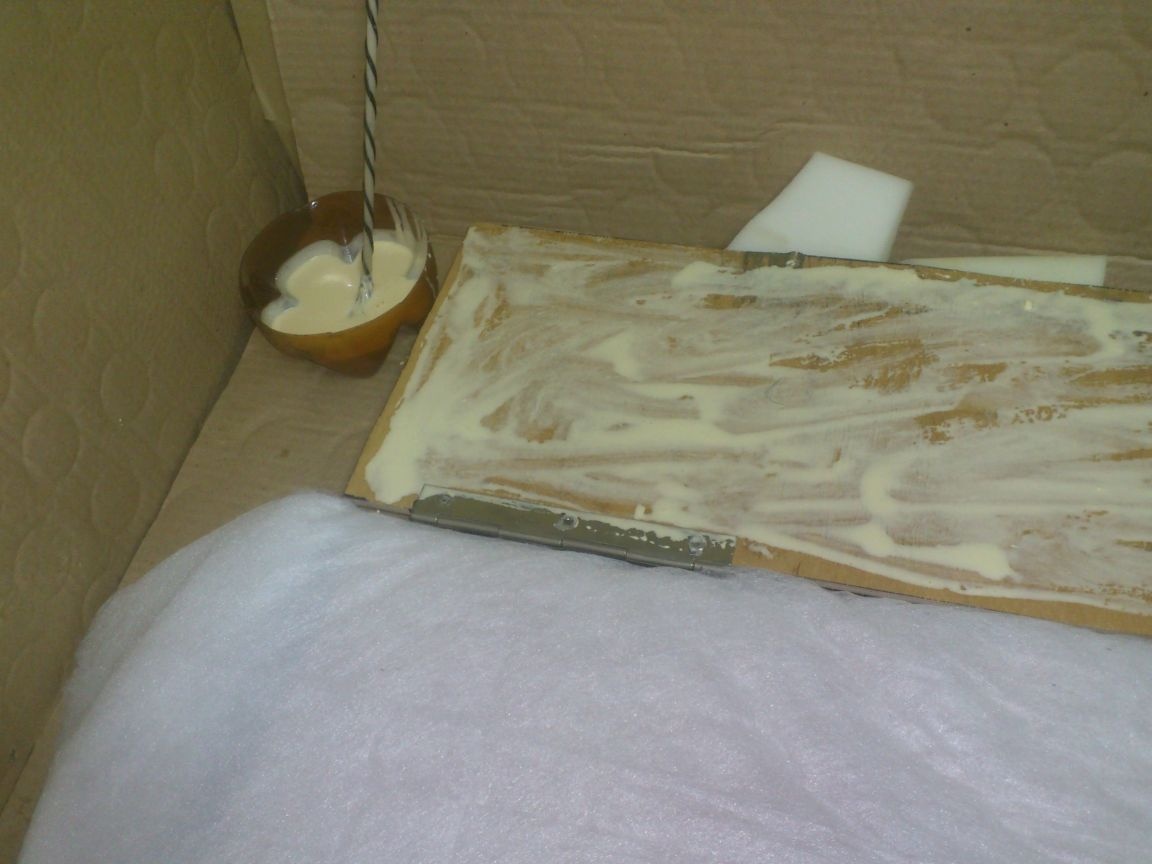
As the glue, I used the started tube of mounting glue ("Liquid Nails"), which had long been on the shelf and miraculously has not yet dried up.
The glue was applied to the foam and smeared with a thin layer with a wet finger:
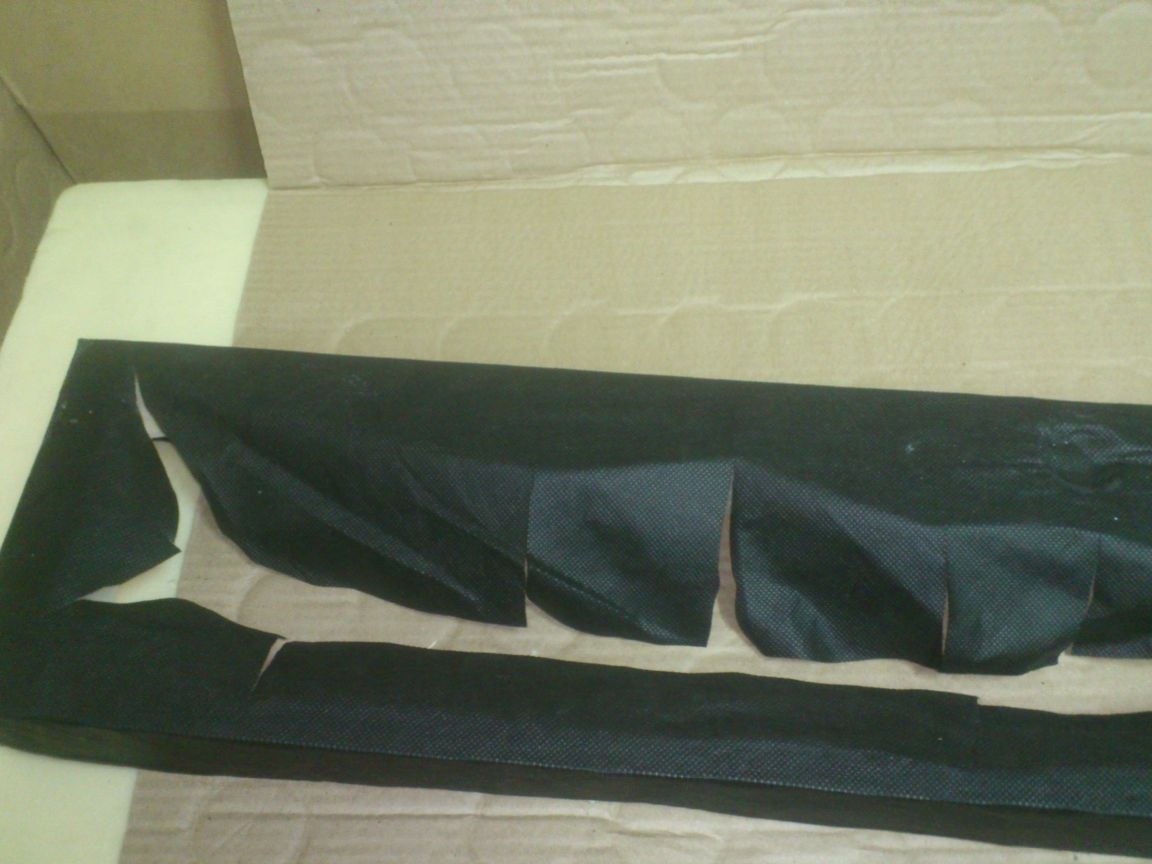
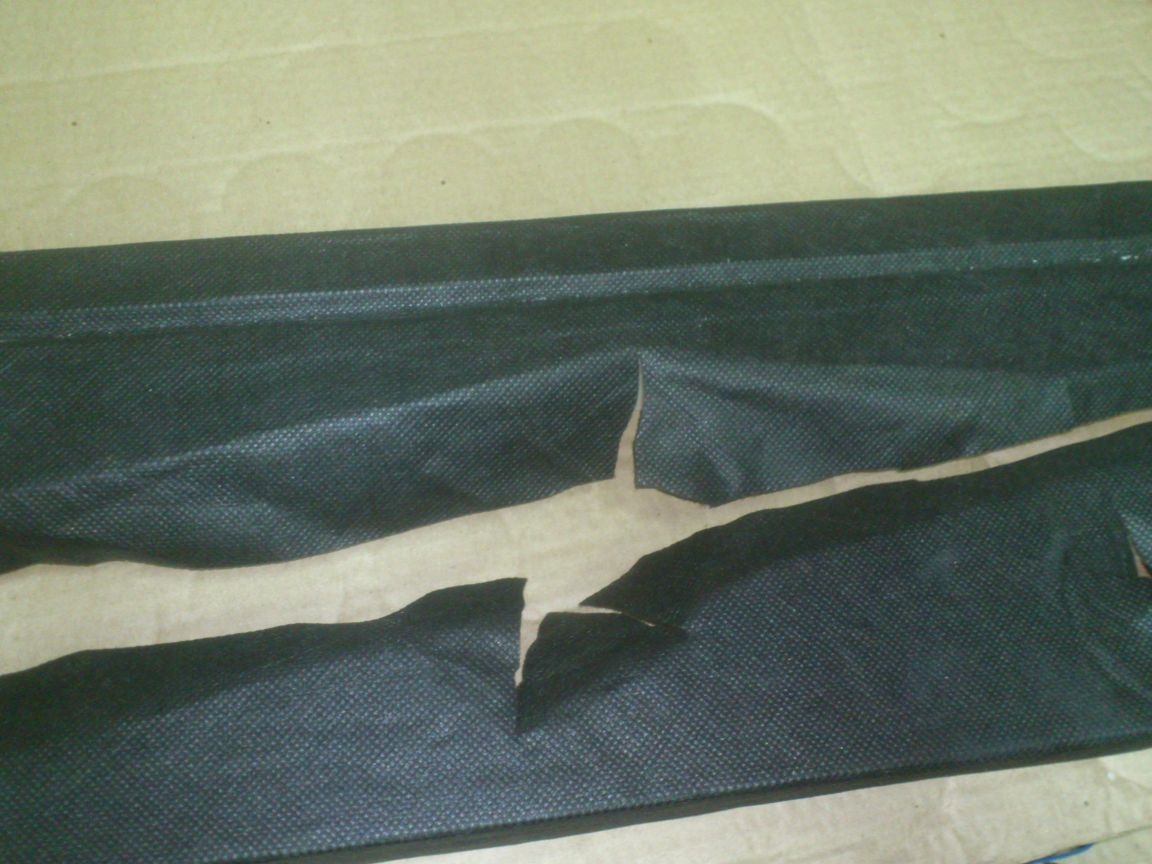
After the spanbond was glued, I cut through all the voids in the middle, cut the fabric to each corner and also glued it with the same glue:
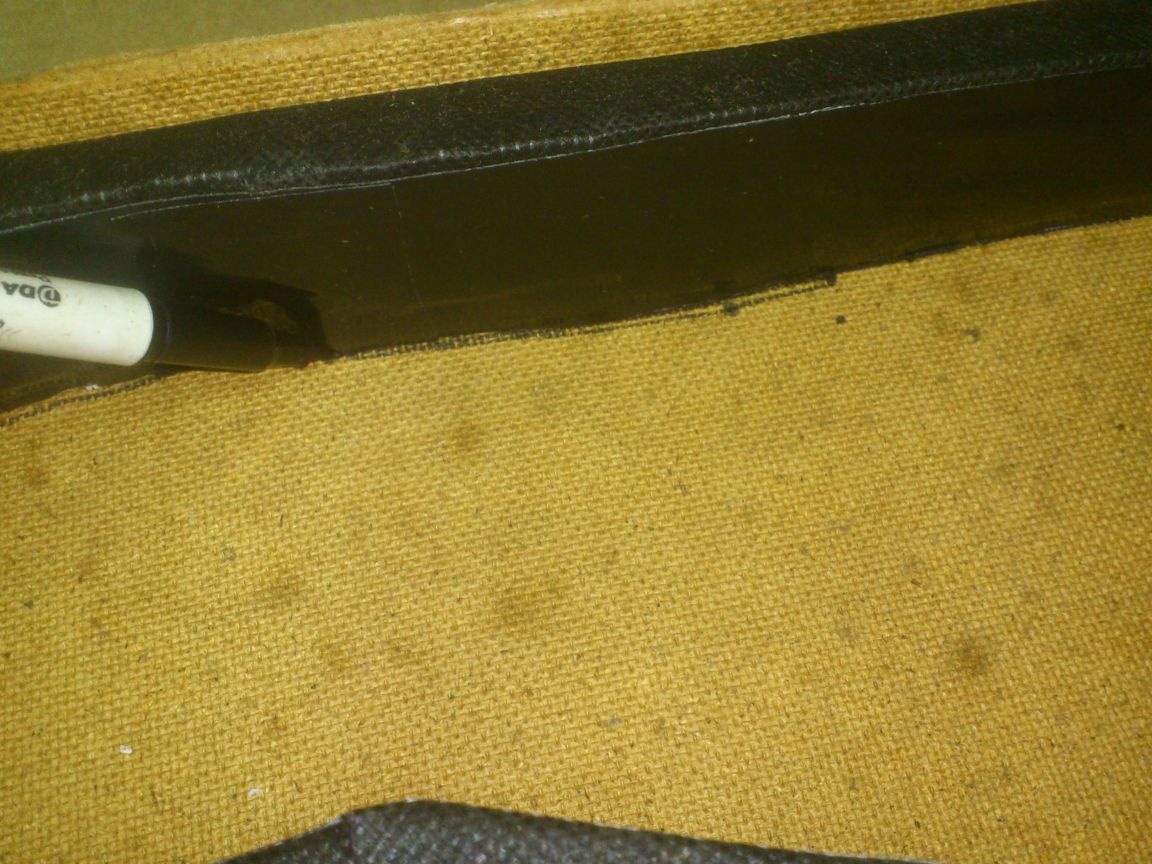
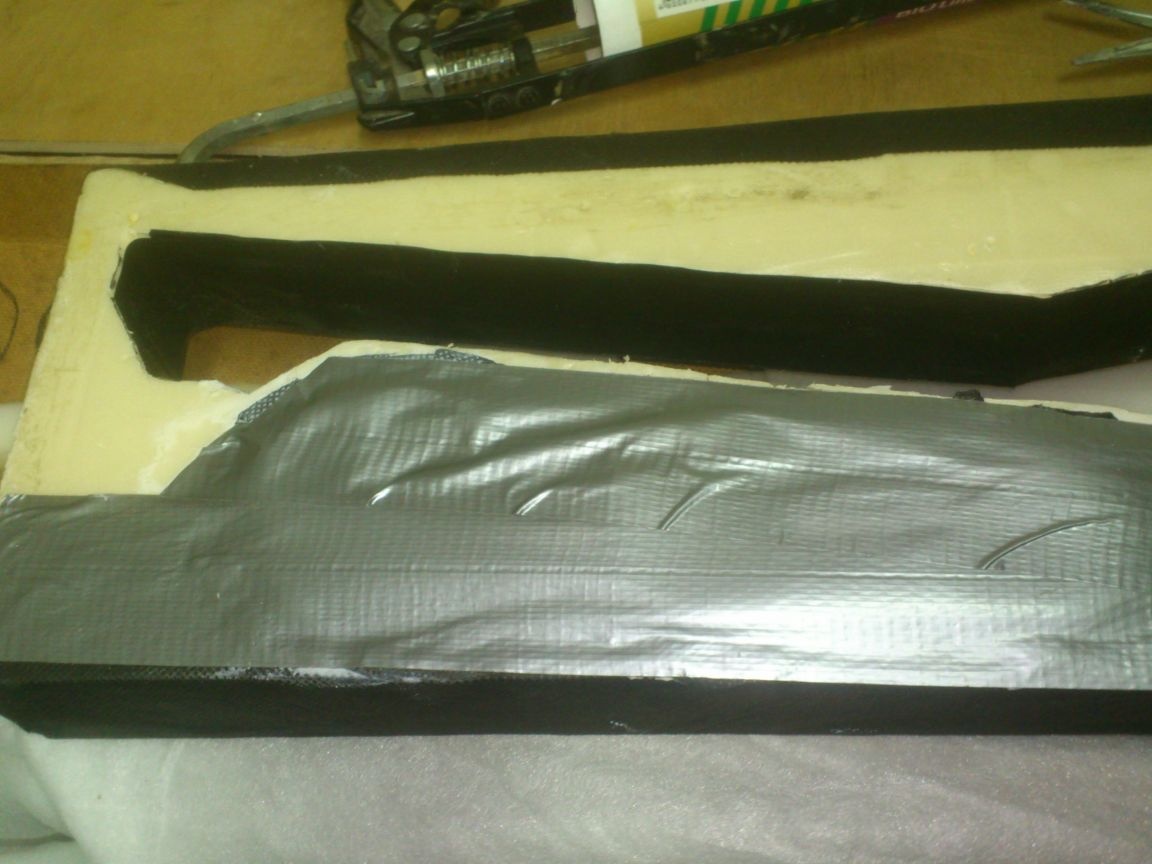
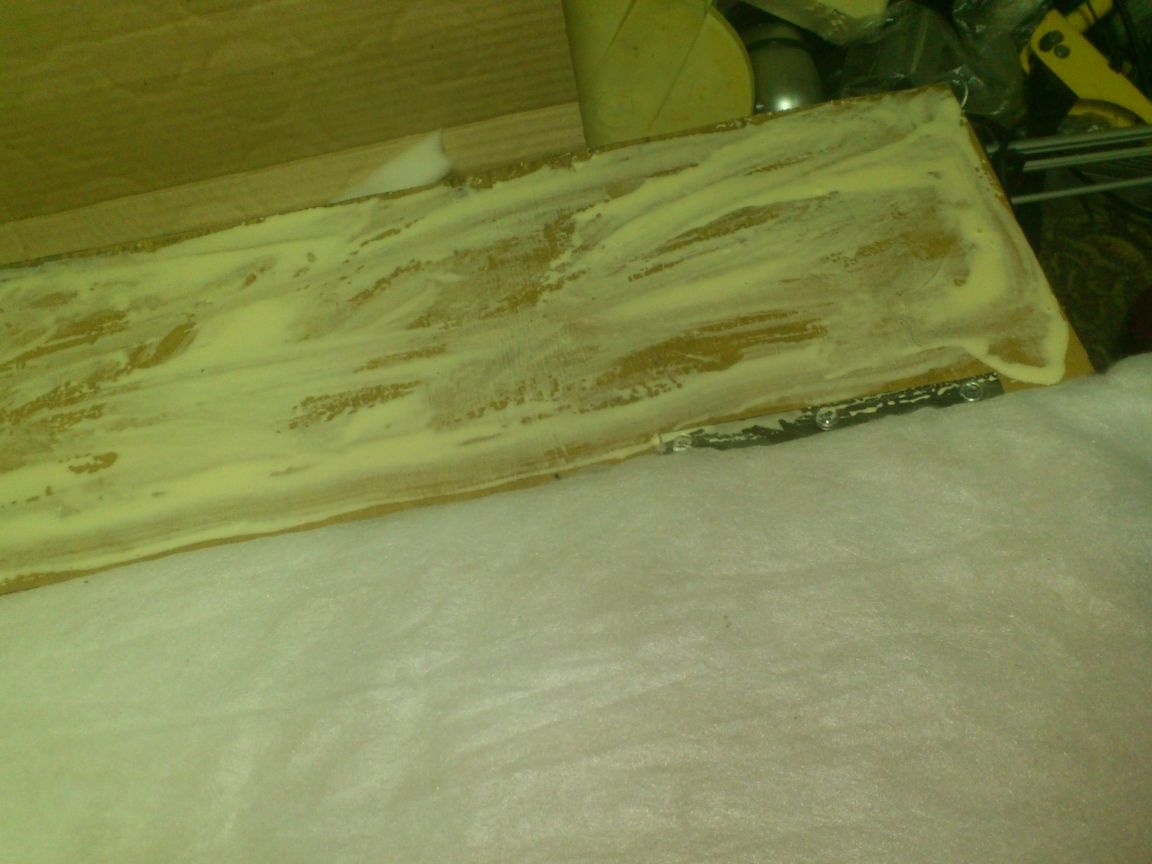
Initially, I decided to seal the inner ends with the same material. And even already cut a long ribbon, a width of five centimeters ....
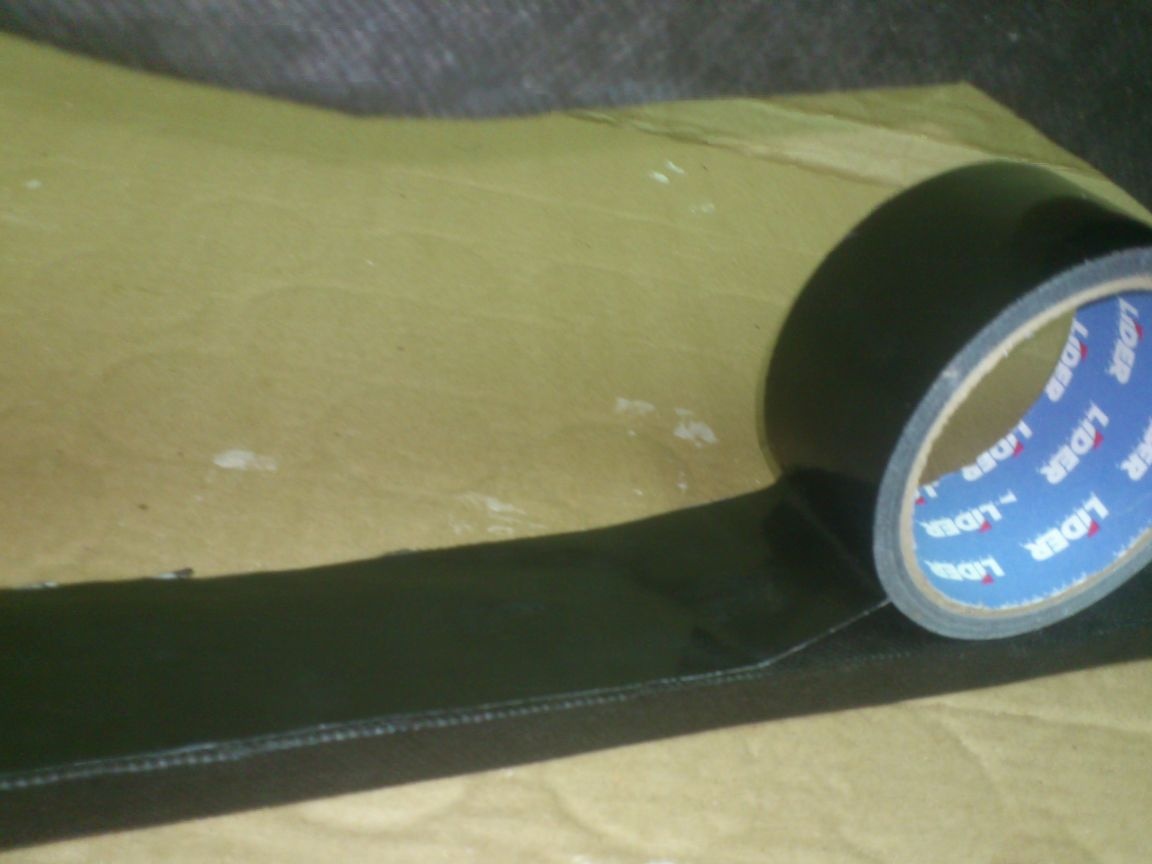
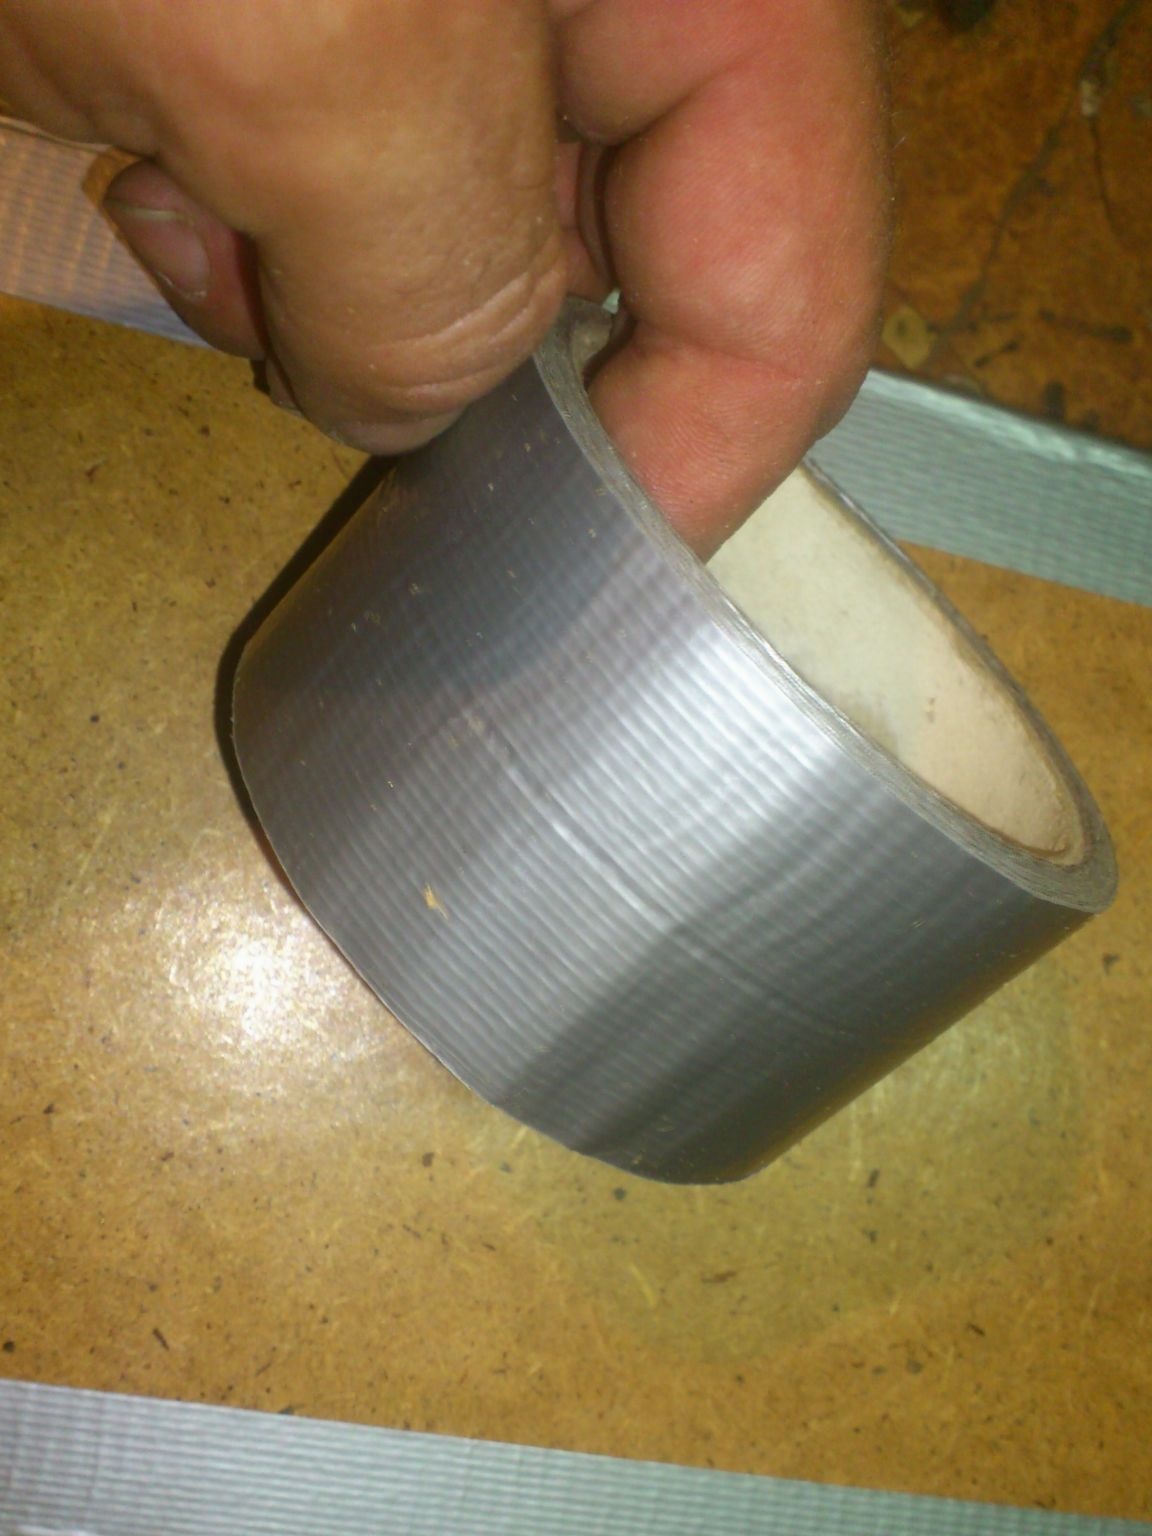
But then I came across a skein of "household tape" black.
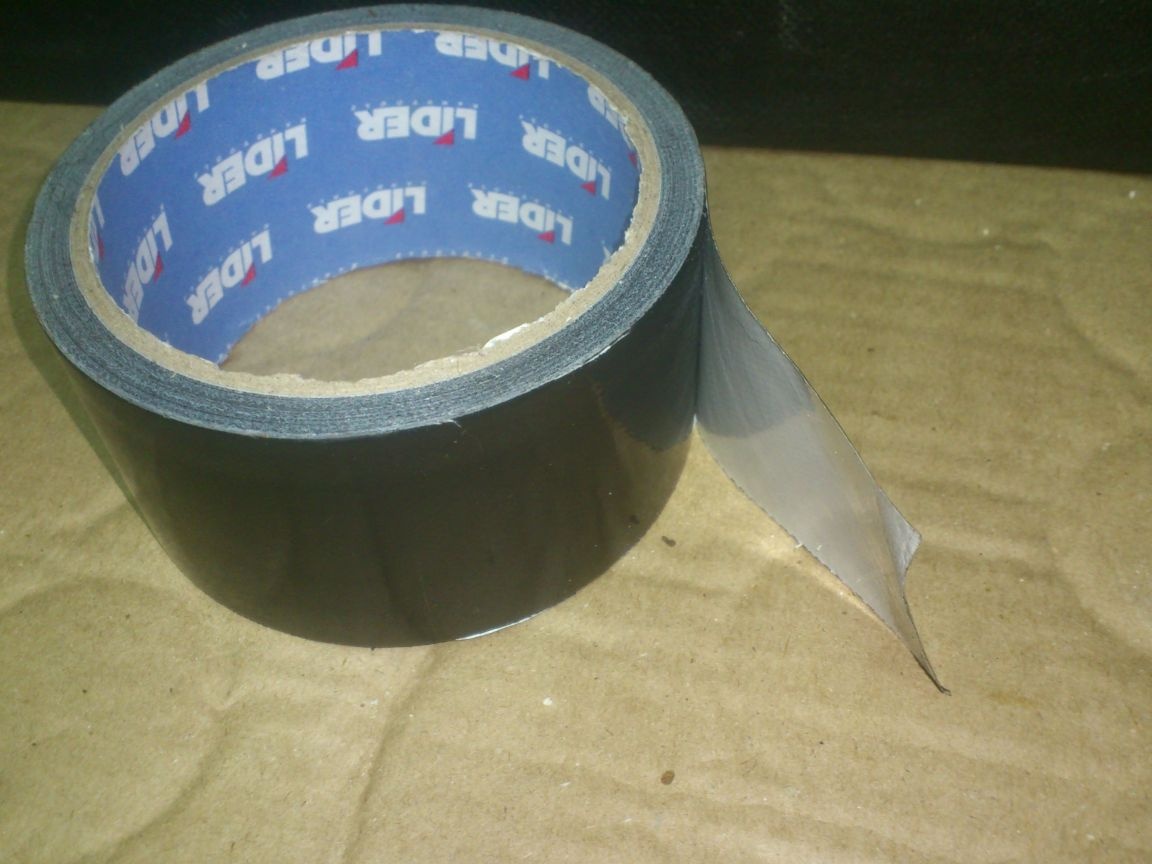
His width is just as I need! This adhesive reinforced tape is glued very well! And I quickly and simply pasted it over the inner ends of my liner:
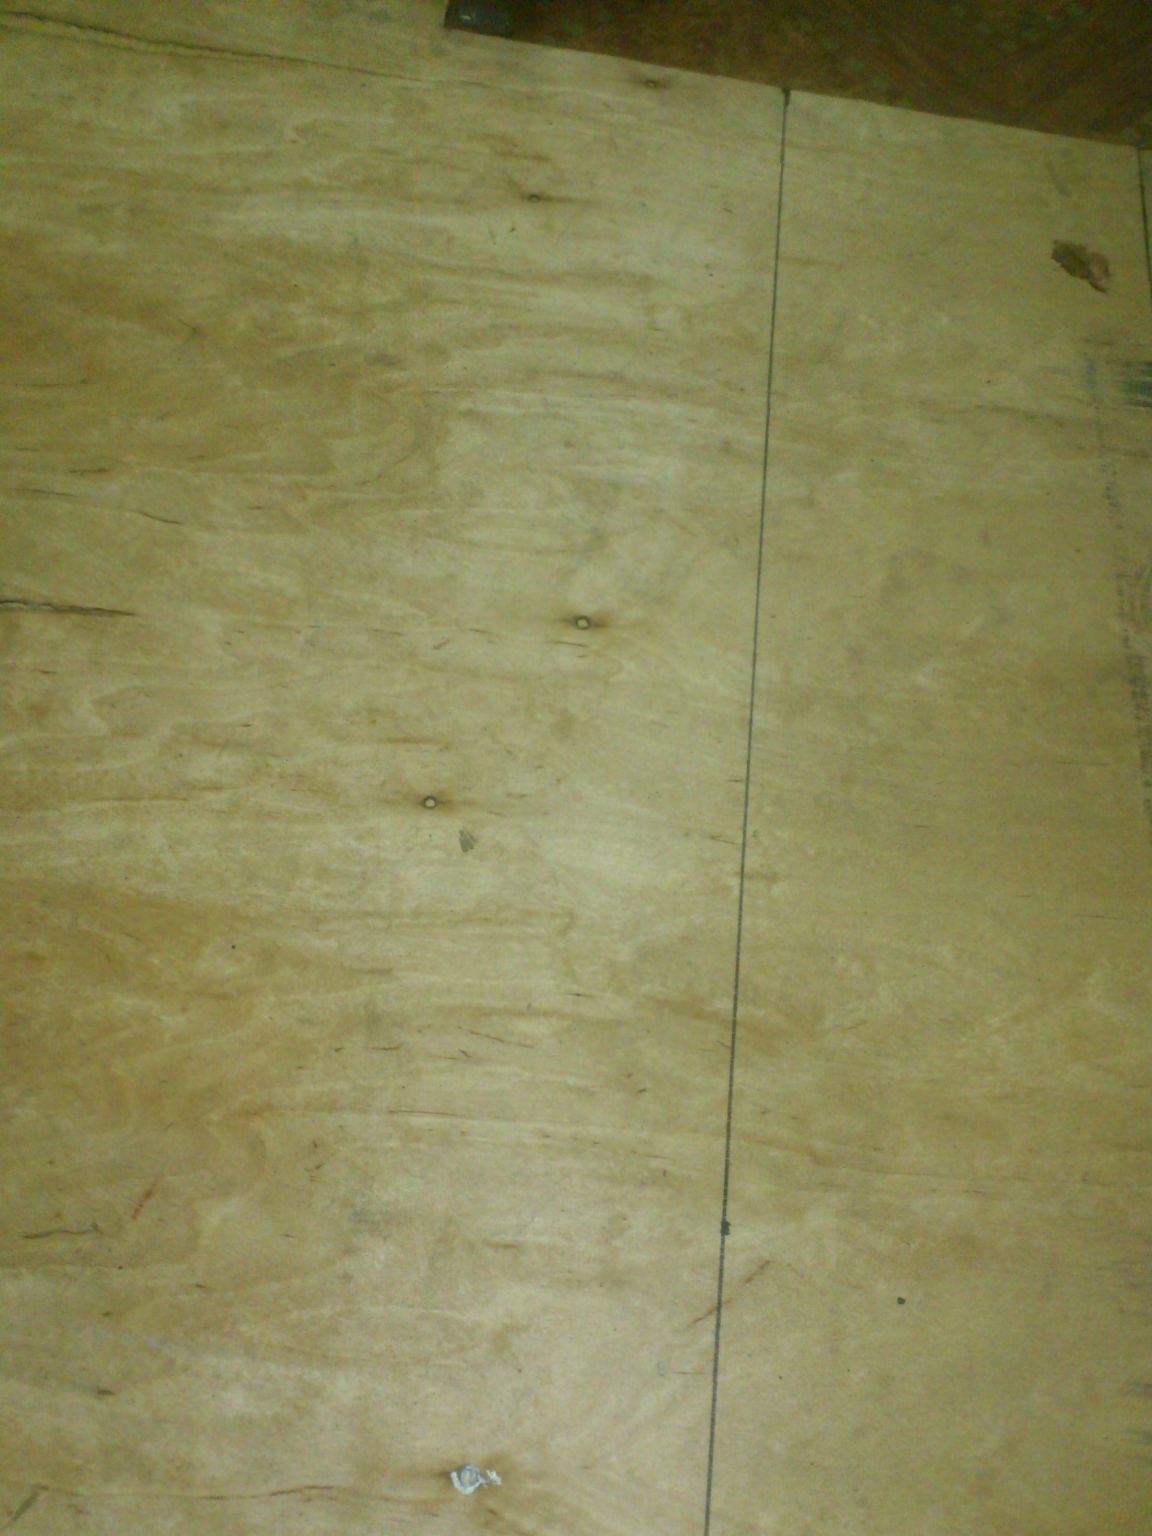
Now we will begin to make the case itself. I don’t need a special structural rigidity - the foam will “hold” the mold. Therefore, I decided to make it out of fiberboard. (I always have a few back walls from of furniture. And now, once again, it came in handy)))
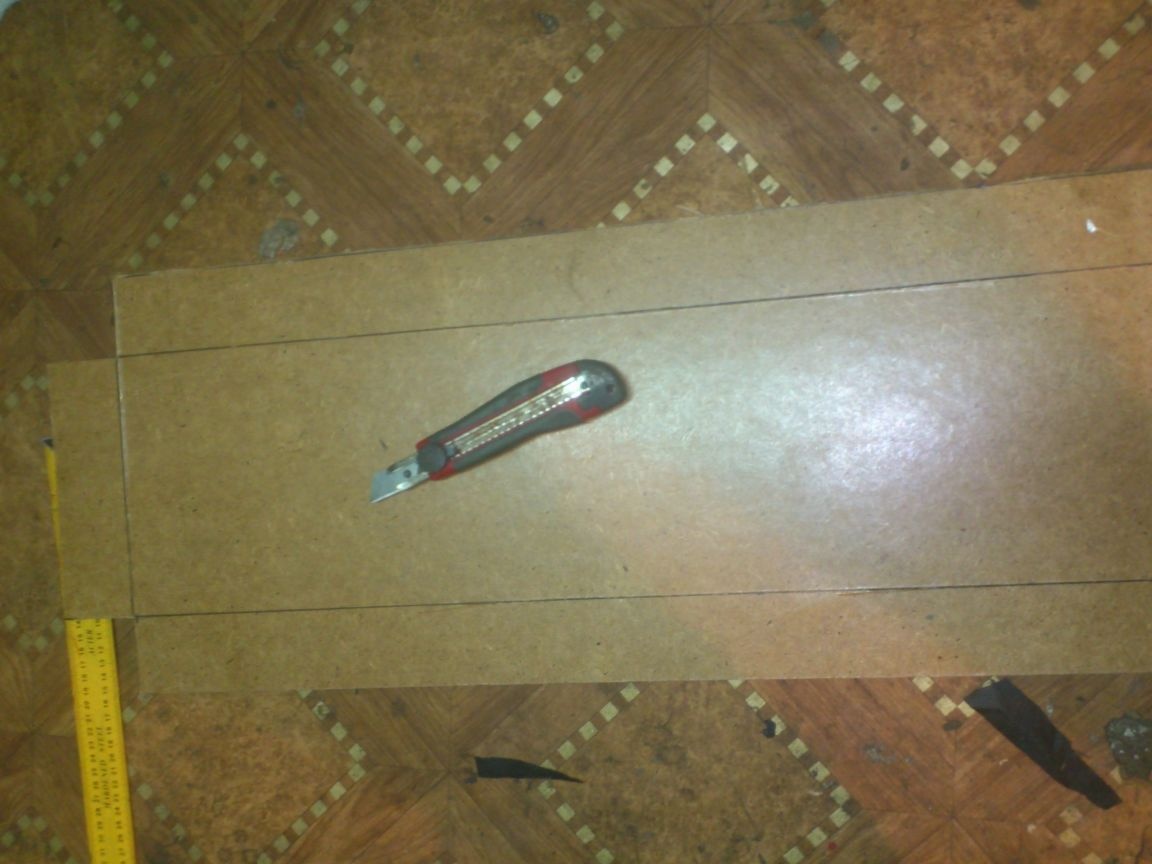
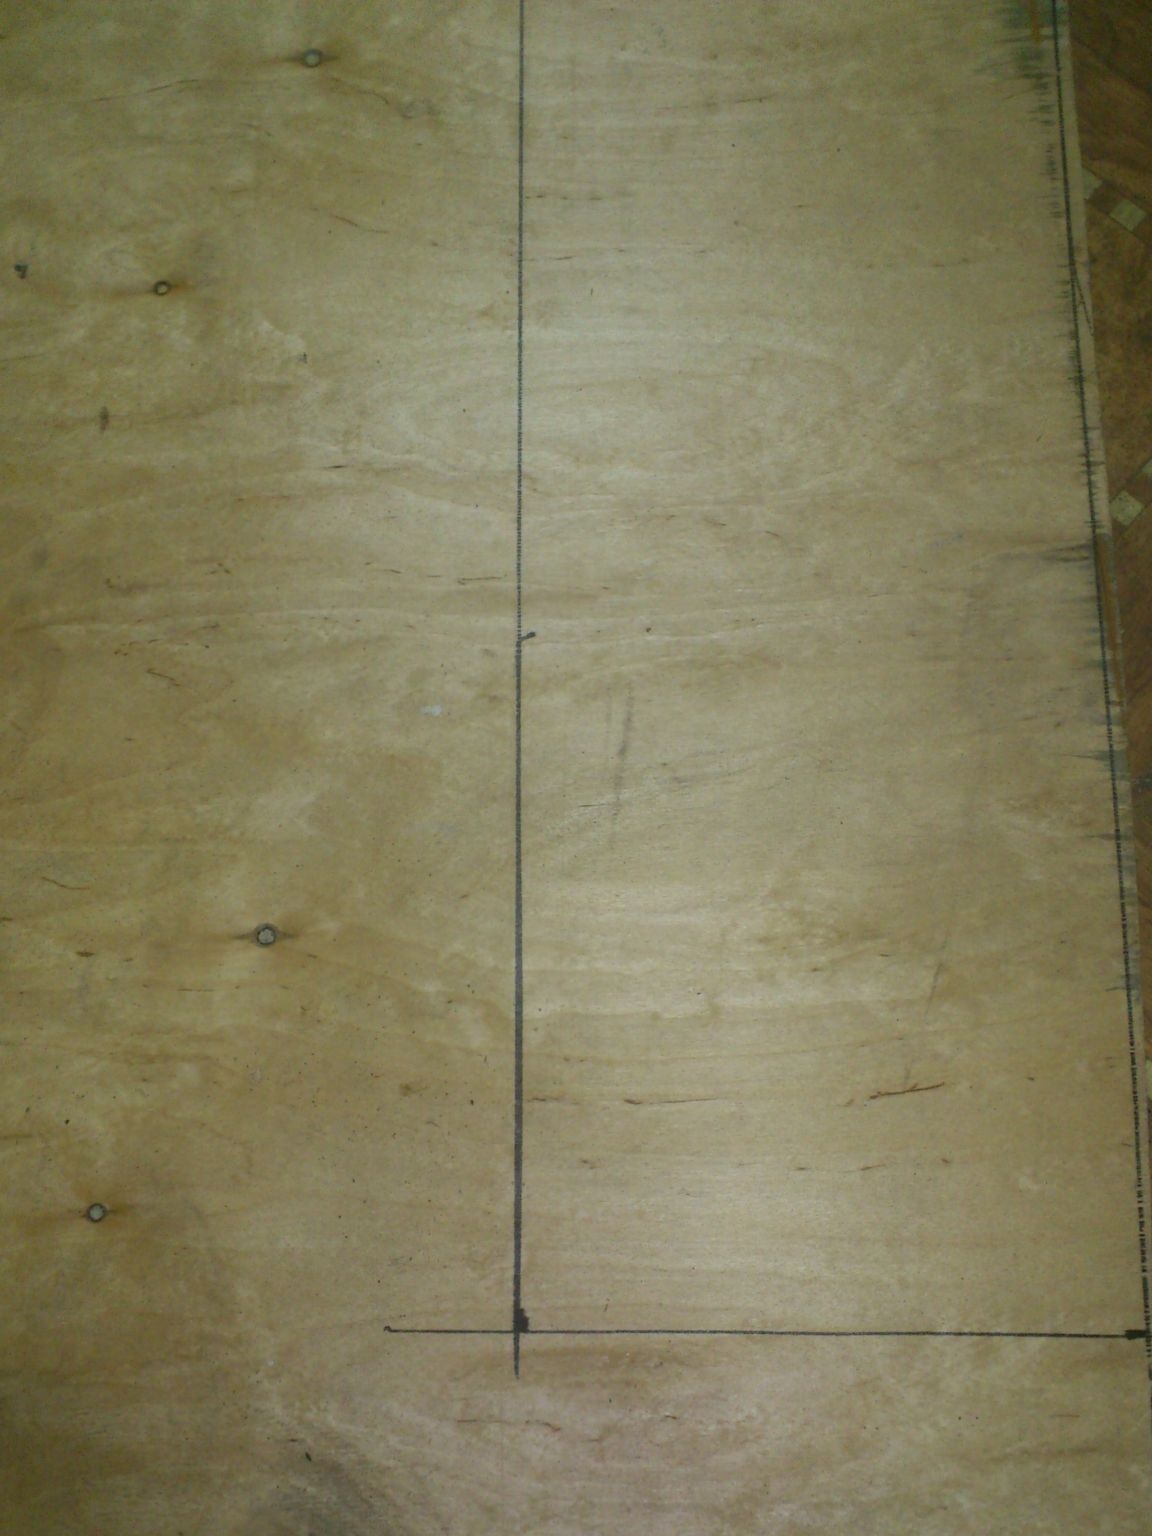
I drew a flat pattern:
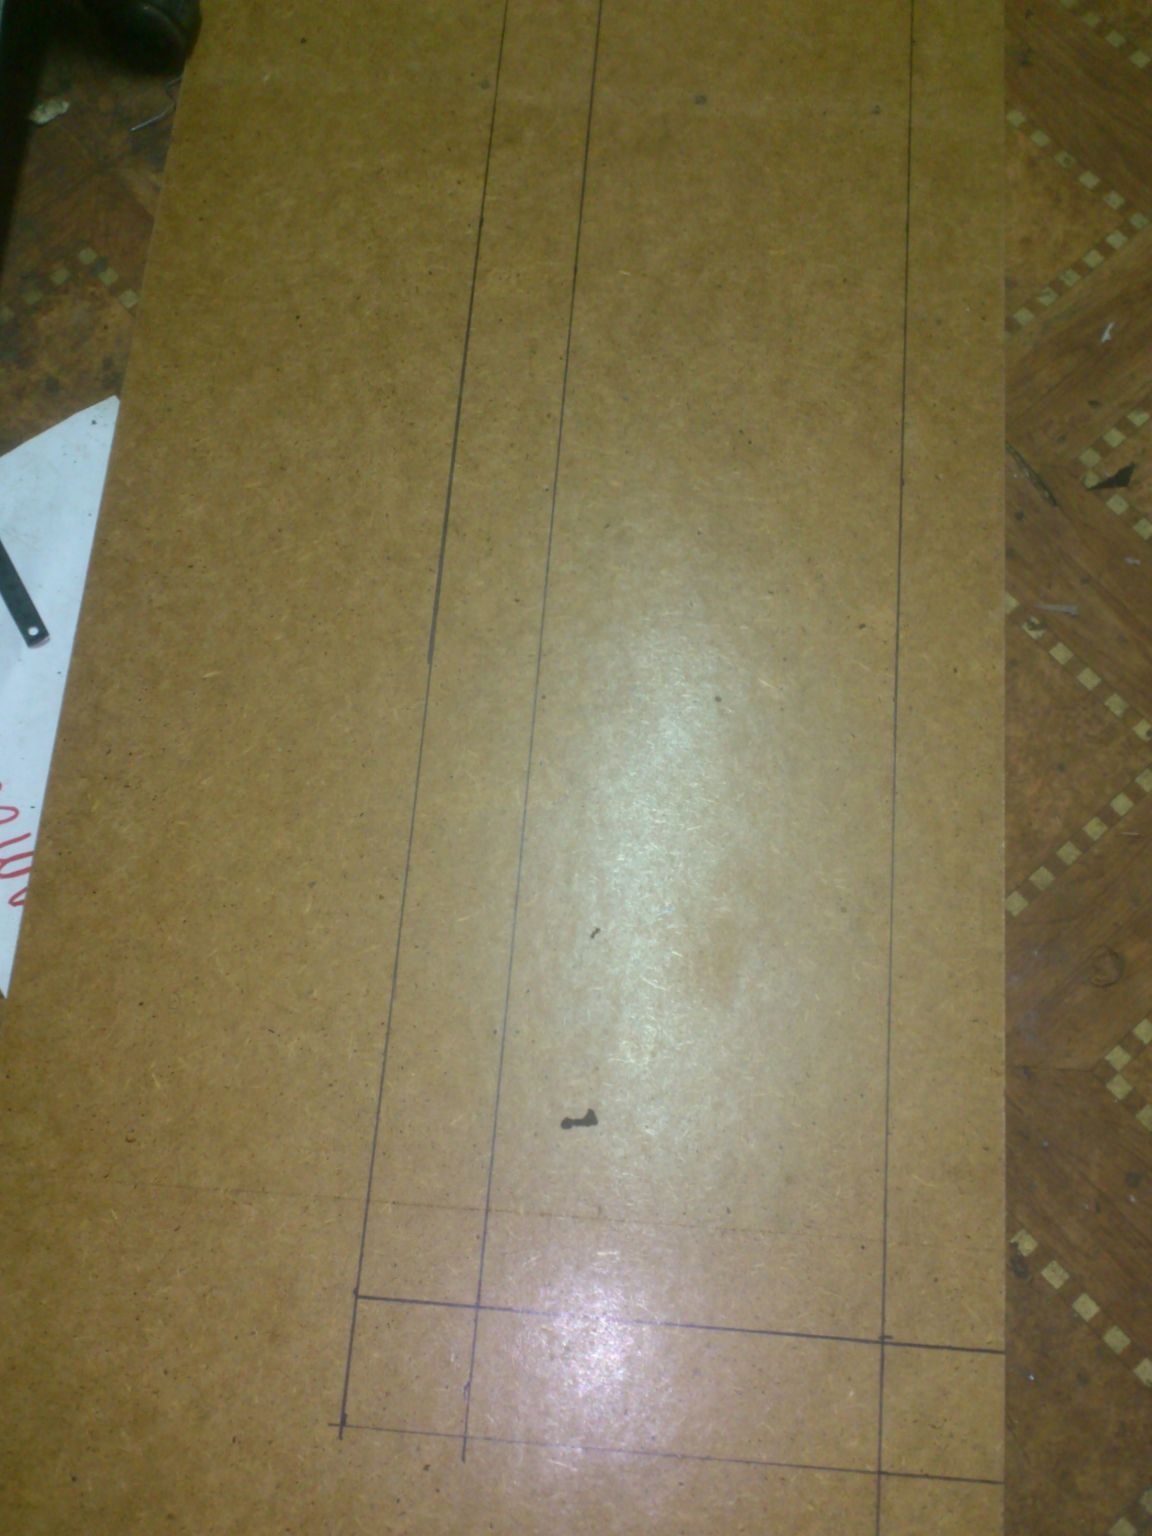
And cut it out with a knife:
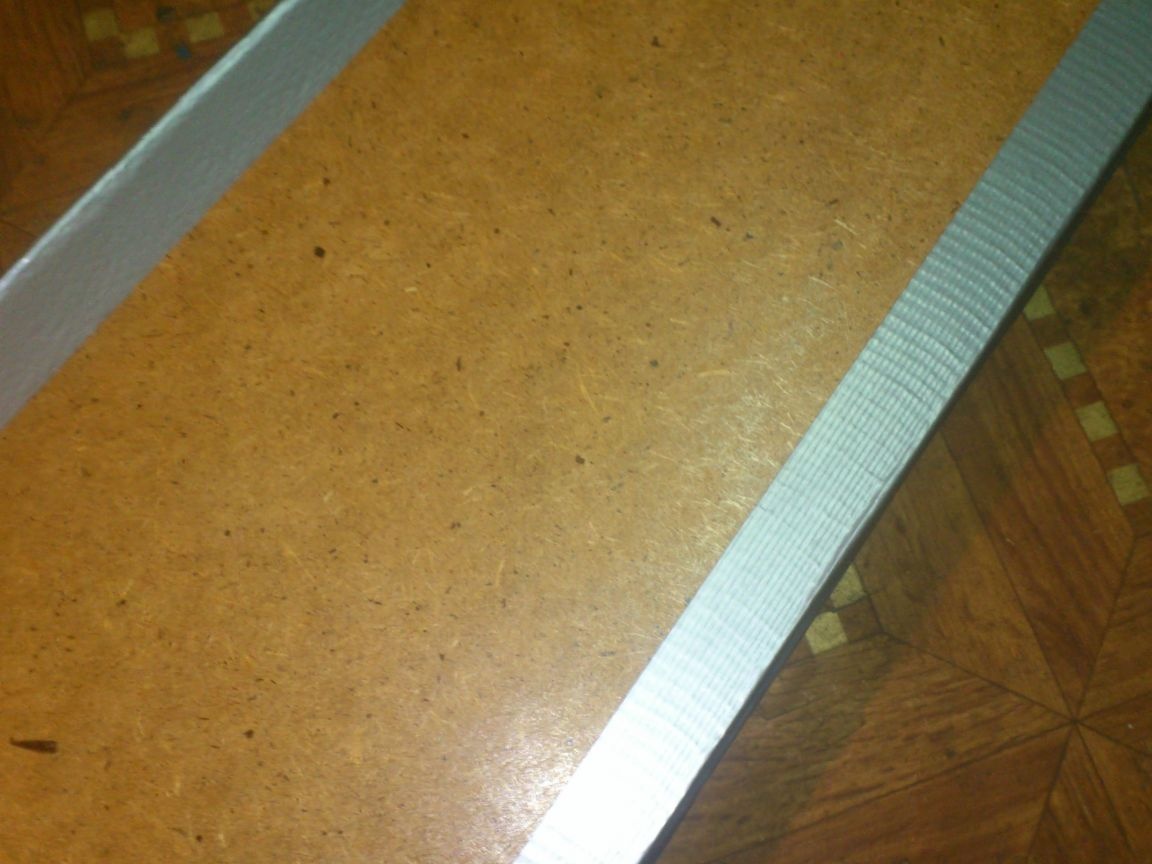
At the same time, I cut the bending lines only slightly, not completely. And then he bent down the side walls along them, fastening them in the corners with the same household tape:
I bent the places of the bend on the outside (from the notch side) similarly. Just used for this "regular" tape, not black. (Just because I have a lot of it!))))
My insert tightly entered the resulting box:
With a marker, I traced the resulting contours of the rifle seat at the bottom of the box. This will come in handy later.
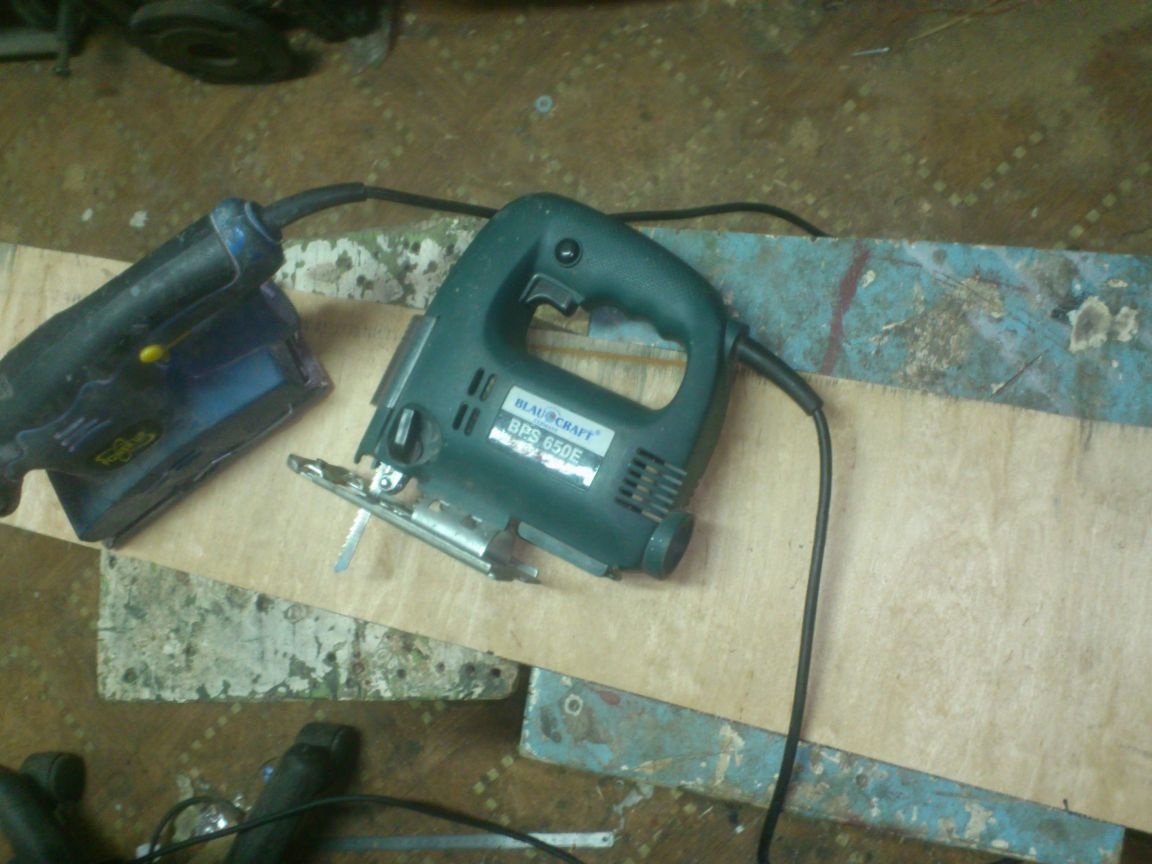
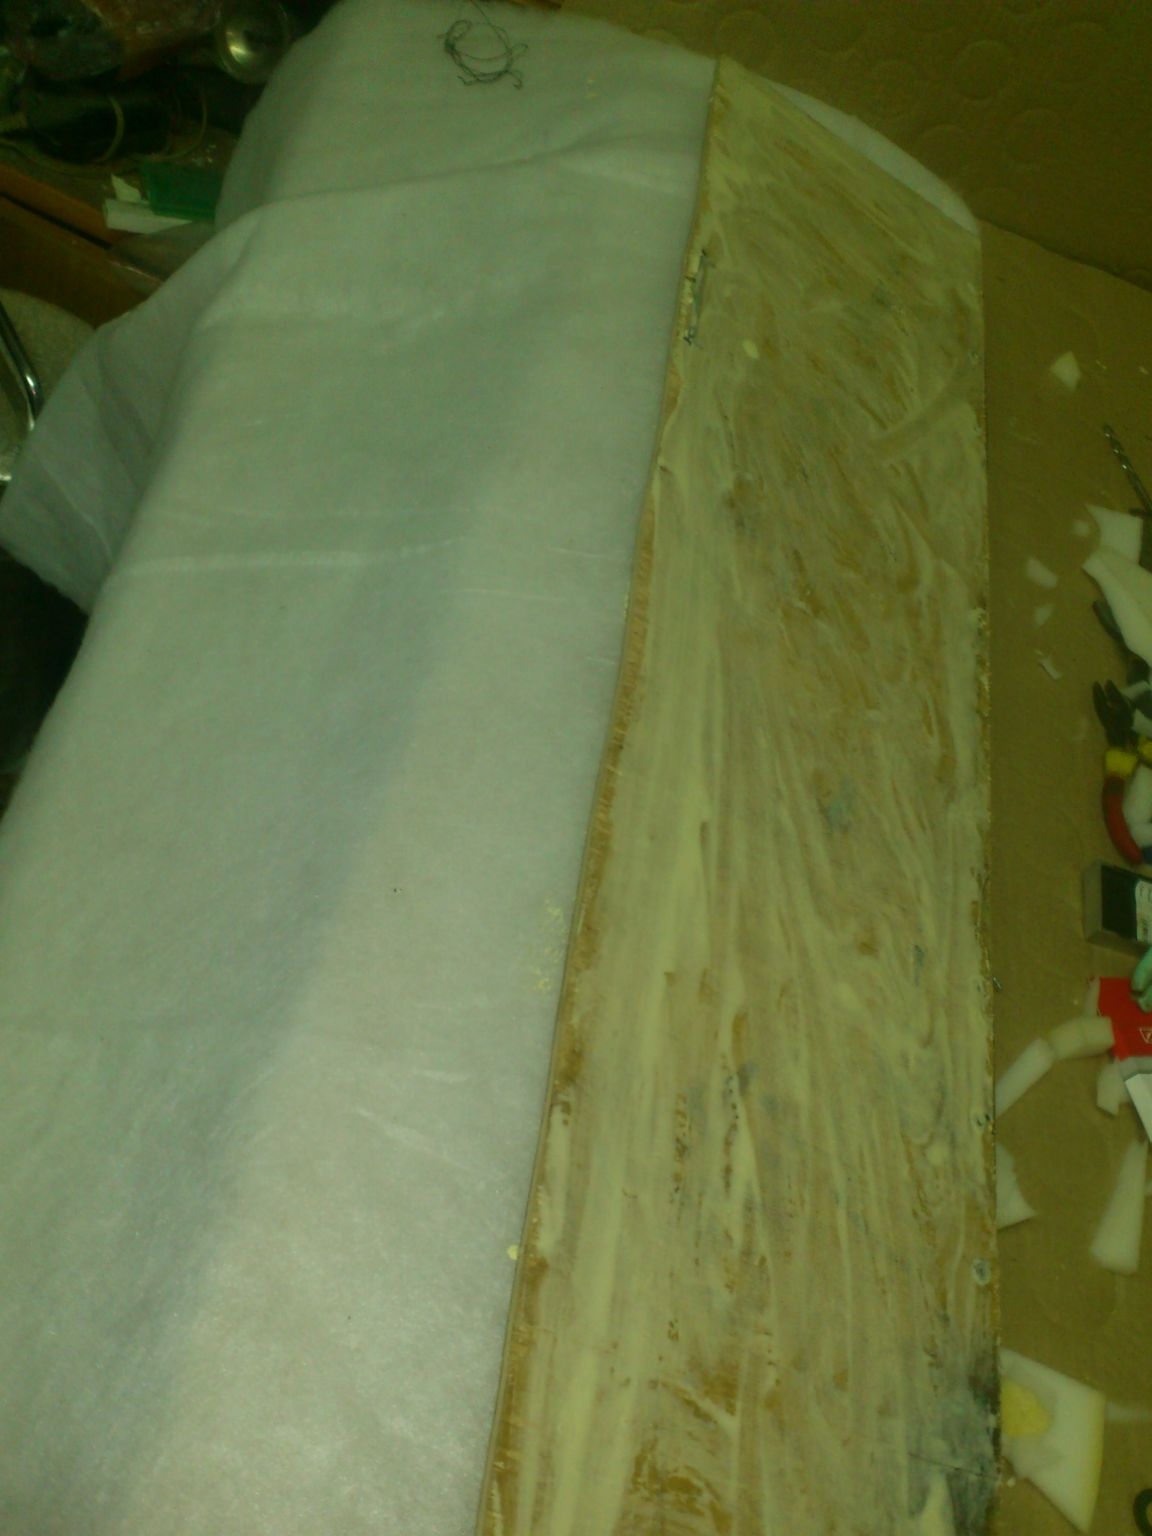
In the meantime, I started making the lid. It can’t be made from fiberboard - there isn’t enough rigidity. I was a piece of old plywood, six millimeters thick, and I decided to use it as a material for the lid:
I cut the lid with a jigsaw, and then cleaned the edges:
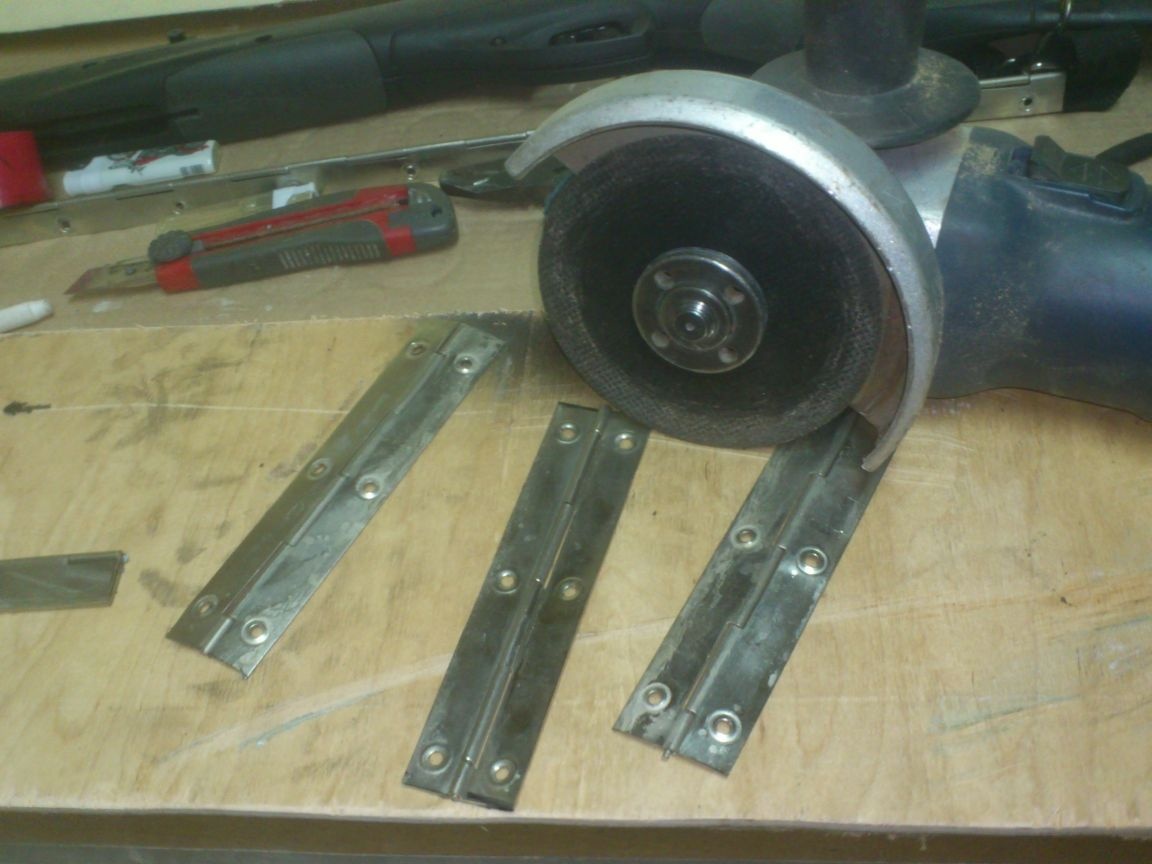
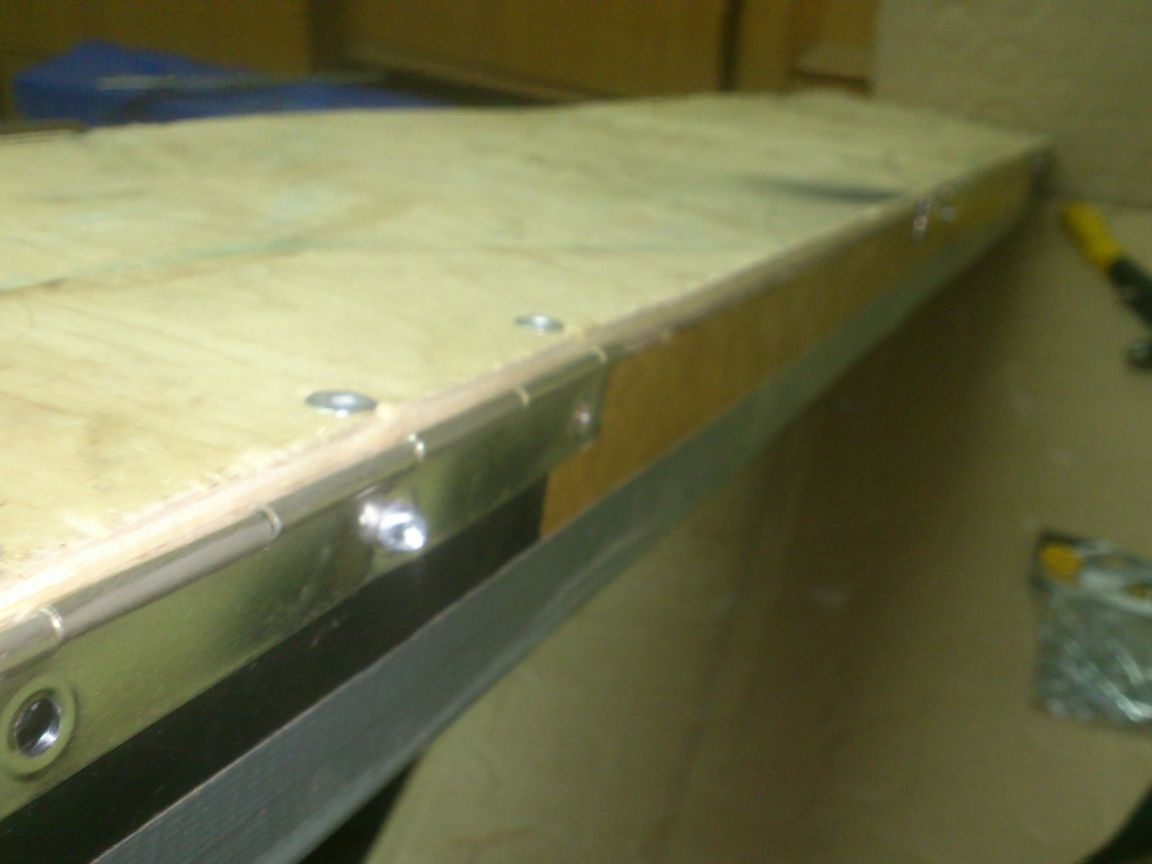
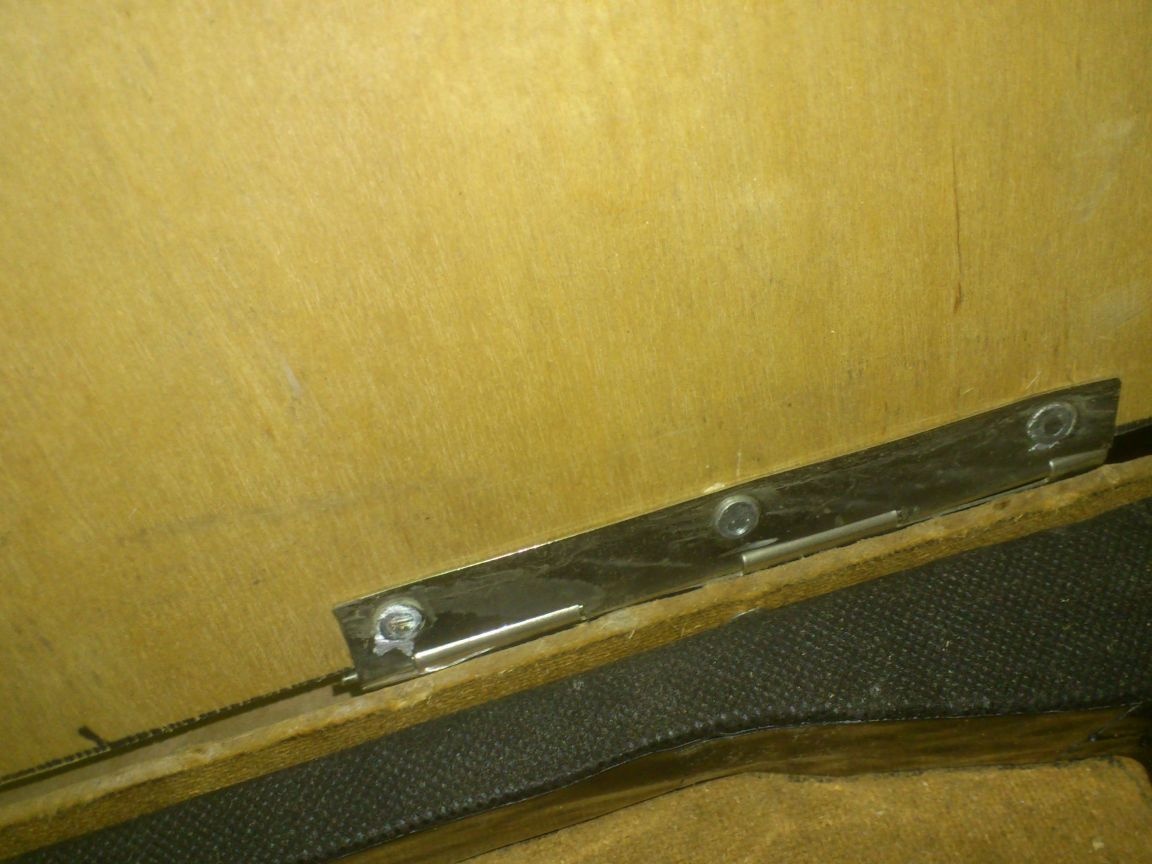
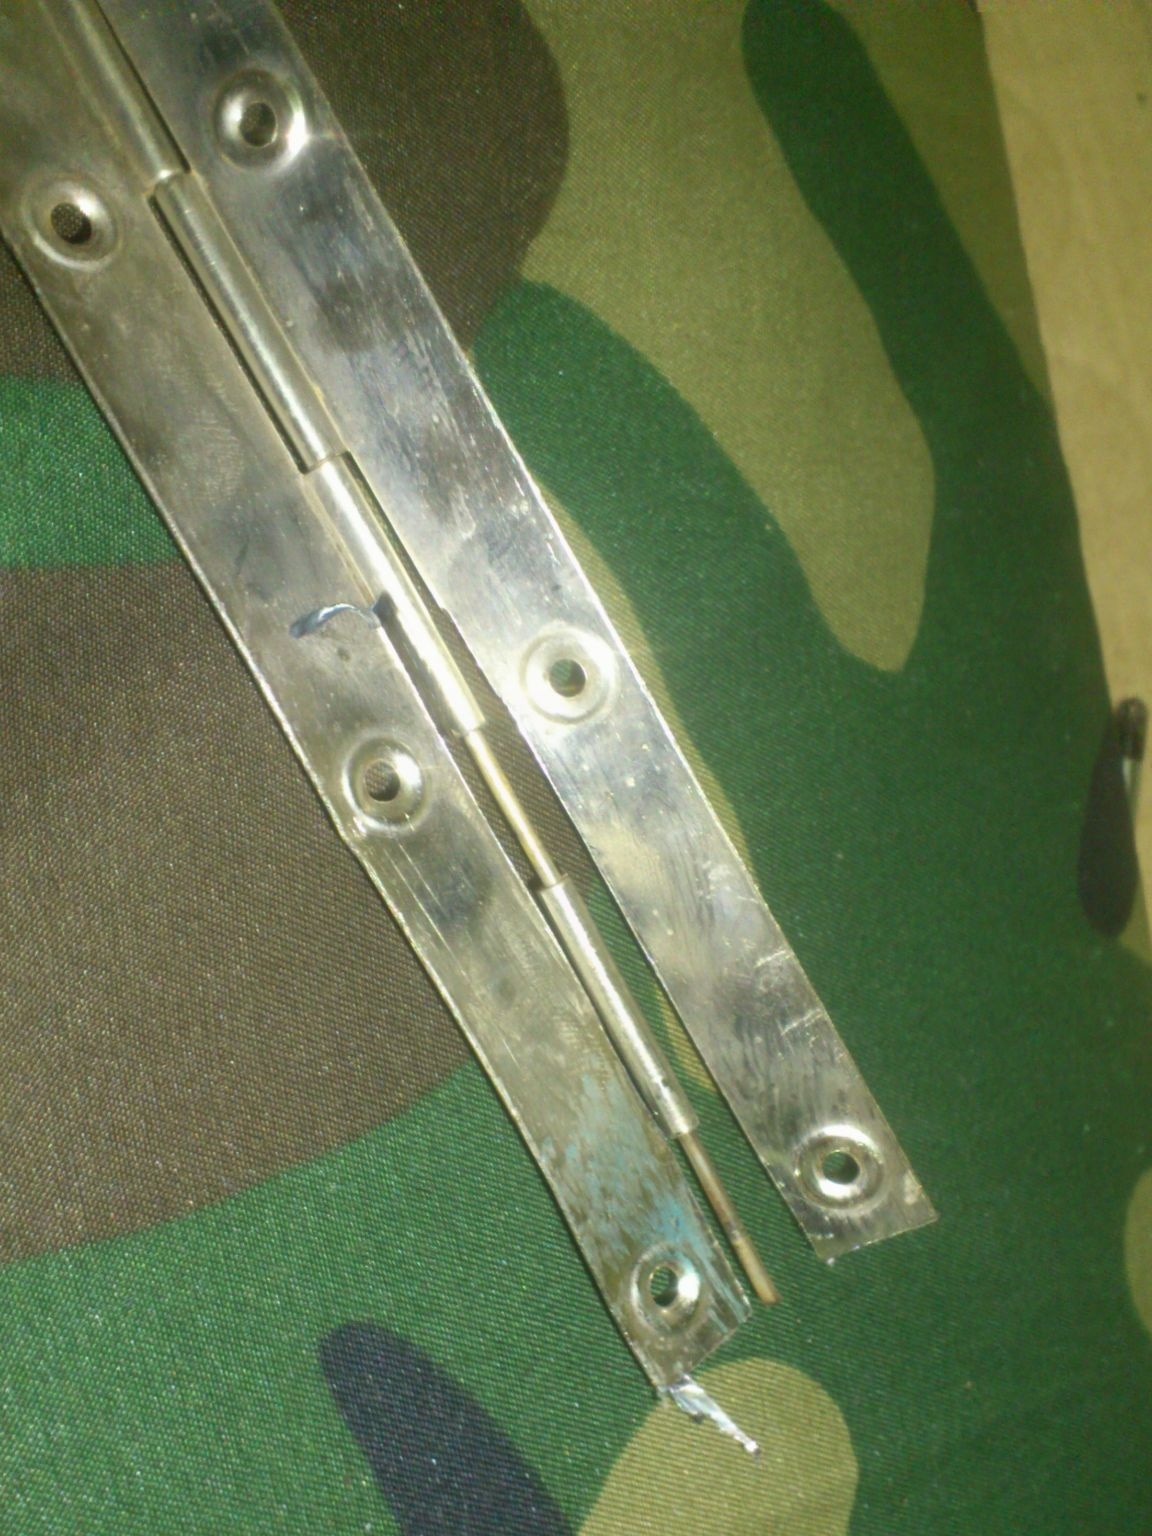
I decided to fix it with the help of the so-called piano loop:
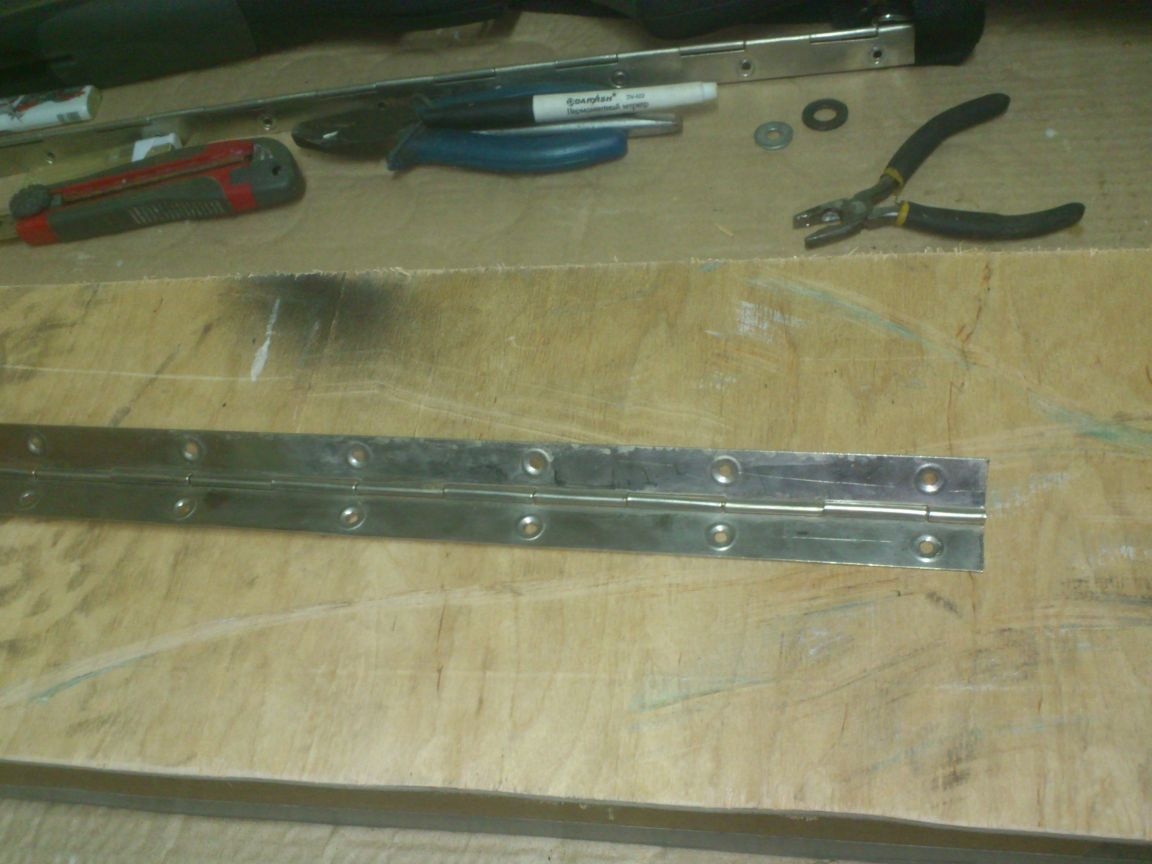
She was also in my stock. (I can’t throw something away without taking it into “the necessary accessories!)))). And these loops are good material for making short loops. Which I did, deciding not to use a solid loop for the entire length of the lid.
I cut three pieces of loop:
And fixed them on the lid with exhaust rivets. At the same time, he placed the rivets so that the hat was on the side of the tree:
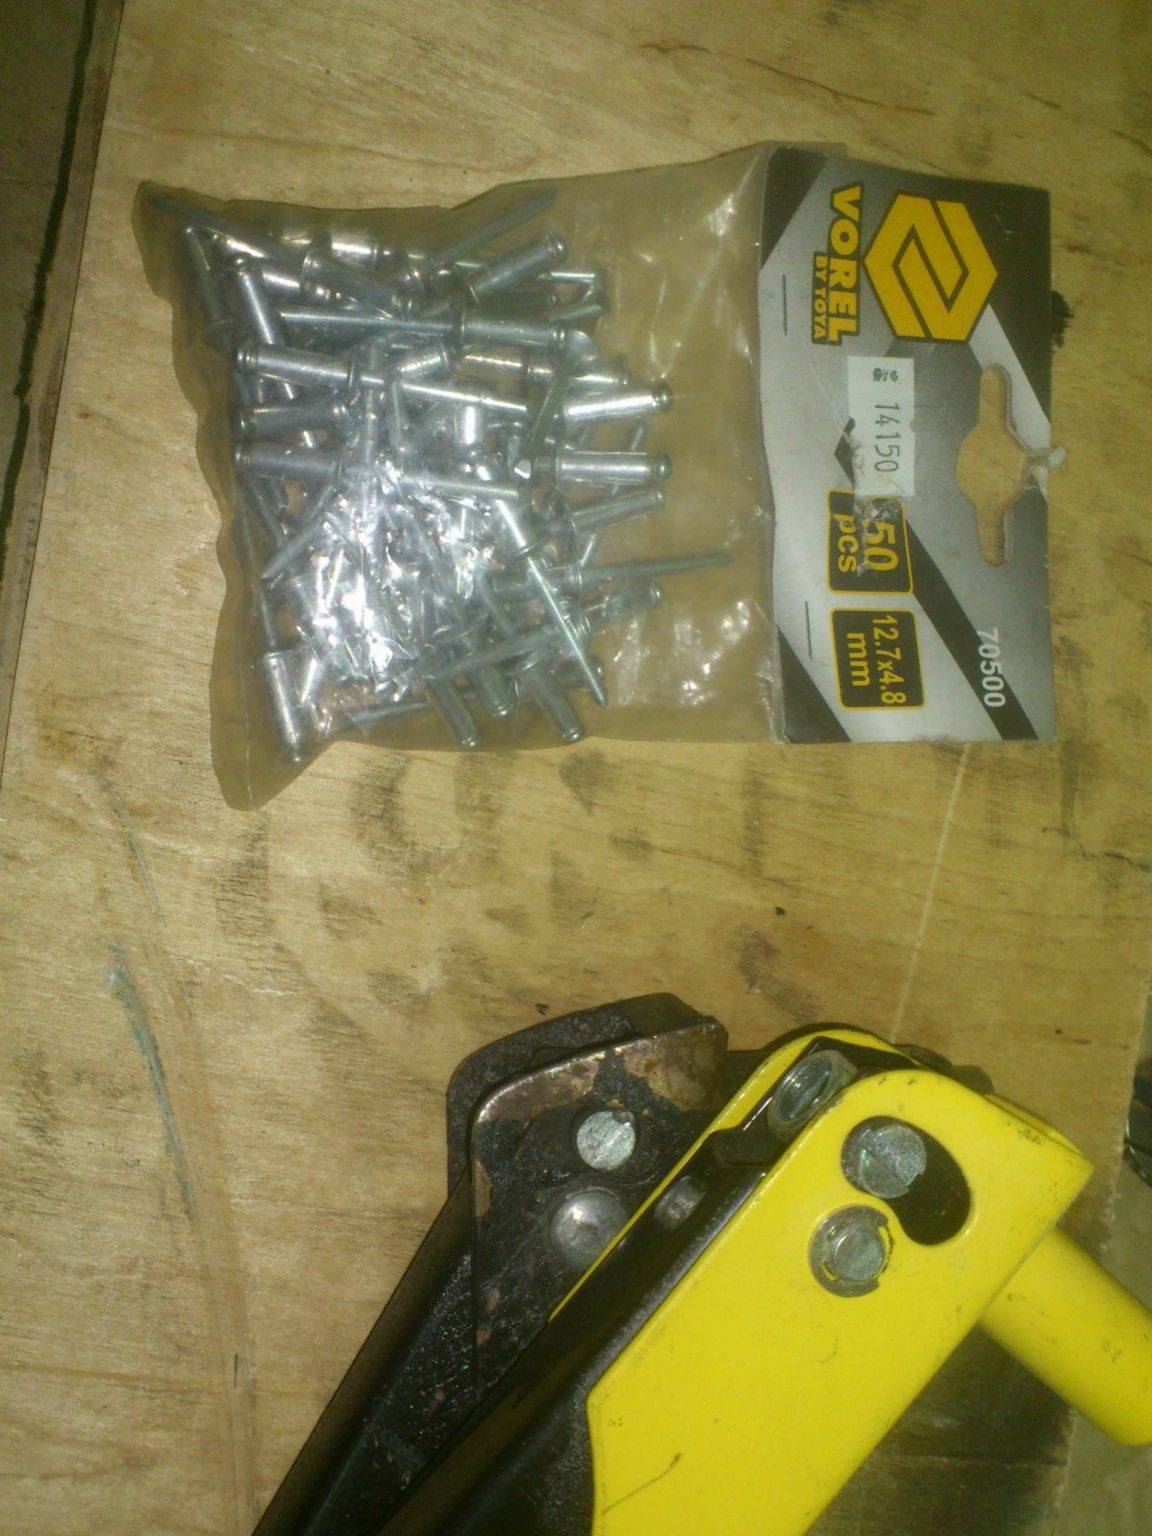
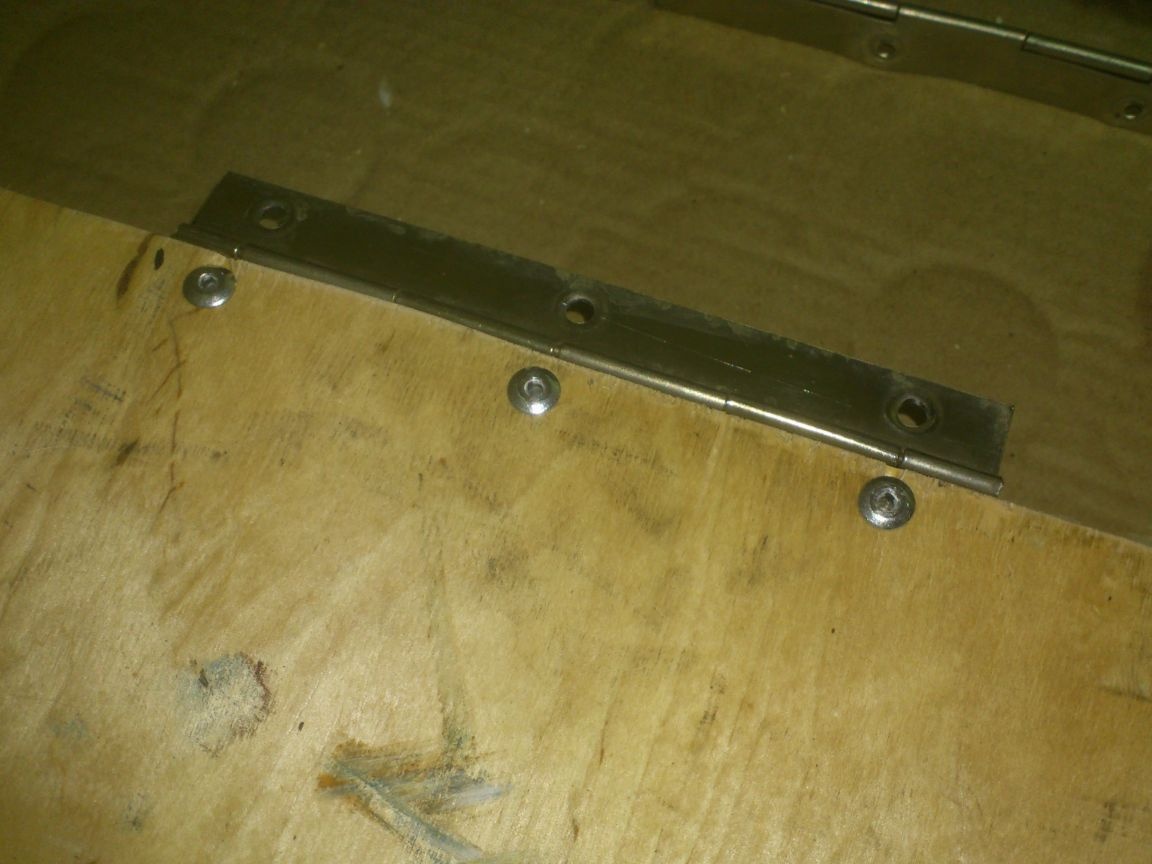
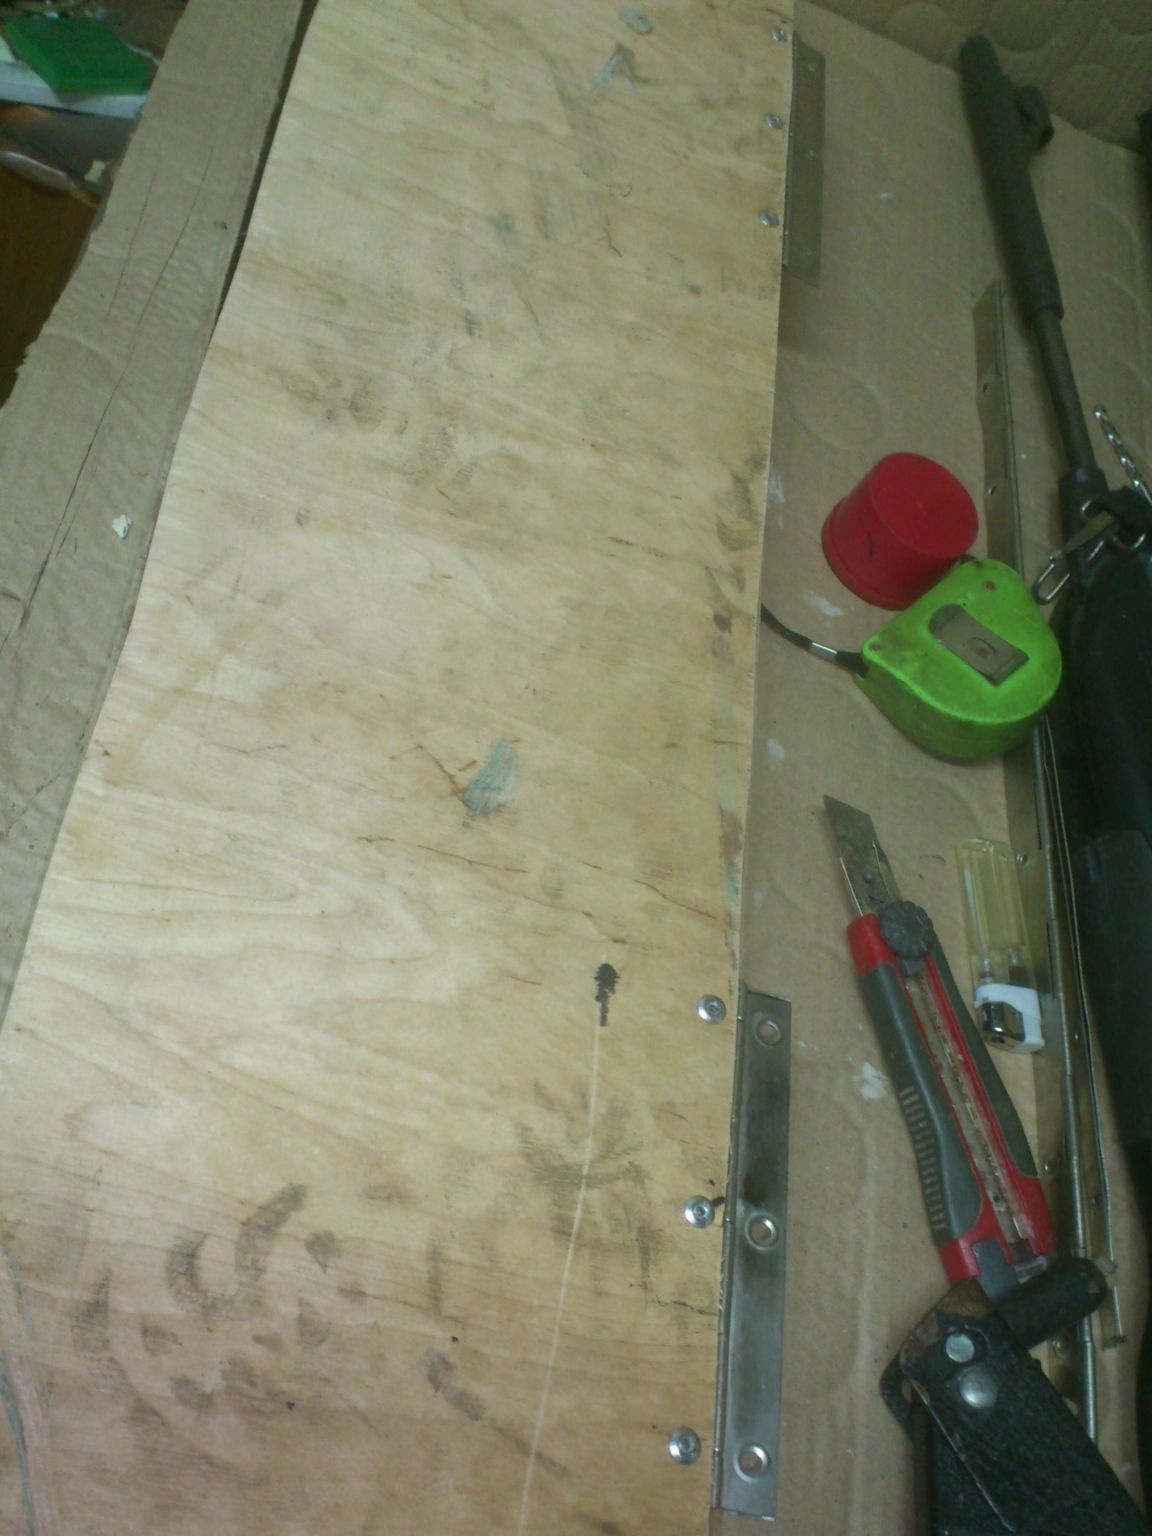
Then he riveted the second parts of the hinges to the box itself. At the same time, I placed them not inside but outside - so the lid will not be removed from the base when opening - this is important to me, because I do not want to make a break in the upholstery in the future:
The next free evening, I decided to "bring to mind" the recesses themselves for the rifle. (I don’t know, maybe they have some kind of name of their own?)))).
The fact is that the rifle "in thickness" is very heterogeneous!))). The forend has a thickness of about fifty millimeters. While the butt is much thinner. And about the trunk and say no!
Accordingly, so that the rifle does not hang out, you need to somehow compensate for these differences. And I decided to do this by gluing foam strips of different thicknesses in different places.(That's why I outlined the outline of the slot in the foam on the bottom)
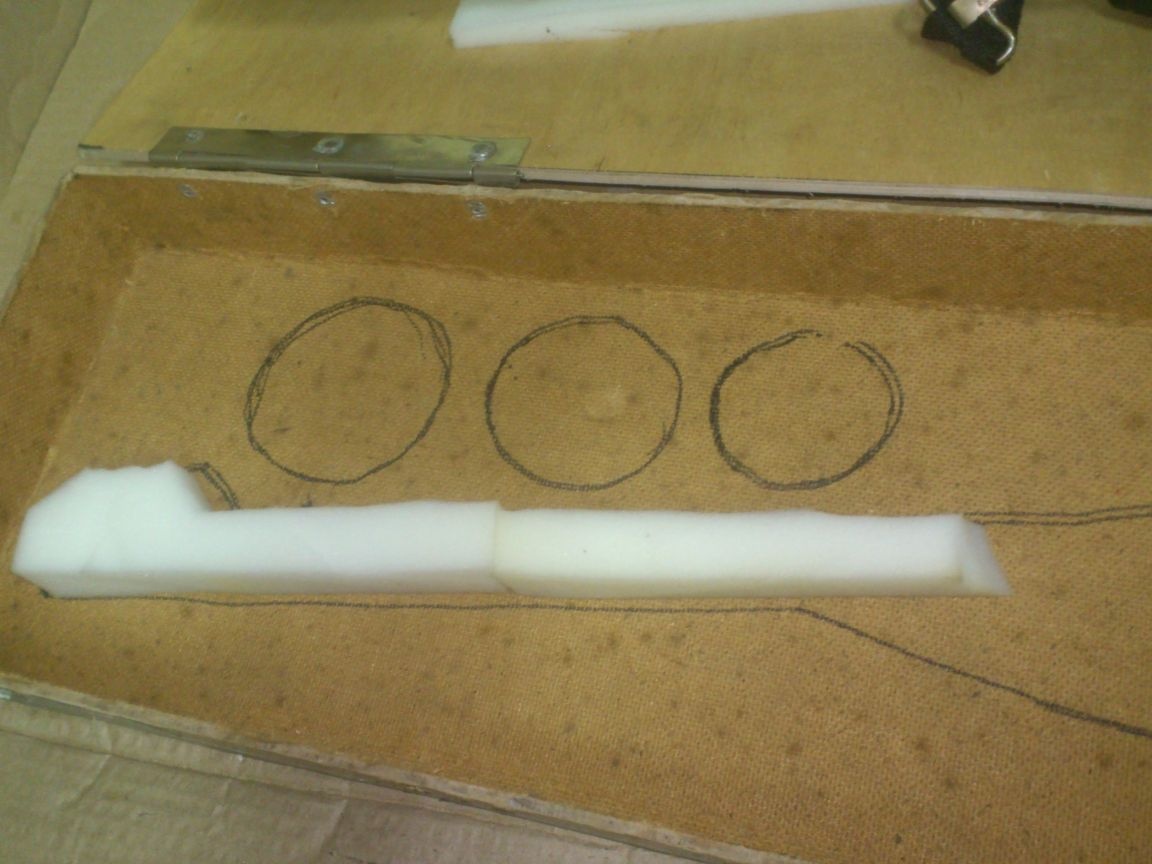
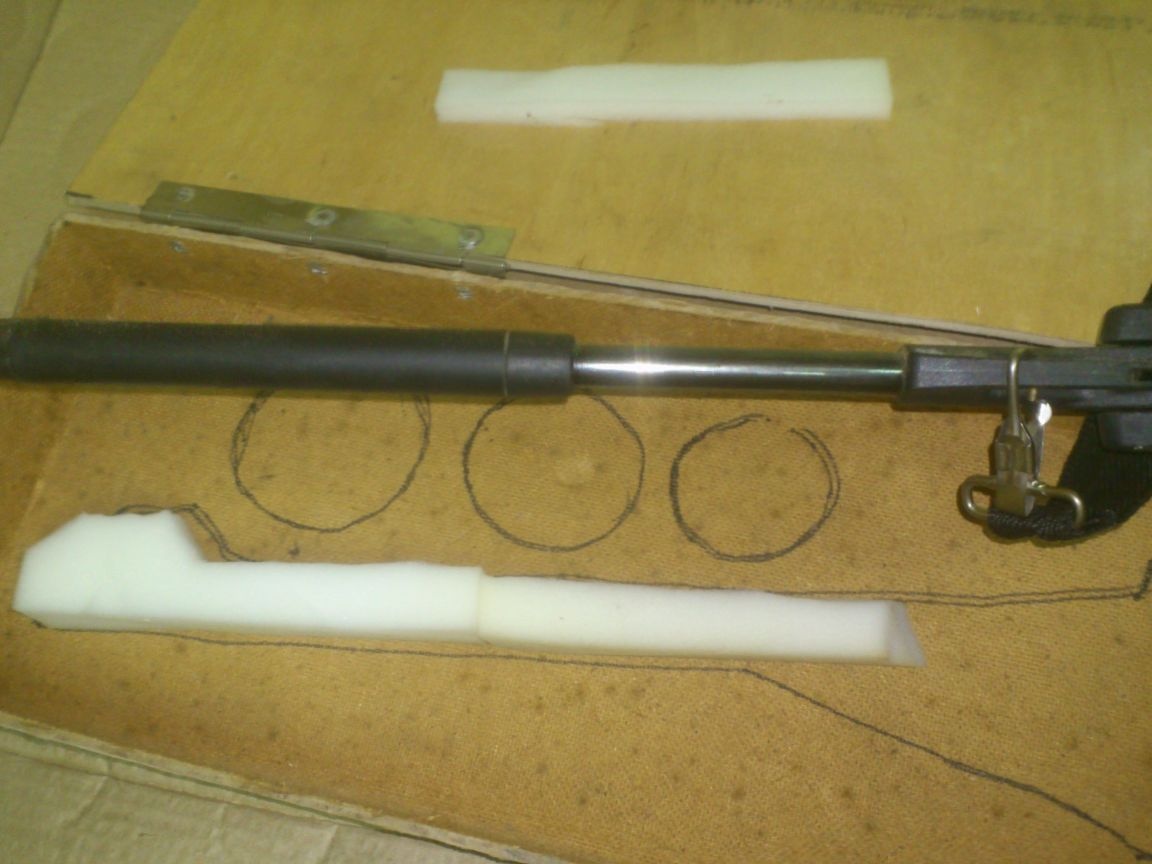
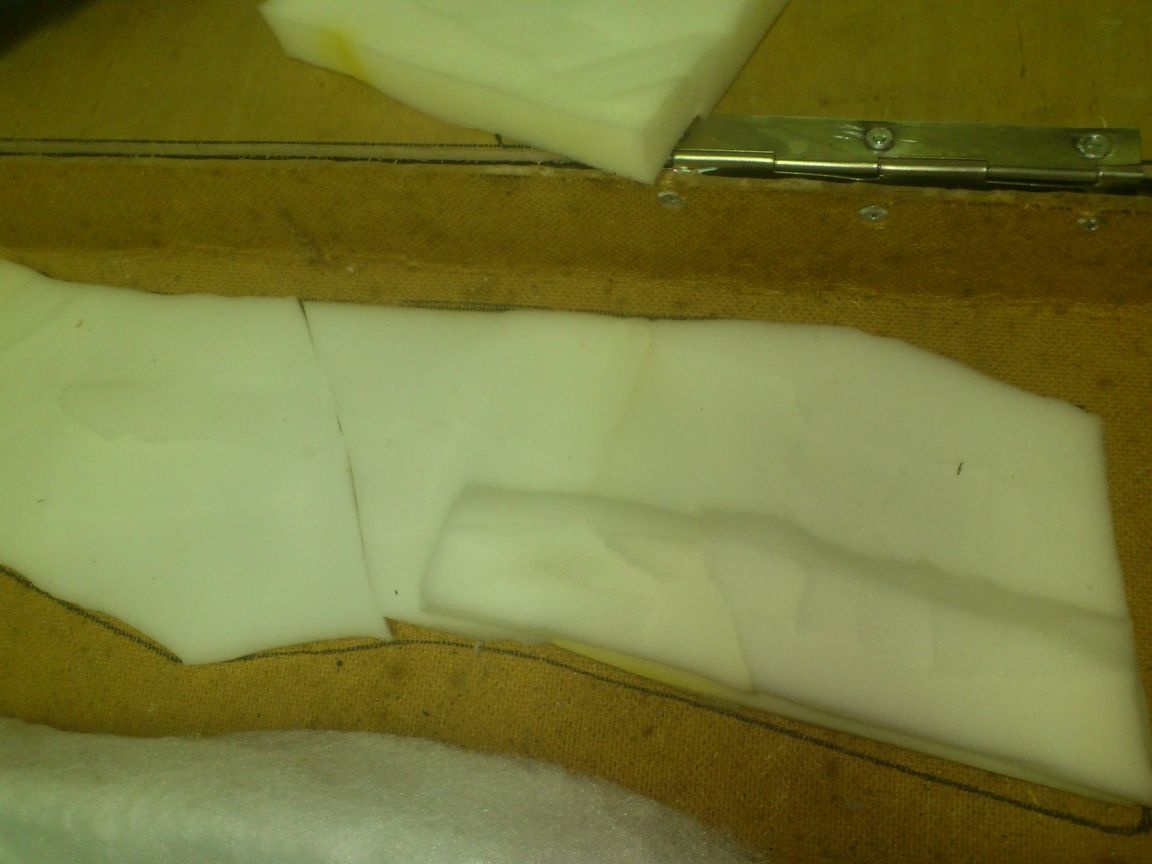
Then I will cover the foam rubber with a spanbond and insert the insert into place.
With mugs for bullets, I decided to do it differently - I immediately glued a spunbond to the cut out foam rubber mugs, inserted them from the bottom into the holes, and glued the "protruding" edges of the spunbond to the foam base:
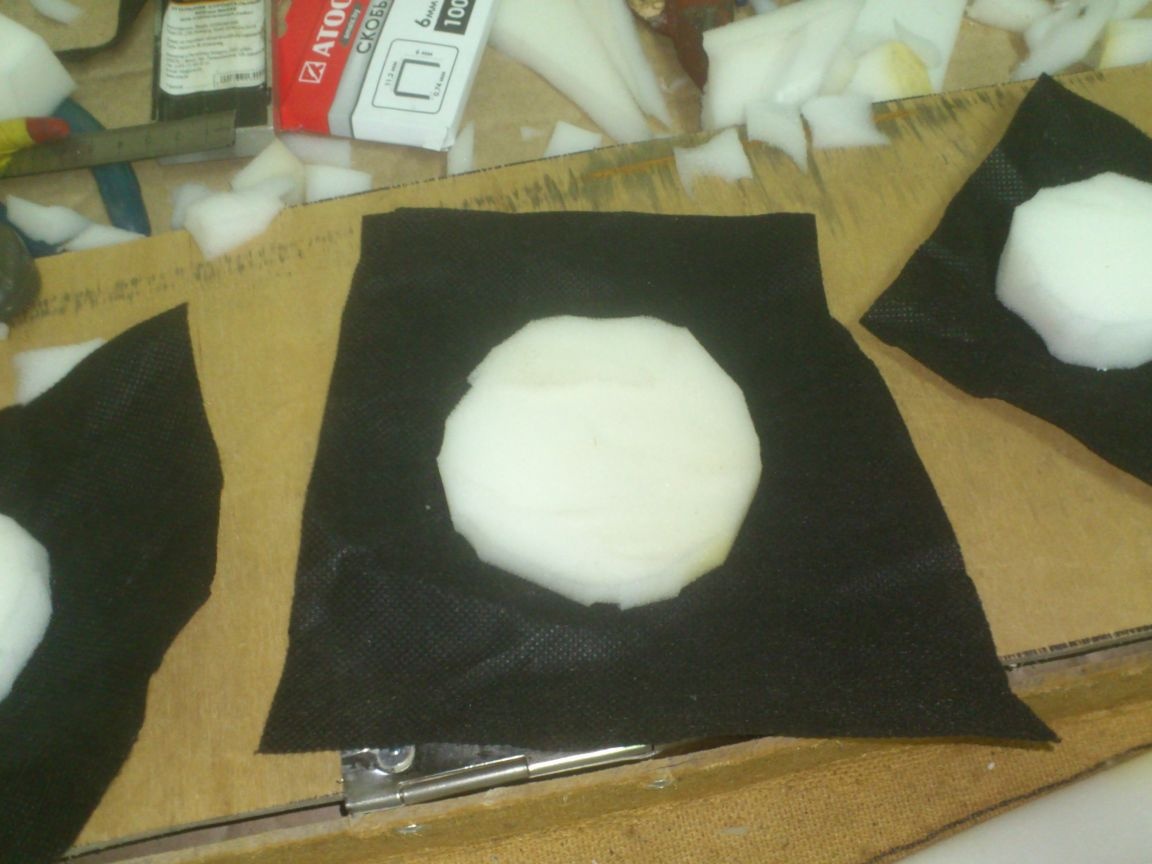
Since I did not want to wait until the glue dries, I glued everything from the bottom with a household tape:
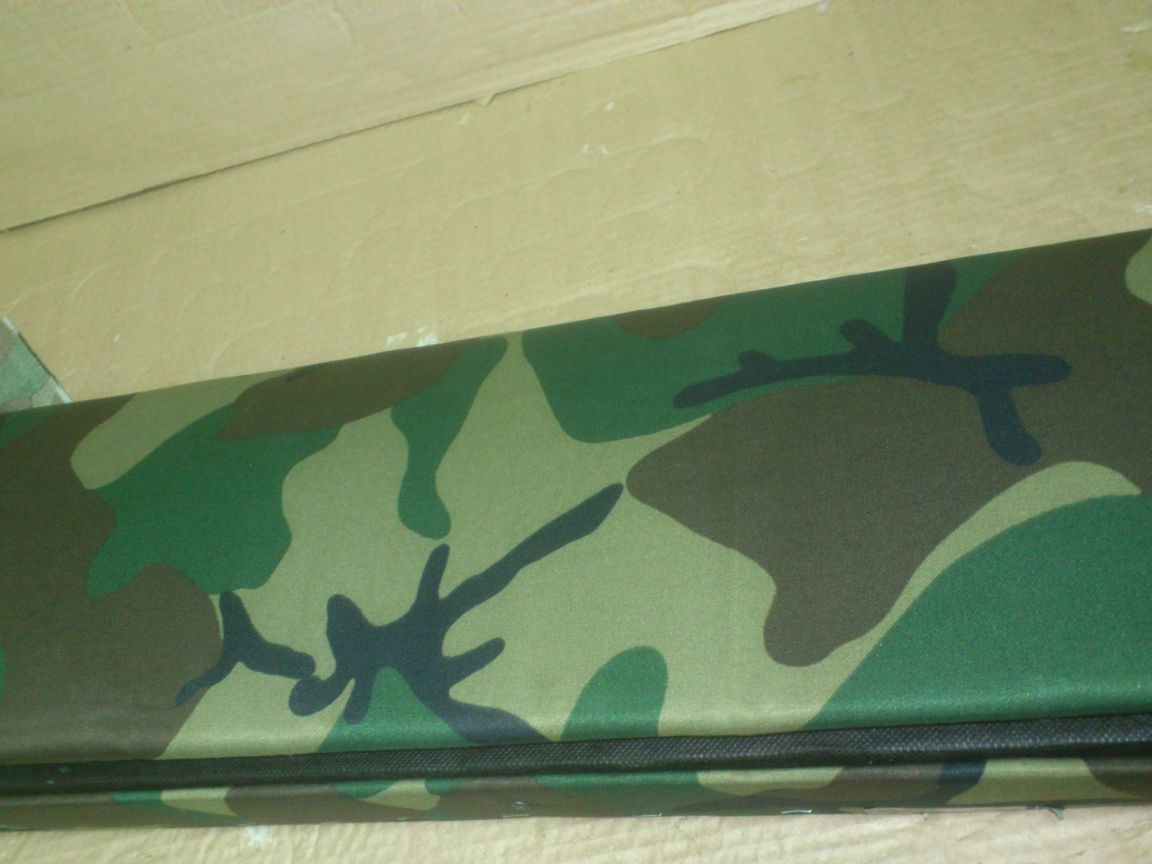
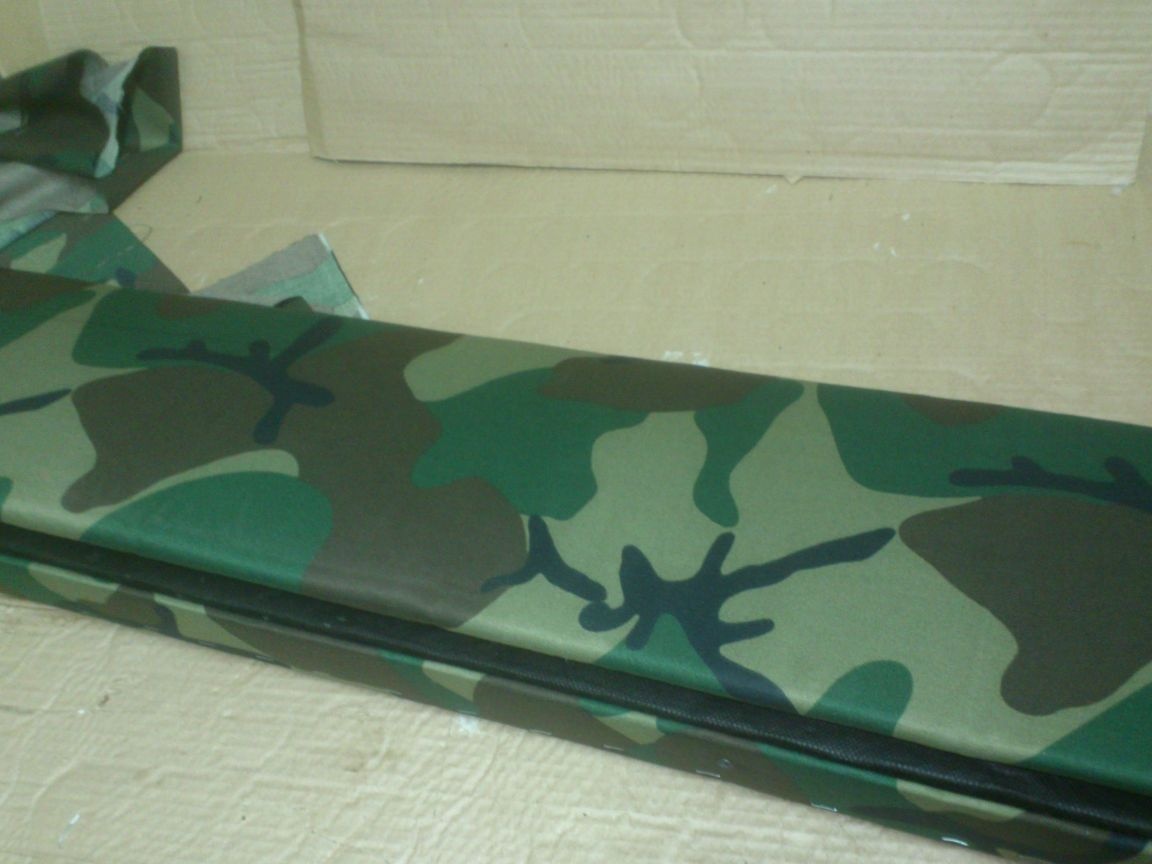
And proceeded to the final exterior decoration.
Initially, it was decided to cover the case with a cloak in camouflage colors - this is the cheapest and easiest finish. But, I have little experience in the manufacture of upholstered furniture (among my homemade products - all the sofas in the house, including the kitchen). And therefore, from my own experience I know about some of the "pitfalls" when fitting something with a cloth. One of these "stones" is as follows:
Those who did not do this in practice often think that the fabric will hide all the flaws and design flaws. In fact, everything is exactly the opposite !!! The fabric will “show” to Doge those irregularities that were not conspicuous before finishing !!! Even the smallest roughness on wood, even a clogged paper clip, or a nail head will become very noticeable if they are covered with a cloth !!! I'm not talking about the edges cut off with a jigsaw !! All this will look just awful !!!
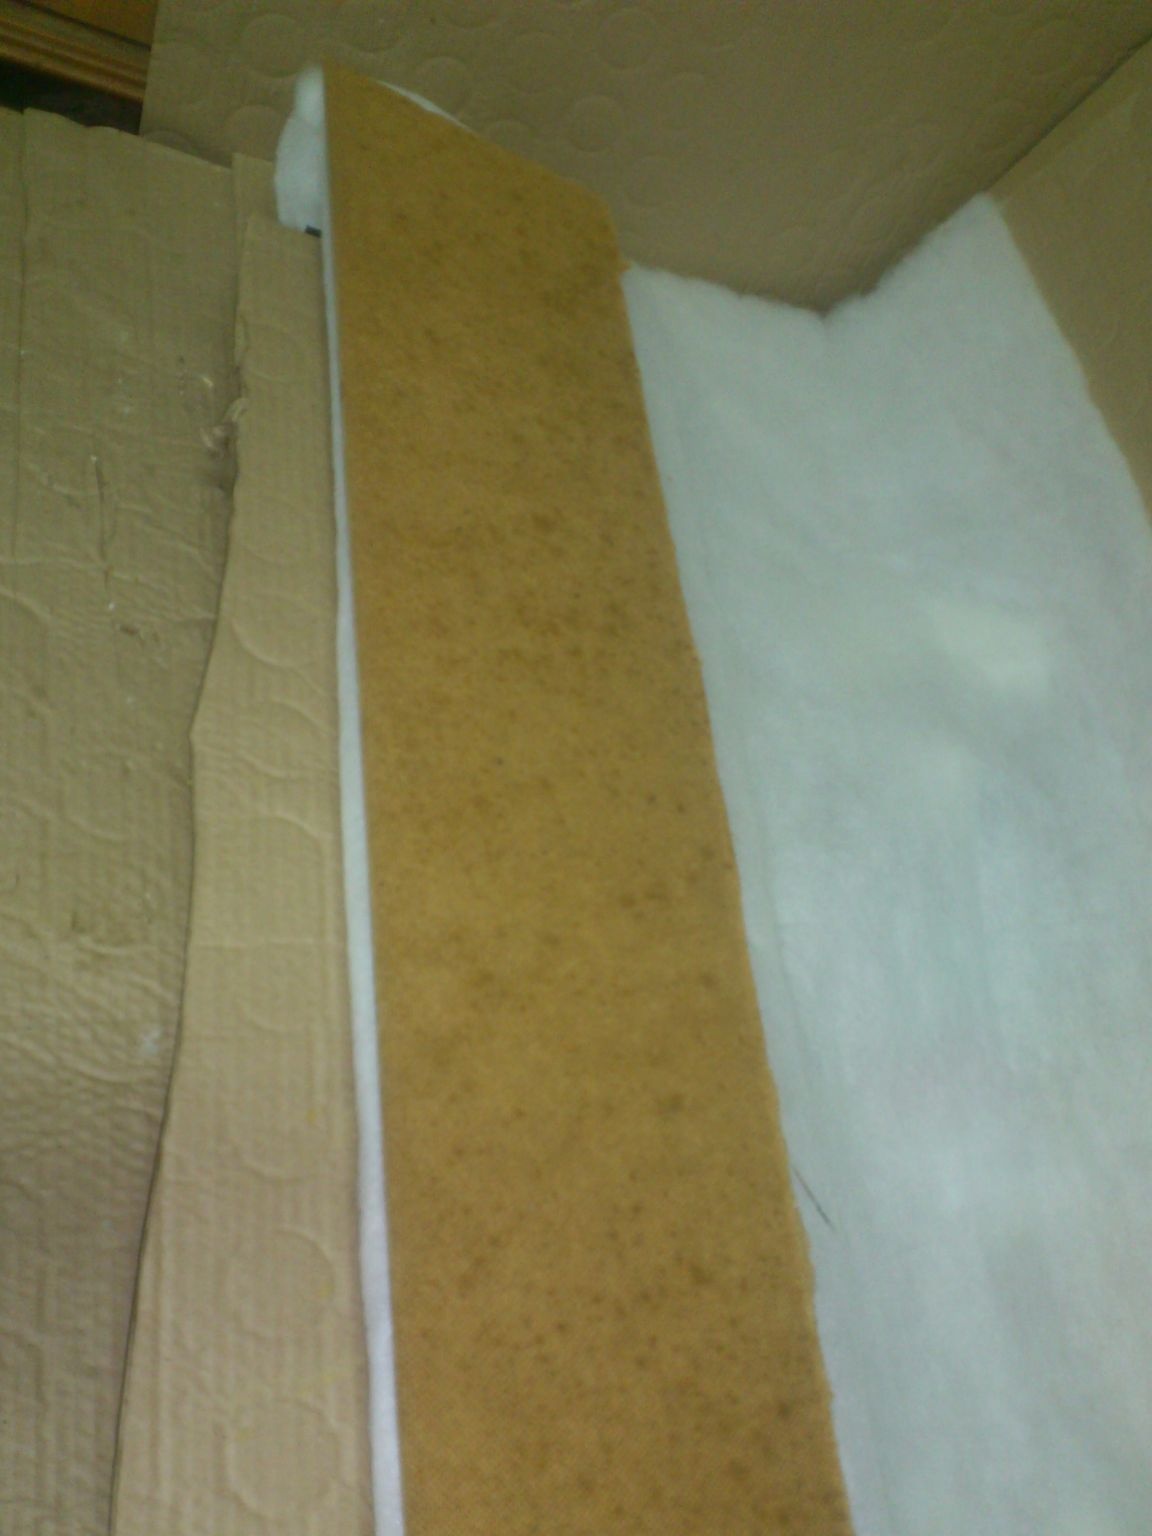
Therefore, before covering with a fabric, it is necessary to hide it all with some soft material. Batting is best suited for this purpose. But I didn’t have batting ... There was a piece of padding polyester. In fact - this is "one and the same", and I decided not to go to the store again!)))).
By centipon, I began to encircle the inside of the box, securing it there with paper clips (Anyway, this will be covered with a liner):
Further, without cutting, I switched to the inner surface of the lid. For such work it is good to use a special "furniture" adhesive for foam rubber. It is a thick gel and has such a useful property as "instant retention". That is, you can continue to work without waiting for complete drying - due to its stickiness, sintepon (batting, foam rubber) is immediately quite strongly retained.
But I didn’t have such glue. I did not go and buy, but decided to use the PVAD, which is always in my bucket. I understood that this is not the best solution! Until the glue dries, the synthetic winterizer will fall off the plywood. You will have to fix each plane and wait for several hours for it to dry. But I got out of this situation as follows:
I smeared the lid on the inside with a dispersion of PVA:
He gave her a little to dry, but at this time I put a loose leaf in its place, and on it - a piece of corrugated cardboard cut to size. (This is necessary for two reasons: the first is to close the “dips” in places where the foam rubber is cut under the rifle, and the second - protect the spanbond from leaking glue, if any). After that, I glued batting to the inside of the lid and closed it. The synthetic winterizer remained sandwiched between a corrugated cardboard and the plywood spread by glue!
Now smeared the outer surface:
He wrapped a synthetic winterizer on her:
I put a piece of fiberboard suitable in size on top:
And left under oppression until the next free evening:
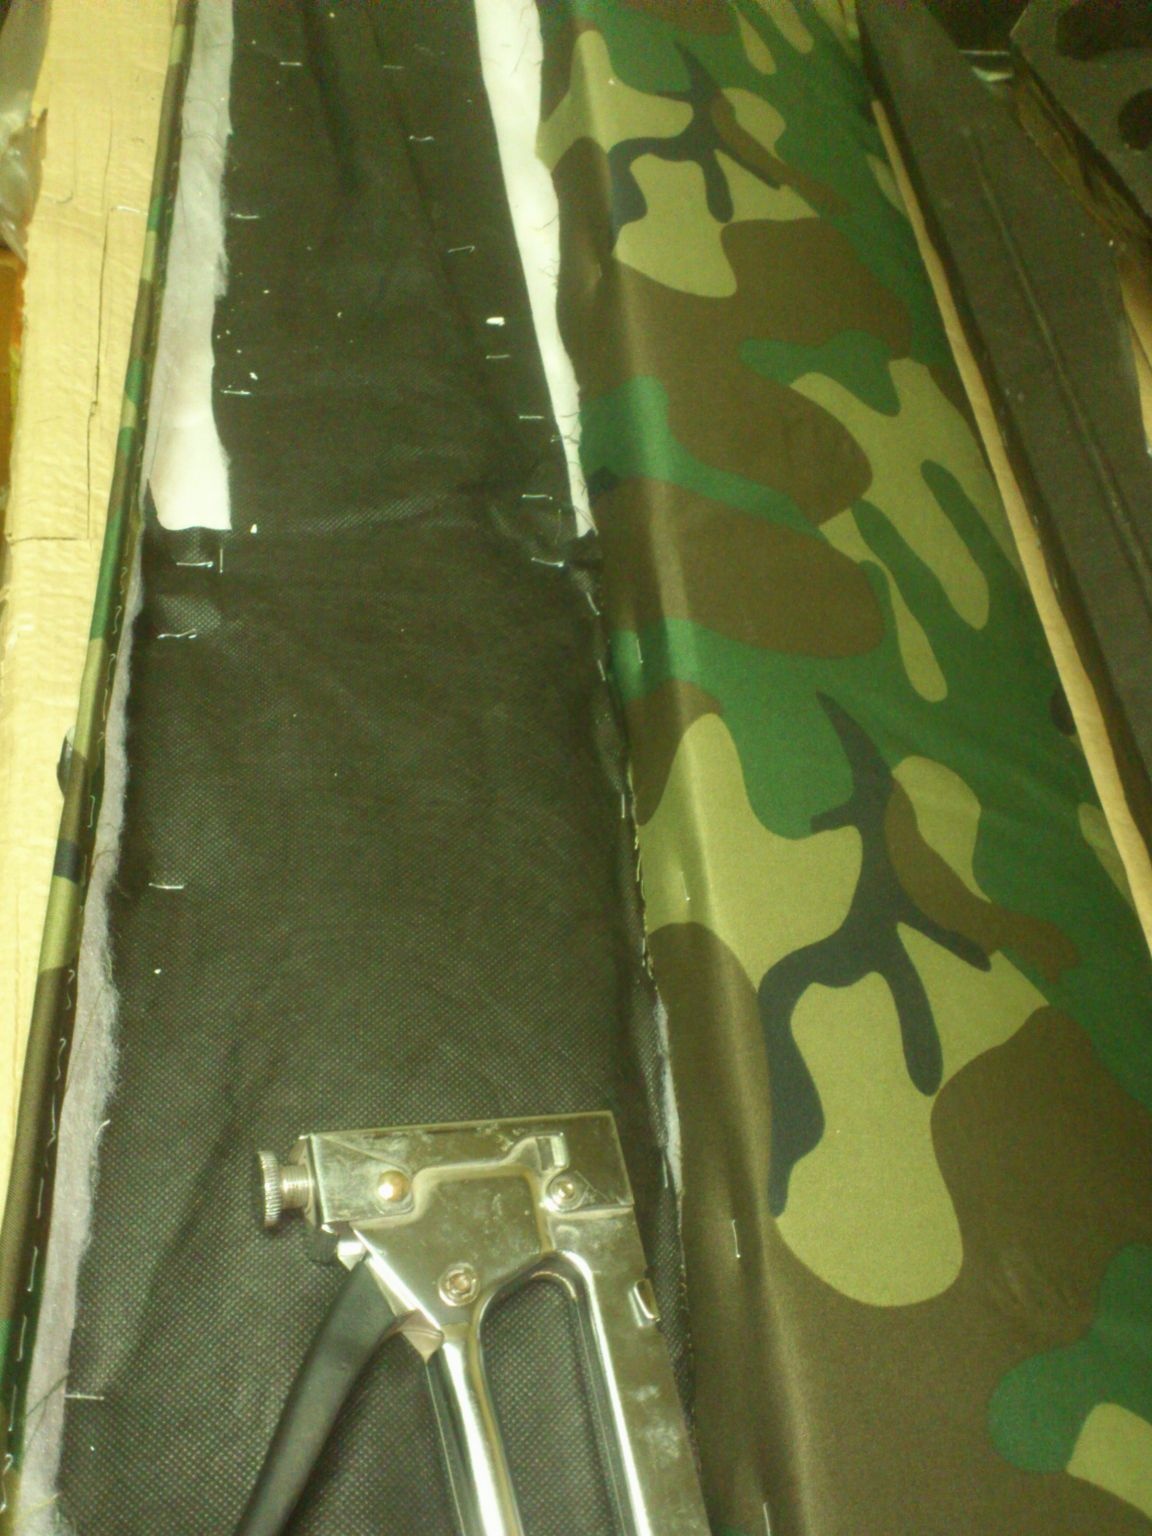
The rest, the next day, was easier. I just coated all the outer surfaces with glue, wrapped them with a synthetic winterizer, wrapped it inside the box (where I started_ and fixed them with a number of staples. In order not to do one job twice, with the same staples I fixed the edge of the fabric - I will wrap it in the reverse order.
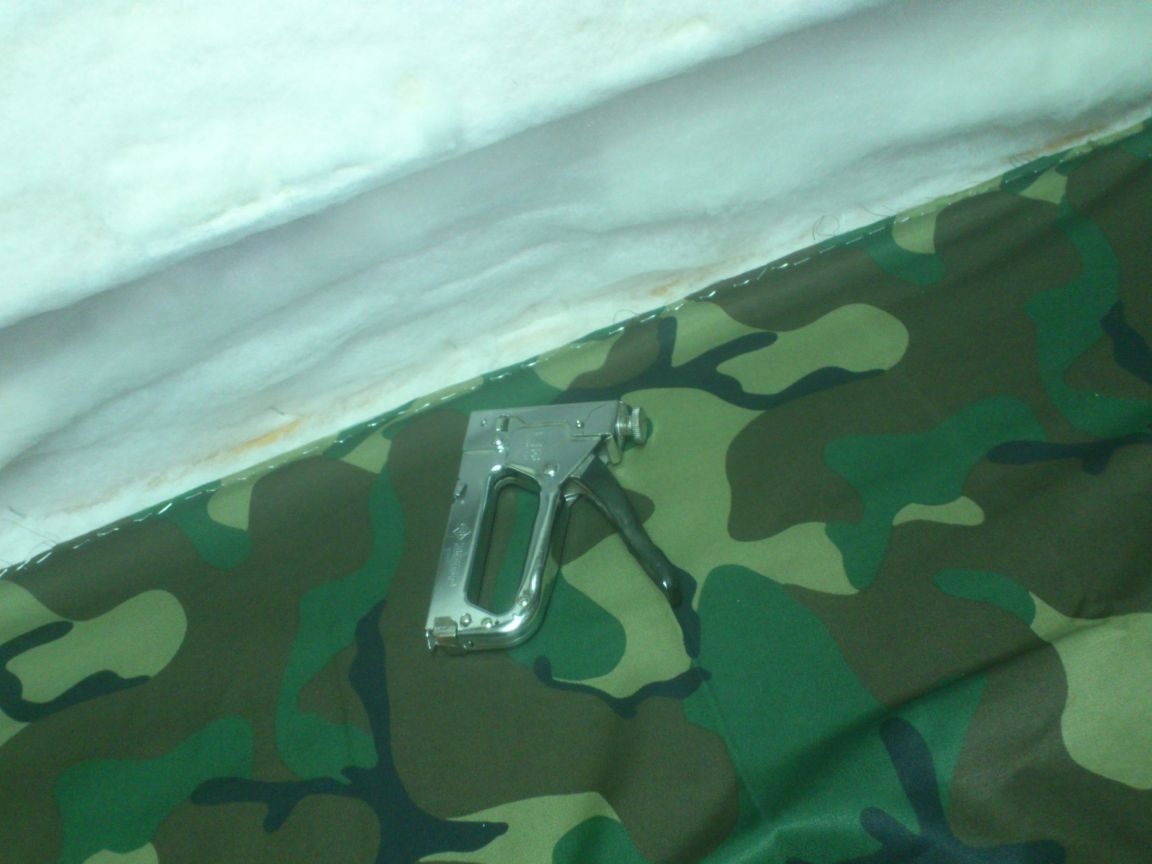
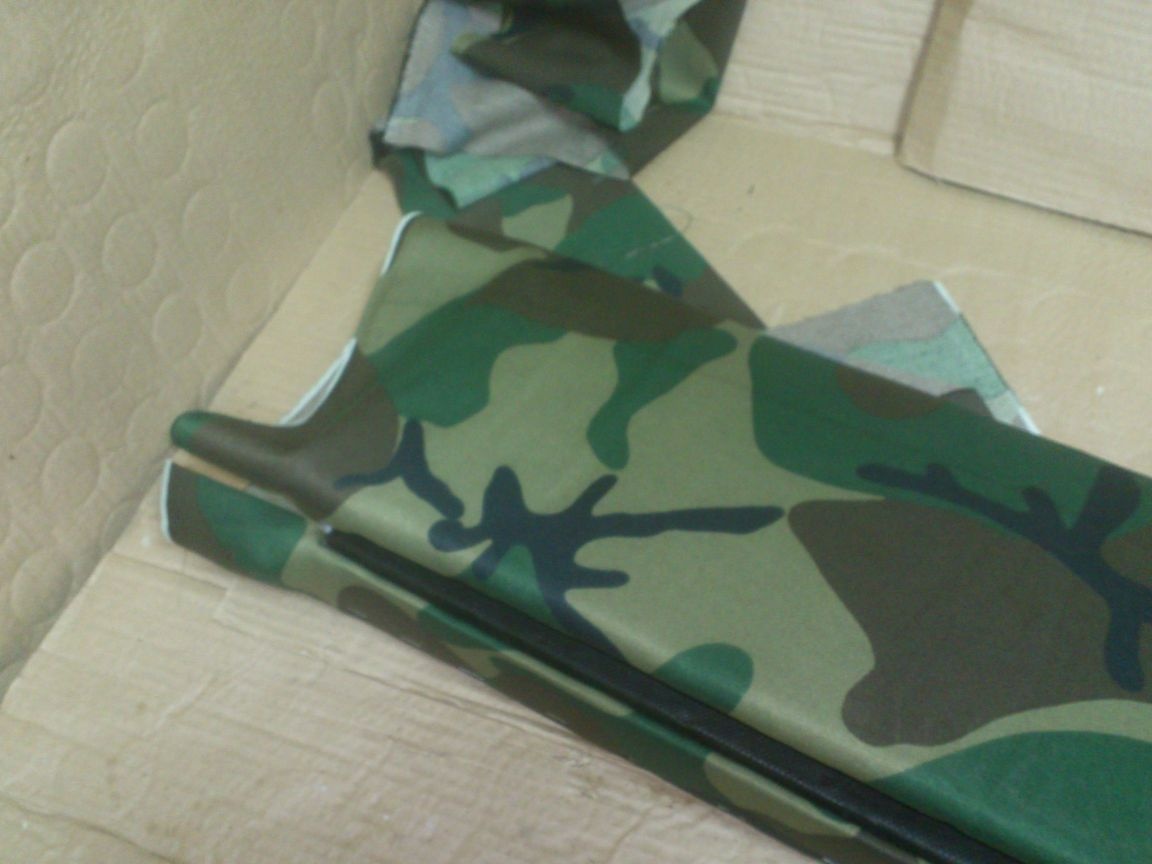
This time I dispensed with glue (the fabric does not slip on the synthetic winterizer). He secured the second edge inside the box with a stapler.
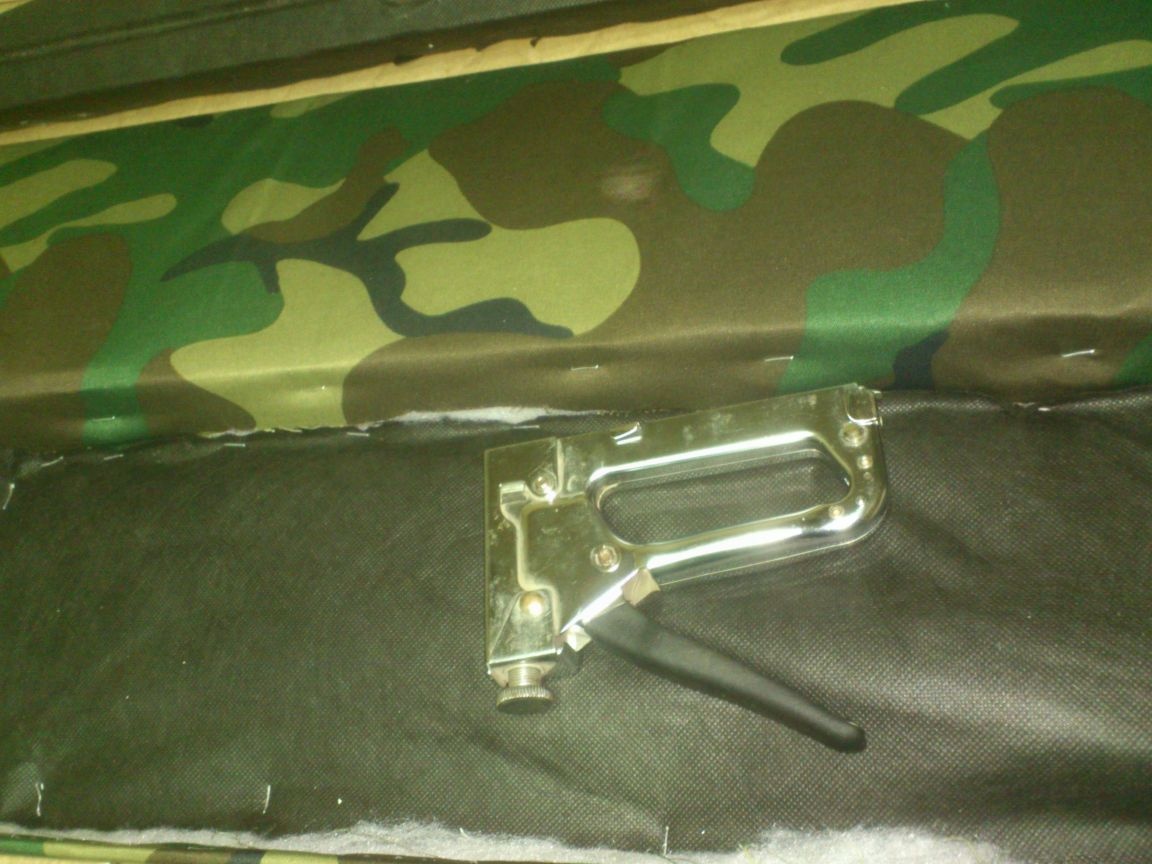
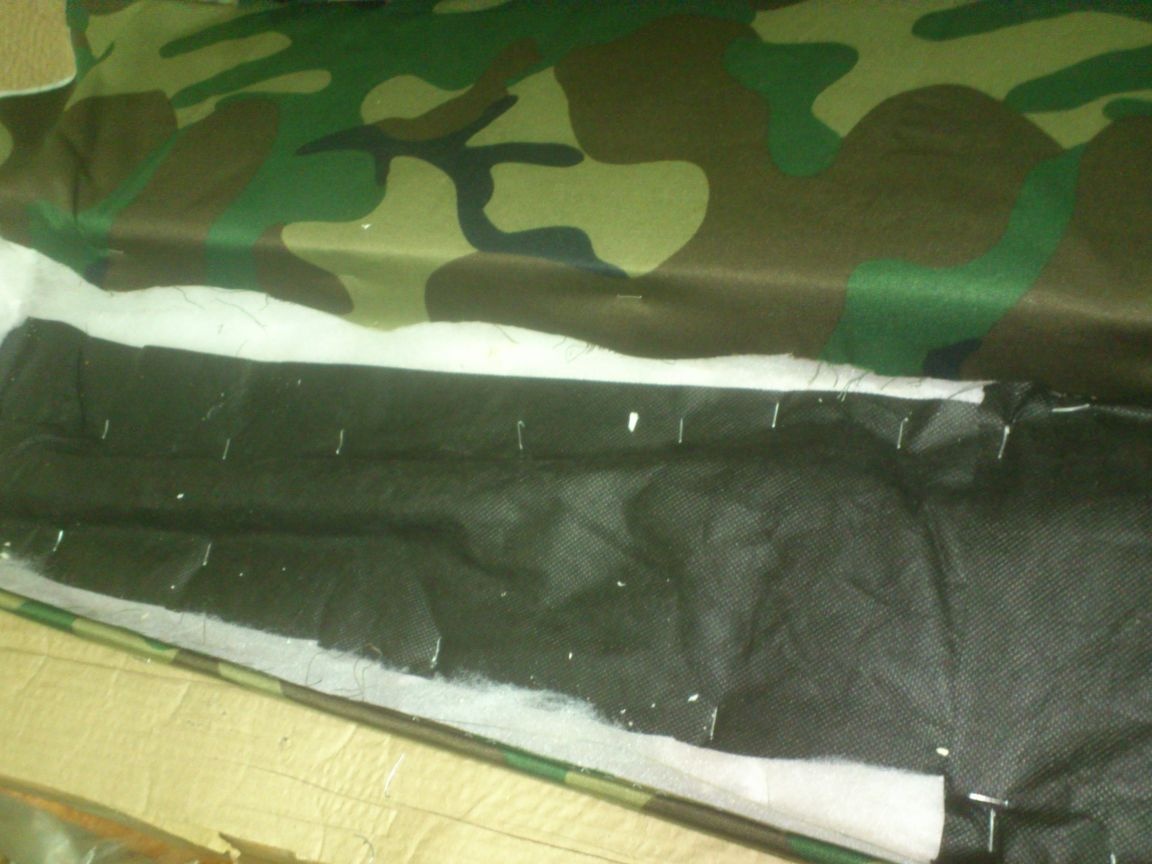
As you can see in the photo, I already covered the bottom with spunbond scraps, securing them with a stapler too:
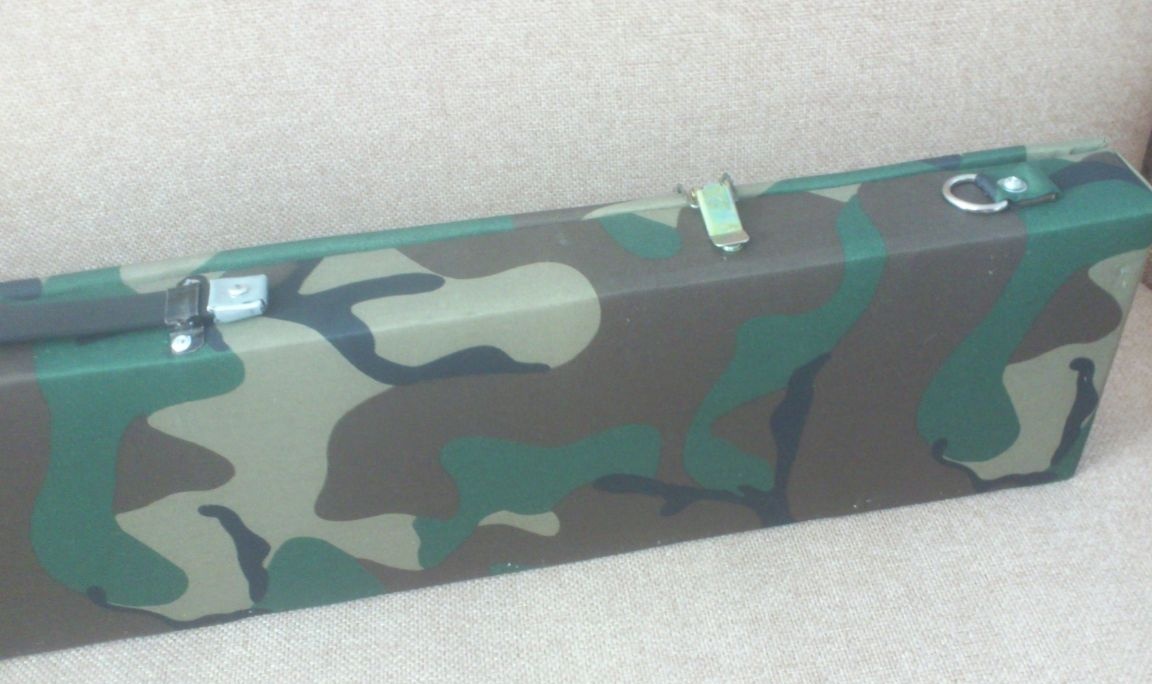
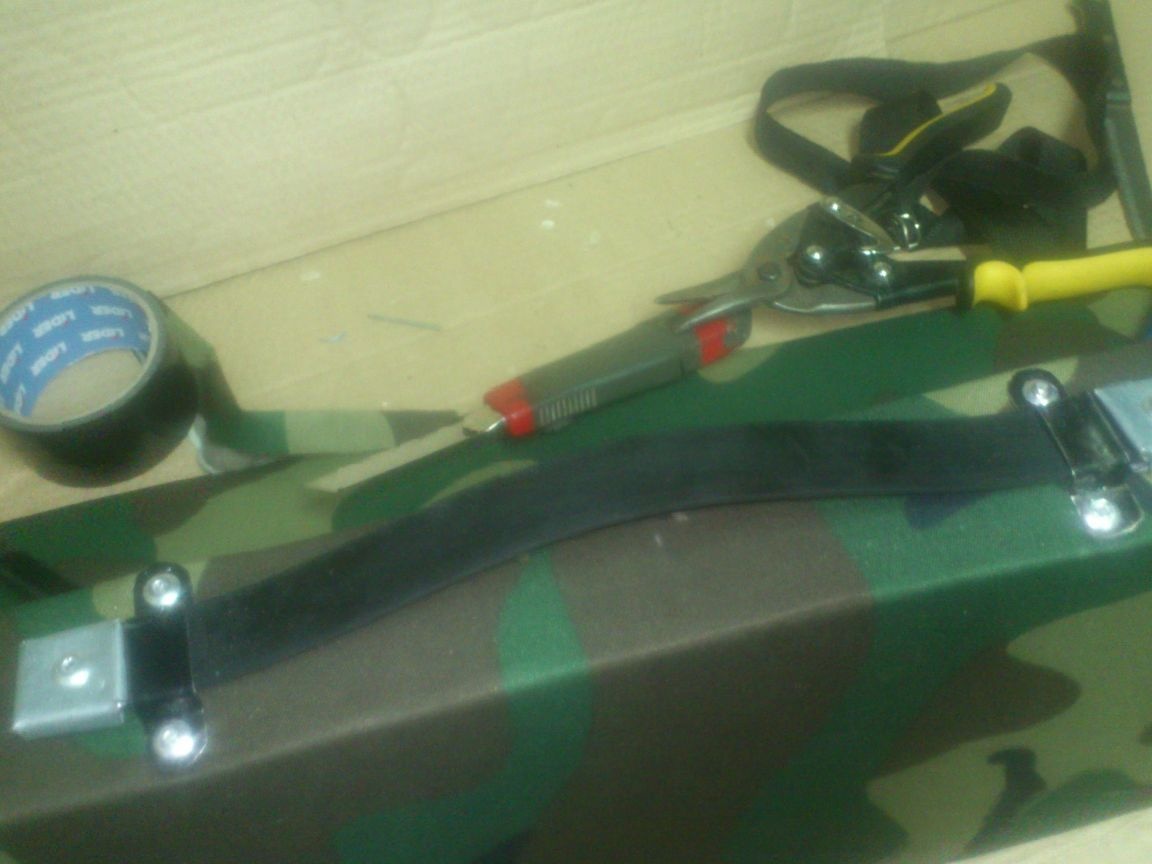
Finished with finish. Now you need to install the clasps.
Initially, I thought of using my “favorite” ties, which I always use.
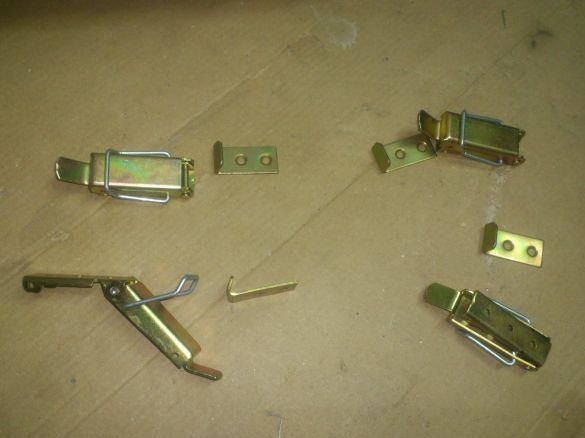
But it turned out that they, together with the hooks, did not fit on the end of my case. And so I made smaller homemade clasps, the manufacture of which I described in previous post
But ... As it often happens to me, in the process of exhaustion, a "more different" solution occurred to me.)))))
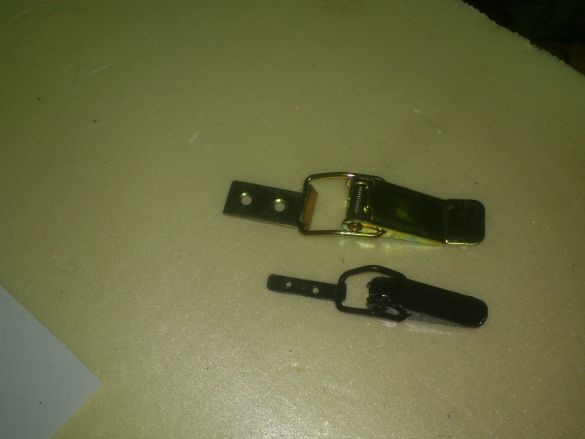
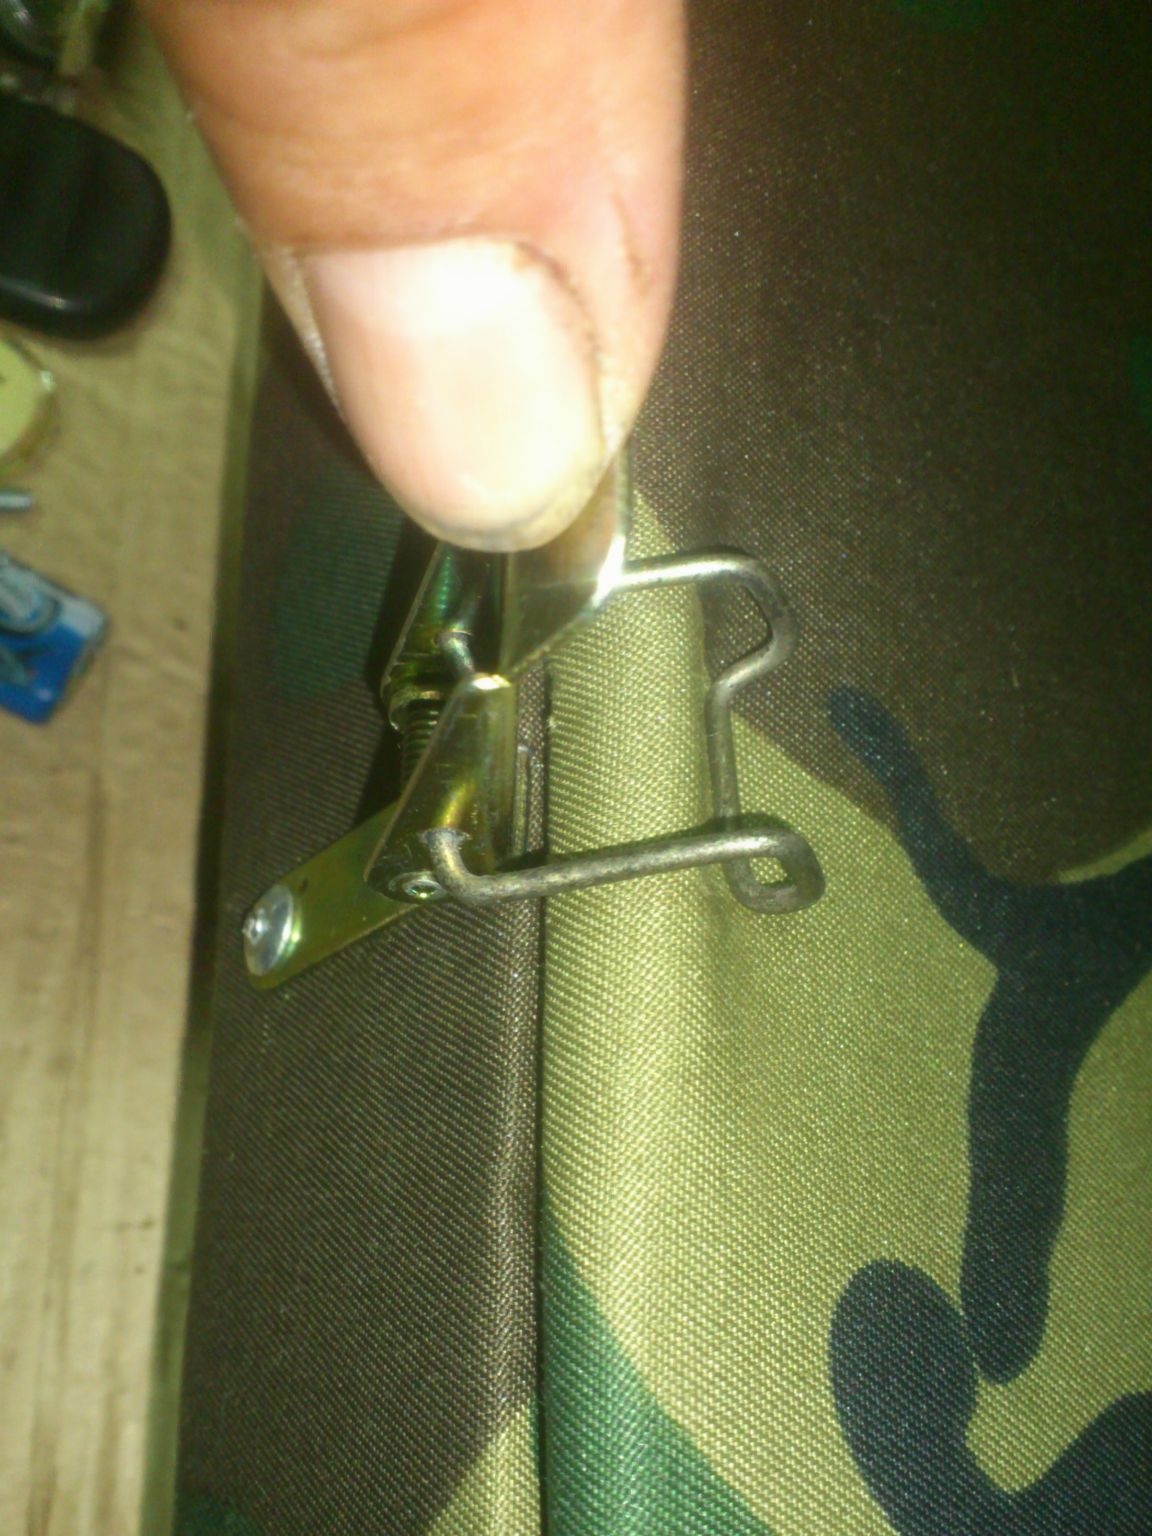
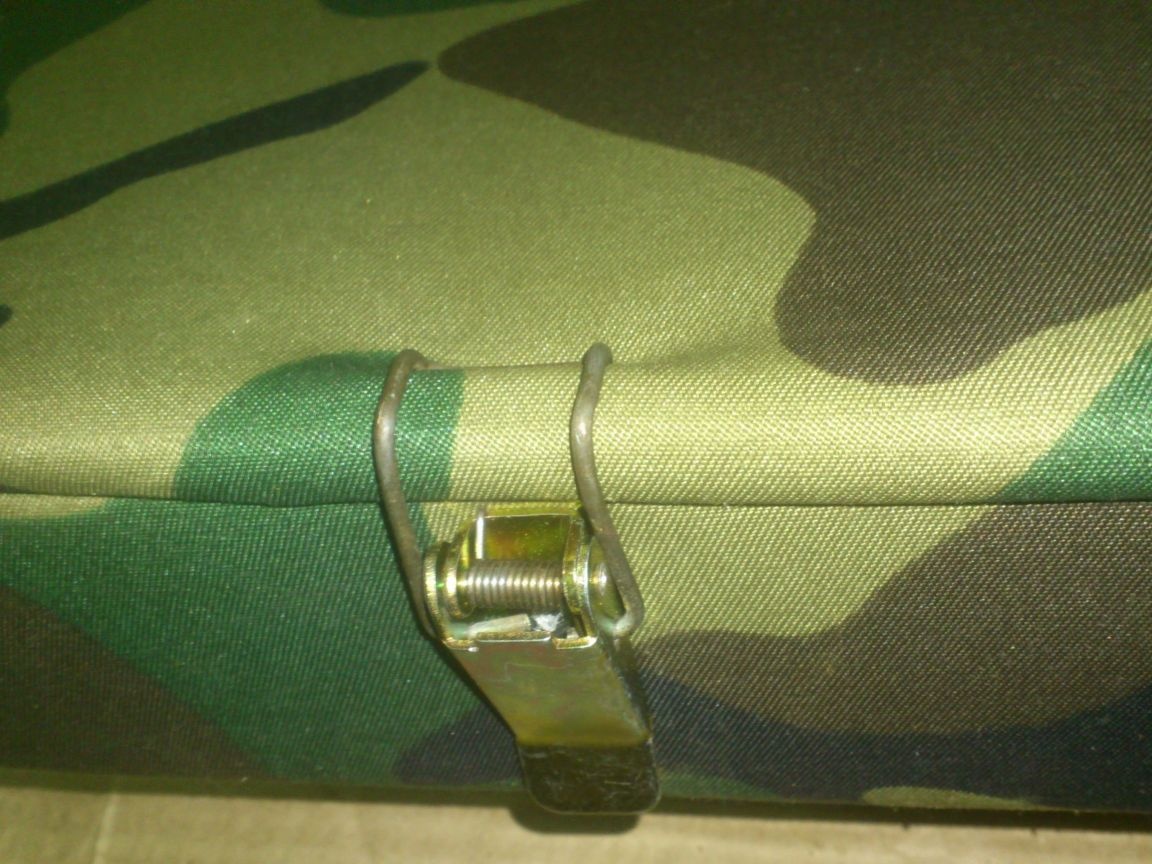
The clasps on the body of the air filter of the car led me to the idea. They are of a similar construction, but do not have any “mating part” in the form of a hook, and their spring clip-hook engages directly on the cover, in which there is a ledge.
And I decided to try to remake the "store" clasps under the same principle. So they fit on the end. Yes, and the idea itself captured me))))).
I made the hook-type bracket of the desired type from a bicycle spoke (In the photo on the left - redone):

In order for her to catch something, I made two brackets of thick steel wire in advance, before finishing, and hammered them into plywood at the edge of the lid:
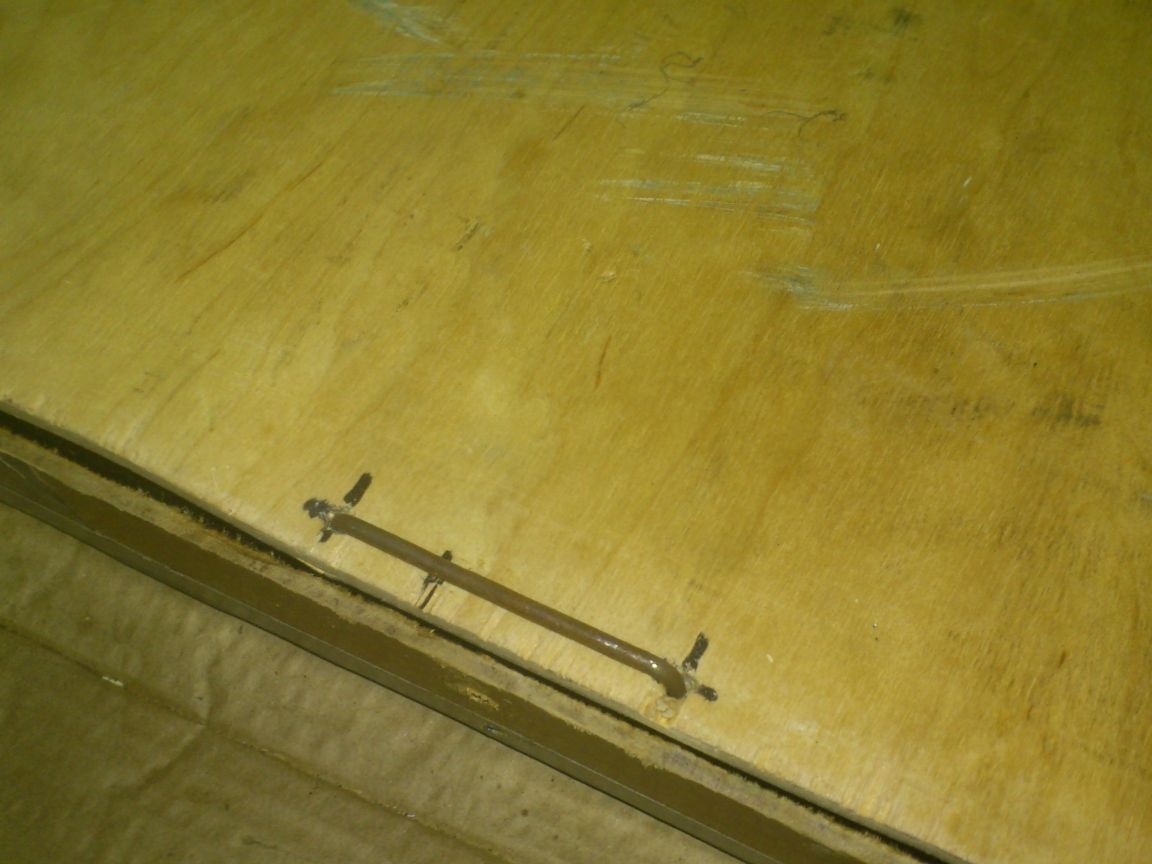
To prevent the edge of the plywood sheet from cracking, I pre-drilled holes with a drill that is half the diameter of the wire.
I riveted the fasteners themselves with exhaust rivets, putting them on before riveting them from the back of the washer. (Otherwise, the rivet will go through the fiberboard)

Here we should focus on the second "pitfall". The fact is that after covering with a cloth, it is impossible to drill a hole with a drill !!!! Do not even try to do this if you do not want to redo everything!
The synthetic winterizer (or batting) under the fabric is wound on a drill !!! Moreover, it is wound very tightly and almost instantly your drill will stop, and a huge lump will form under the fabric !!!!
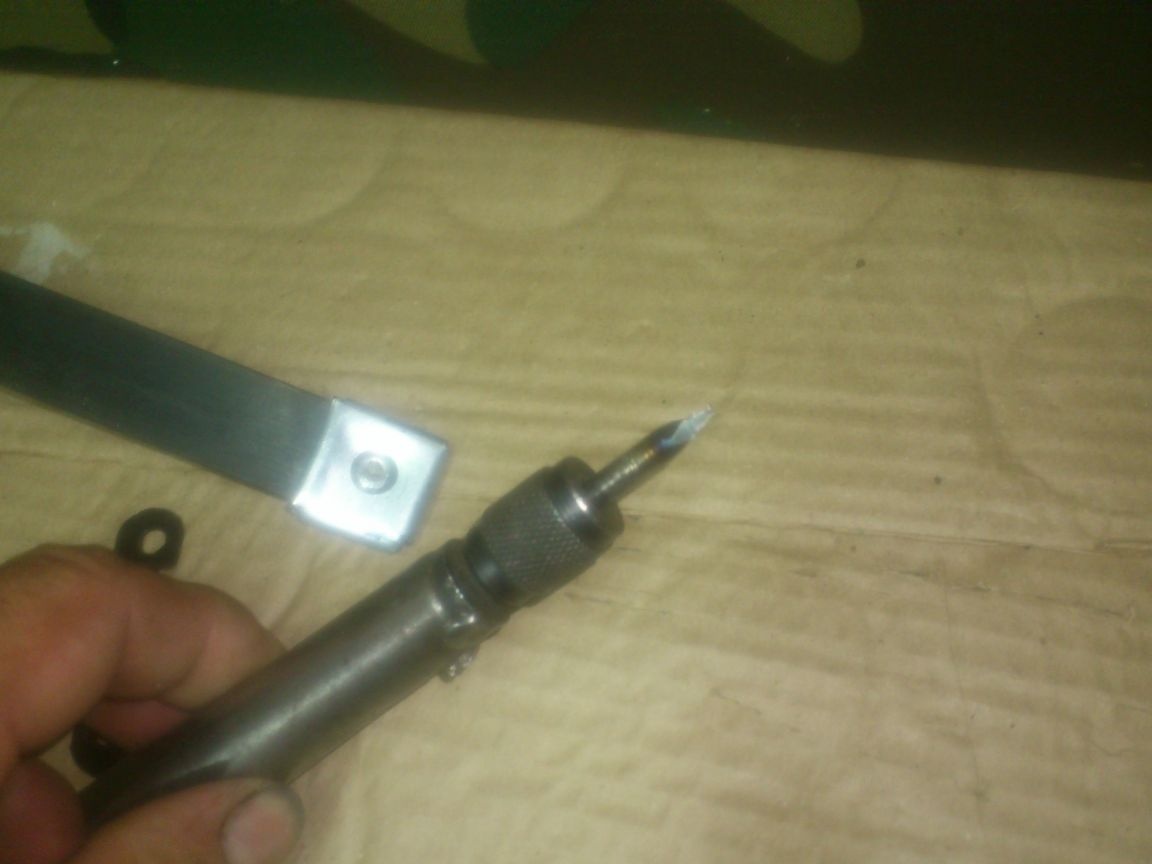
Holes in such cases need to be punched!
I have such a homemade tool, which is a metal handle with a collet chuck. I inserted a piece of drill of the diameter I needed into it and sharpened it:
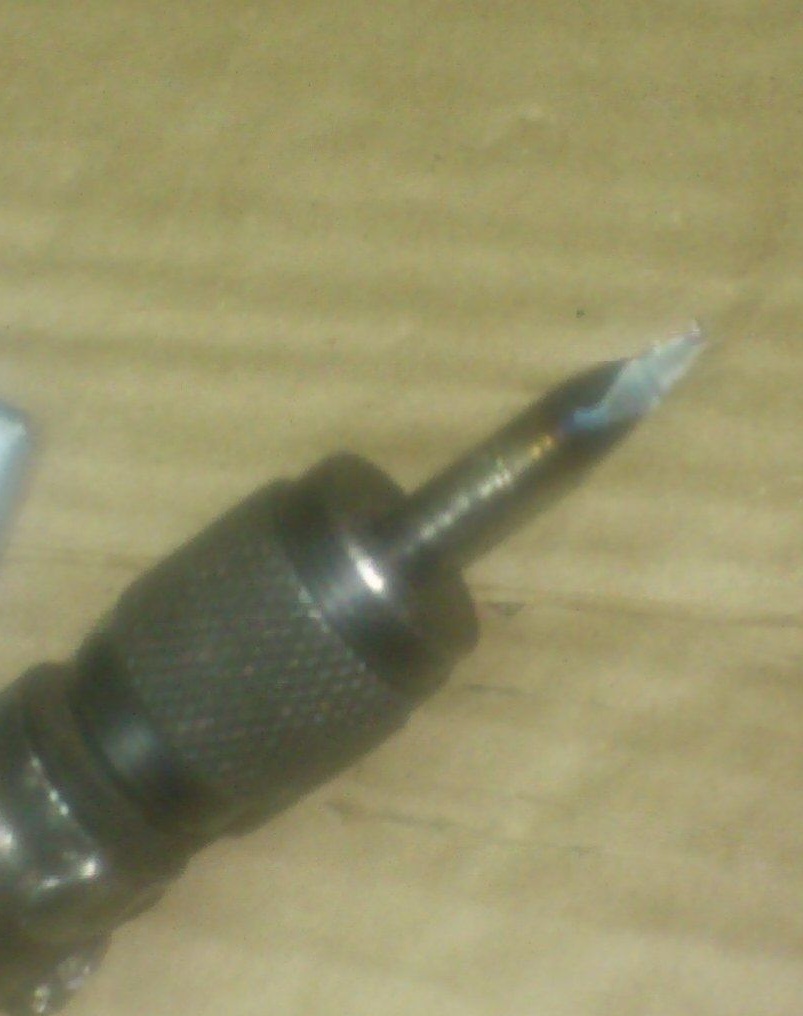
I made holes for them with rivets.
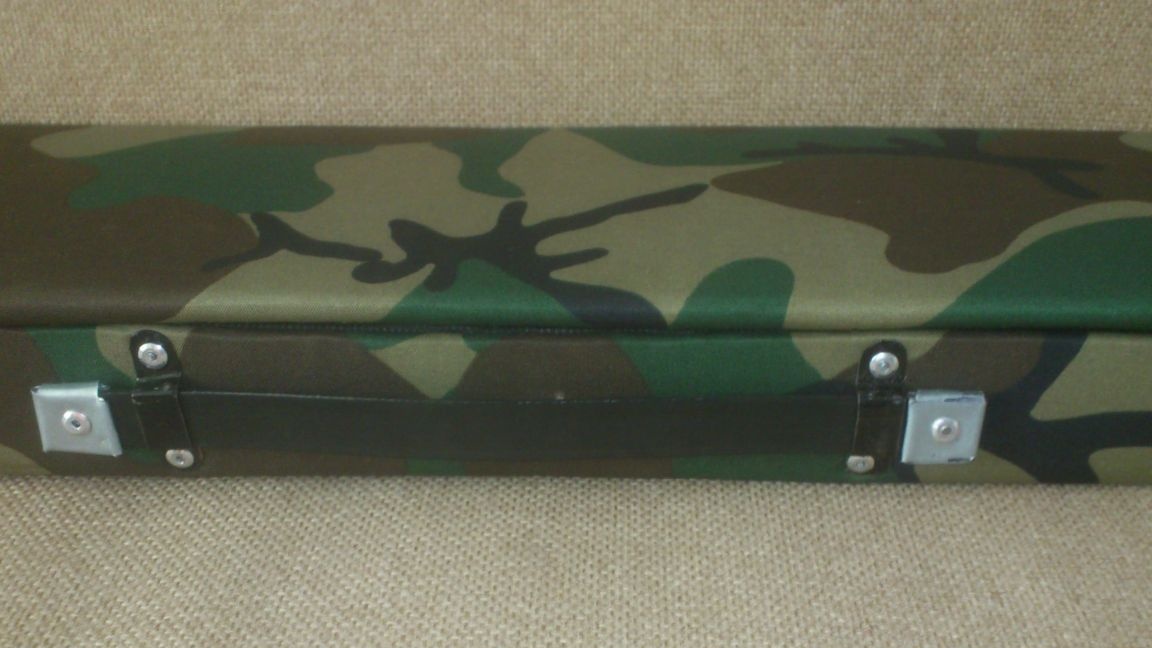
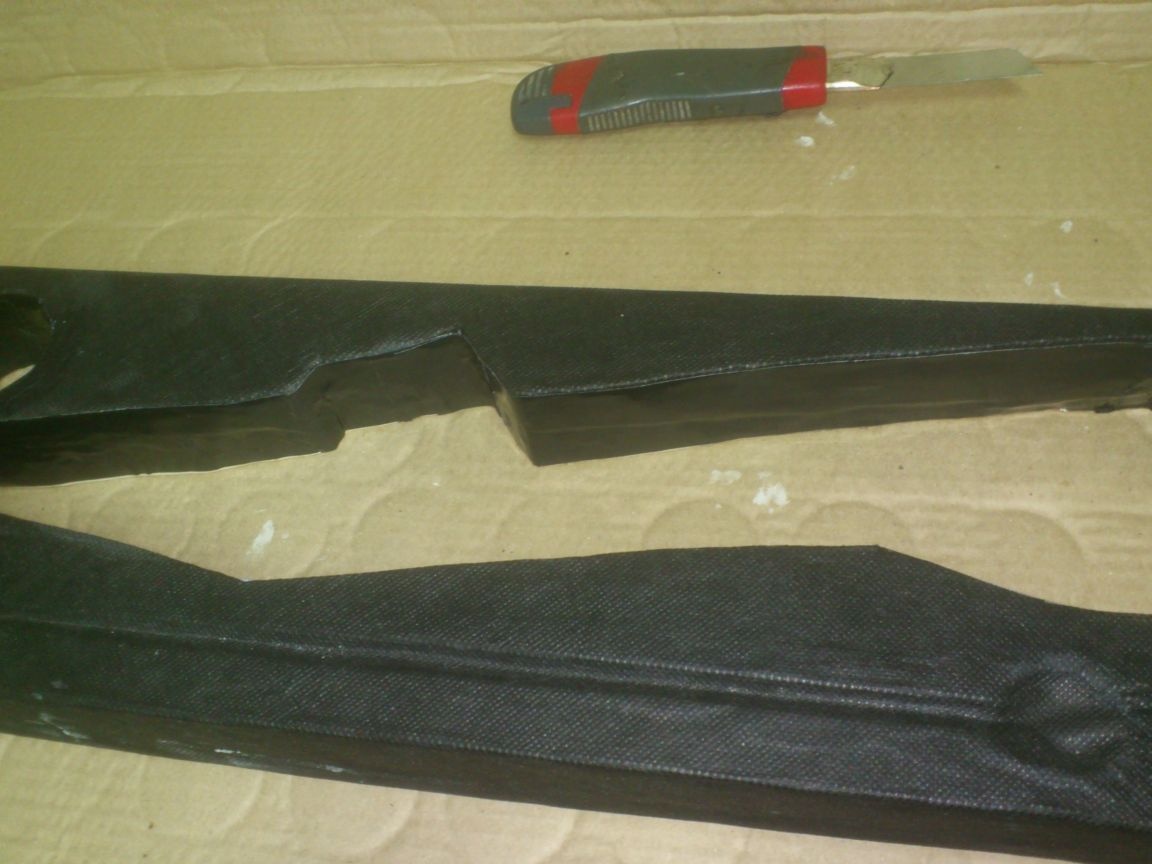
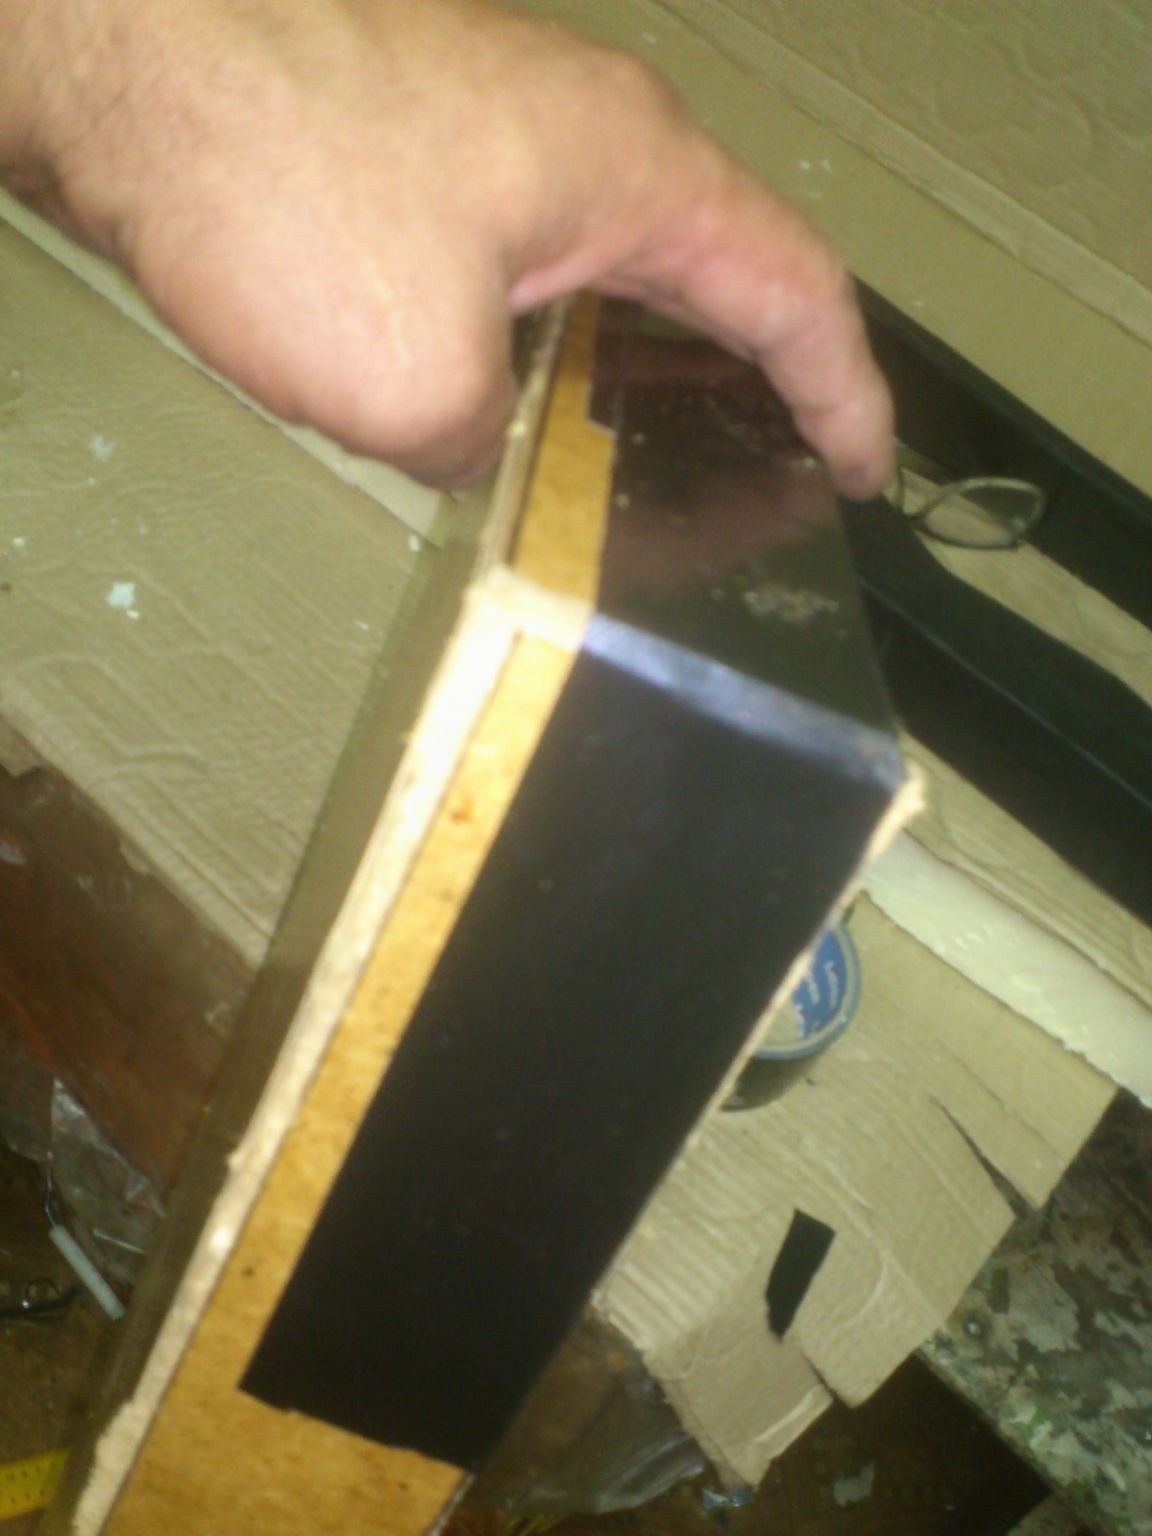
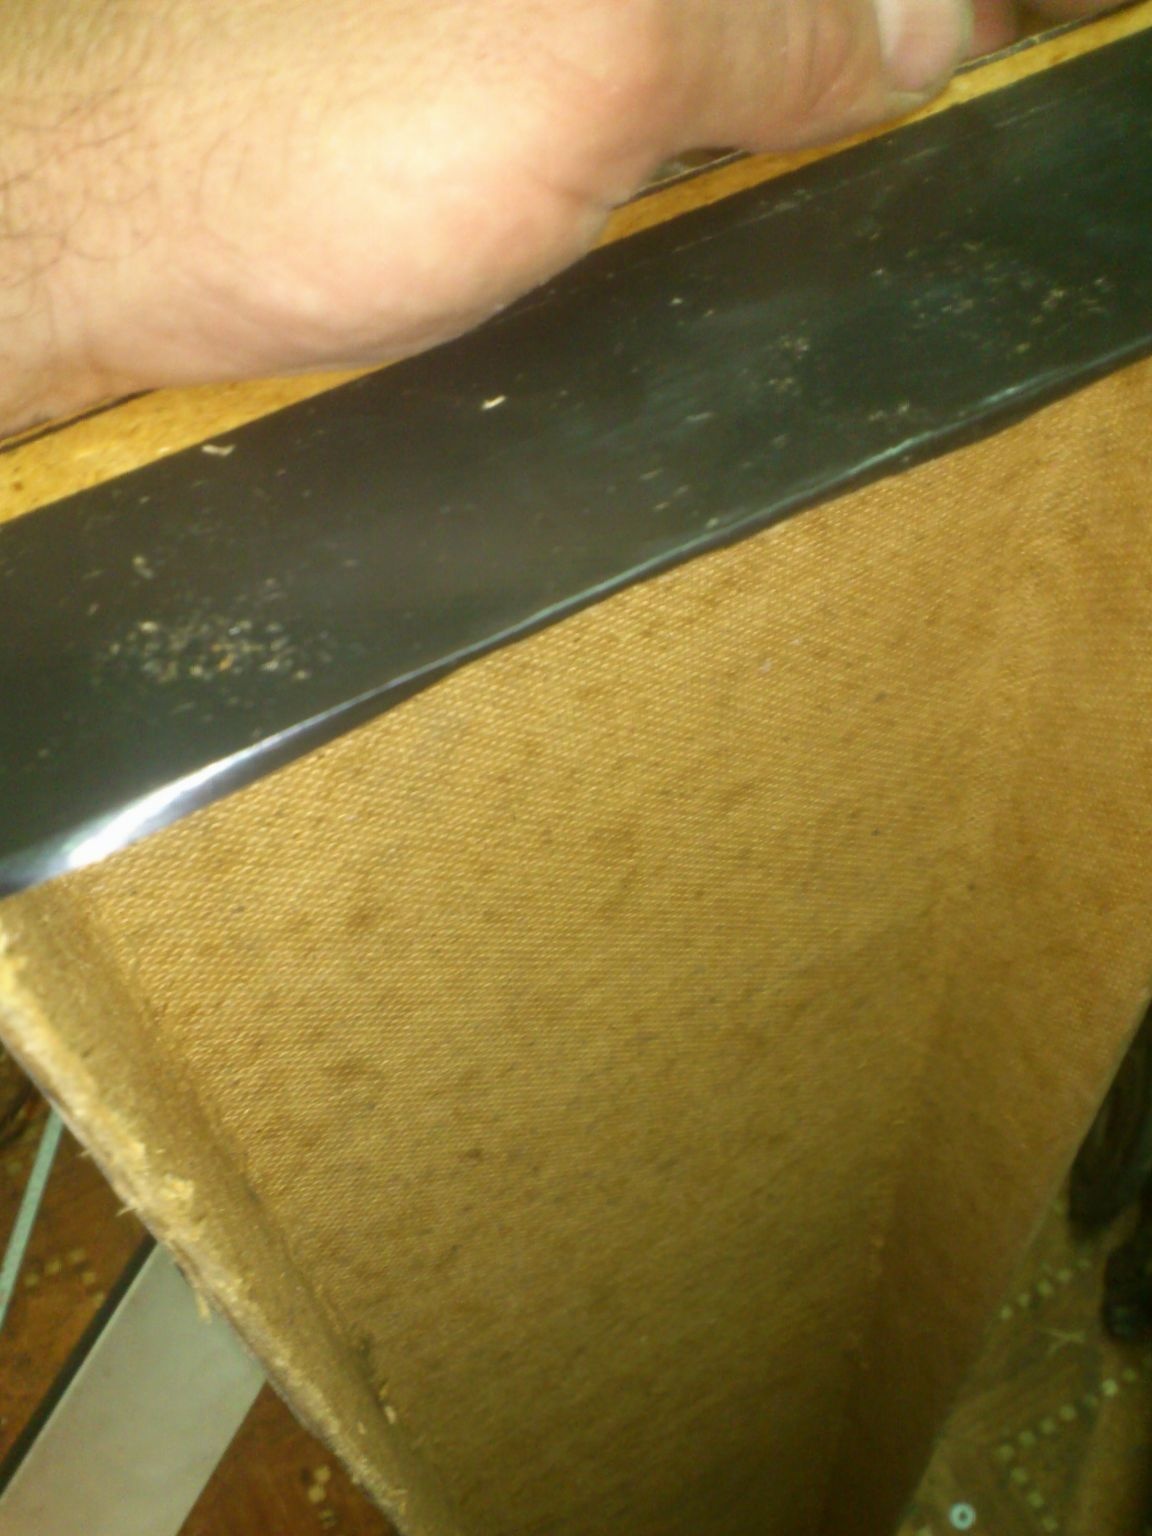
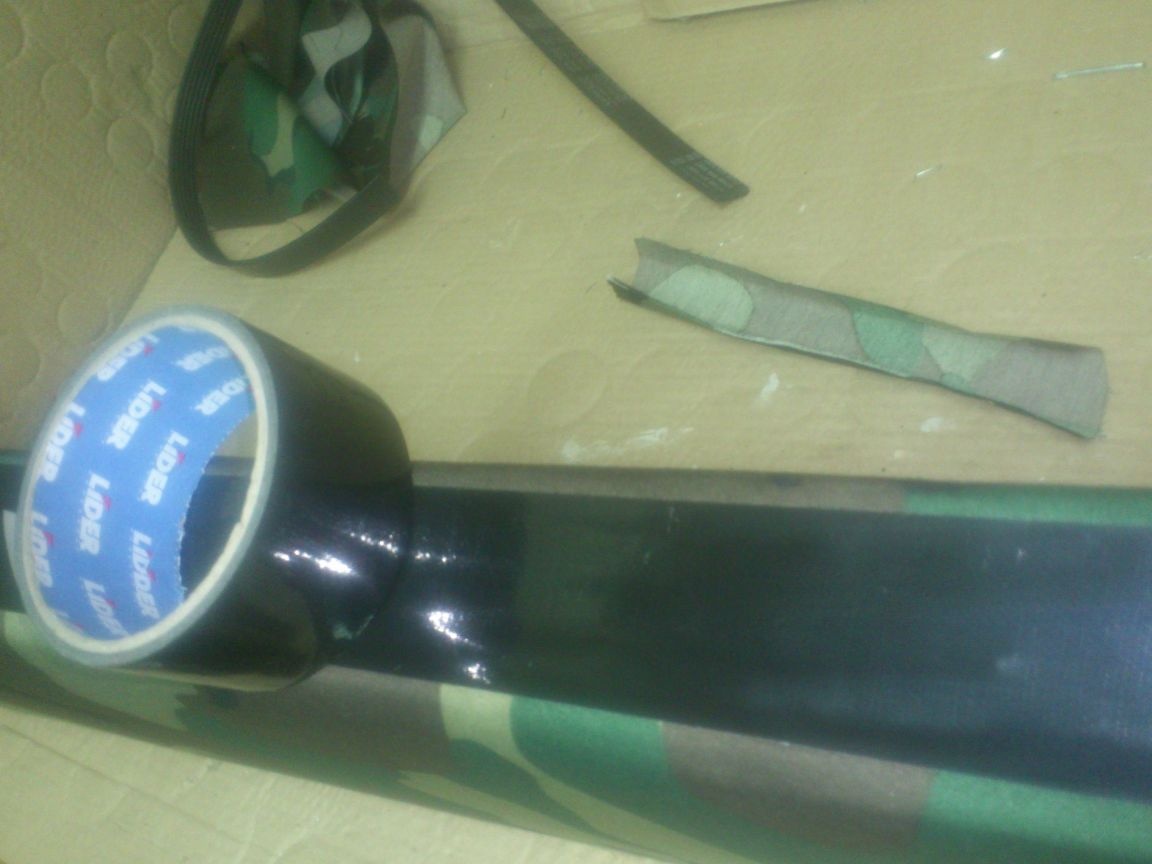
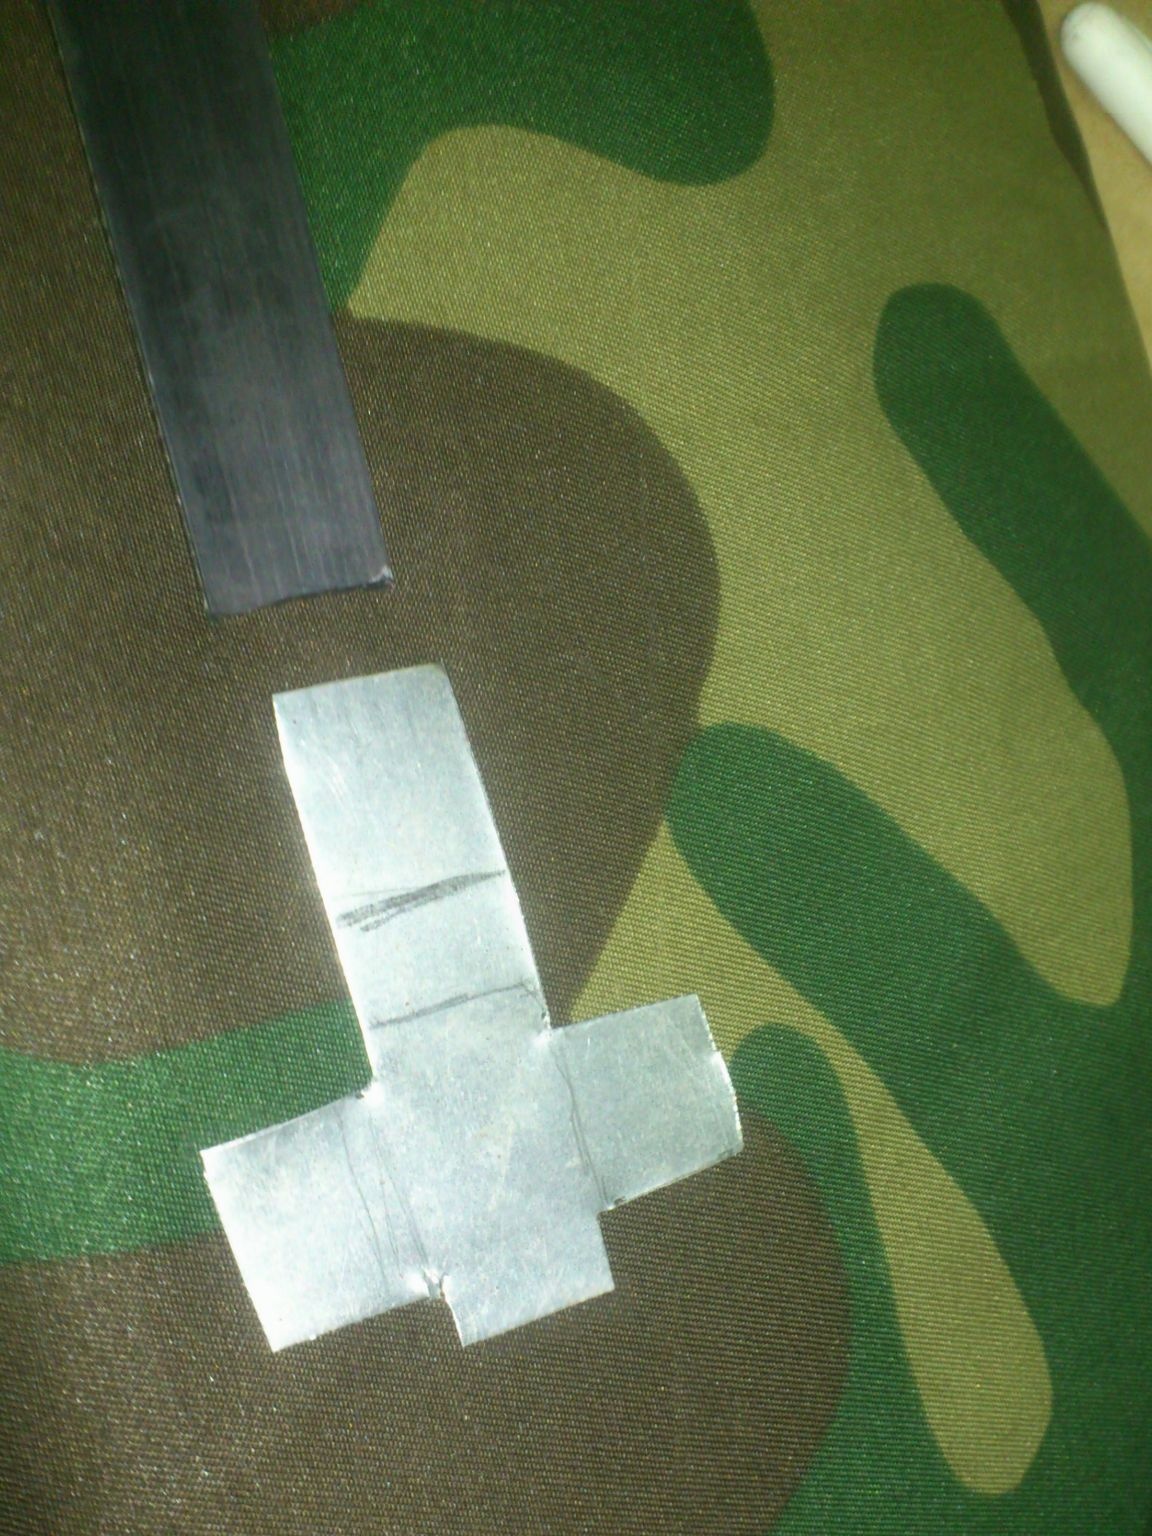
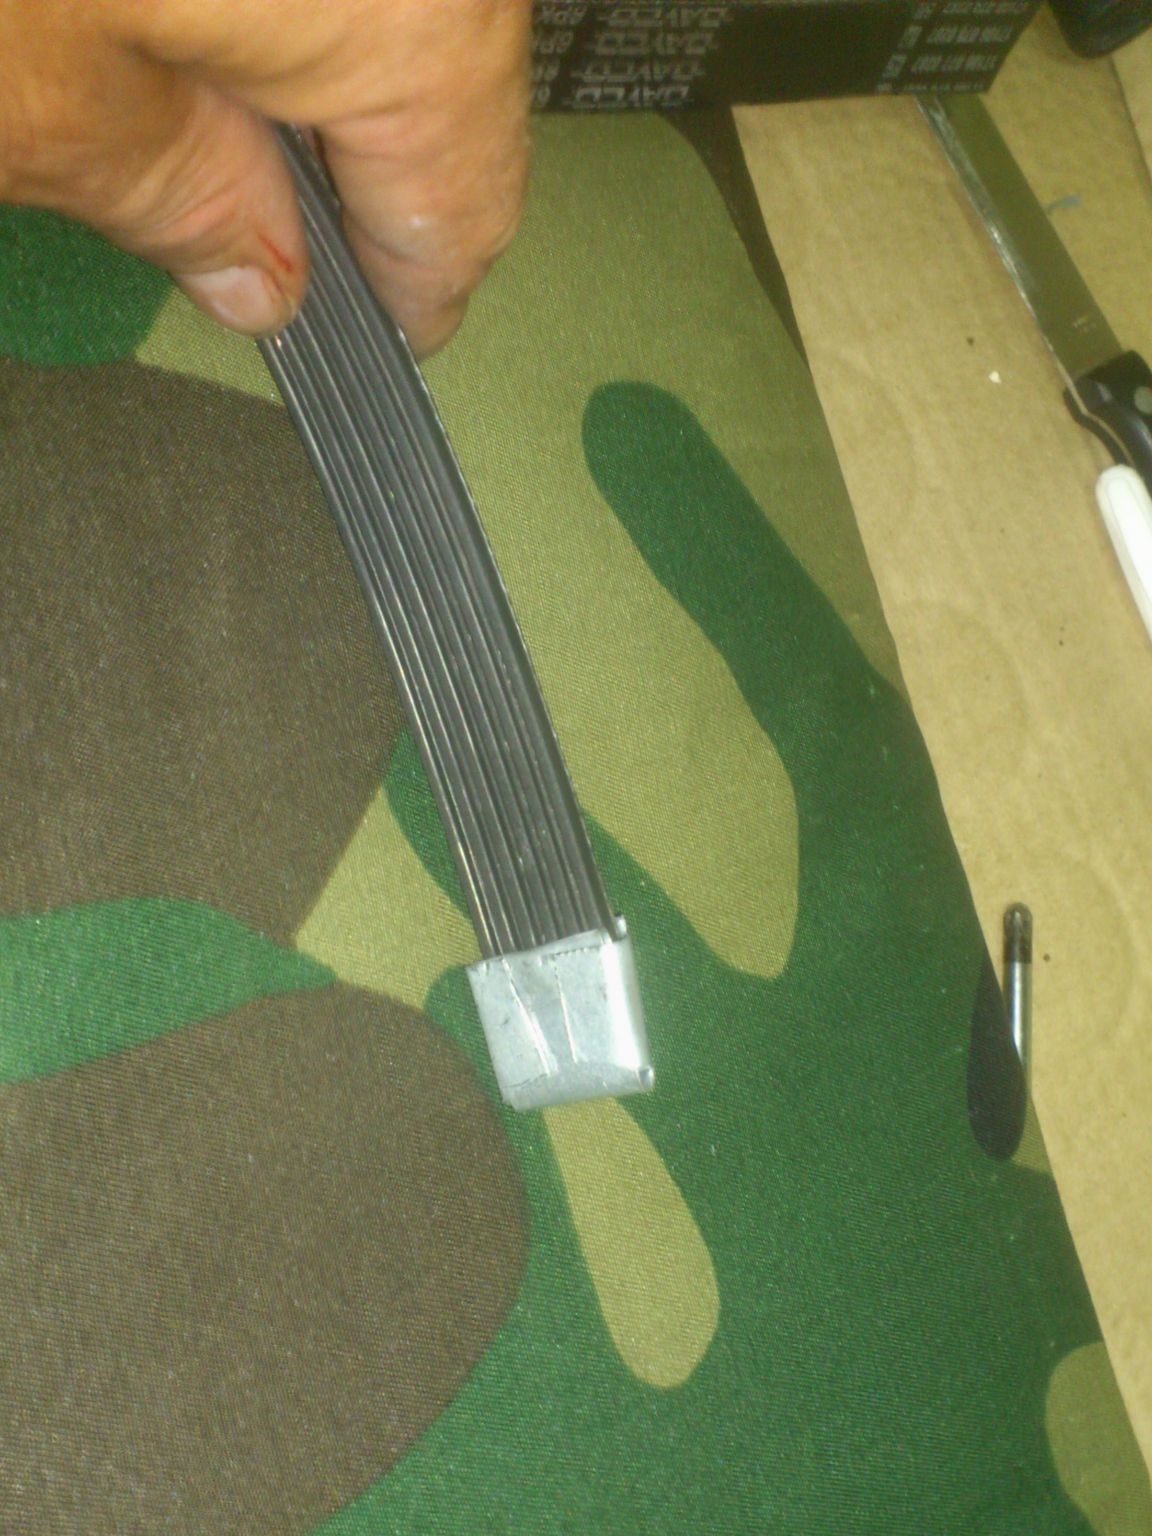
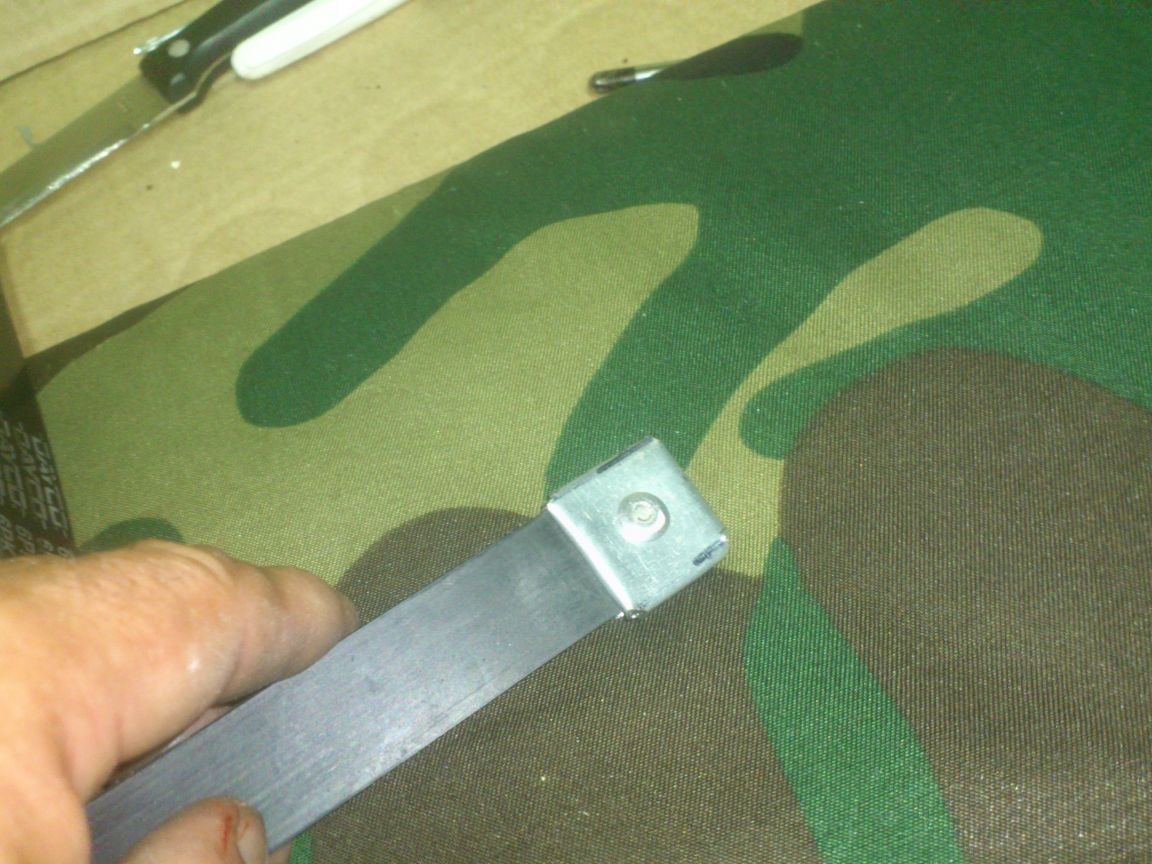
So, the case is already closing ... Now you need to make a handle for which it can be worn. I decided to make it from an old automobile V-ribbed belt (In common people - "smooth belt)))).
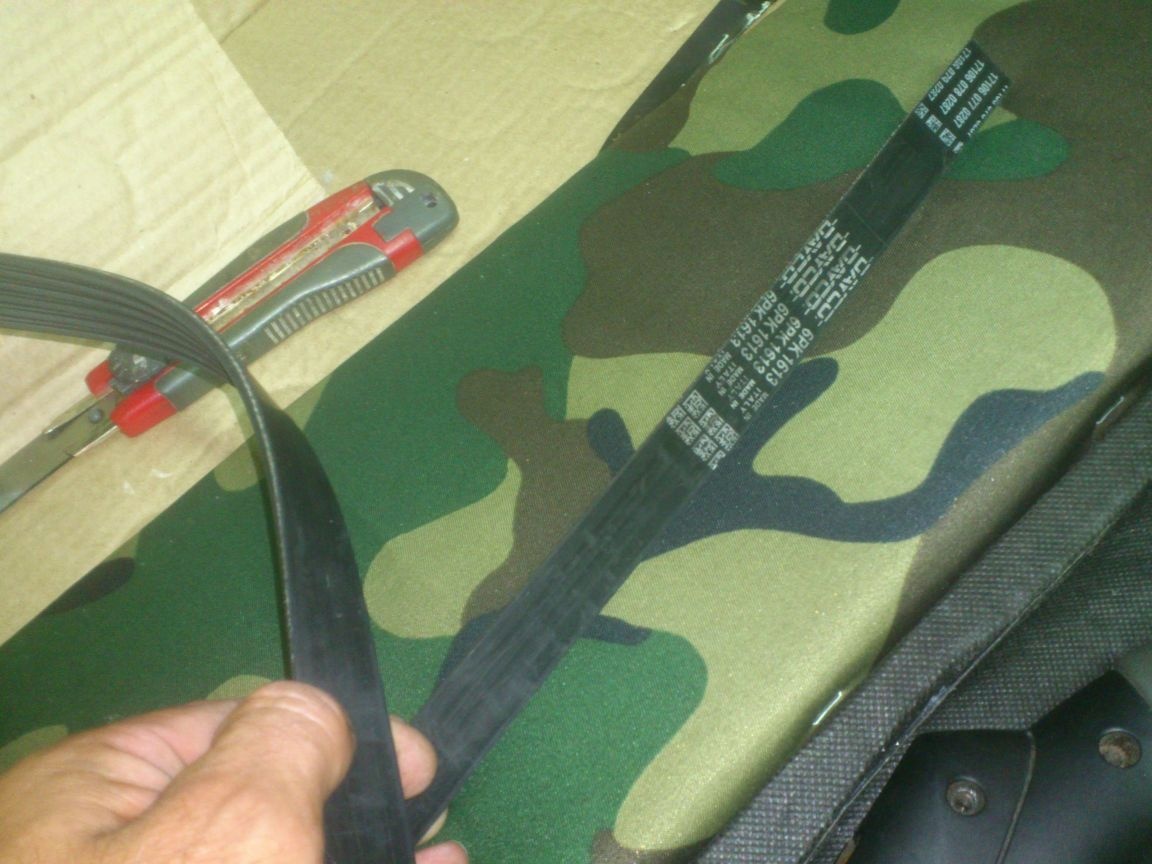
A piece of it was lying in the workshop after manufacturing key for screw caps
I "forged" its ends with metal. (The case from the old computer power supply unit acted as a "donor")
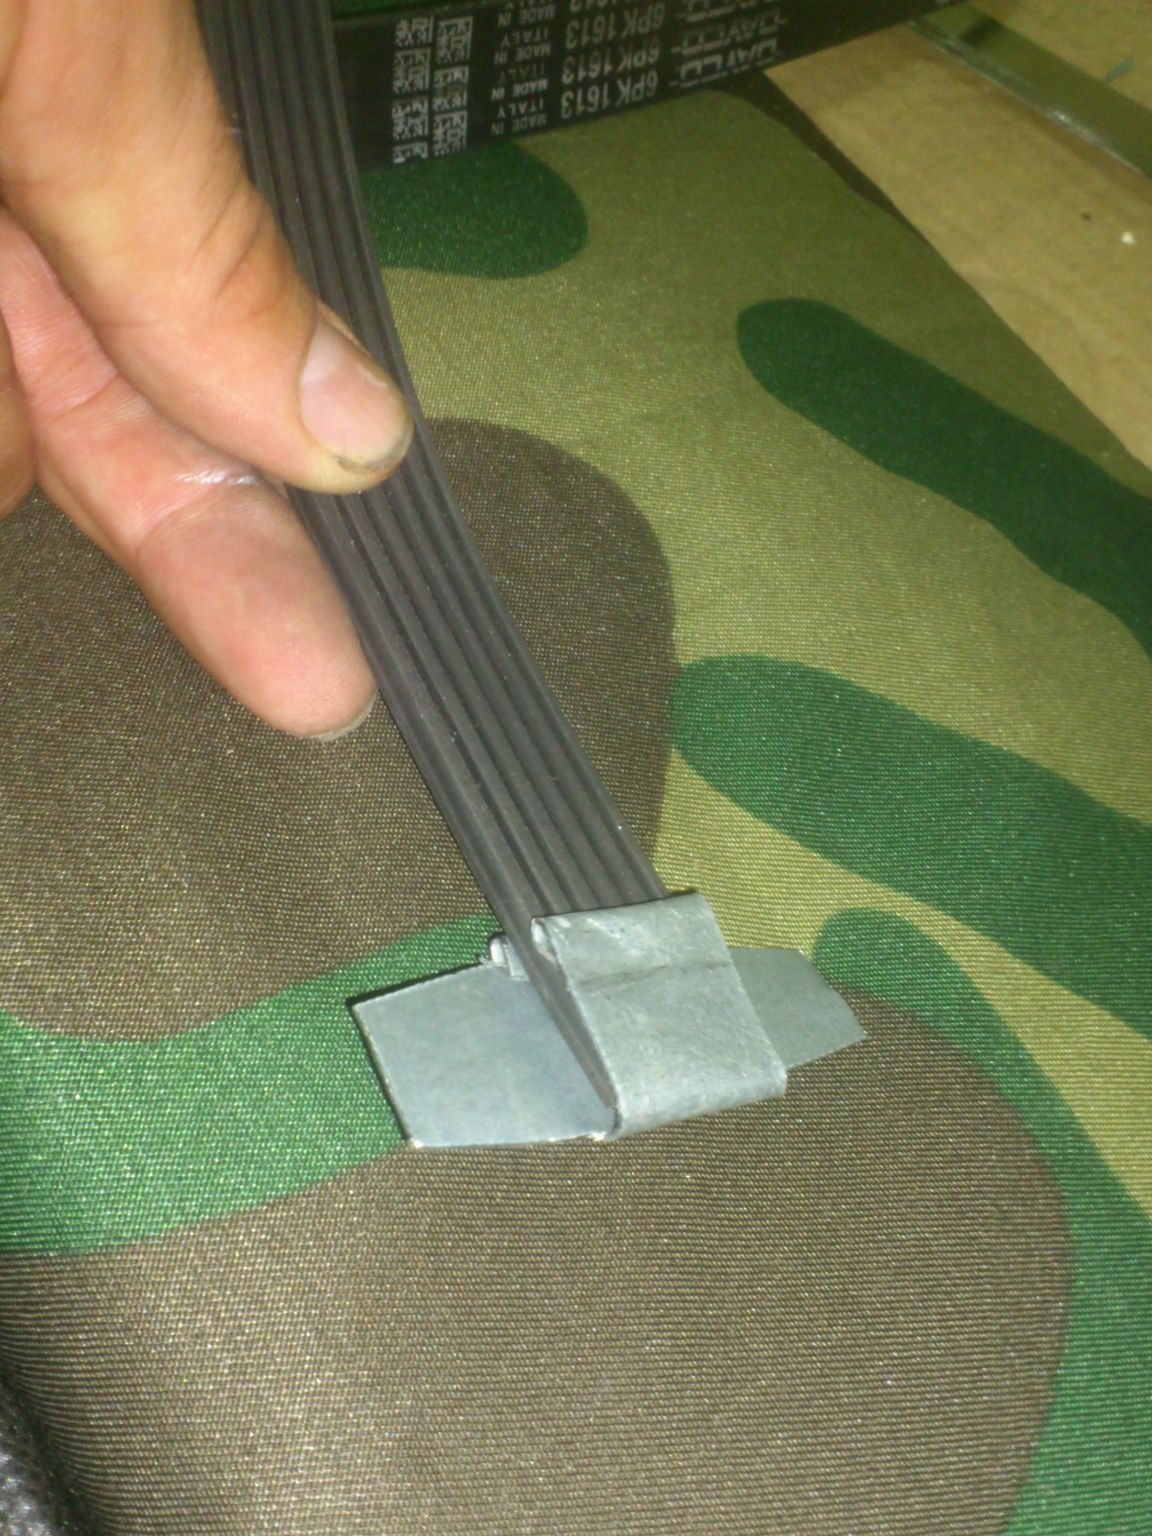
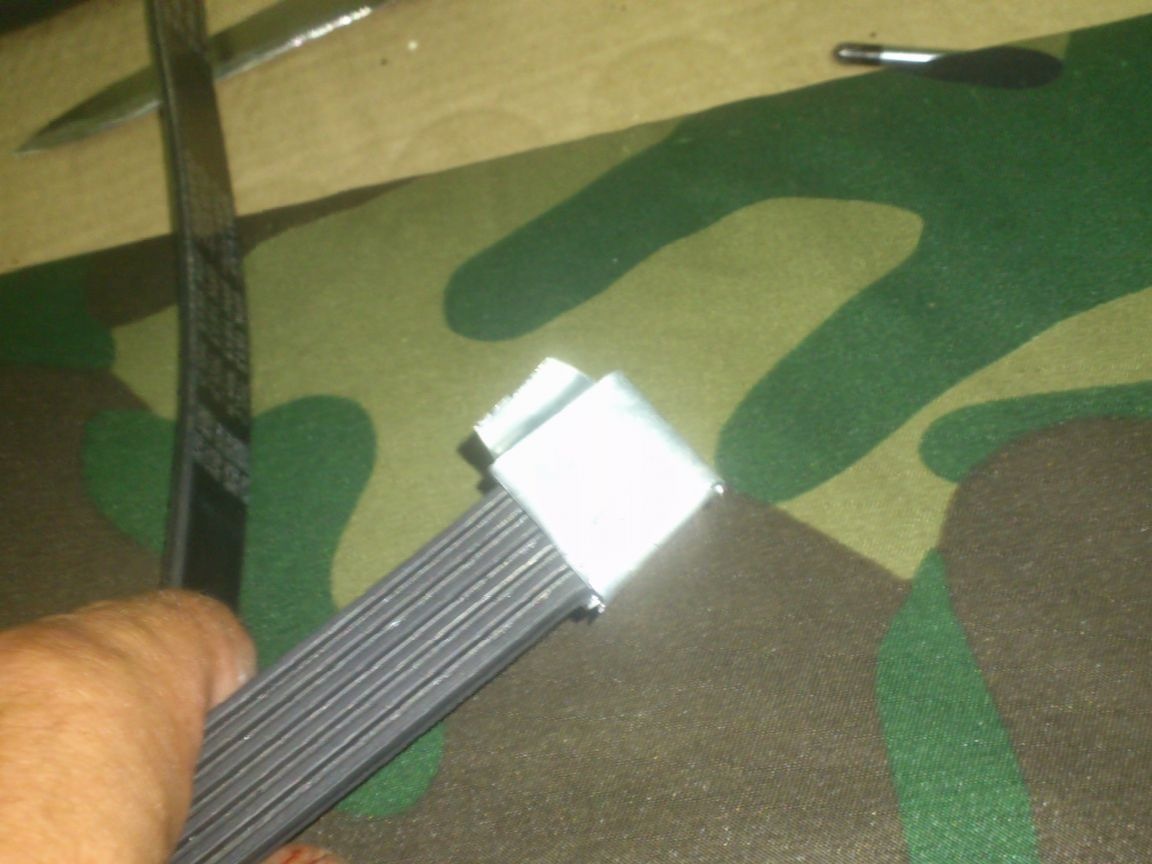
After he bent all the edges, he drilled a hole in the center:
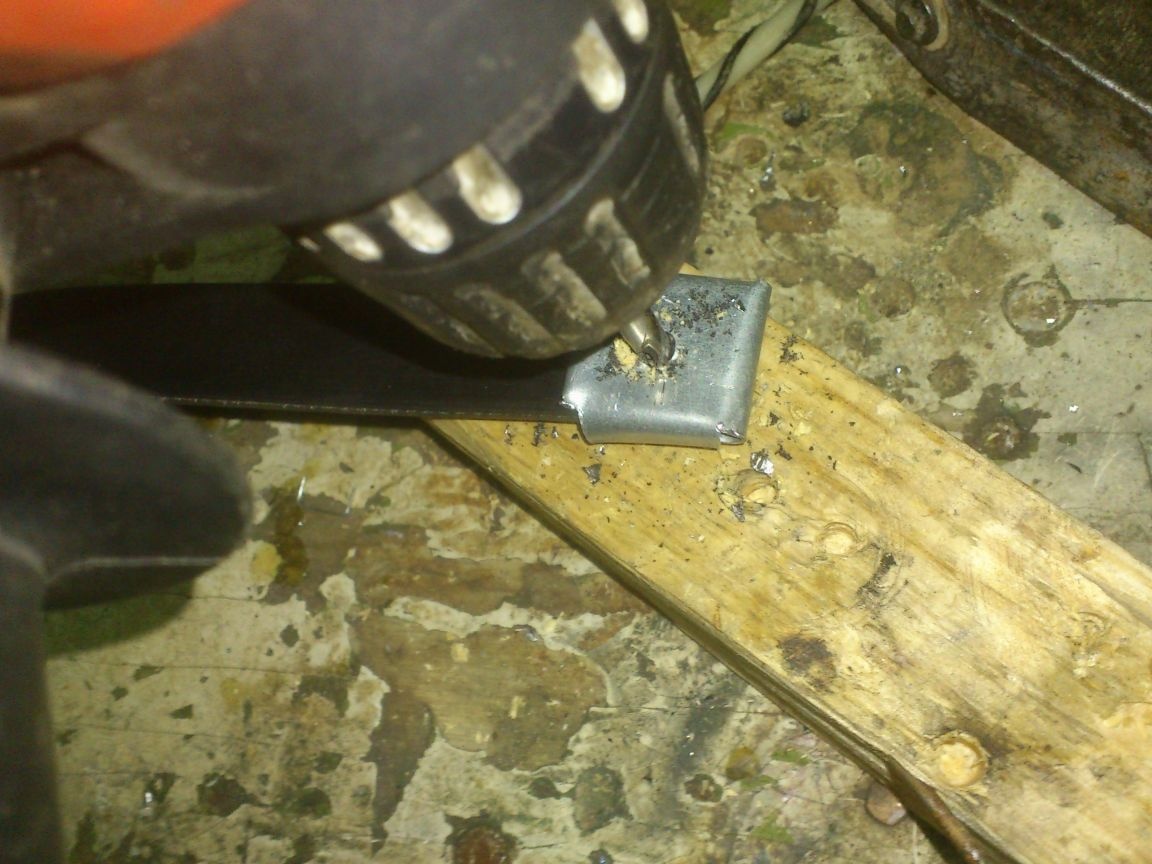
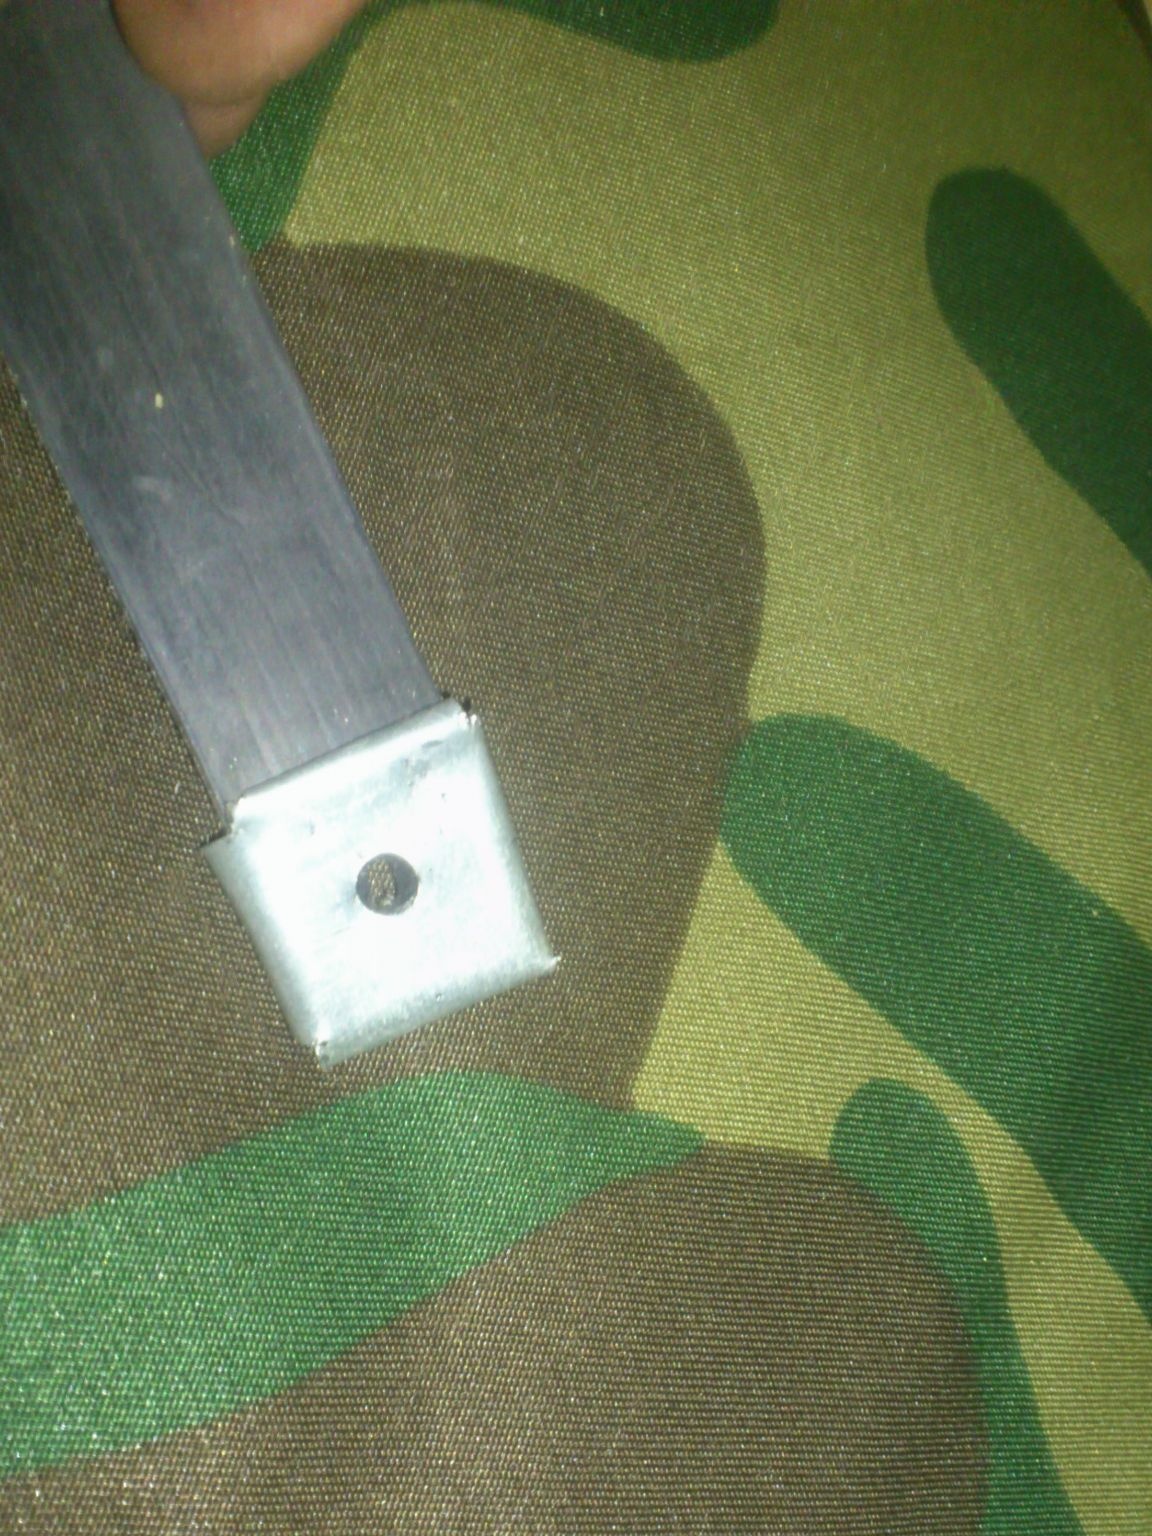
And riveted with a rivet, again, putting a washer on the bottom:
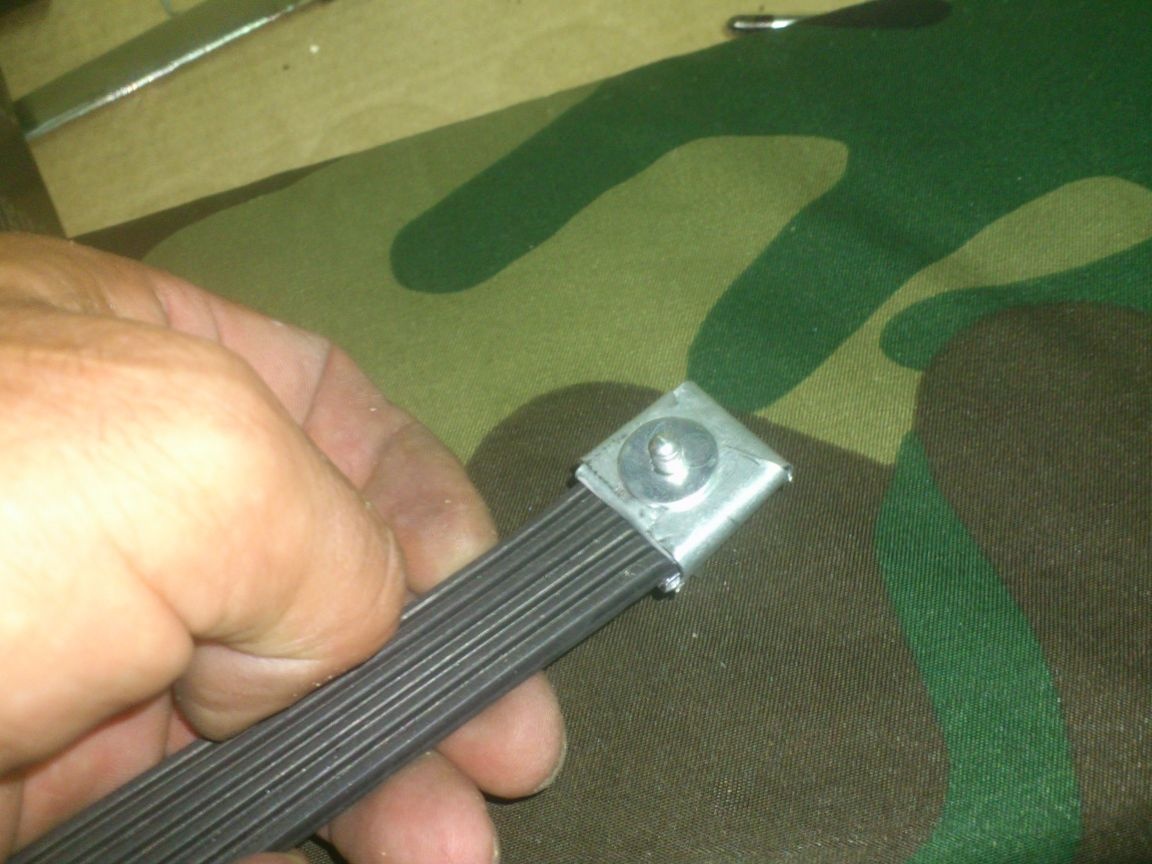
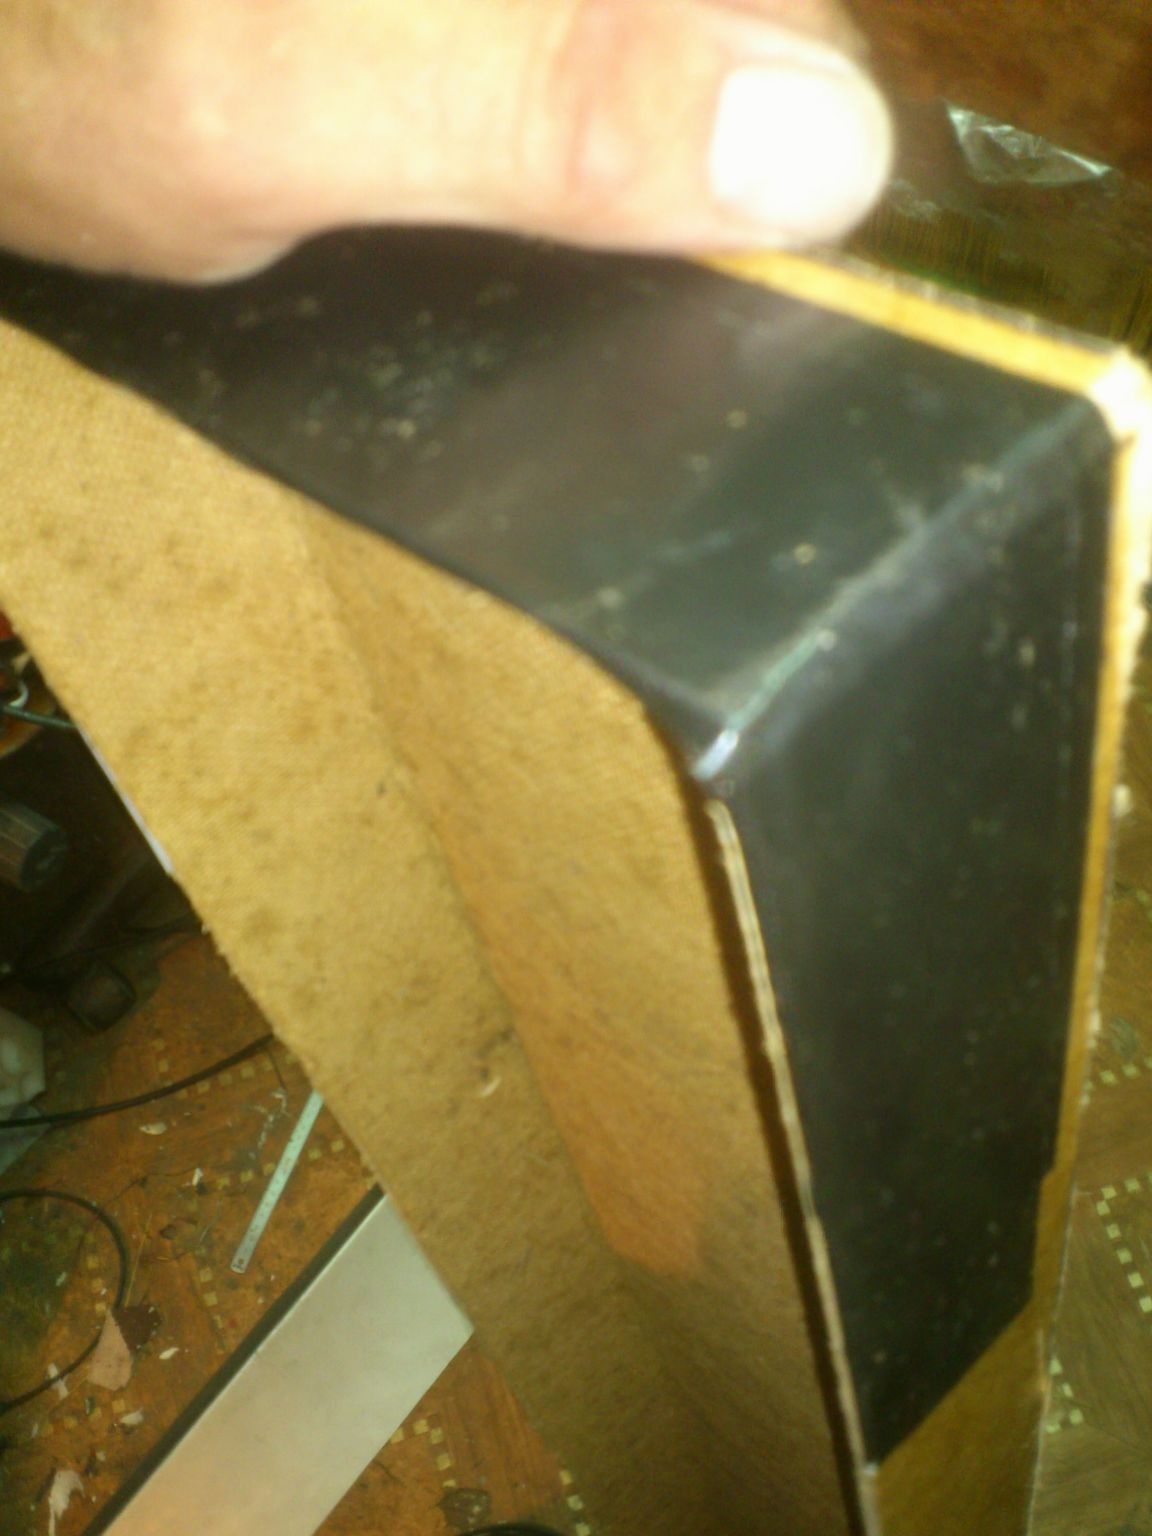
I decided to make the brackets from the scraps of the “piano loop”:

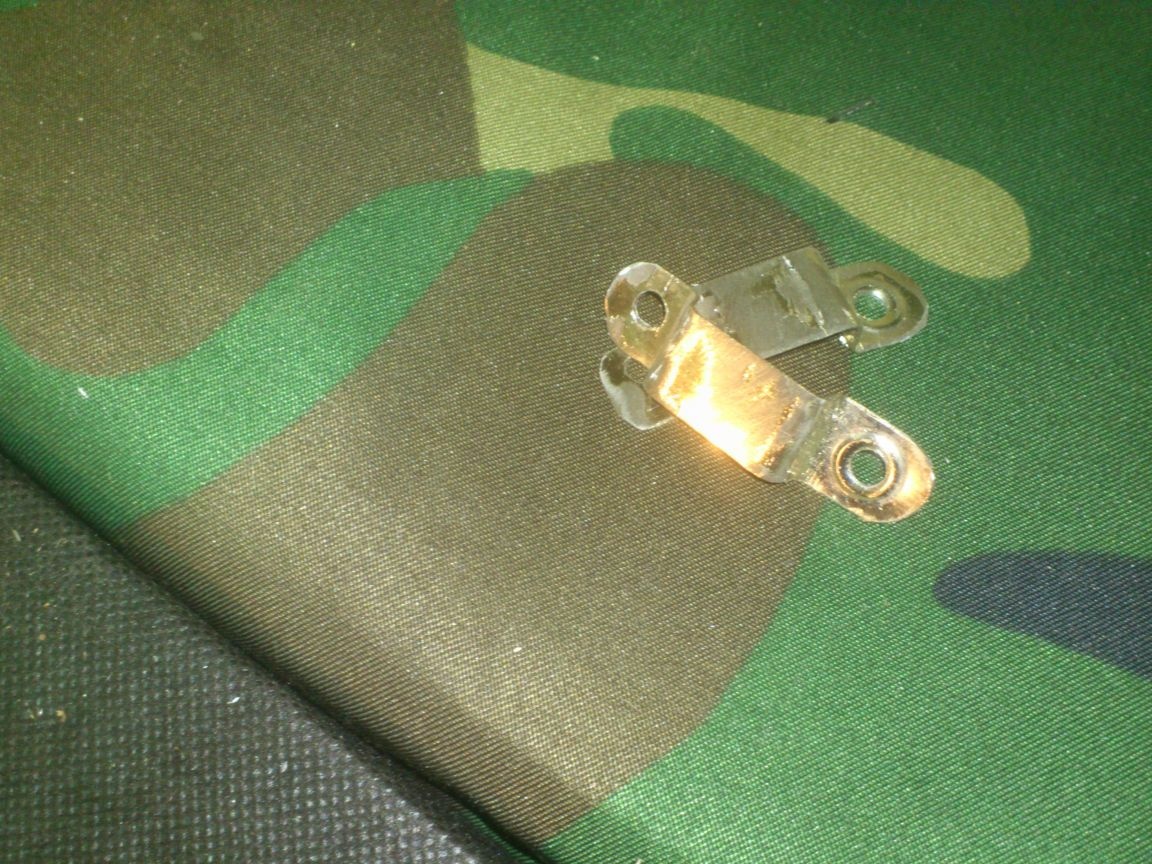

It remains to fix the handle. Again rivets holes for rivets:
And we rivet the brackets, crushing the belt:
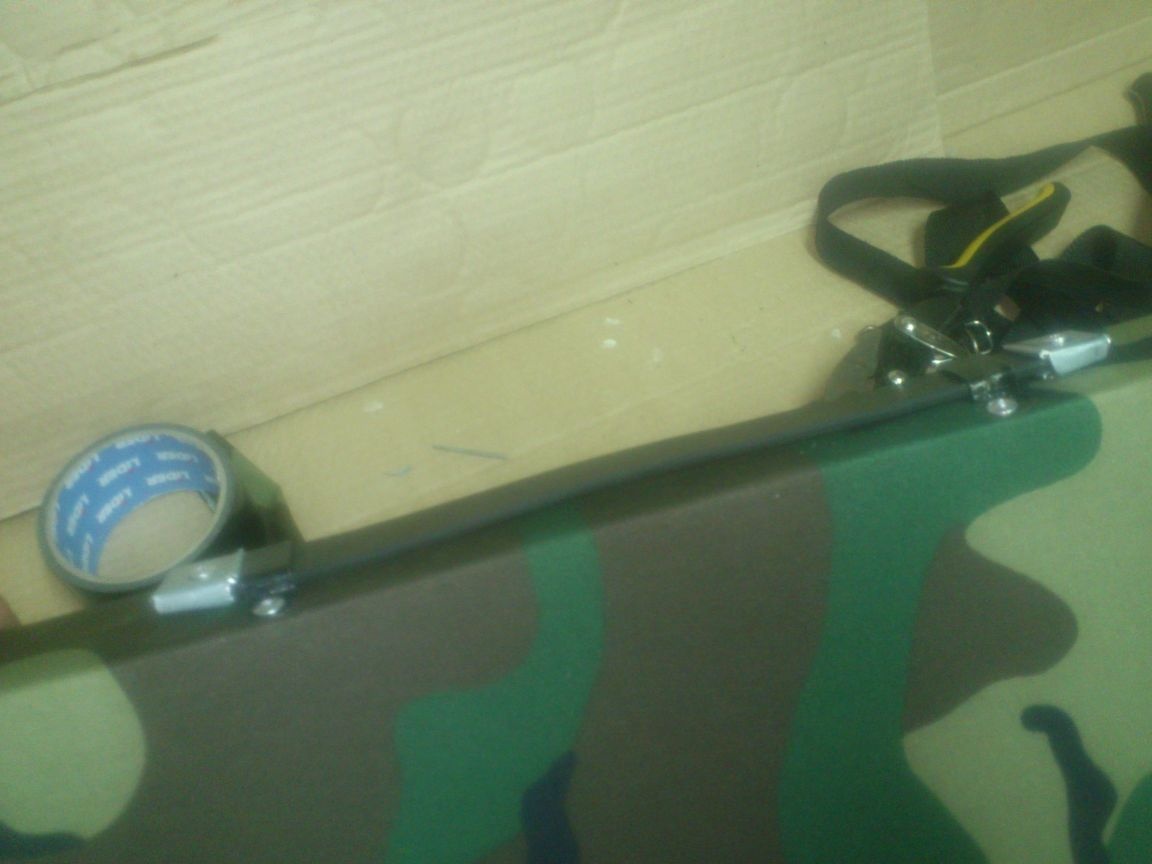
At the same time, we arrange them so that between them and the metal edging of the belt there are approximately five millimeters in each:

The idea is to make the handle folding. If necessary, it extends to this distance, allowing you to take it by hand.
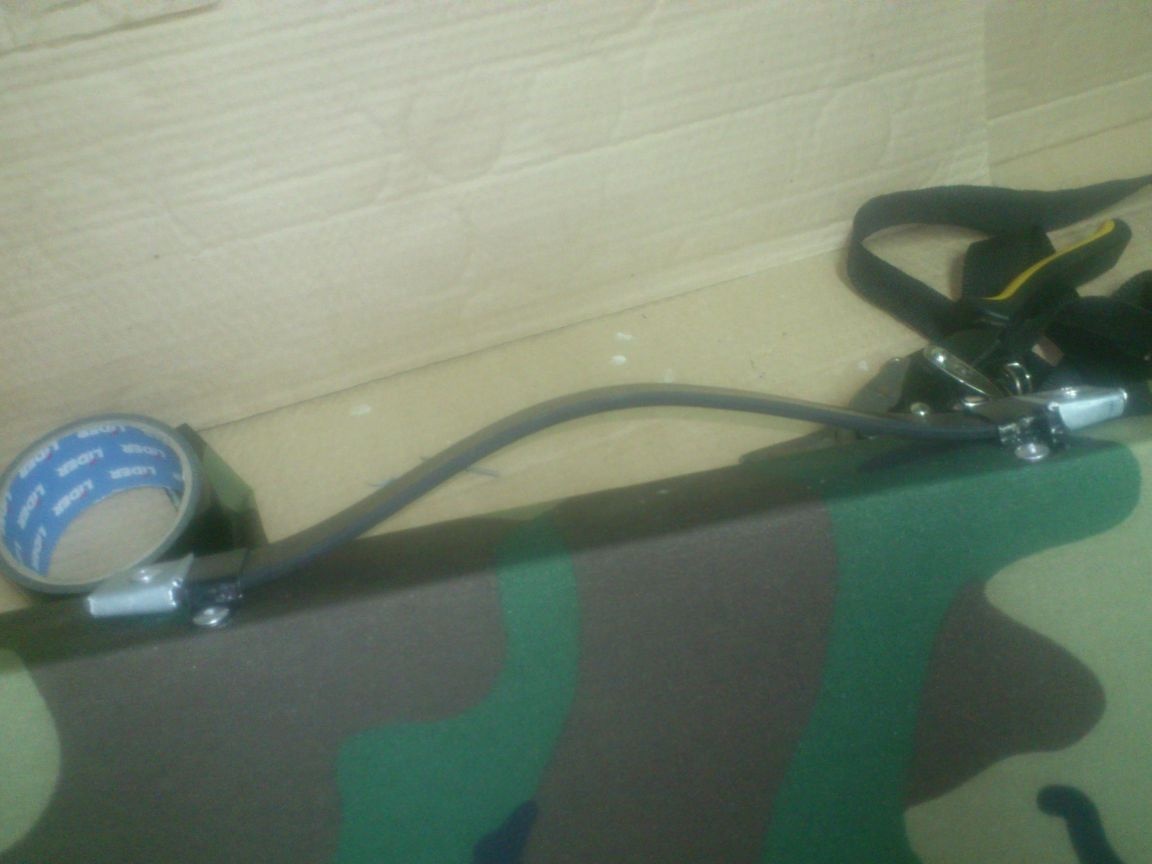

Now the case is convenient to carry in your hand.
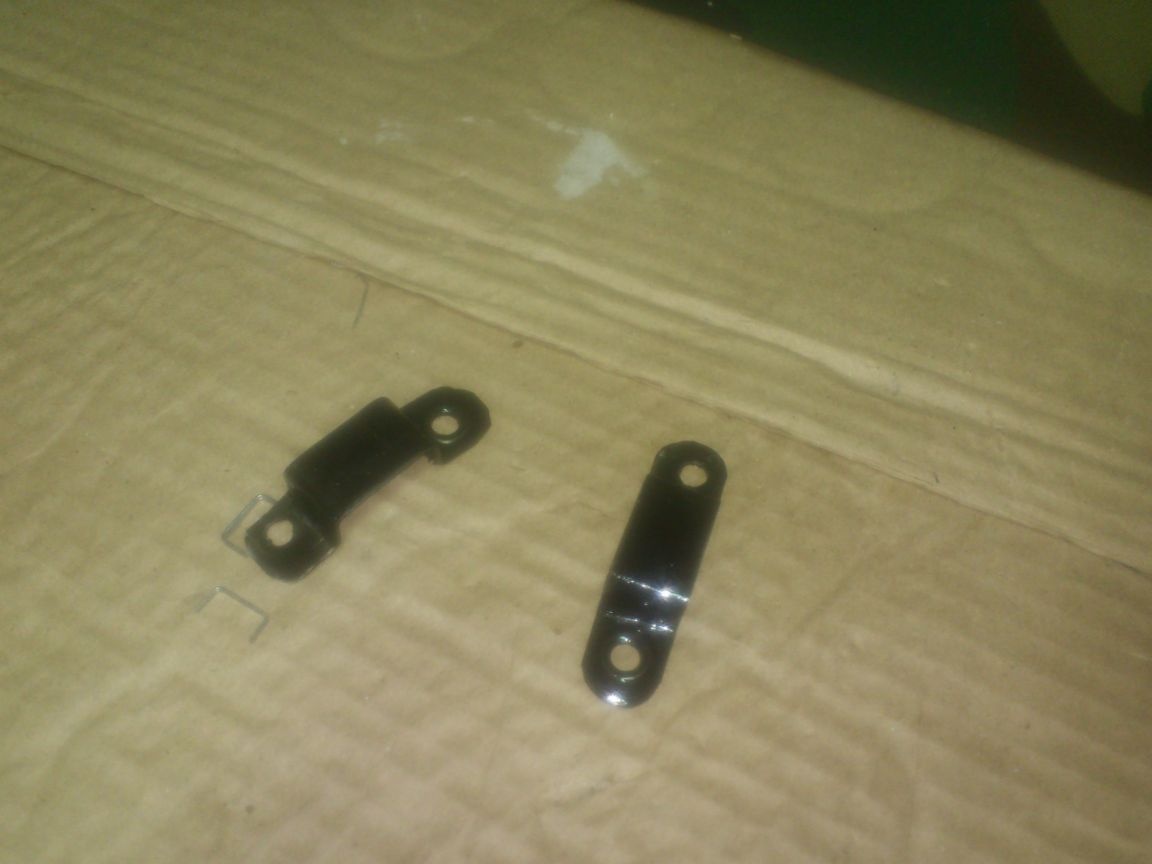
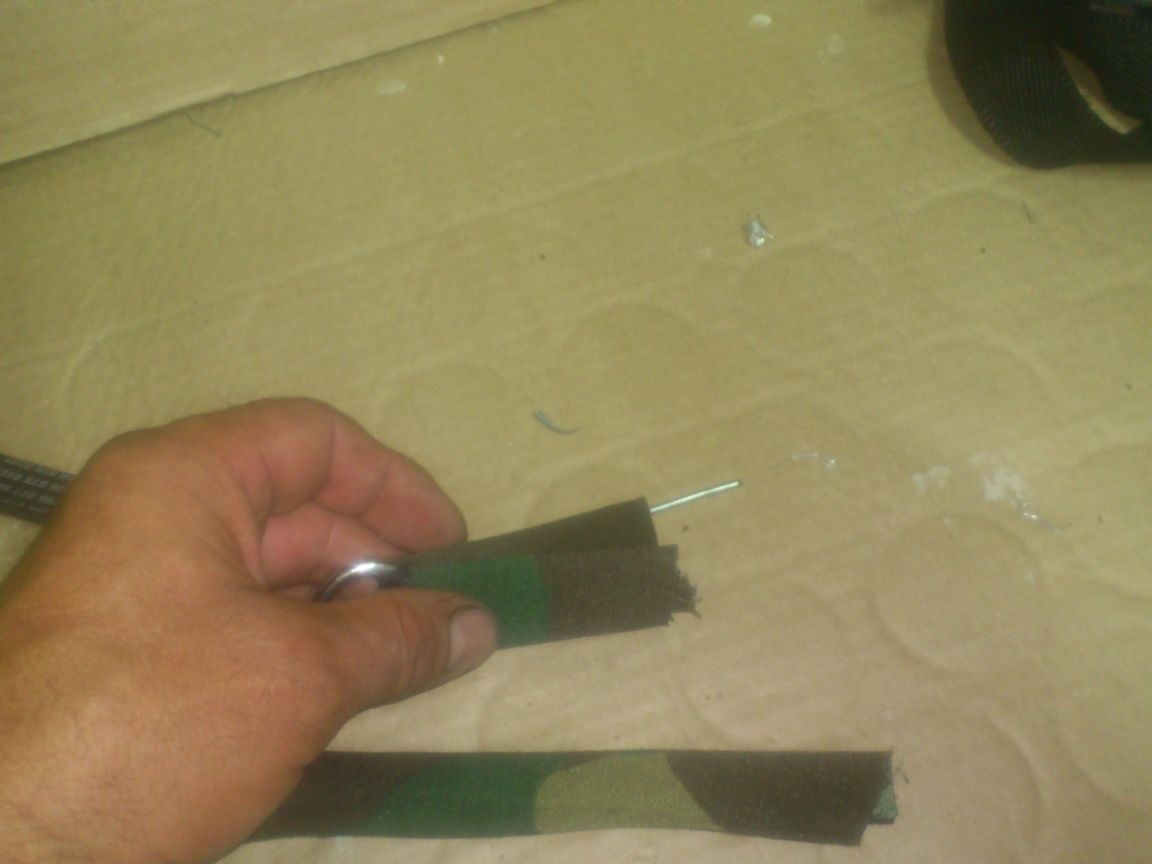
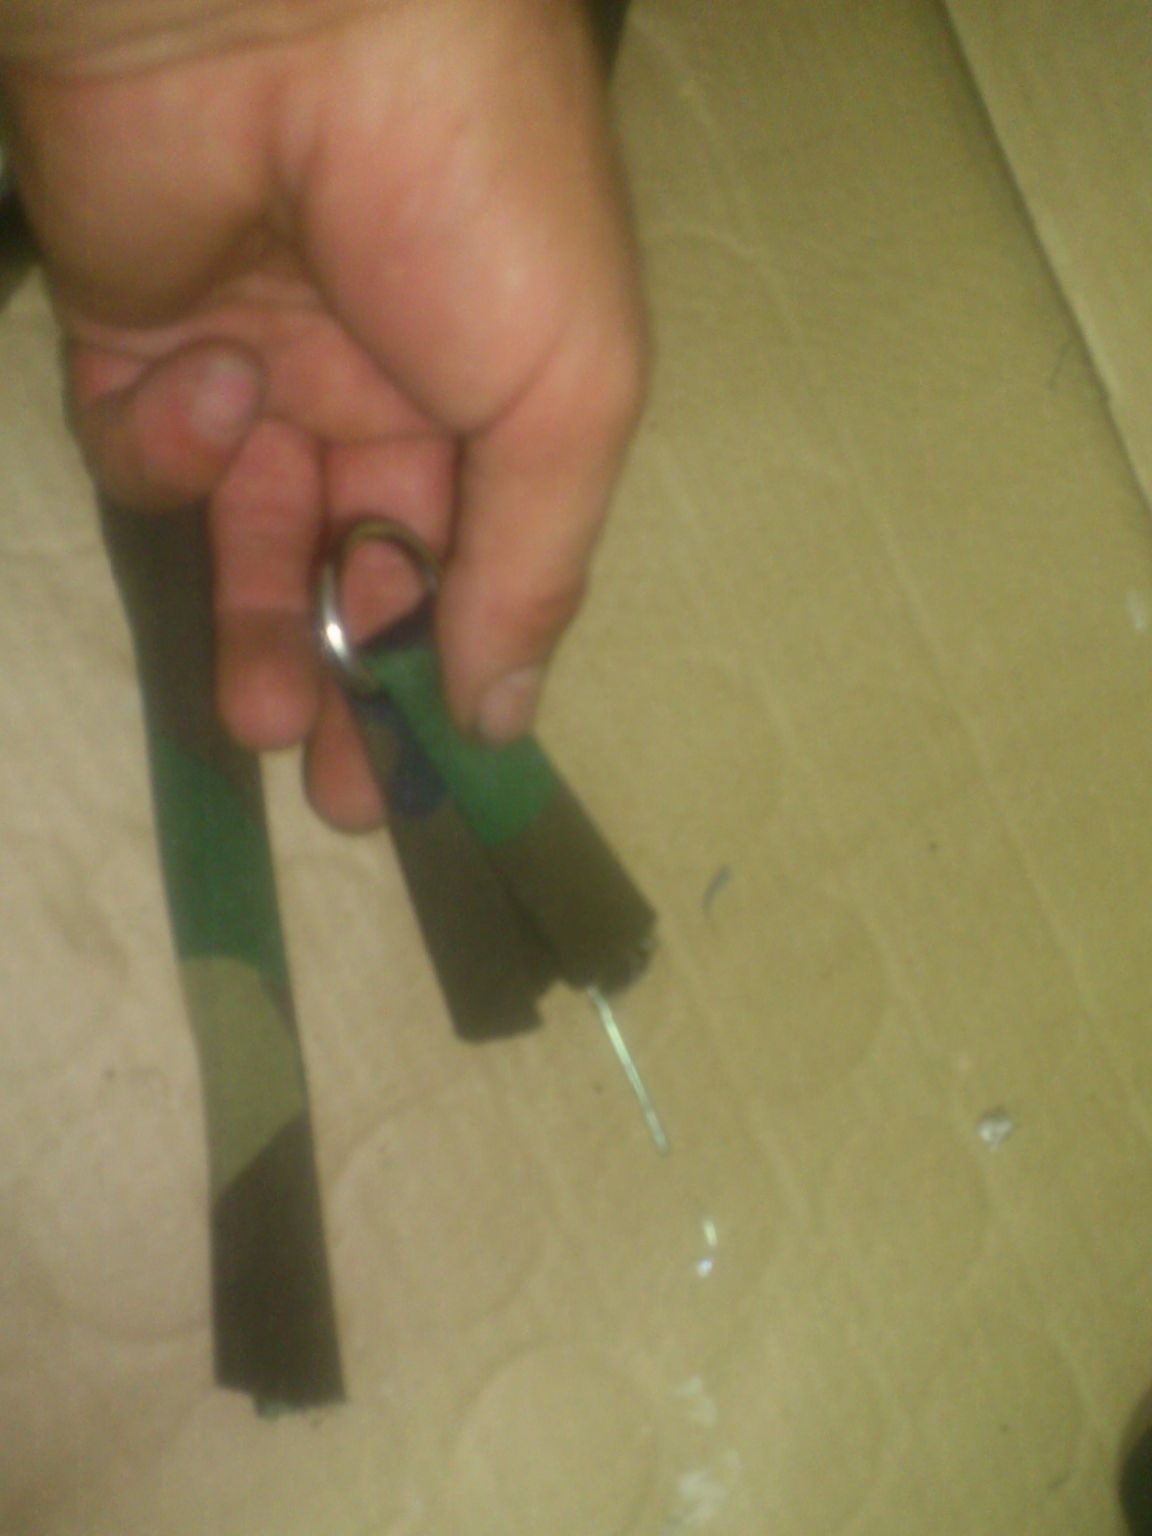
But I decided to add the ability to carry it on my shoulder. To do this, I found in the “right rubbish” two “half rings”, probably once cut off from an old bag (I already said that I would never throw away a single thing without removing everything that could ever come in handy from it. but my wife also sins (And why be surprised? 25 years together! As the wisdom says, “With whom you will lead -
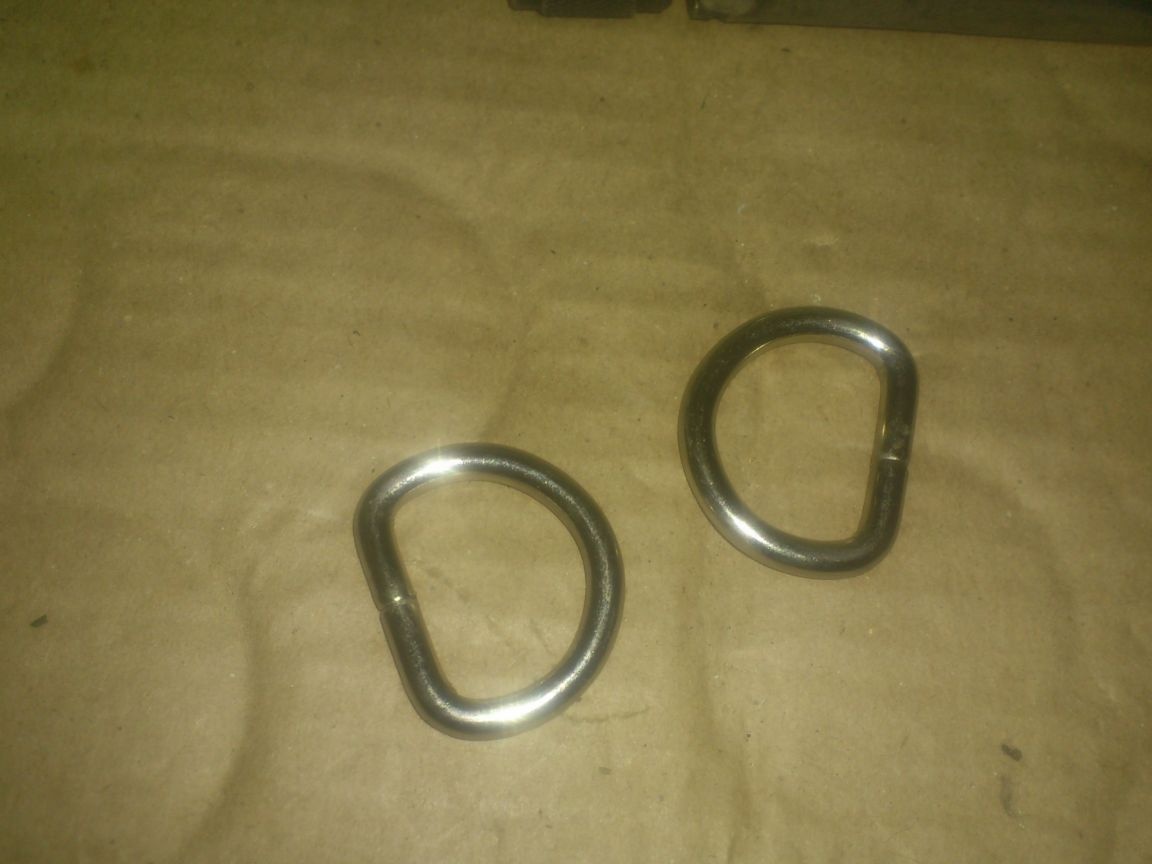
I decided to fix them to the drawer simply by folding the “belts” from the scraps of fabric, I punched holes in them with the same tool, and screwed them to the case with M5 screws through the enlarged washers on both sides. (Rivets of the desired length were not found simply)))):
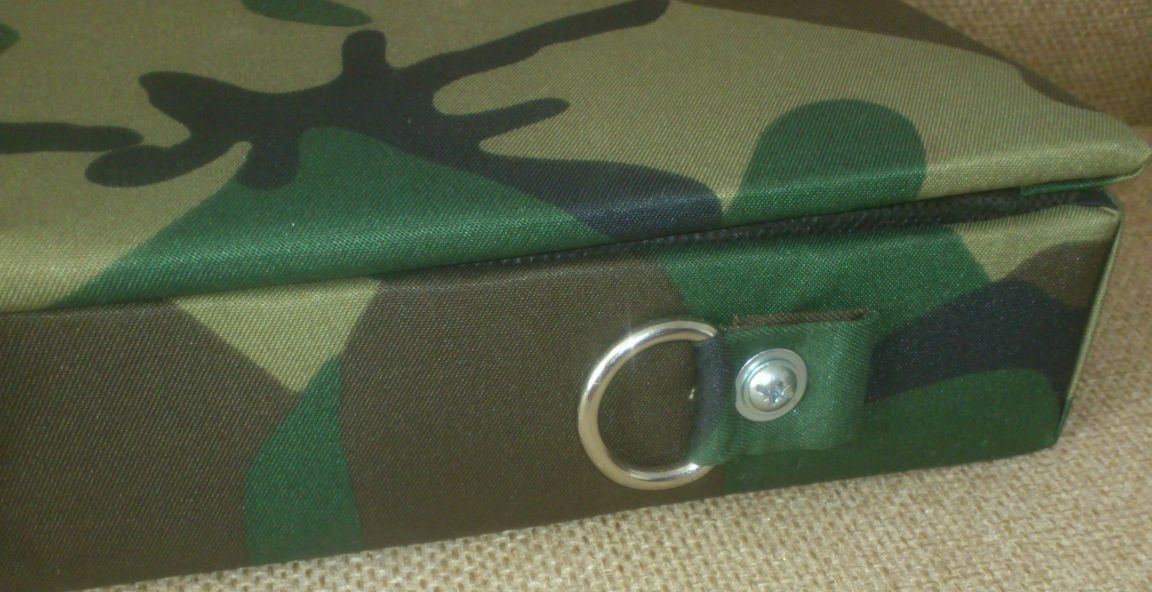
Now you can fasten the belt for them and carry the case on the shoulder.
I did not begin to supply the case with my own belt. As I said - his main purpose is to bring the rifle in it to the car.A belt is not needed for this. Will only hang out and catch on everything.))))
But the rifle has its own belt. And he clings to the swords by means of carbines. So, if there is a need to carry the case on the shoulder - all you need to do is to unhook the rifle belt and hang it on the case!
So I'm done.
Now my “Murka” lives in his own case. ))))
Now it can be carried in the city and transported in the crowded trunk of the “station wagon”, without fear that a heavy one will fall on it on the potholes of the forest road barbecue, or tripod