

Today's publication will be devoted to how easy, fast and with a minimum number of tools can be done do it yourself reliable and convenient fastener.
I'll start in order.
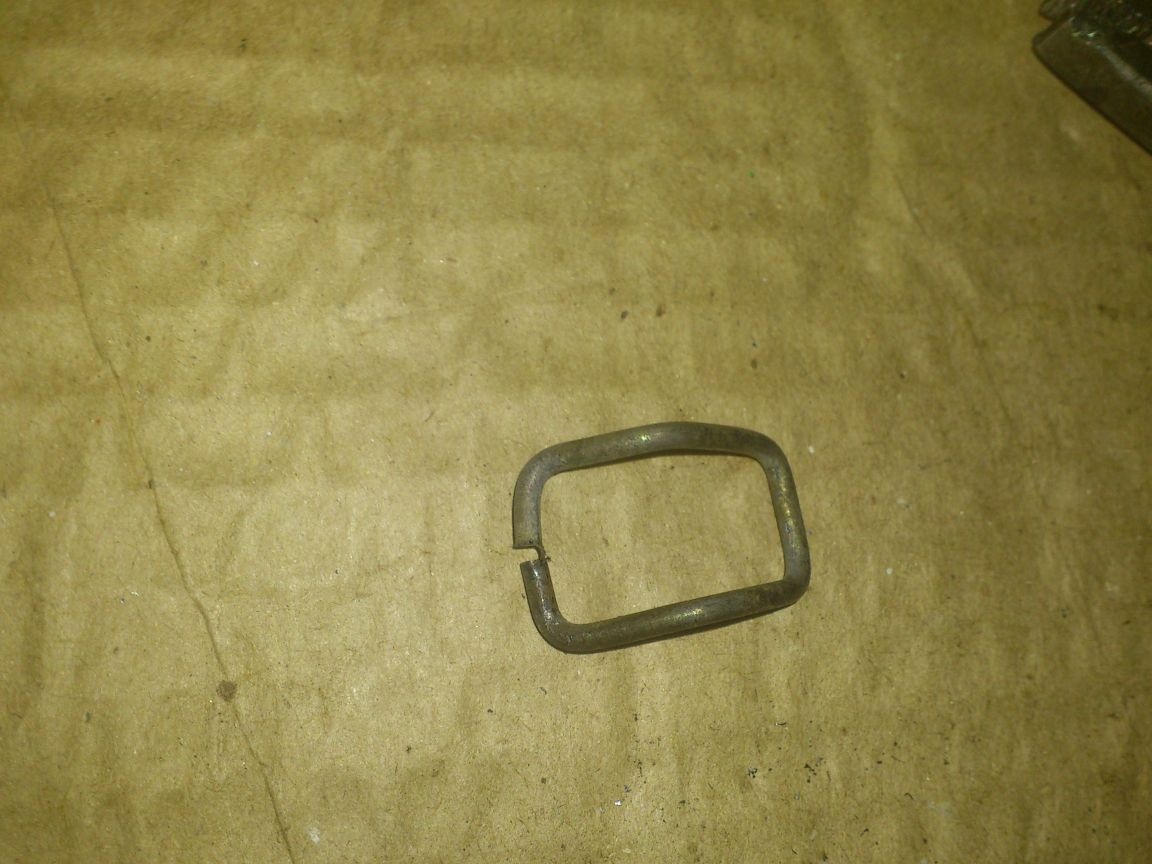
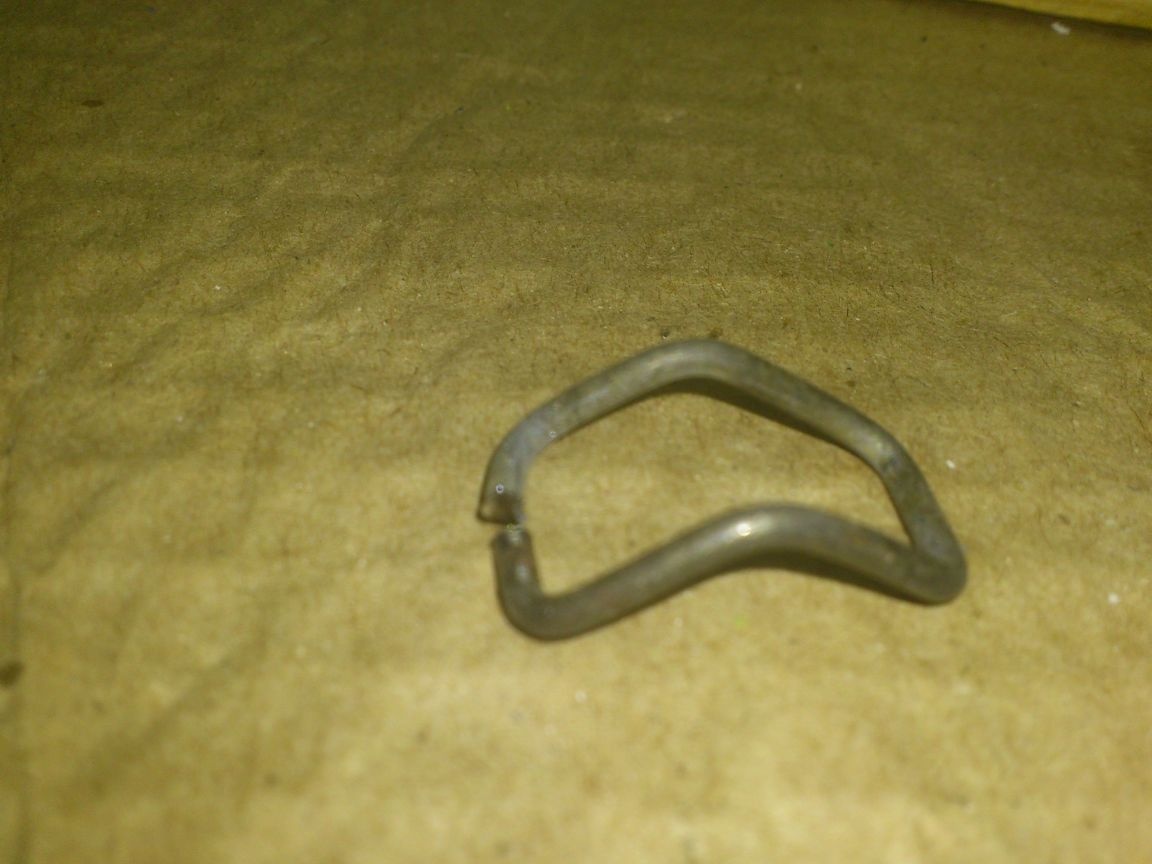
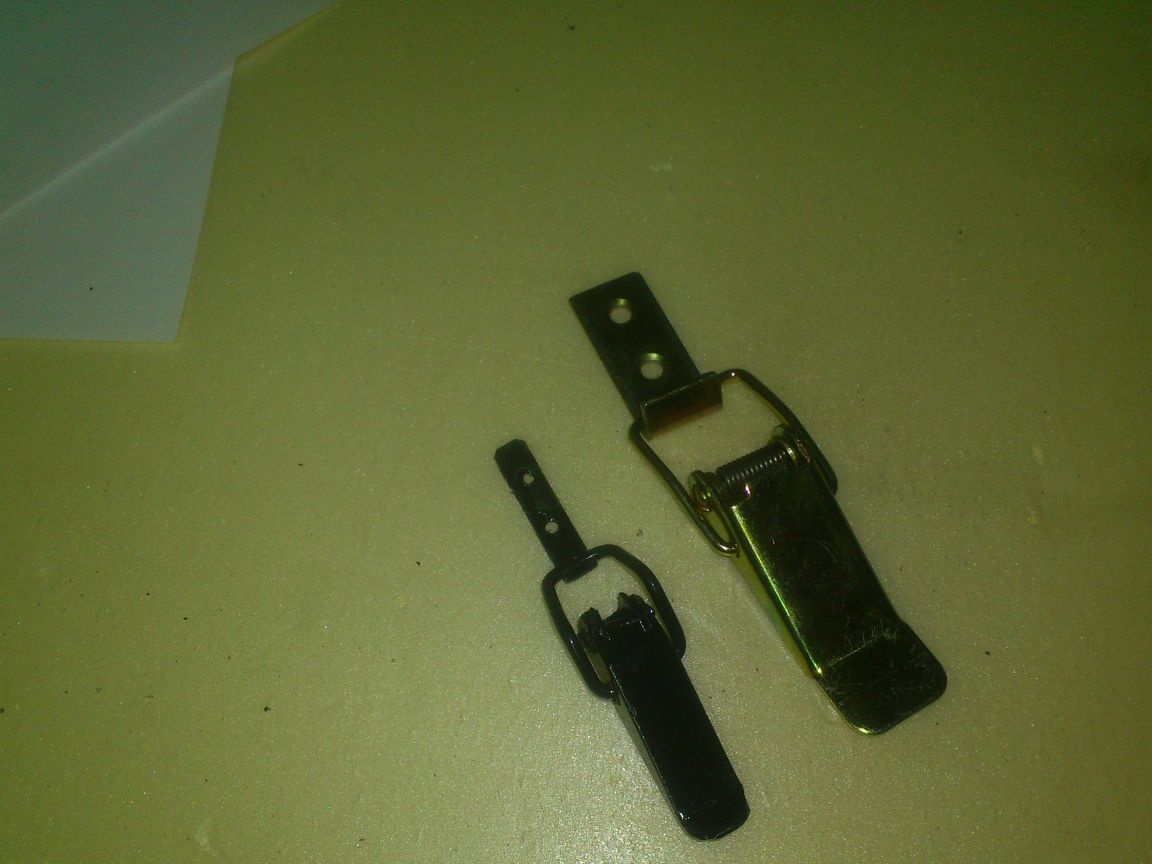
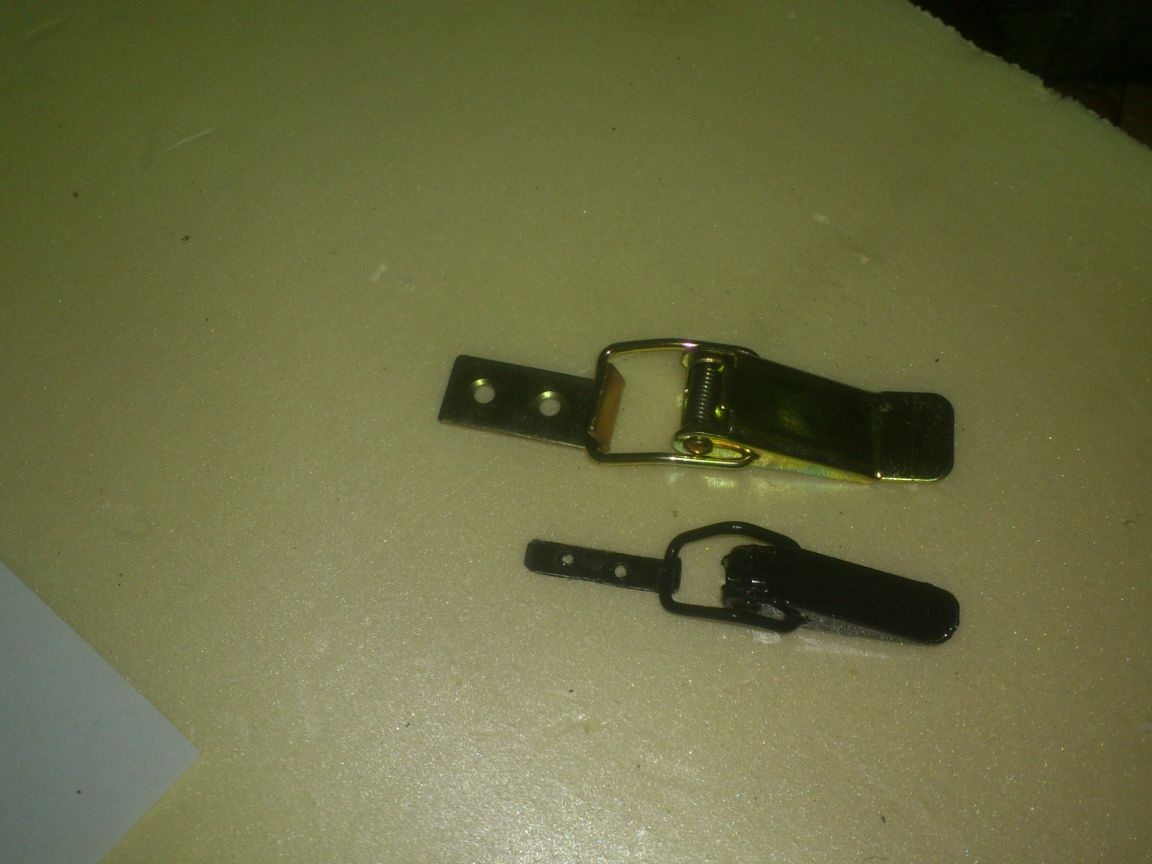
I always have these locks and clasps in my stock:
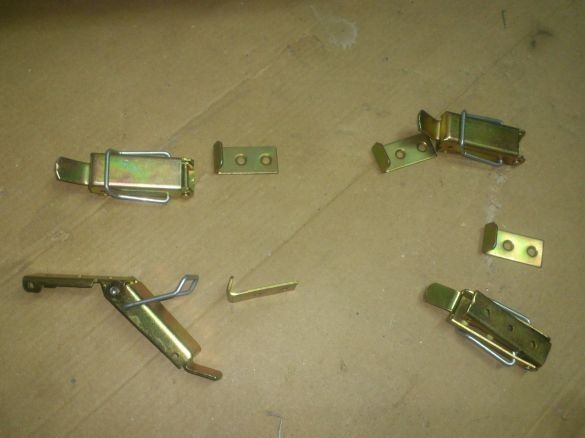
They are sold in stores selling furniture accessories, and are called "Screed for a sliding table" ...
Such fasteners are not suitable for "aesthetic" products, but for "technogenic" ones - that's it! ))) Because they themselves are strong and reliable, and, moreover, provide a very tight abutment of the cover to the base, as they have not only a "locking", but also a "tightening effect"))))). In homemade products, this is especially important - with their help, an insufficiently accurate fit is sometimes compensated. Moreover, thanks to the design, with proper installation, their accidental opening is virtually completely eliminated!
They cost mere pennies, and therefore I try, on occasion, to always buy them in stock ...
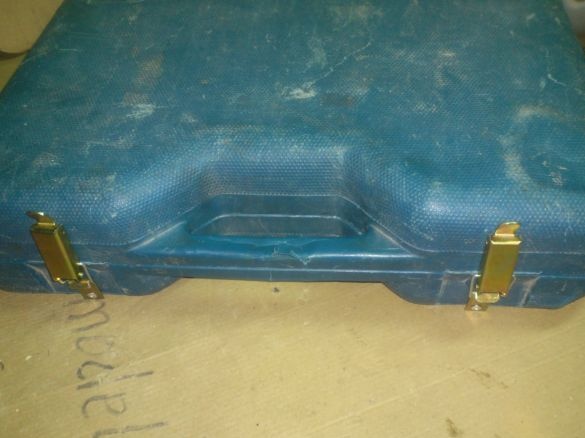
Using them, for example, I repair the "suitcases" of the power tool, when the "regular" plastic fasteners break off over time:
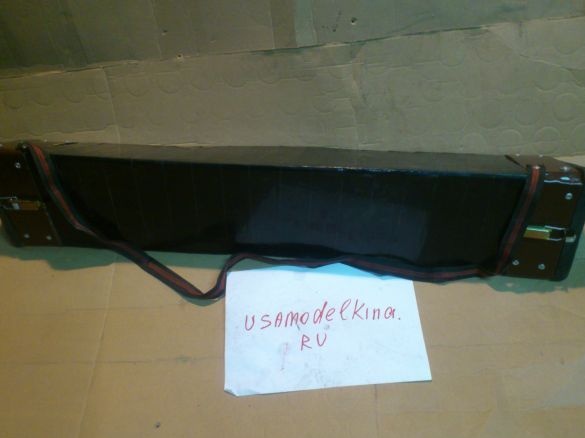
And about homemade products and say no! Only among those presented on this site, I used them in such creations as Box for the welding machine :
Case for Homemade tripod :
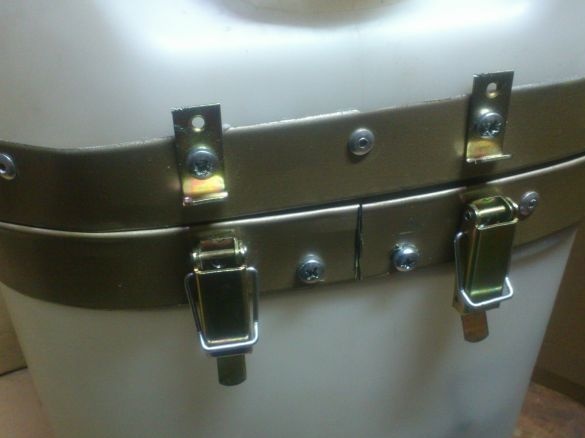
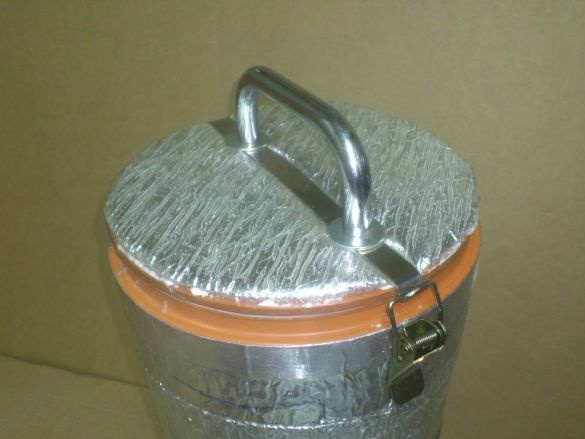
Thermos for two liter bottles
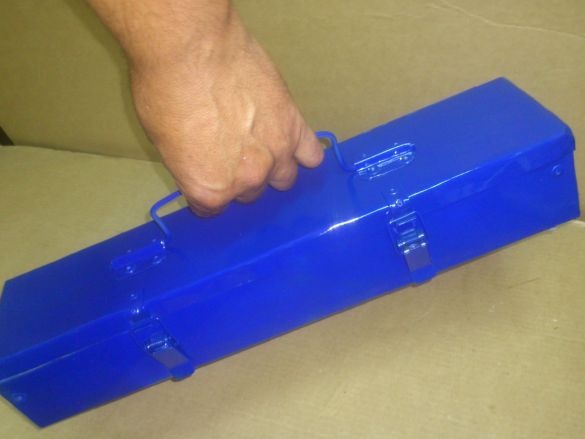
And in a drawer for homemade threaded riveter
And this is only published here!
In general, their scope is quite wide!
Until now, I had no idea to make such screeds with my own hands. After all, as I already said, they are not expensive at all, and it makes sense to do something only when it either gives significant savings, or the resulting product has some properties that are not in the purchase !!!
And just such a moment has come.)))). While working on another homemade product (which I will introduce later), I was faced with the fact that I will not be able to use them in view of their size. I will need to fit the clasps on a plot that is only five and a half centimeters long !! And they, together with hooks, require significantly more space ...
Having called the furniture store, I found out that there are no other, smaller sizes, so I decided to spend one evening making them ...
And here is what I needed for this:
1. U-shaped aluminum profile, section 10 by 10 cm. (Trimming).
2.Case trim from an old computer power supply.
3. Bicycle spoke.
I must say right away that initially I was planning to simply bend all the details out of tin. But the cuts of the aluminum profile that remained after manufacturing caught my eye crossbow
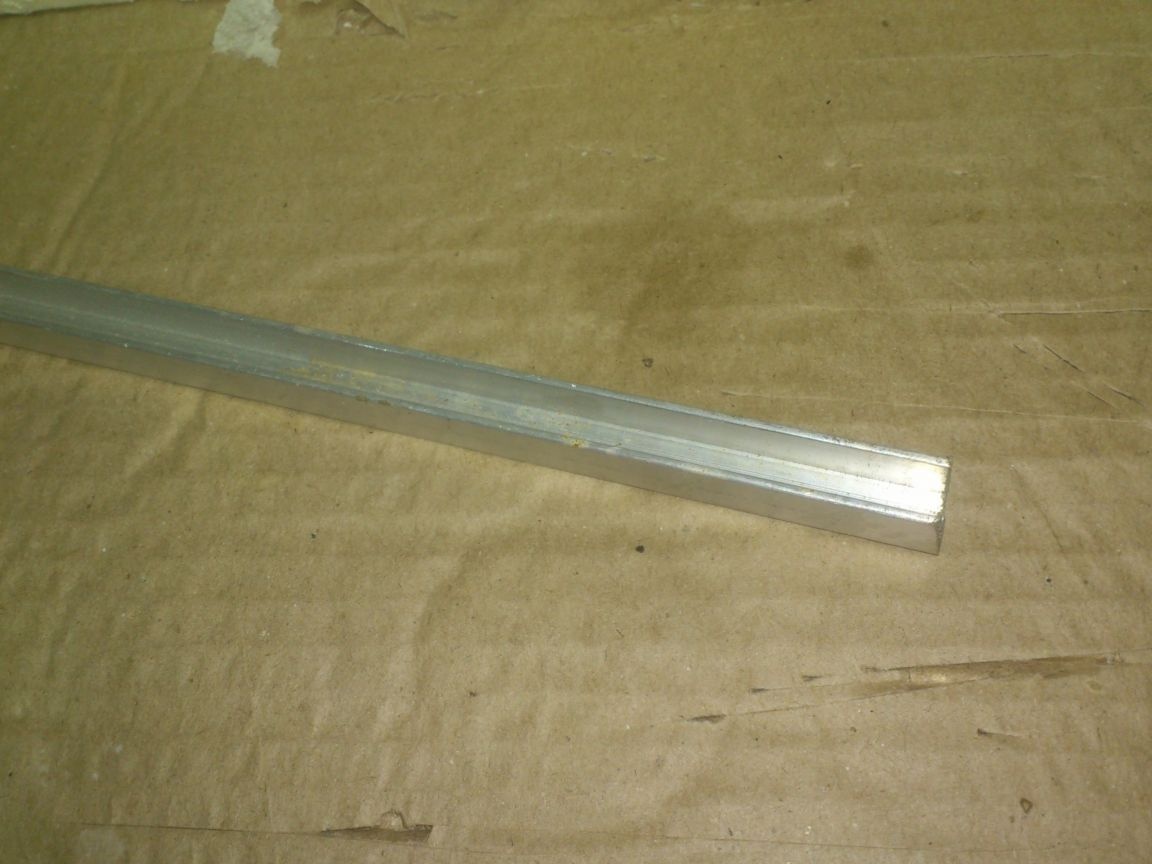
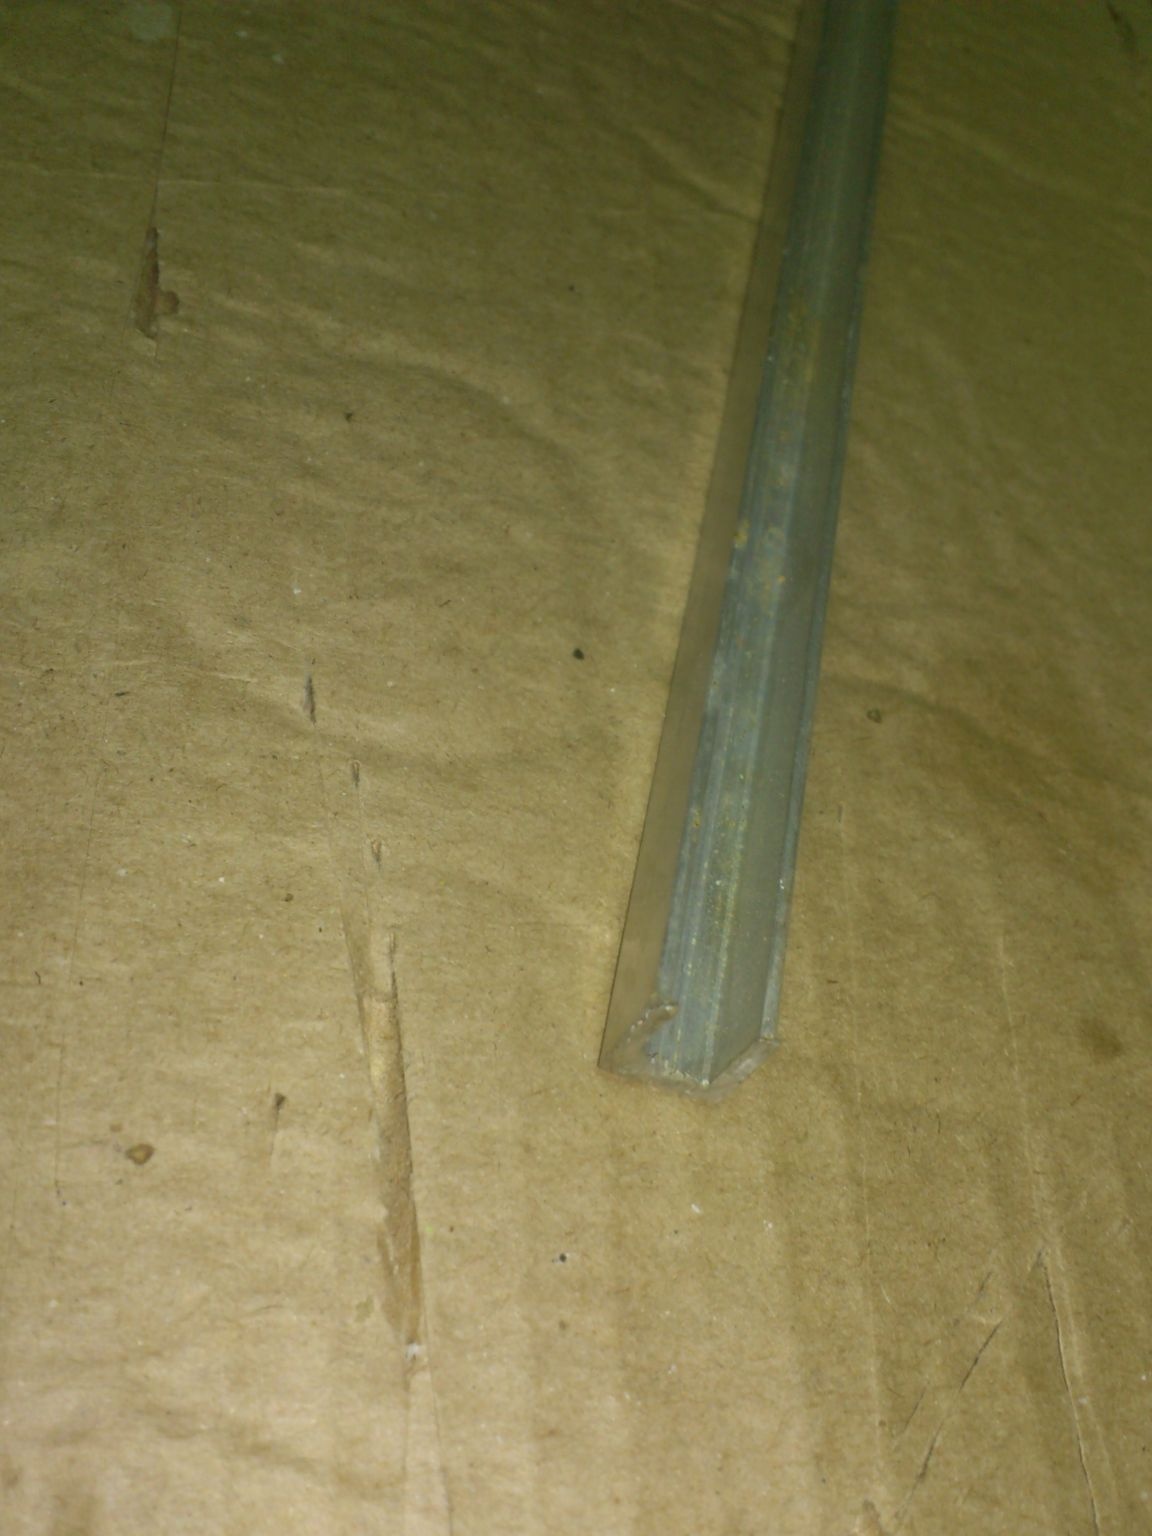
And I decided that I would make the top of this profile. After all, this will not only save time, but aluminum in this case is also preferred because it is easier to clean, its walls are thicker. So, opening such a fastener will be less likely to get scratched.))))
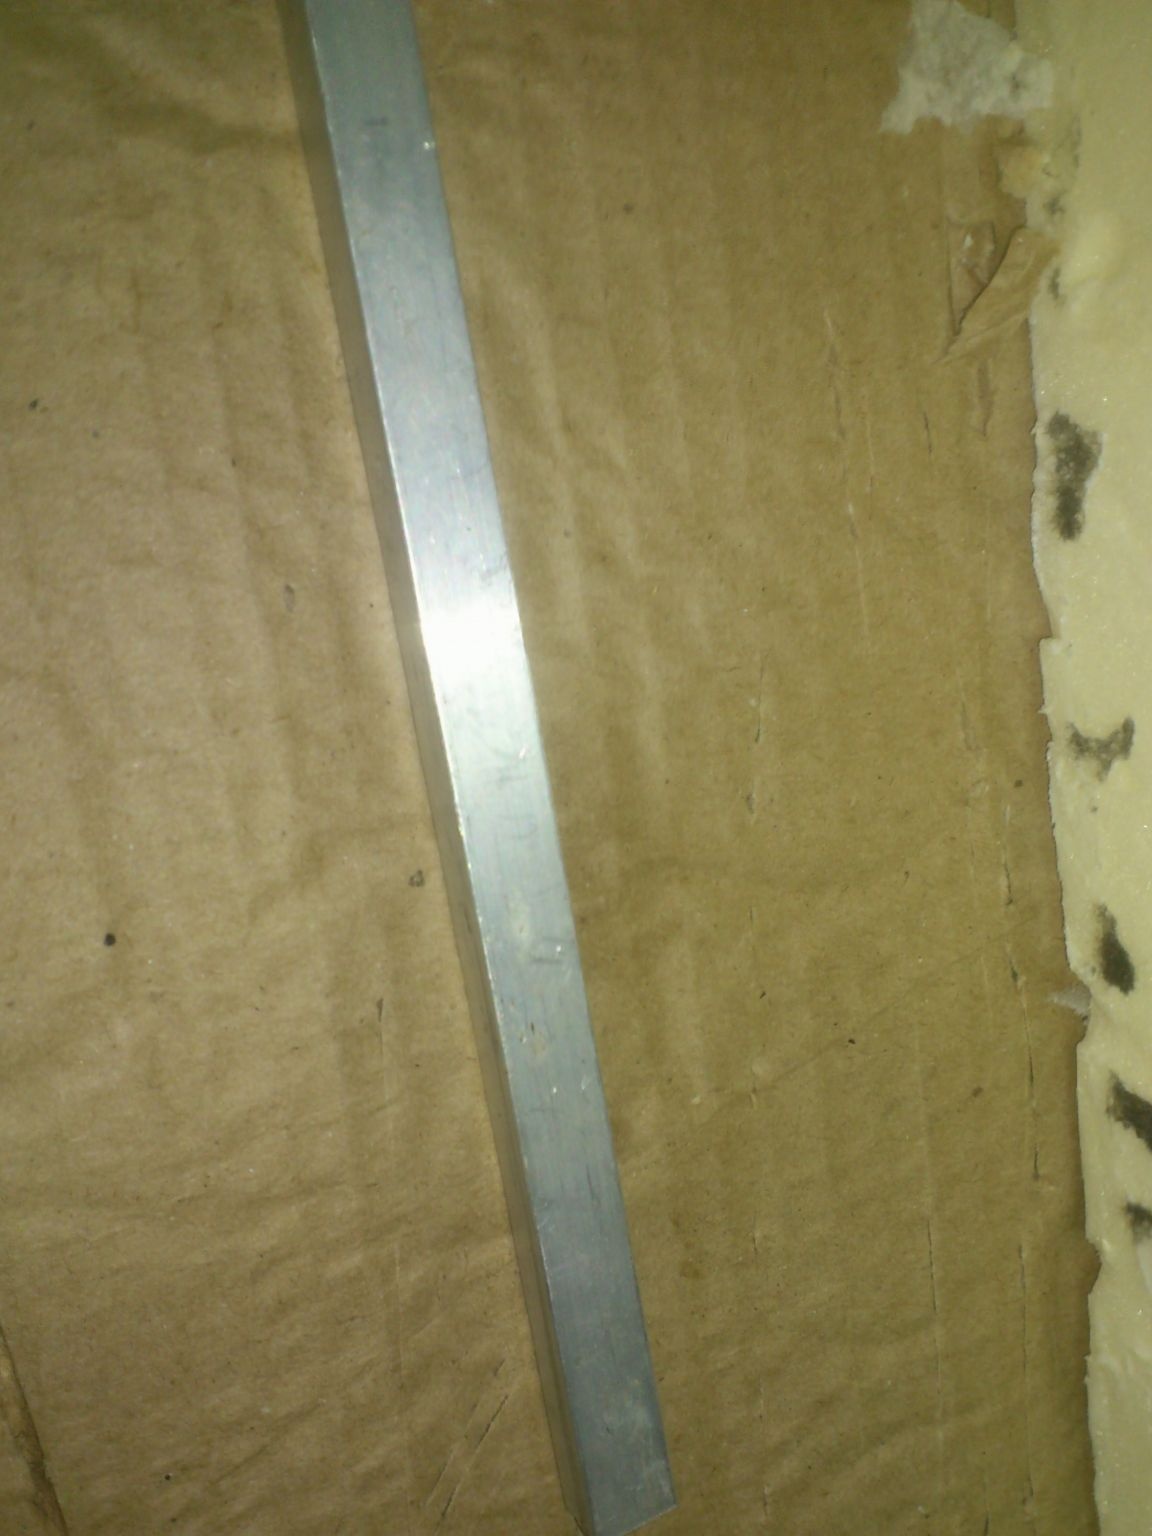
"Having estimated" the dimensions of the future product I need, I drew on the profile its contours with a marker:
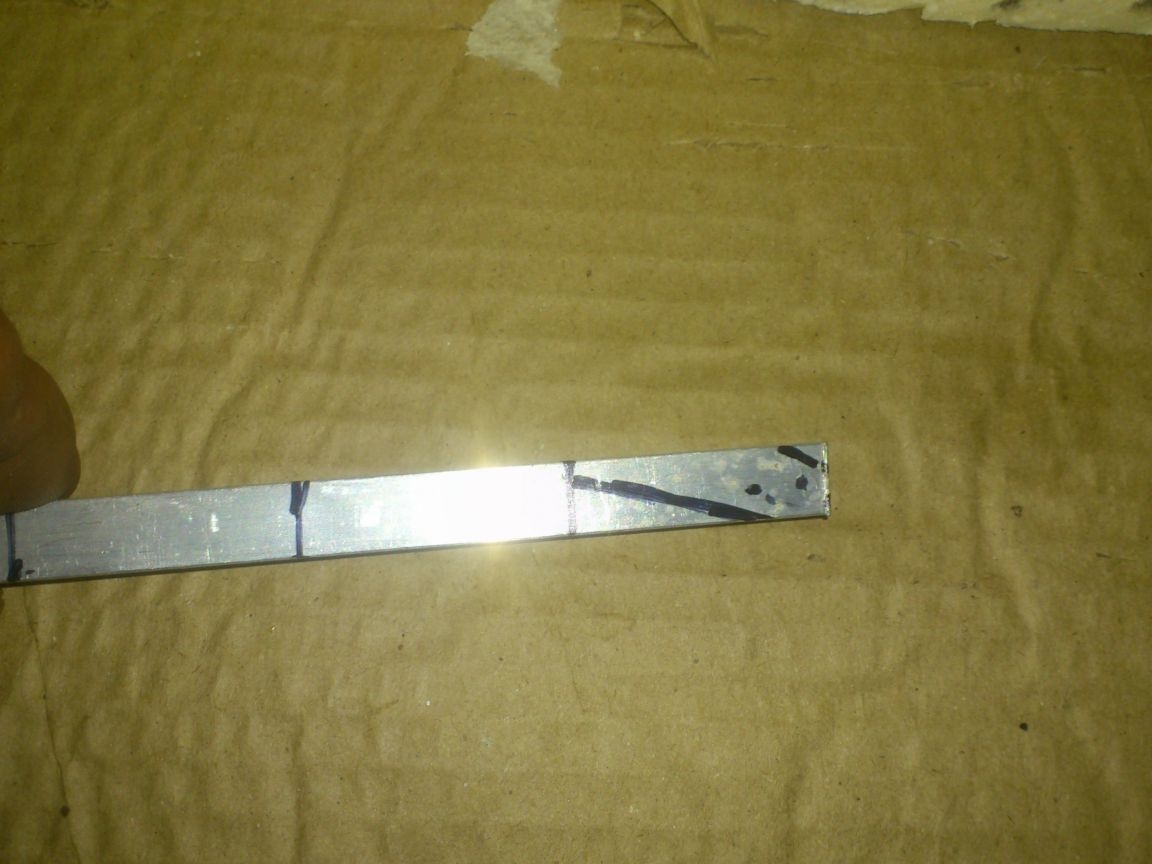
And cut using angle grinder:
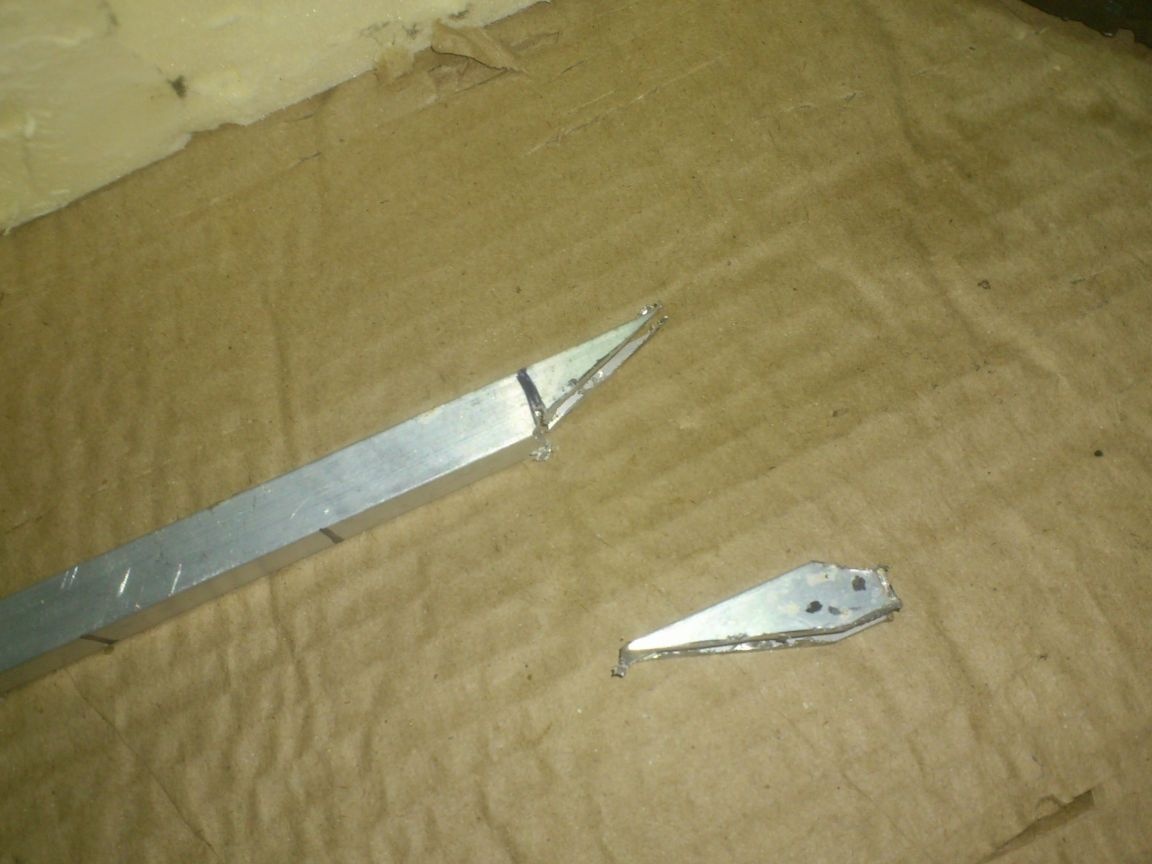
After that I filed out the burrs. On aluminum, this is very simple. (I have not photographed this process)
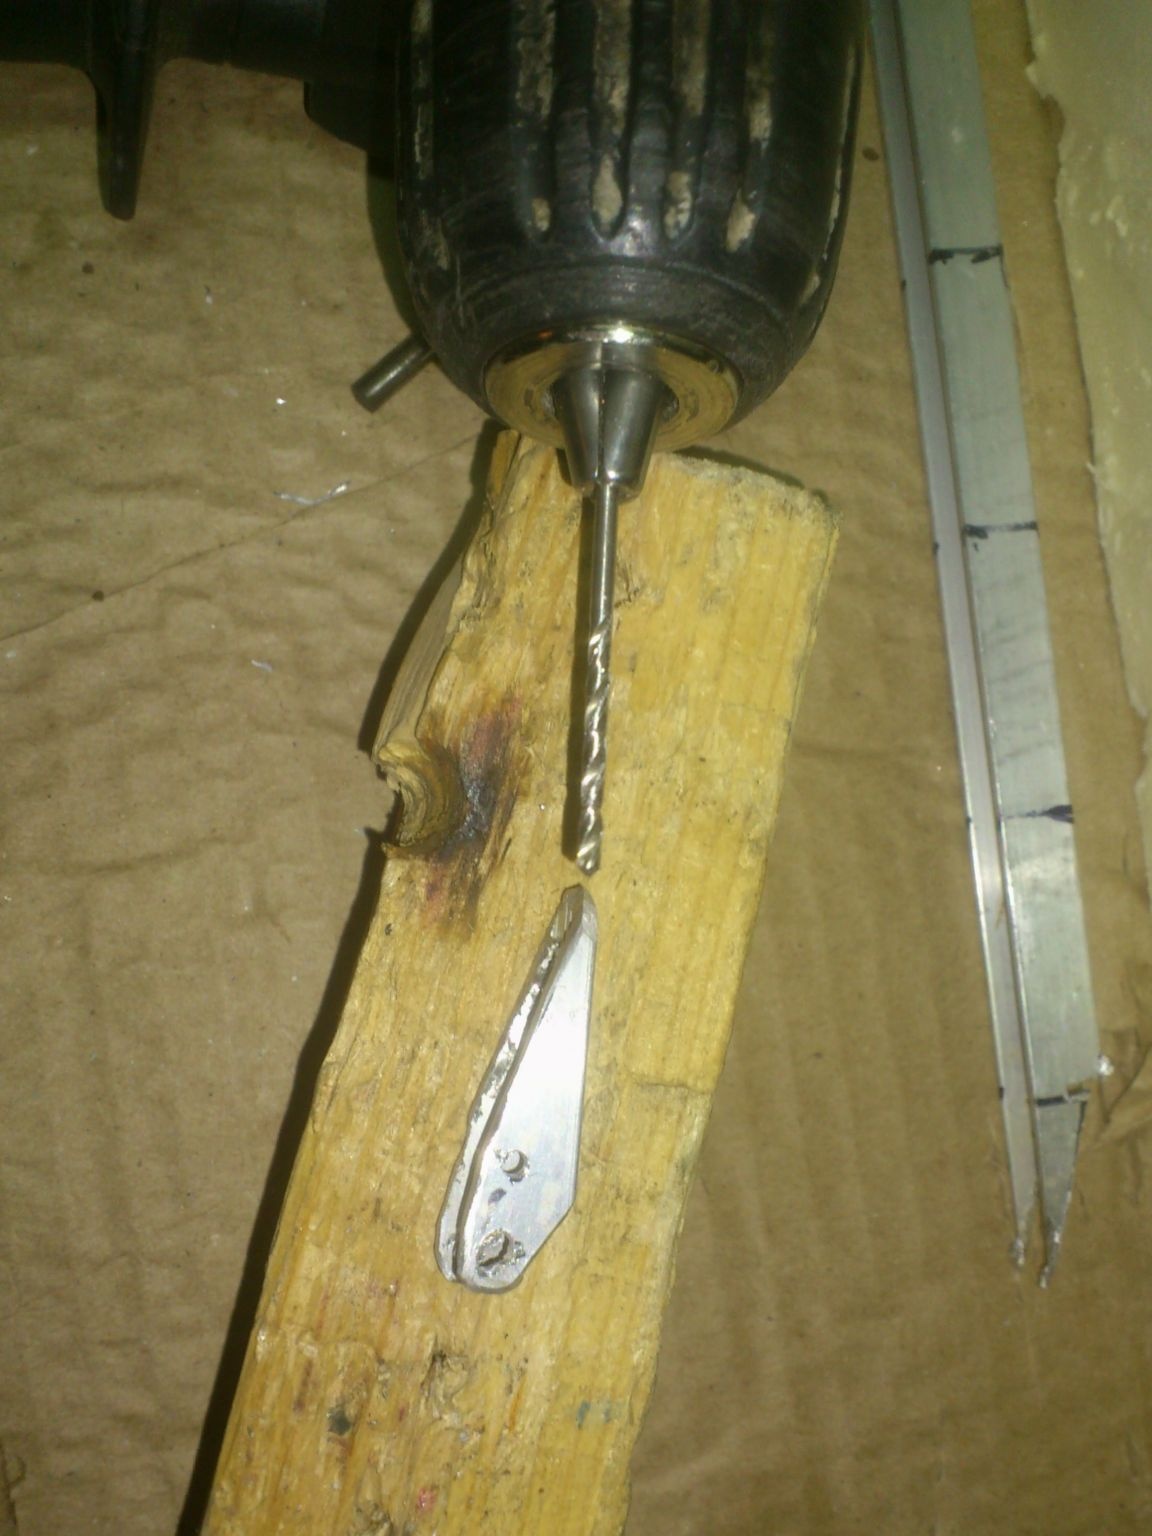
Using an electric drill and a drill, with a diameter of 2 mm, I drilled two holes in each profile wall - one for the axis, the second for the spring hook:
Now you need to make the bottom (fixed) part of the screed. It should be a "trench" of the same form, which should go inside the first. Finding the finished one will not work, so I decided to bend it out of tin. In search of a suitable material, my sight came across a case from an old computer power supply ... More precisely, the remains of a case!))) I already cut metal from it ... It seems, in the manufacture hard disk square
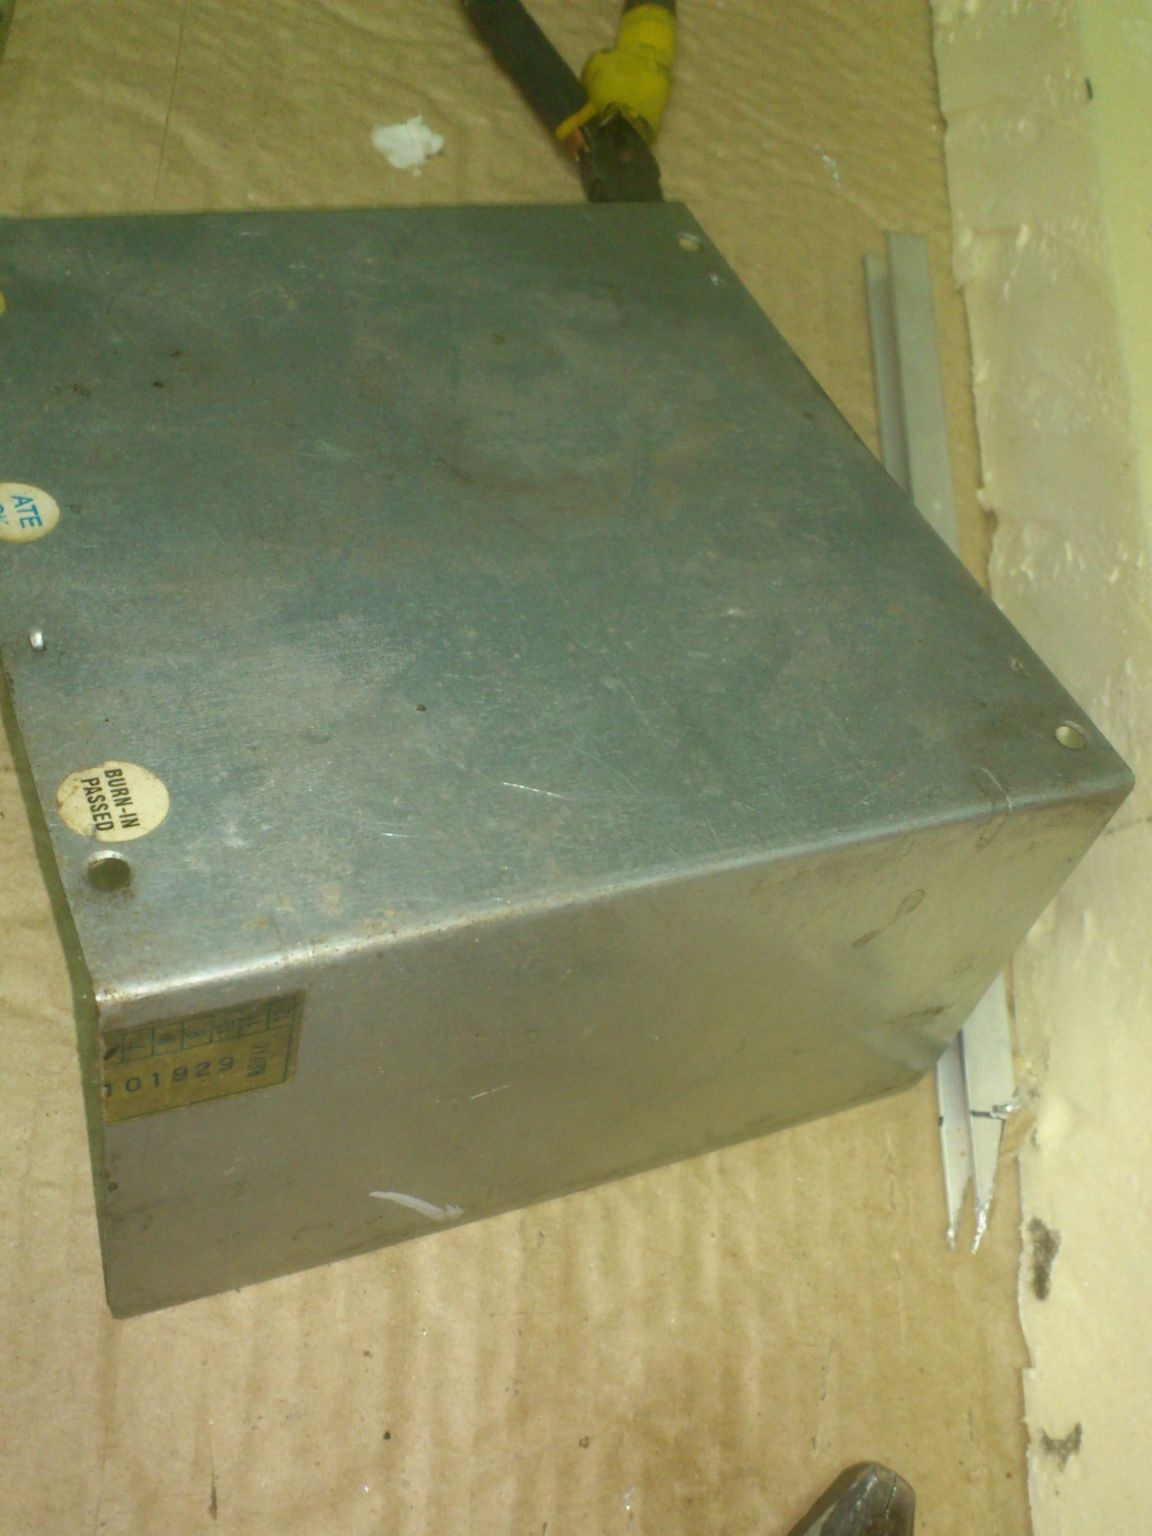
Metal is quite suitable for my purposes. It is soft enough, which means it will be easy to process! And the strength and rigidity of the structure will be provided by its shape ...
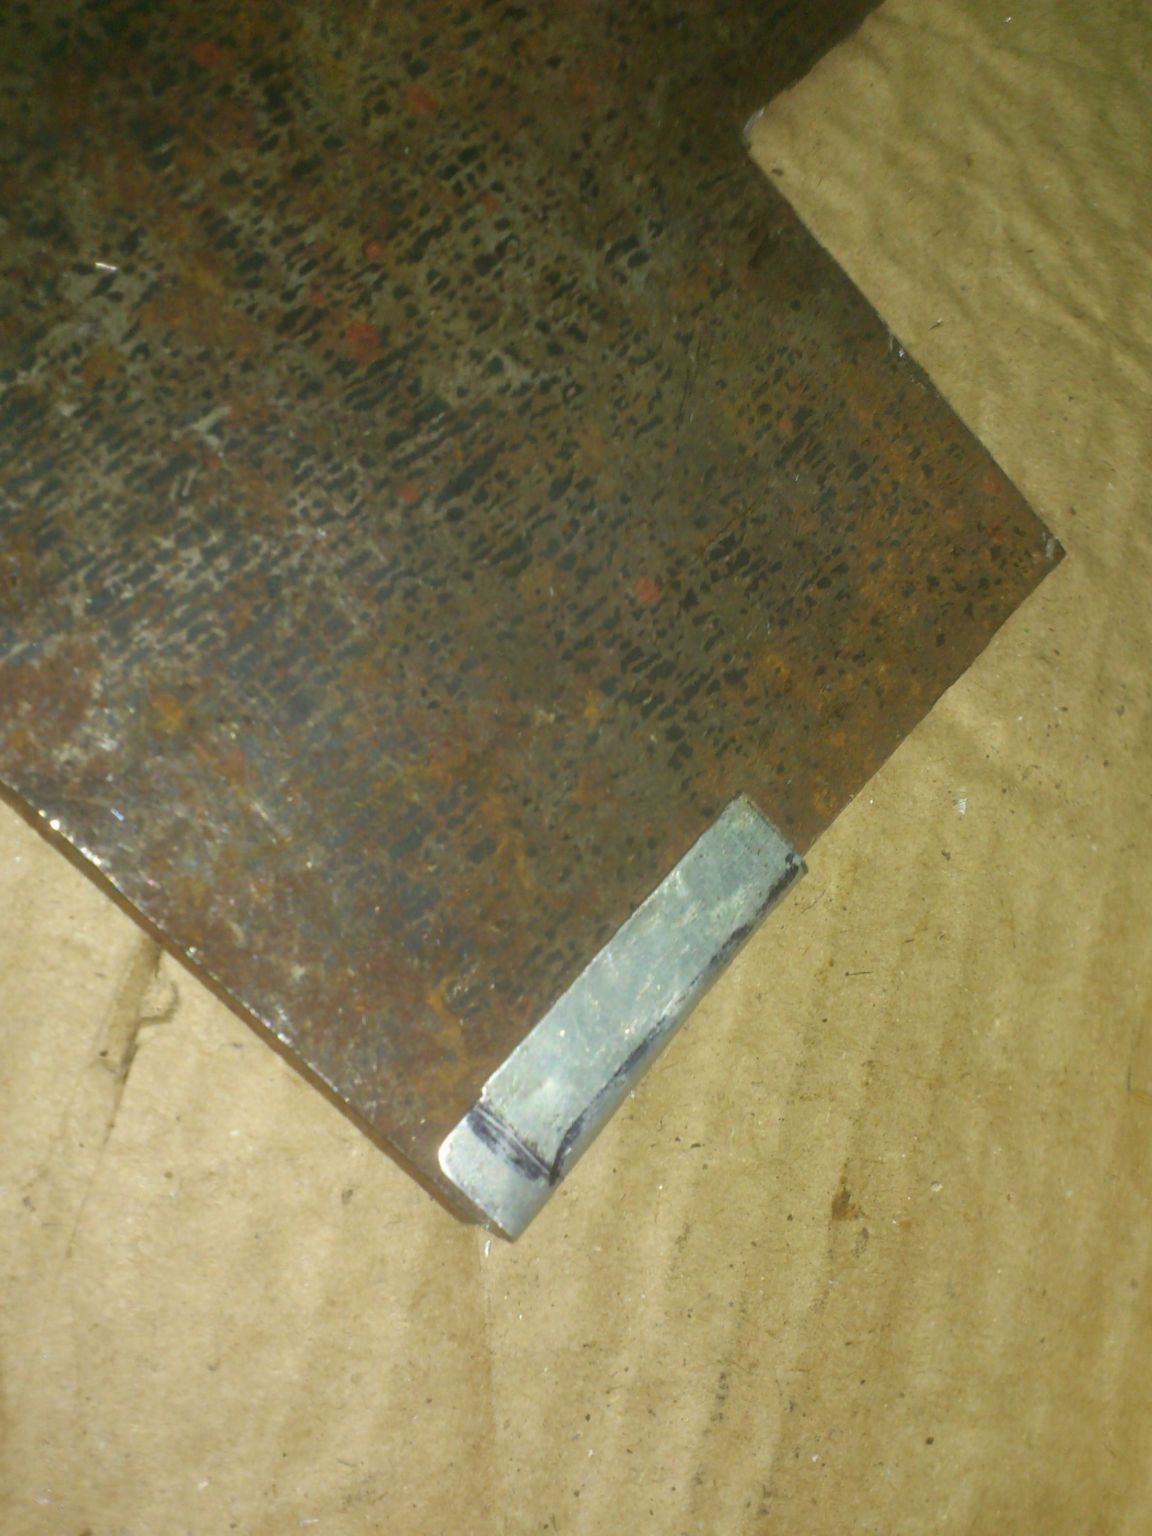
From it I cut out a strip of the sizes I needed, and bent a gutter out of it. As a mandrel, I used a piece of sheet steel of suitable thickness. (In my case - 6 mm.)
Marking with a marker, I "cut off the excess" grinder.))))
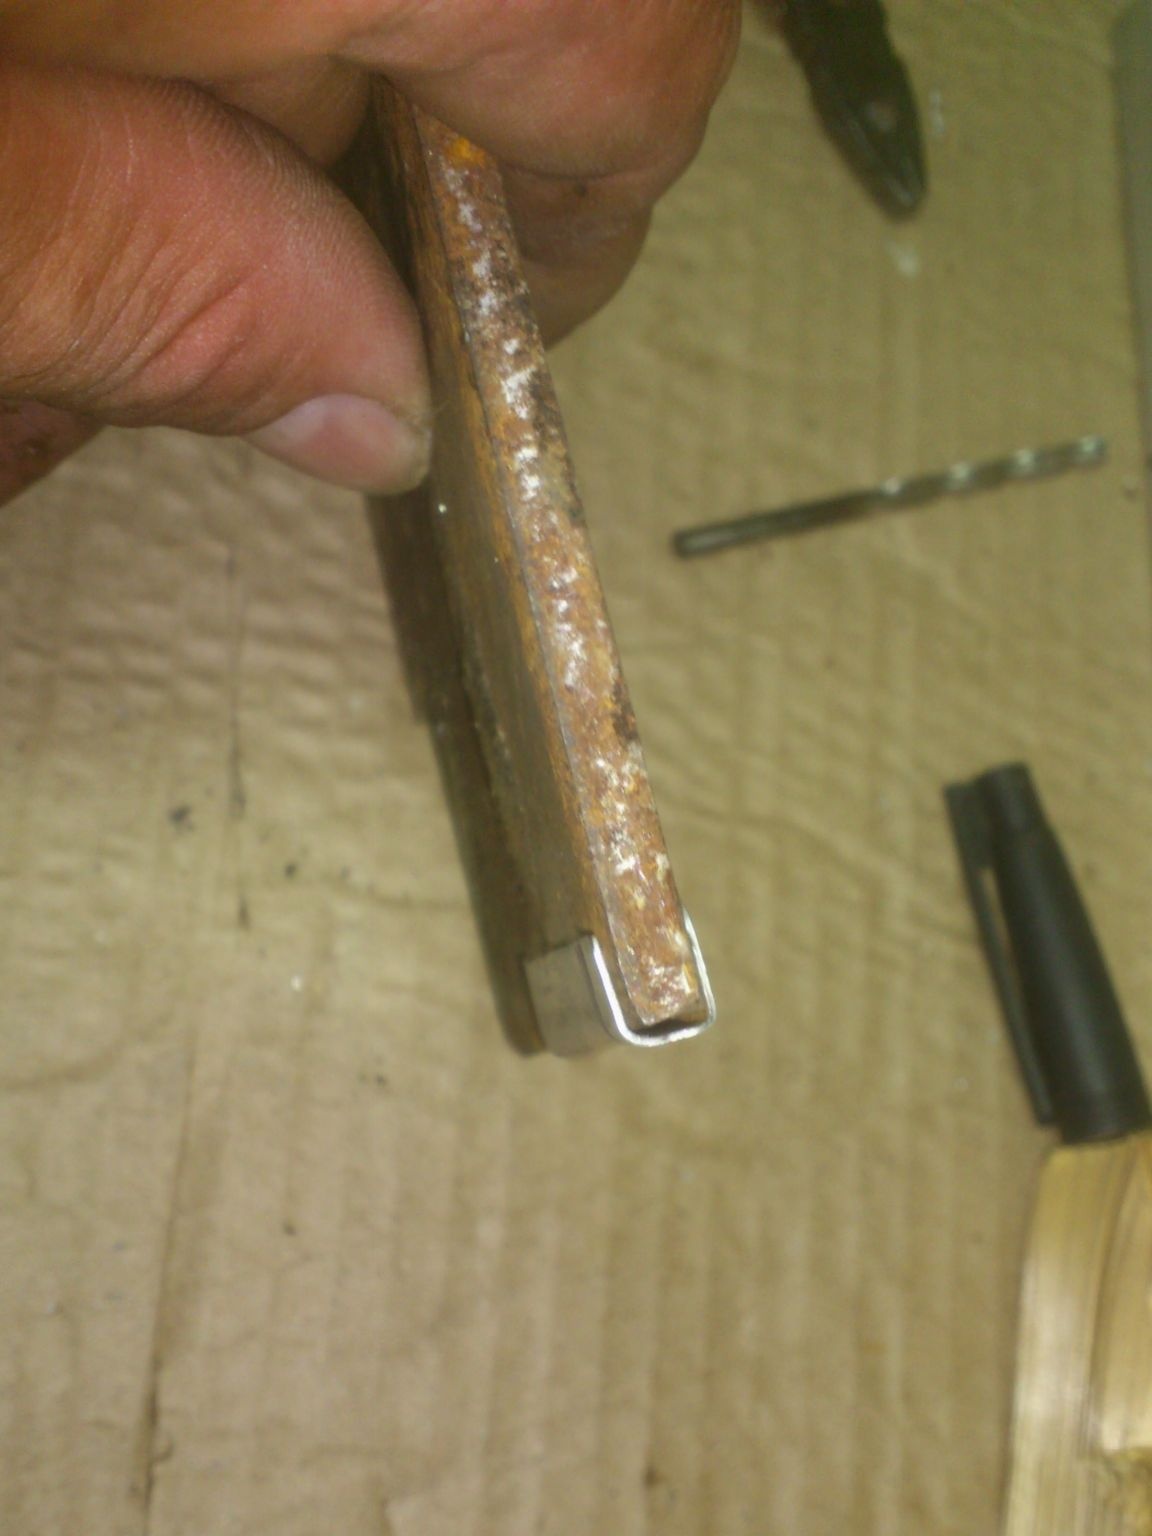
As you, I think, understood, I need this groove to completely fit inside the first, aluminum. When it fit there, I drilled holes in it, using the holes in the aluminum outer part, like a template ...
Now you can connect the entire structure. As a material for the manufacture of the axle and the spring-hook, I chose a bicycle spoke. The old wheel is lying around in my scrap metal, and has supplied me with this material more than once.)))
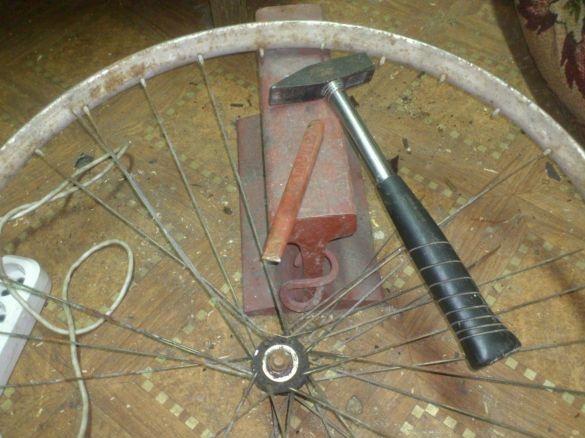
Bicycle spokes are made of fairly ductile steel. They, if necessary, can be bent at any angle, clamping the tool directly near the bend on both sides. At the same time, if you try to bend the knitting needle while holding the ends at some distance - it will spring!
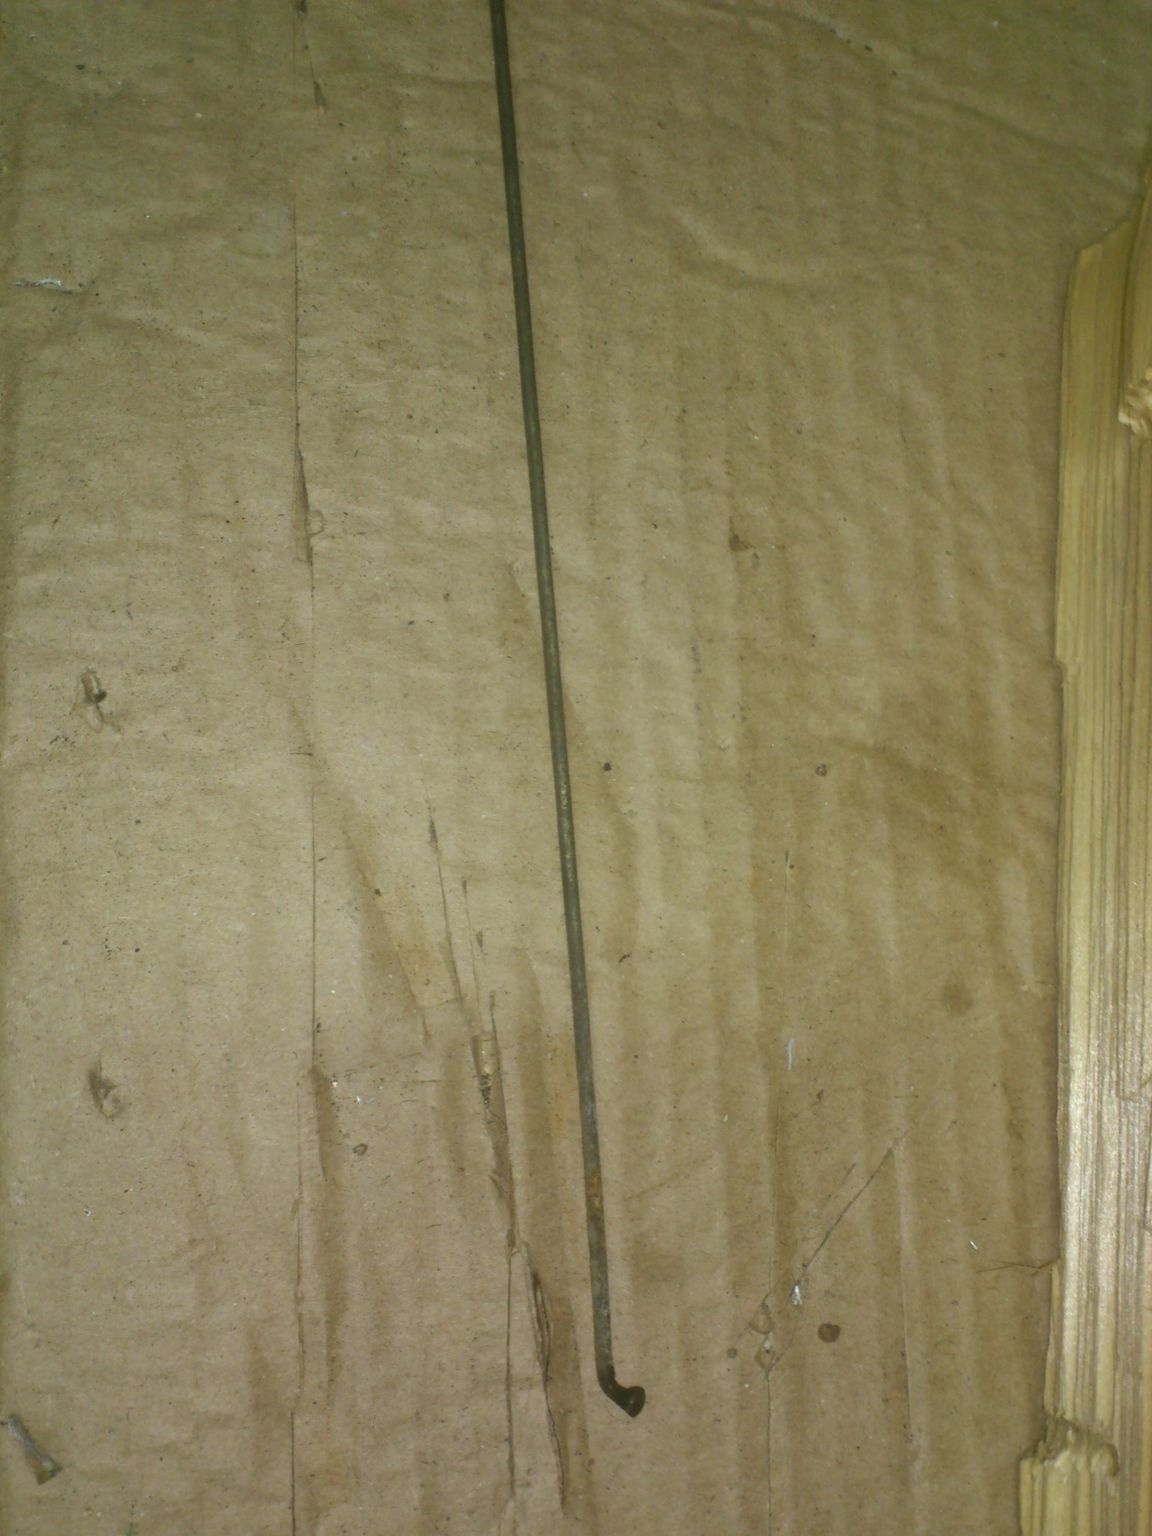
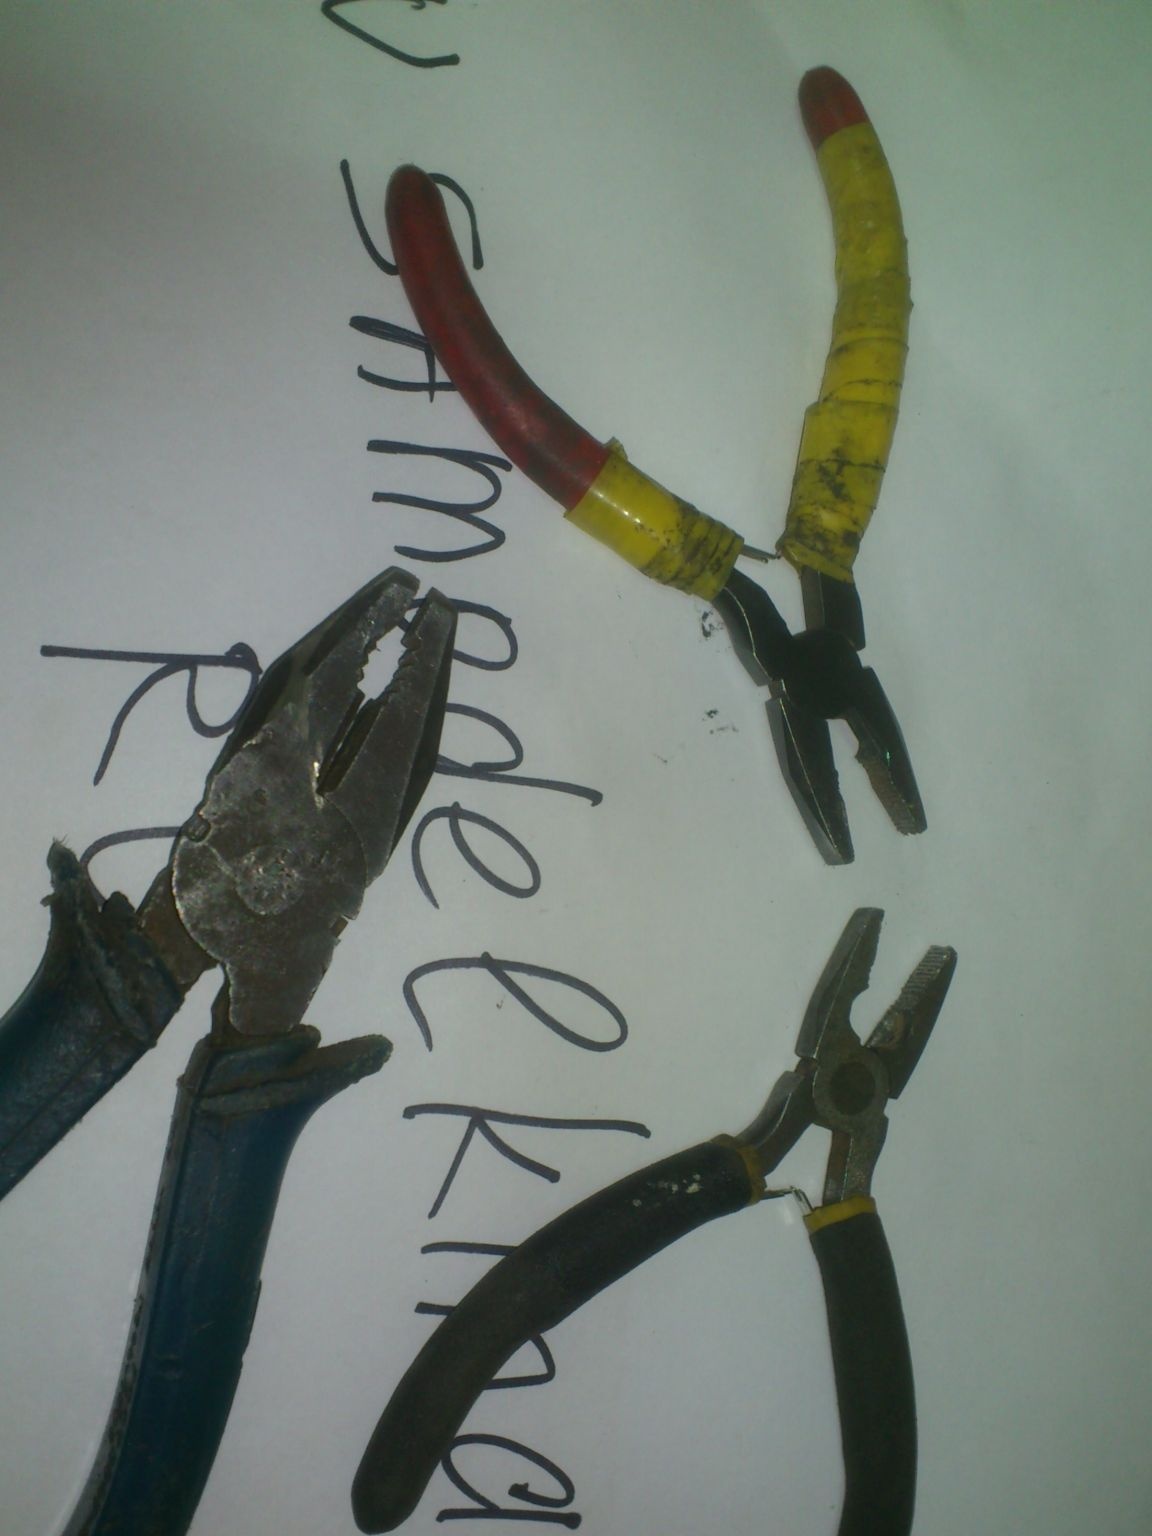
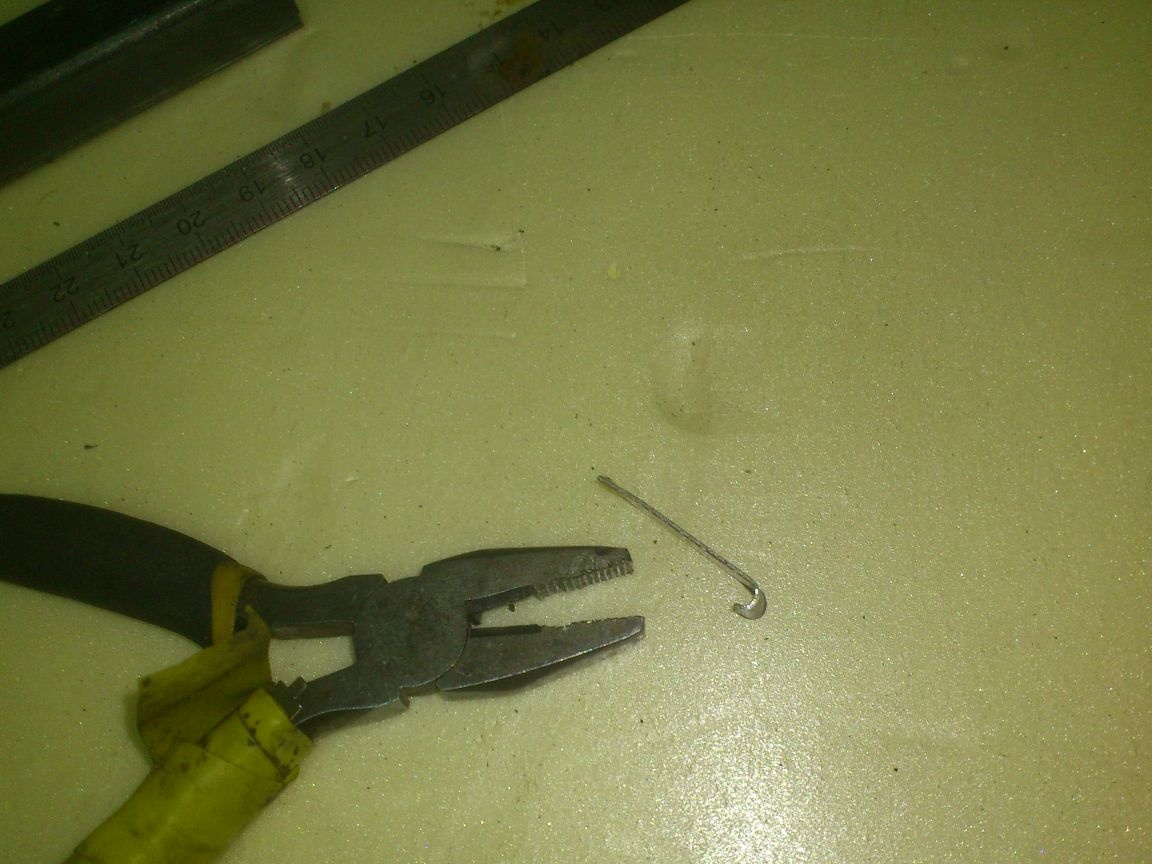
I arched a spring hook out of a spoke. For this, I used a couple of small pliers:
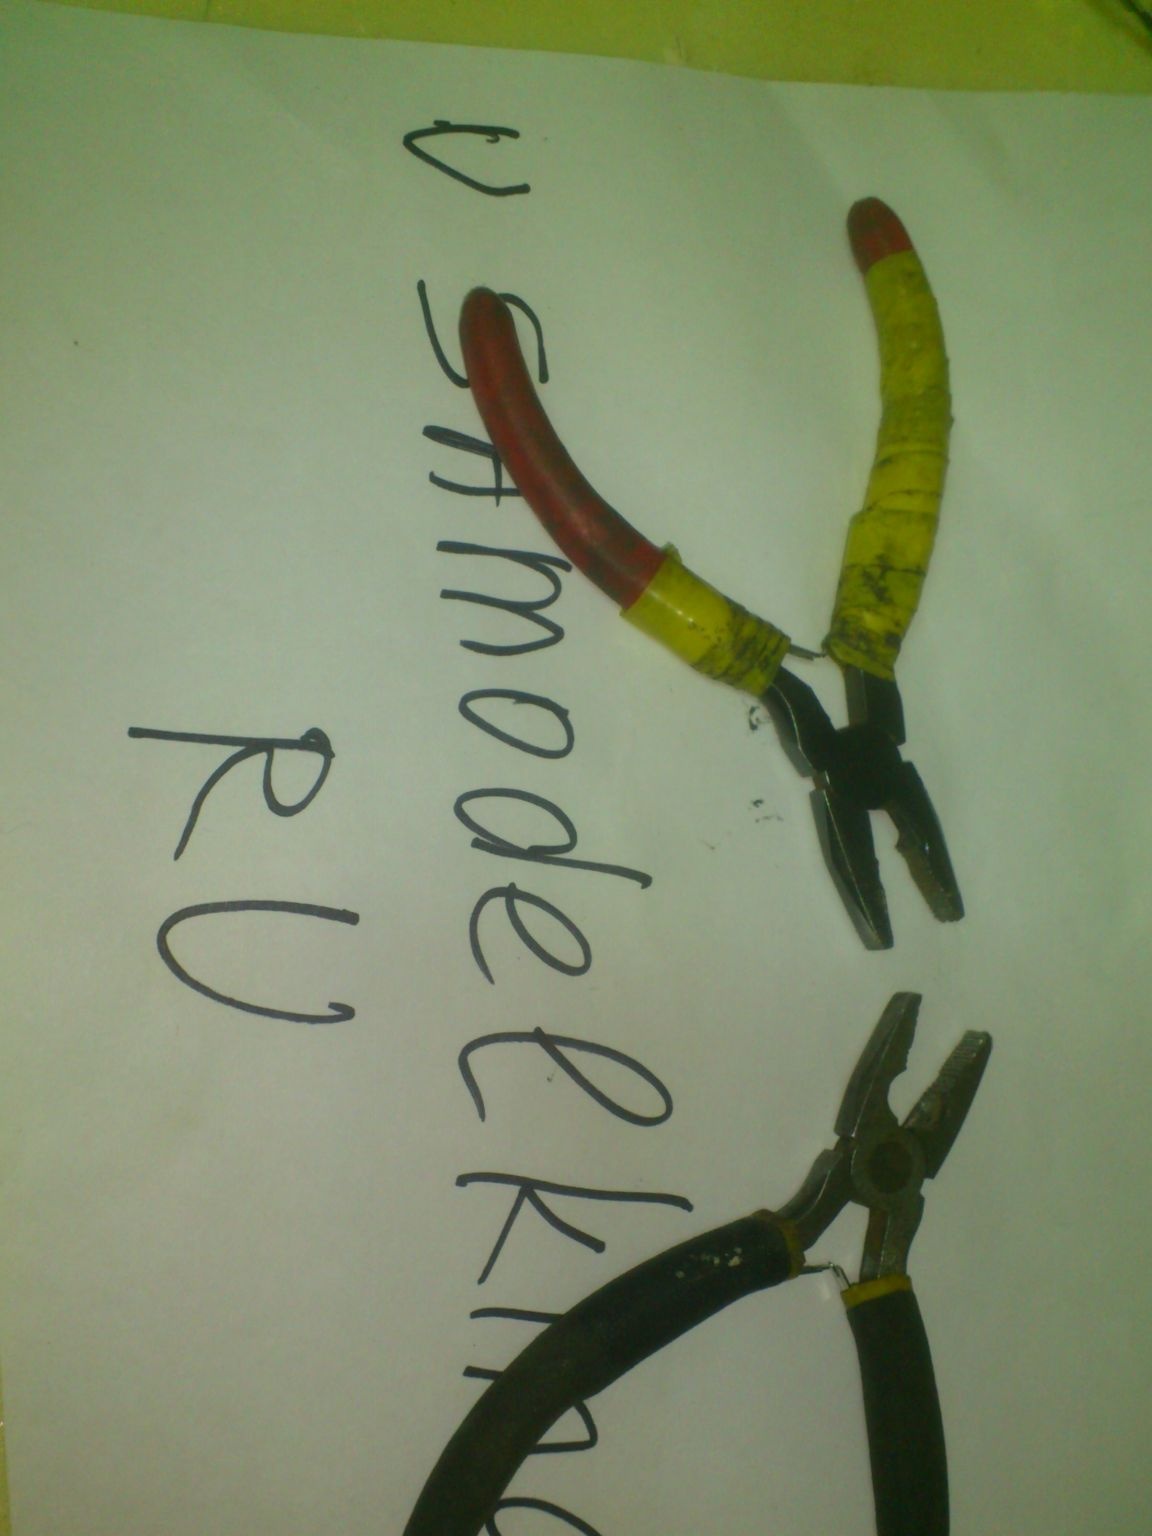
Sometimes it helped and big)))

We do not insert the hook into the hole prepared for it ... First, you need to connect the two halves of the product with an axis .. I decided to make the axis from the same spoke:
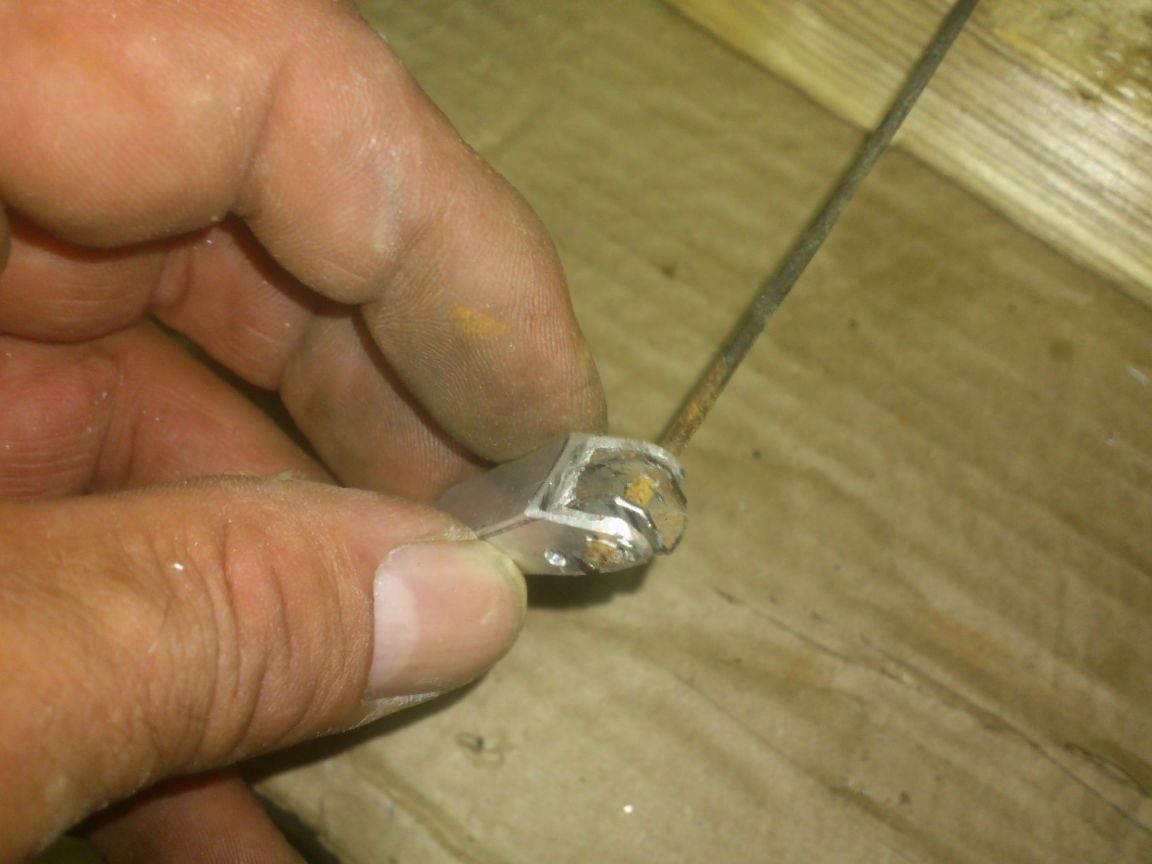
Having inserted the knitting needle into place, I cut it with a “grinder”, and, putting the product one side on an impromptu anvil, (the role of which was performed by a piece of sheet steel, which used to be a template before)))), slightly riveted the ends with neat hammer blows.
Now you need to install the spring. But first, for her, you need to "make a place.")))
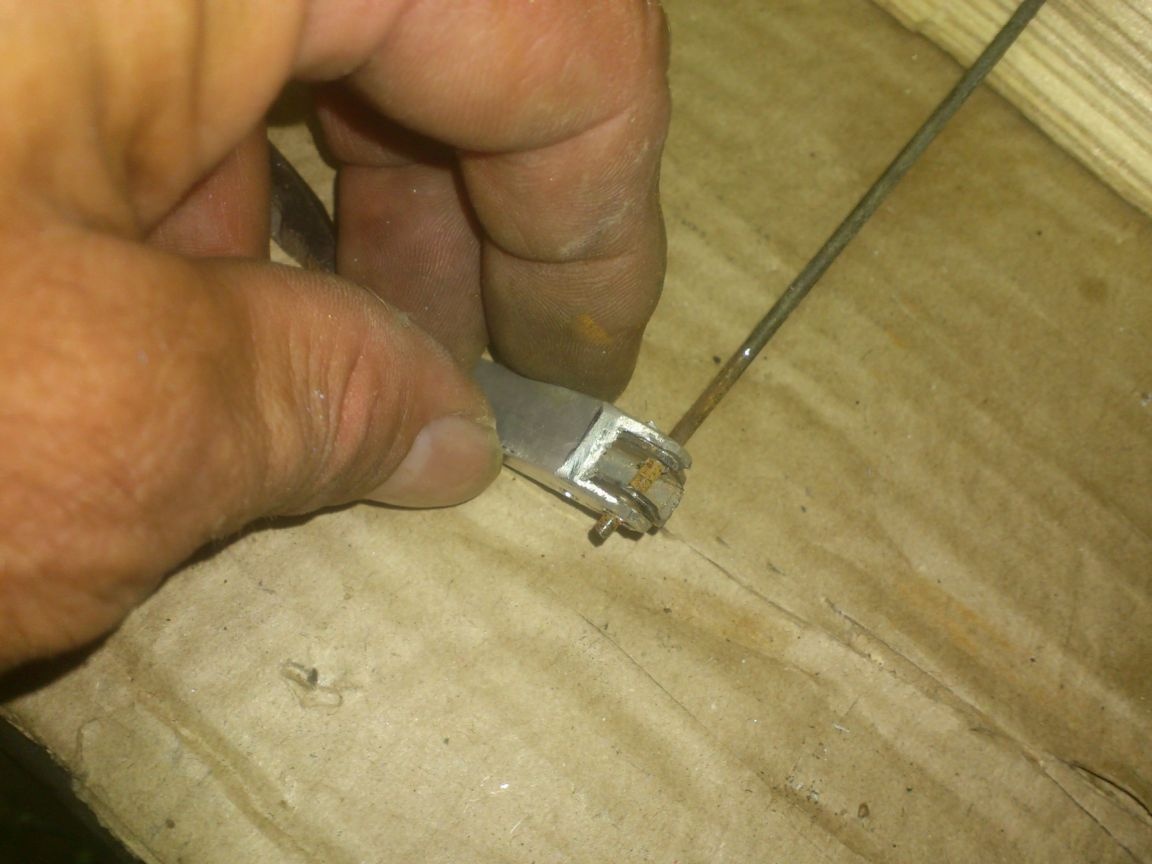
Having inserted a marker in the spring hole, and “opening” the latch, I drew a mark in the place where the ends of the spring hook will stick out from the inside:
Now we remove the side walls of the lower element from the grinder, starting from this mark and further to the end. We insert a hook spring, we drill mounting holes for screws ...
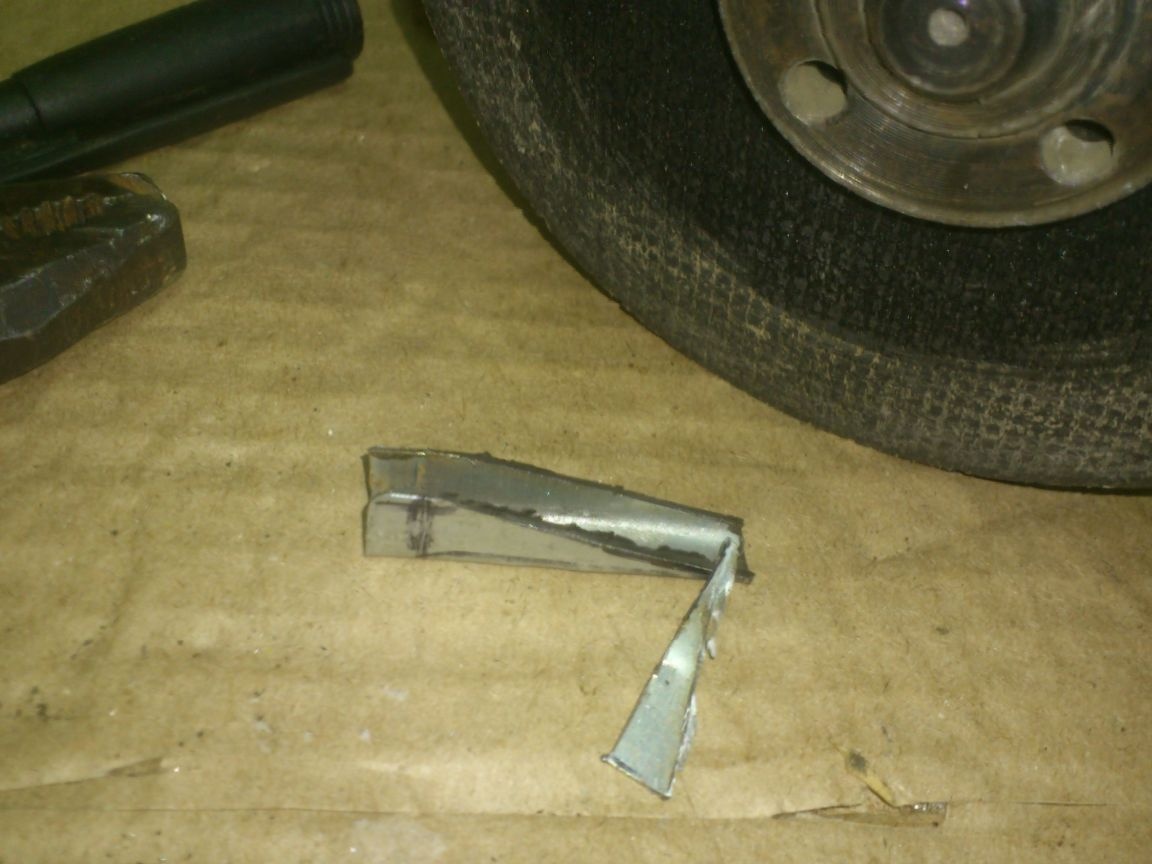
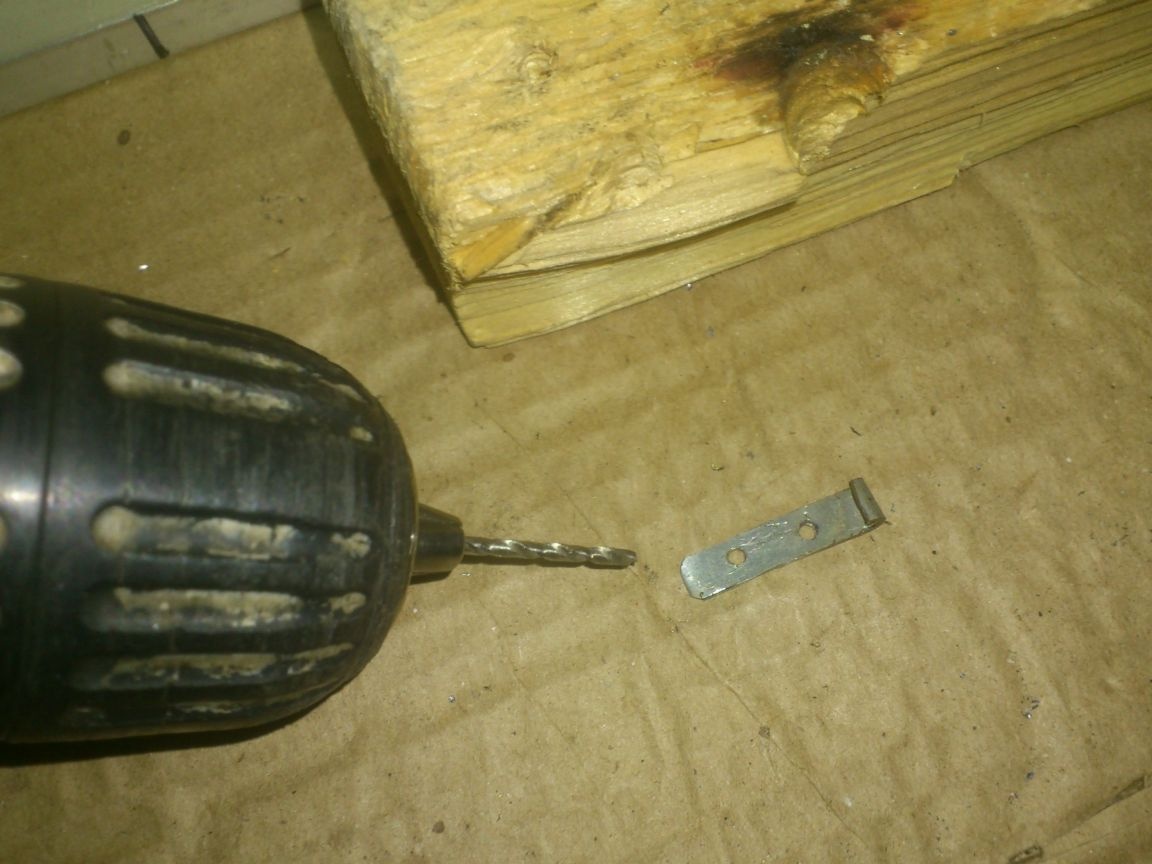
All. It remains to make a "mate" - a hook for which the spring hook will catch. I did not think about the choice of material for a long time - I decided to make it out of the same tin.))).
I cut a strip from the remains of the case, capturing a part of the corner - it will not hurt))):

Pliers carefully bent one end:
And drilled mounting holes for screws (nails):
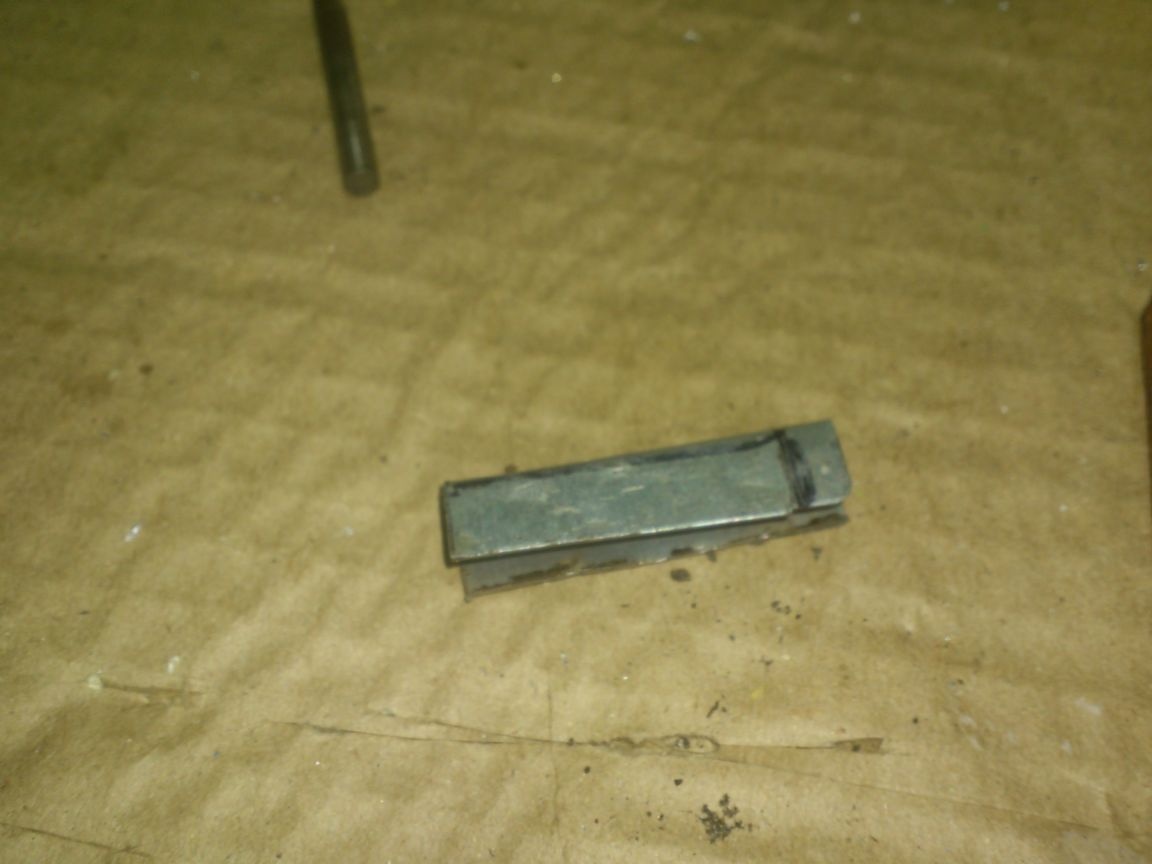
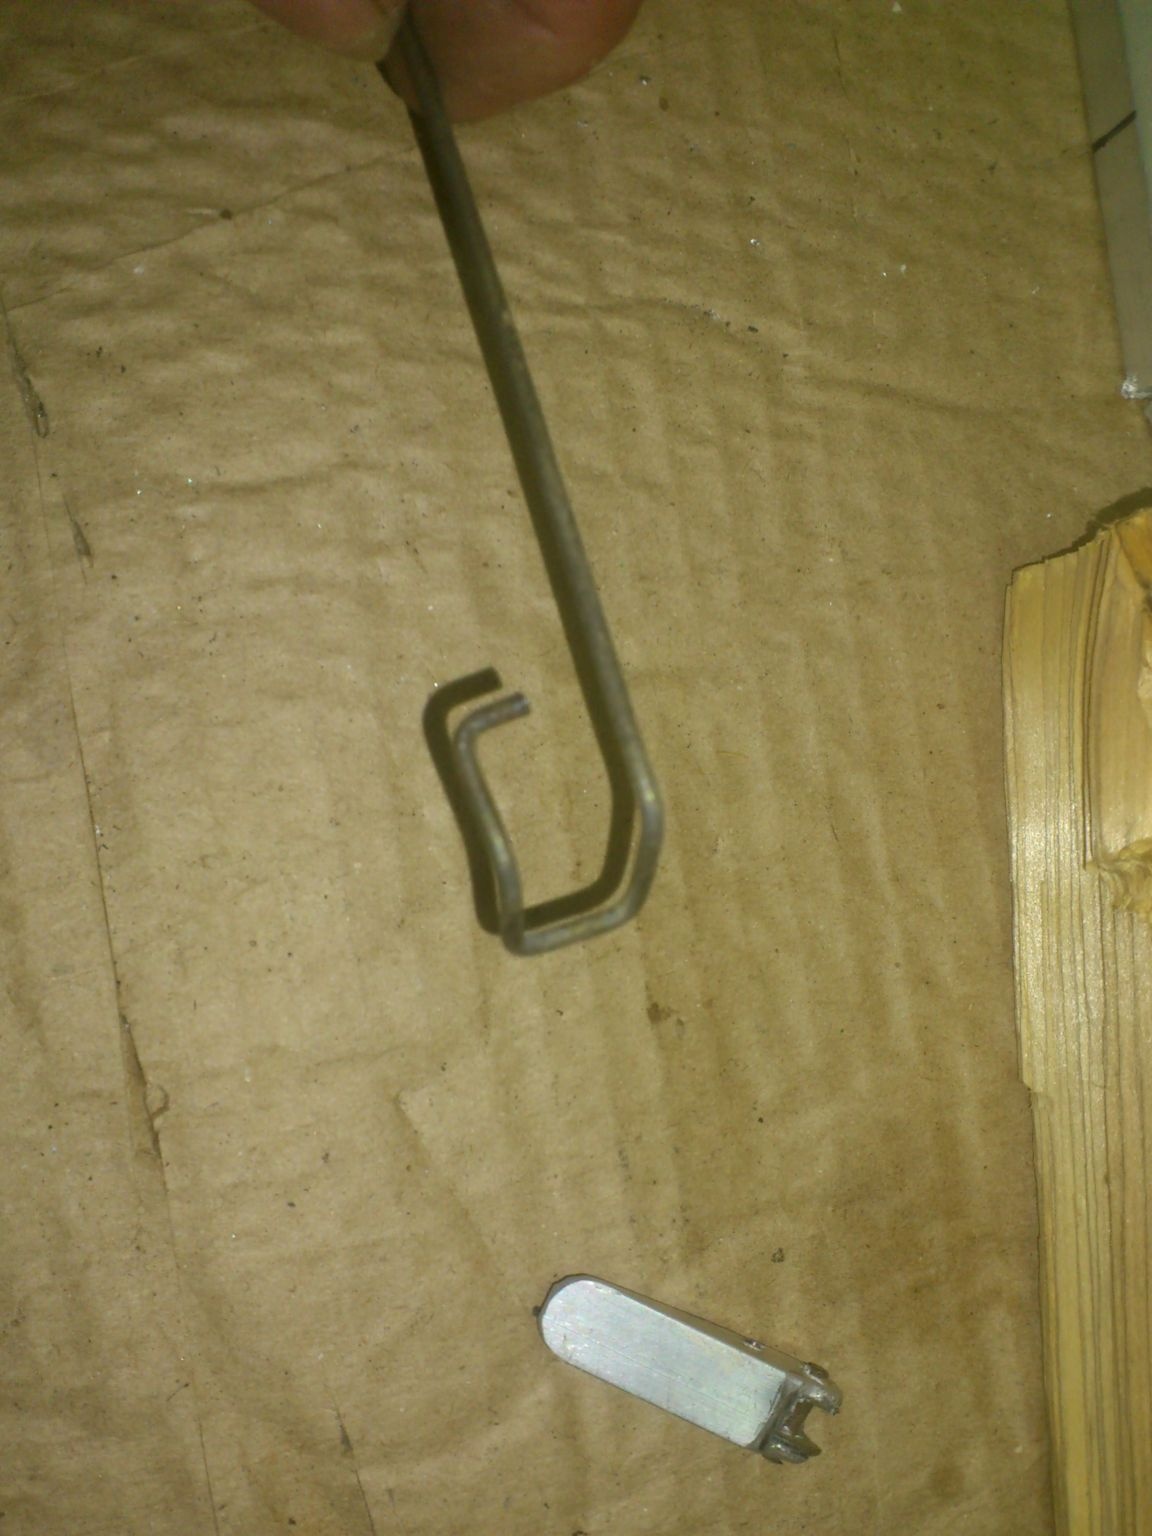
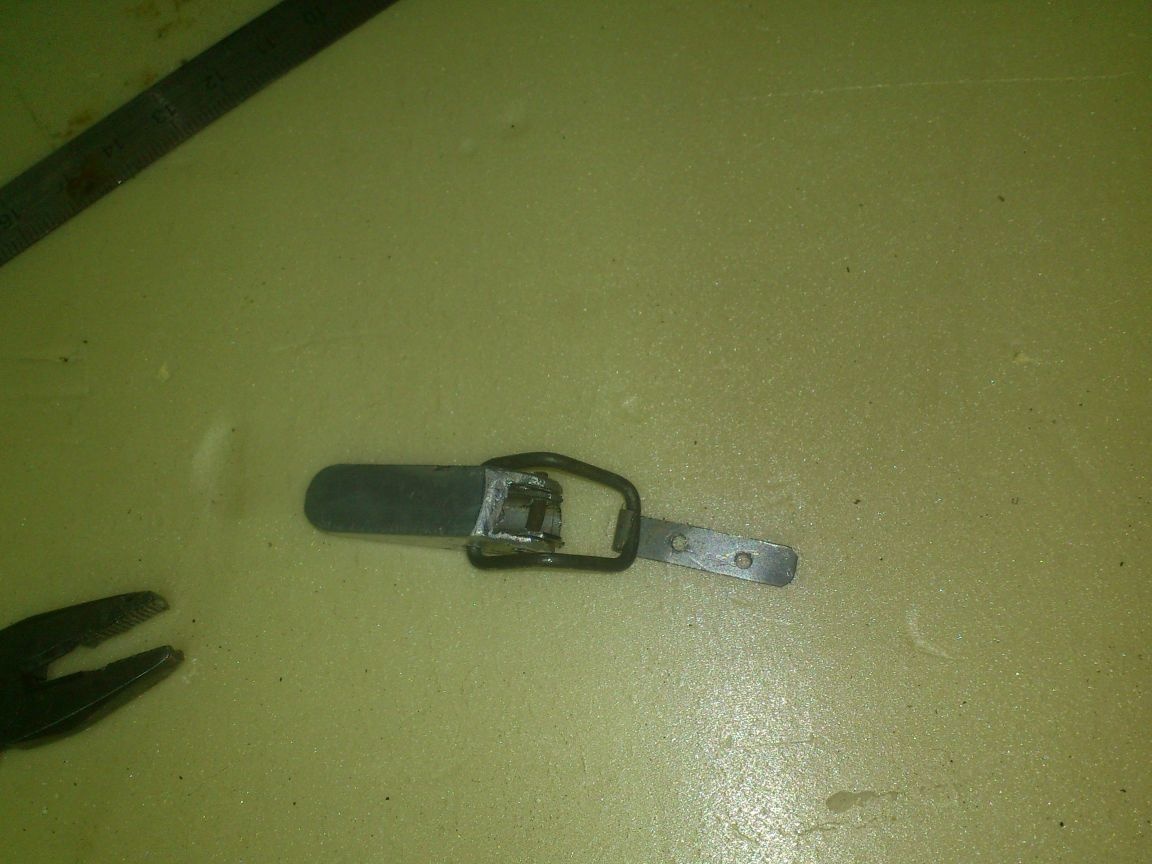
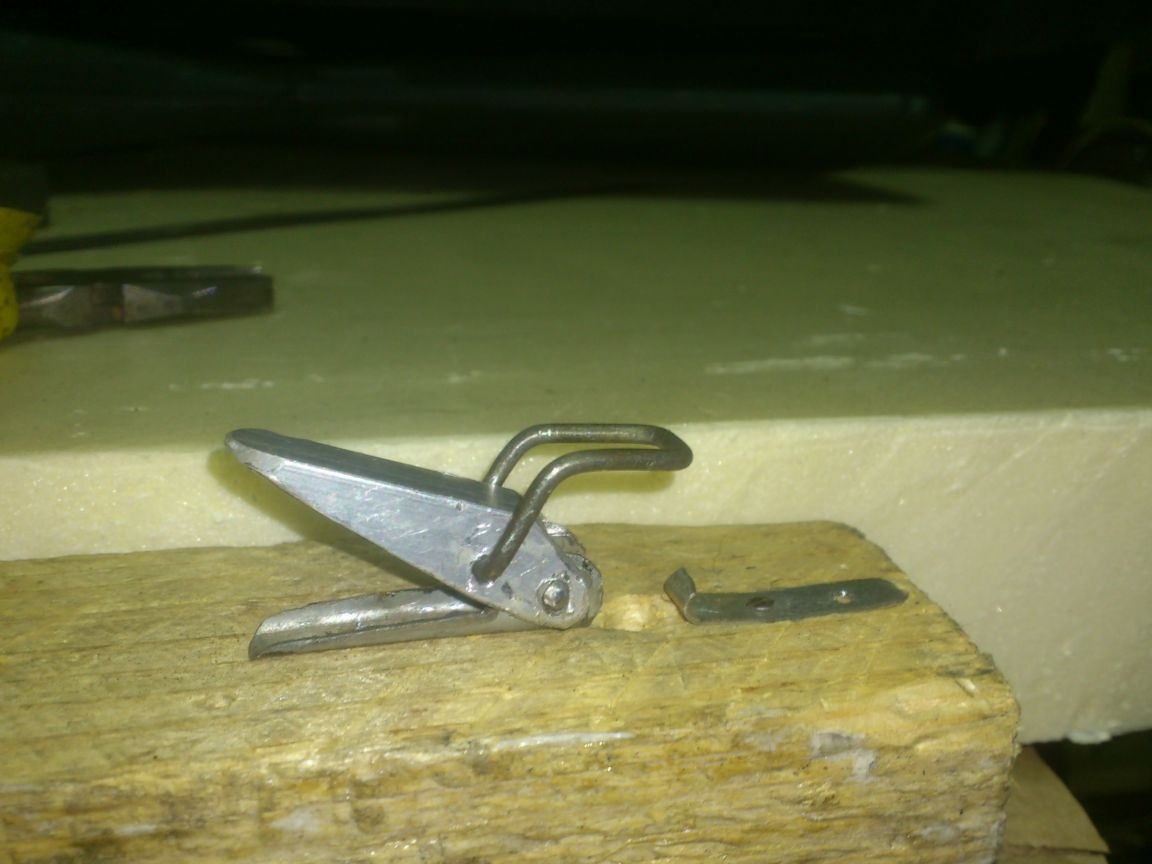
Here, in fact, our product is completely ready:
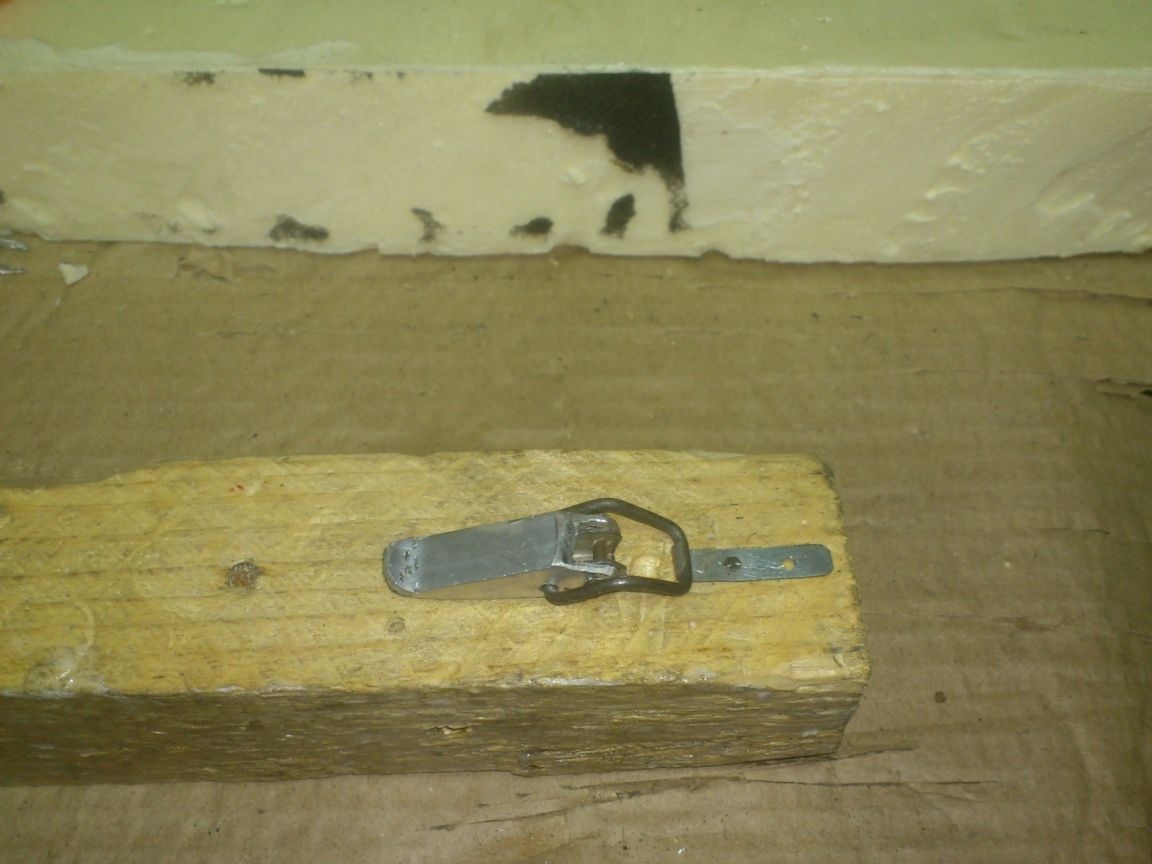
At this point, I started checking. To do this, I nailed the hook with “shoe” nails to a wooden block, and putting a brace on it, I estimated the distance at which the screed itself should be fixed:

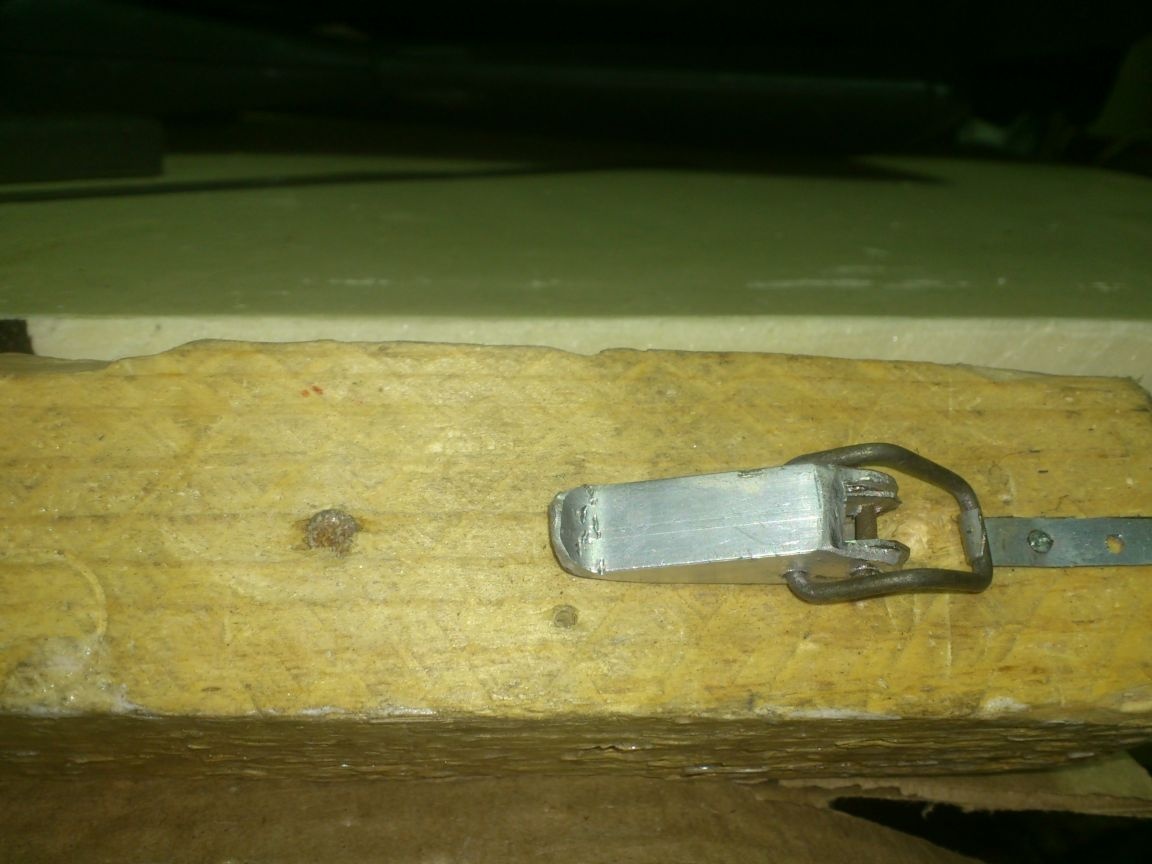
In this position, I fixed it with the same nail, after which I completely closed it:
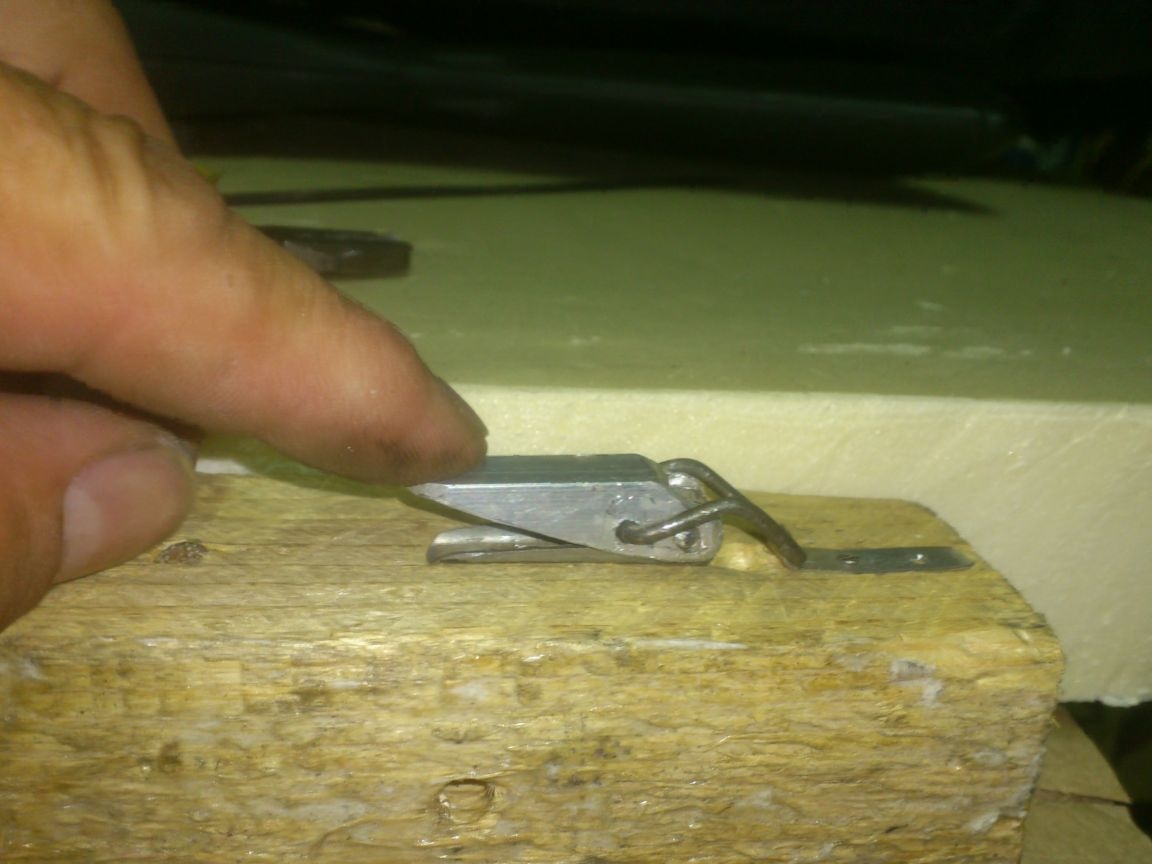
It closed with a light, slightly noticeable, “click”. That is, at the very end, the spring (the role of which is the hook-hook) slightly pulled the upper part down. So, in fact, it was supposed !!
But then it turned out one, quite substantial, "cant"!))))). Trying to open it, I was faced with the fact that it is very difficult to pick it up. The aluminum profile pressed too tightly to the base ...
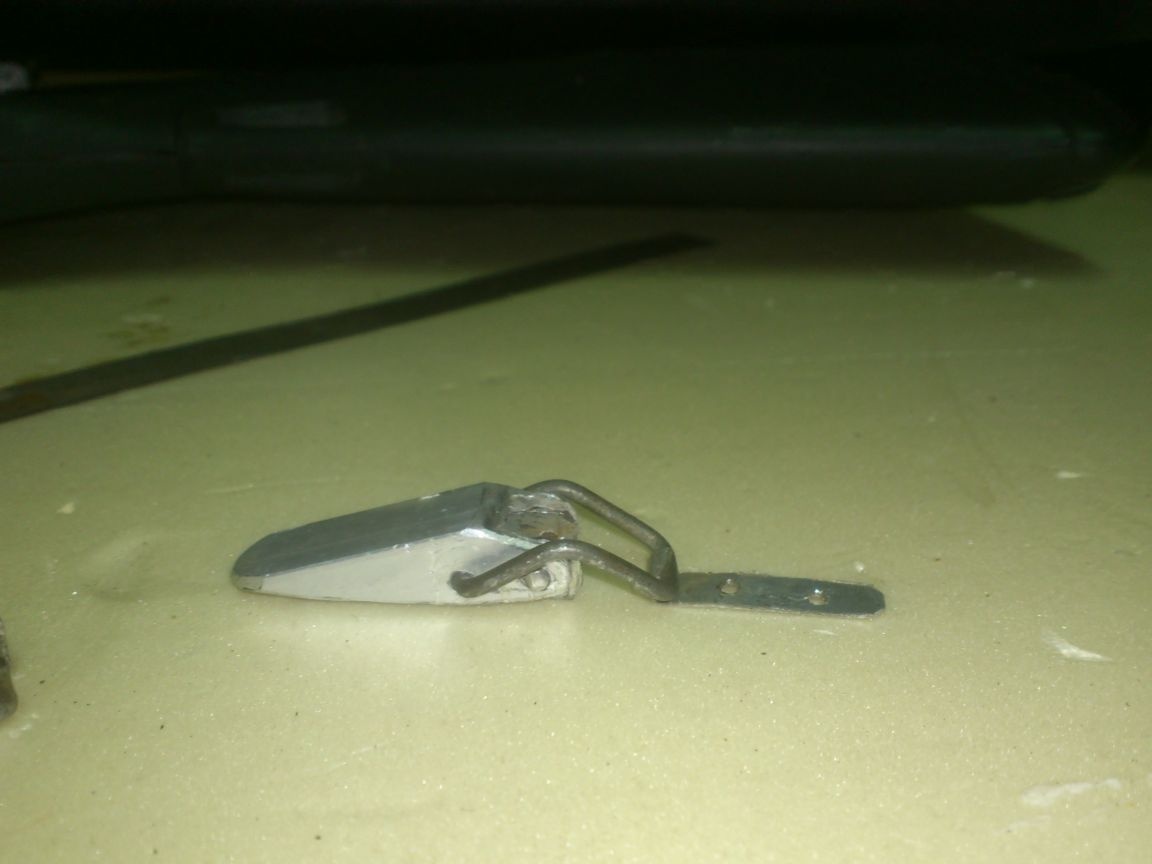
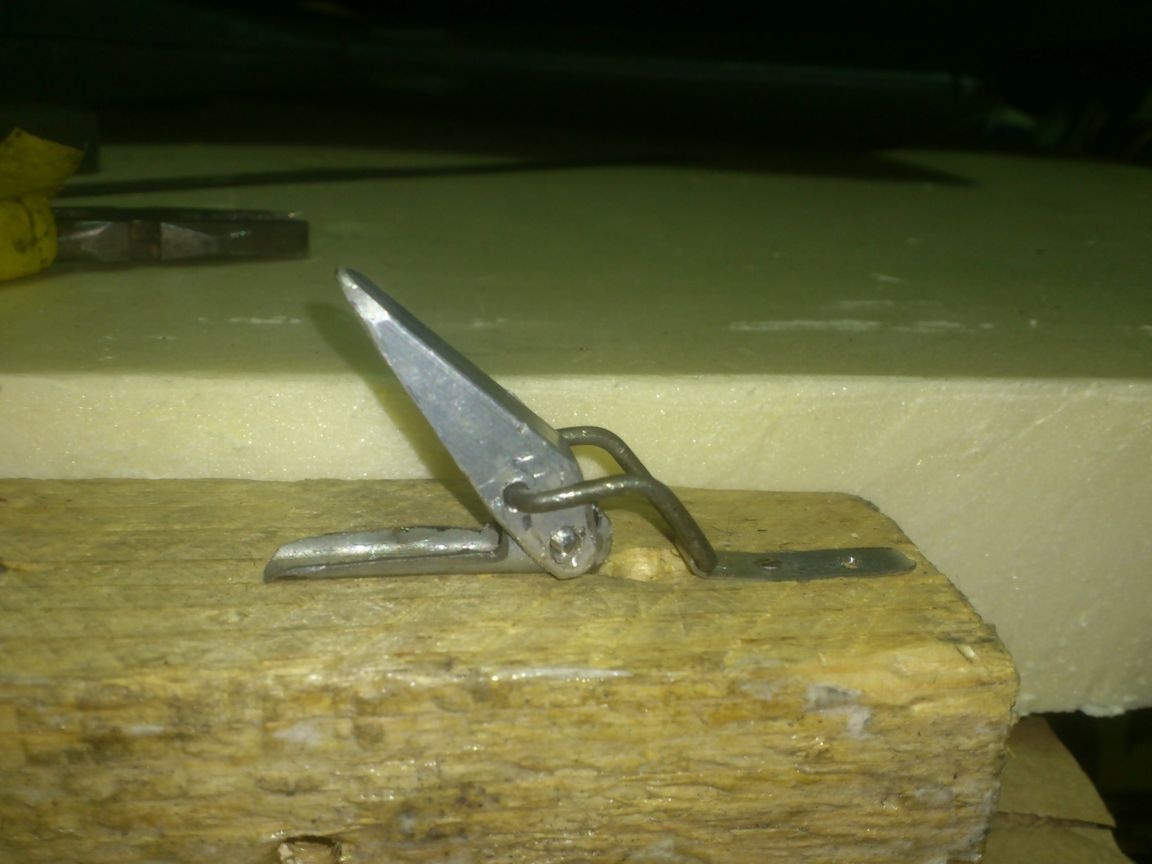
I solved this problem quite easily - I just slightly bent the tail pliers upwards. (Well, that made of aluminum!))))
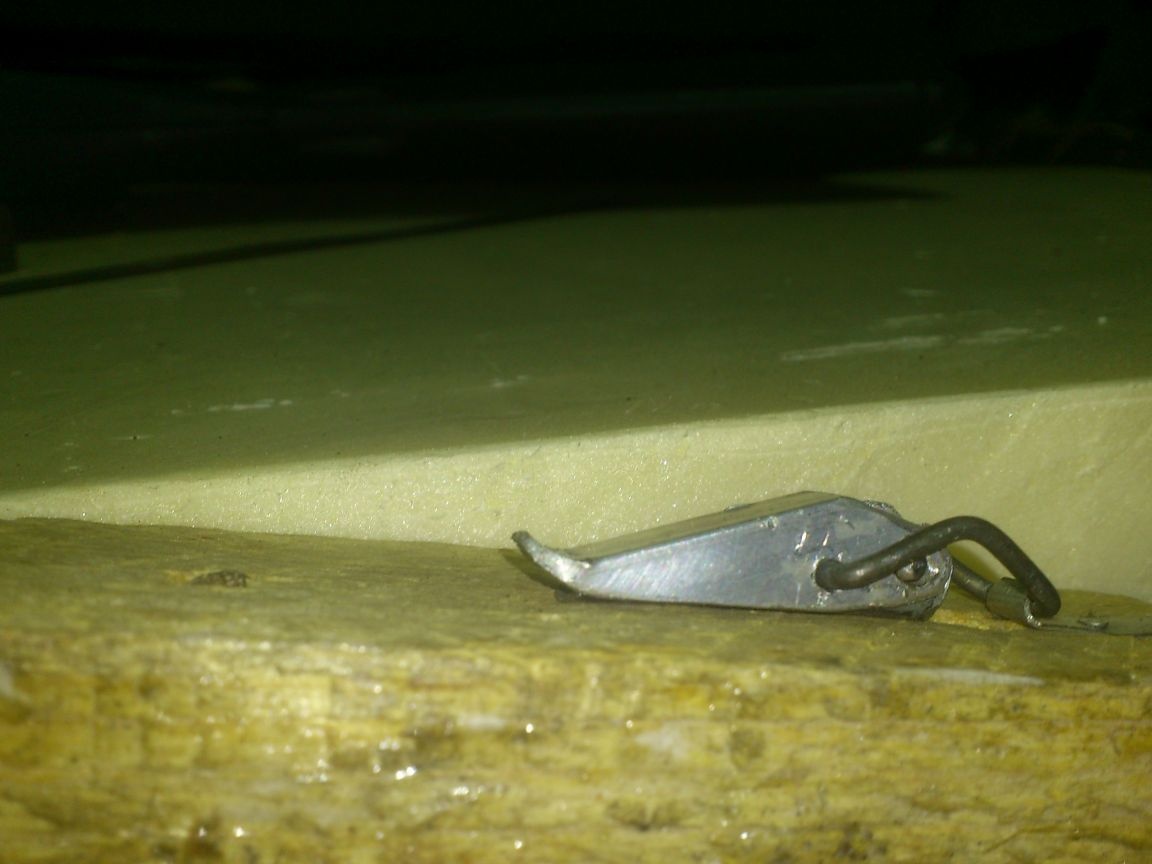
Now it will be very convenient to open it, easily prying a finger.
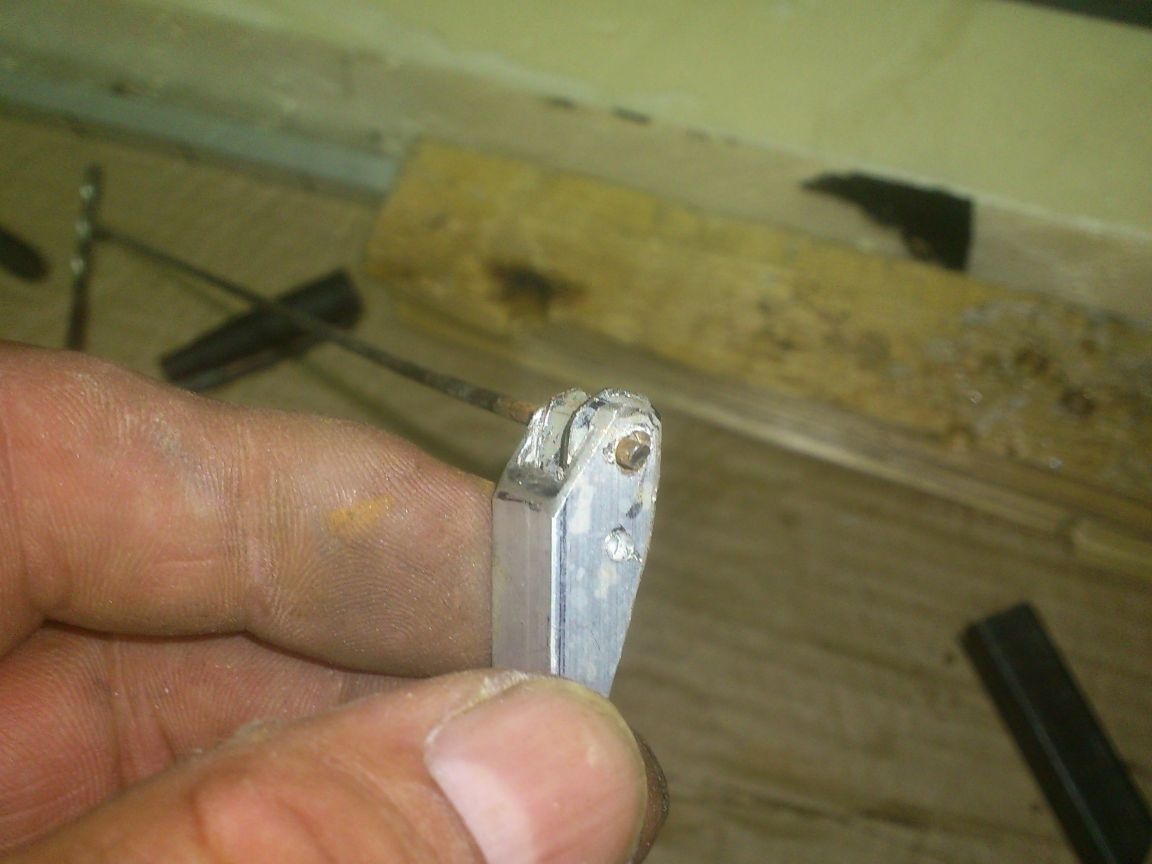
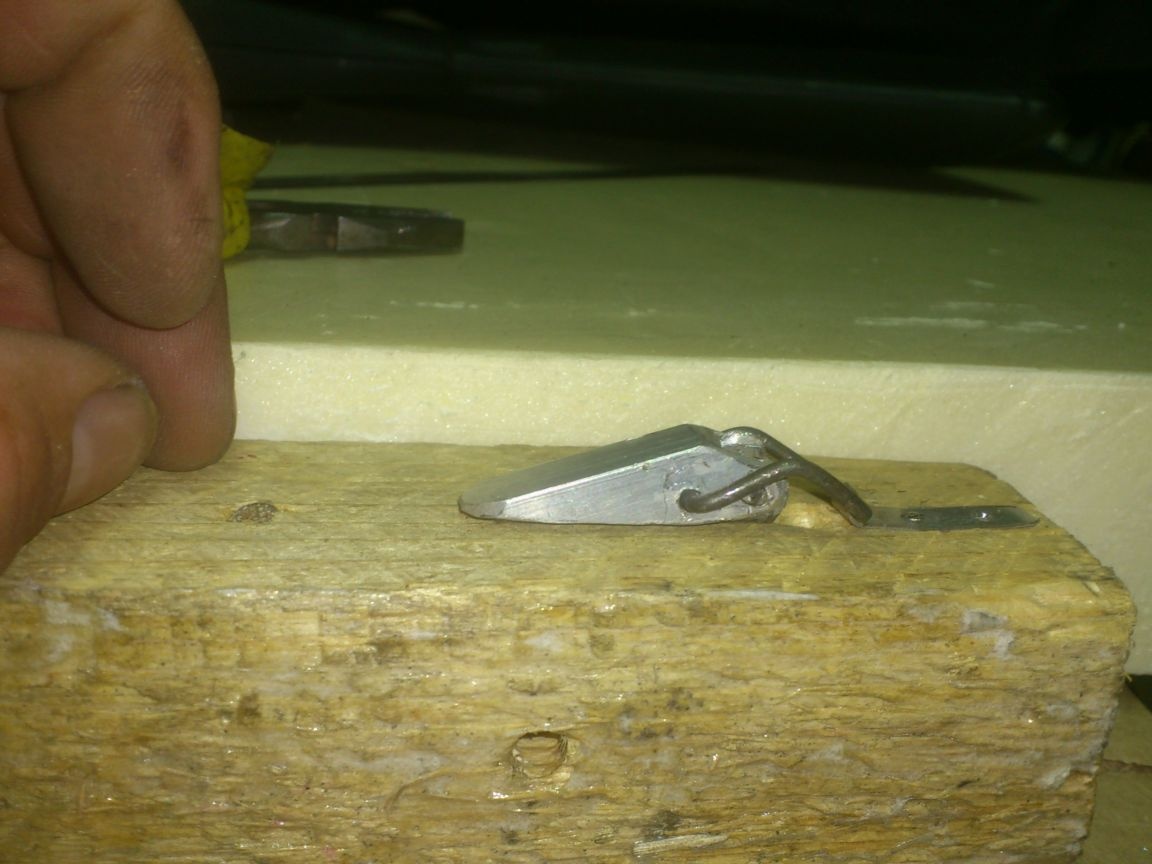
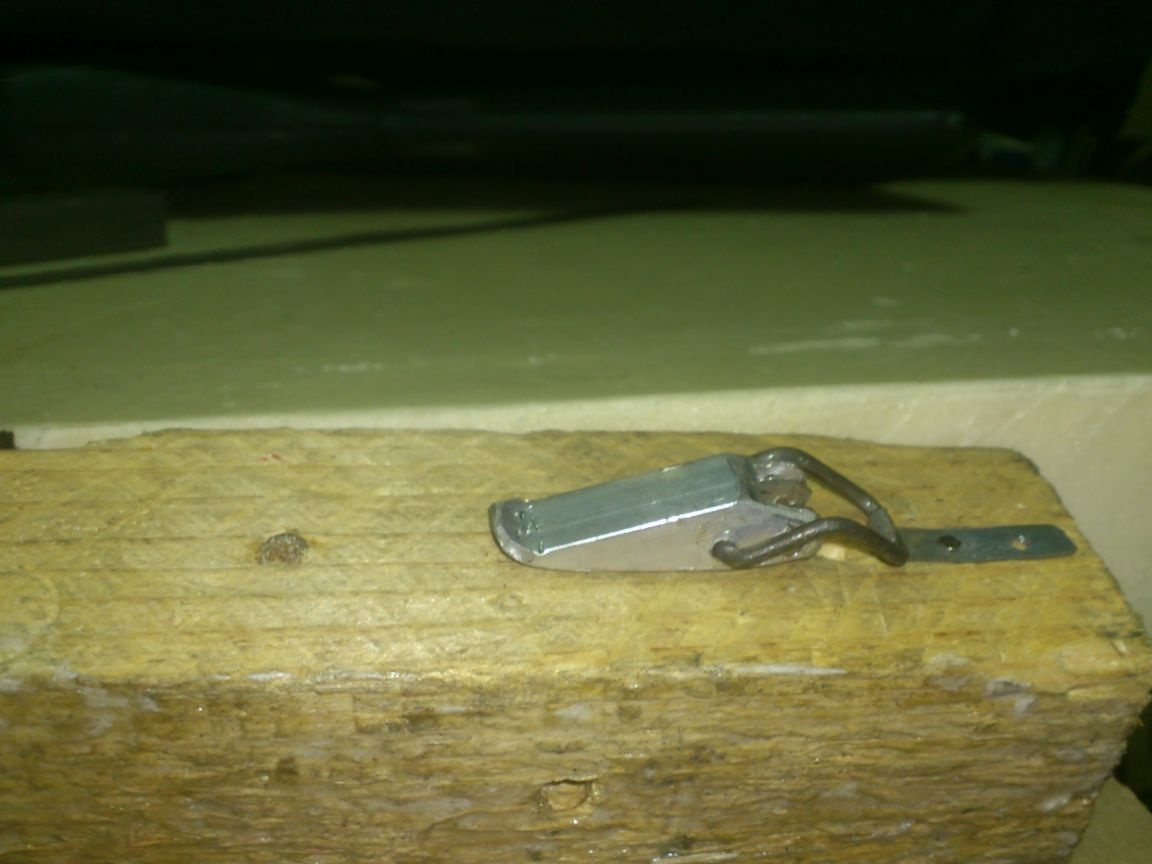
Bending it, I “poked” it a bit, so, armed with a round file, I cleaned this place:
In the photo it seems that I did only worse!)))). But it was simply reflected from scratches of a flash ... Actually, these scratches are not so visible, and will be easily hidden by paint.
Painting - the next (and final) manufacturing step:
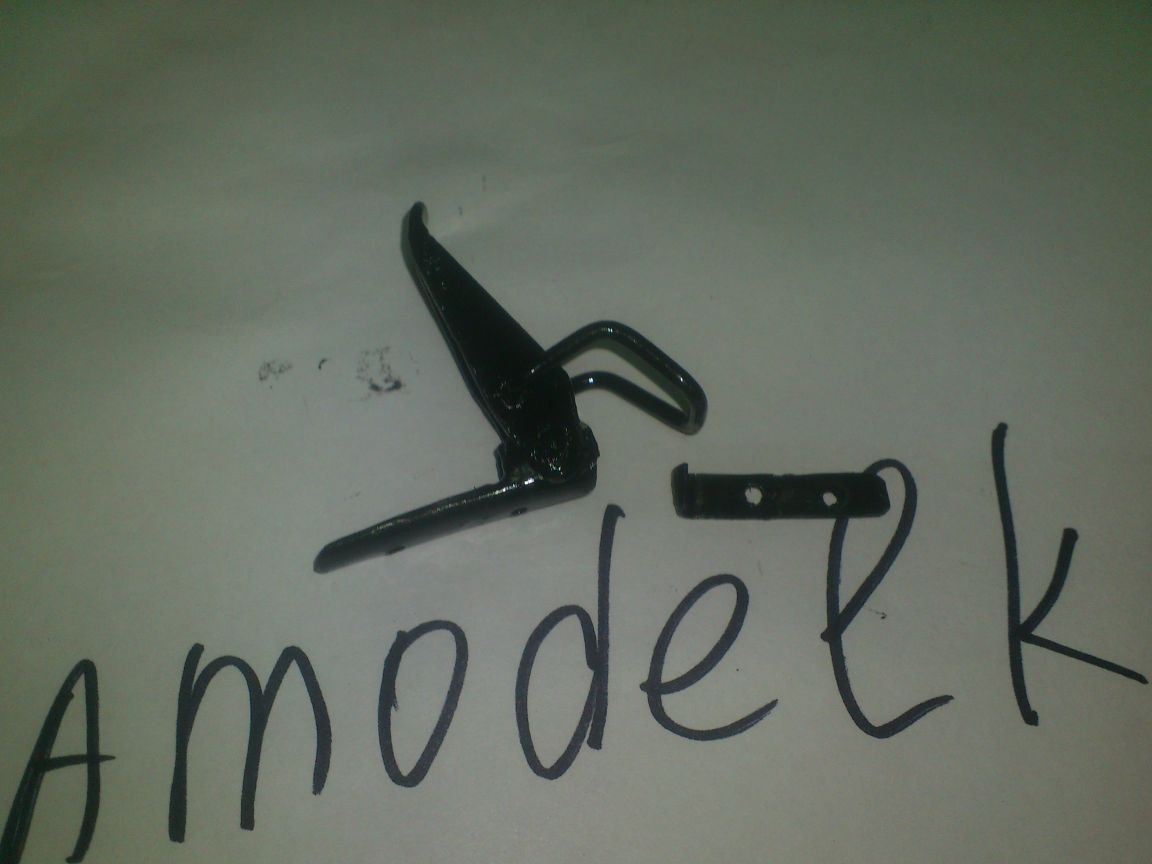
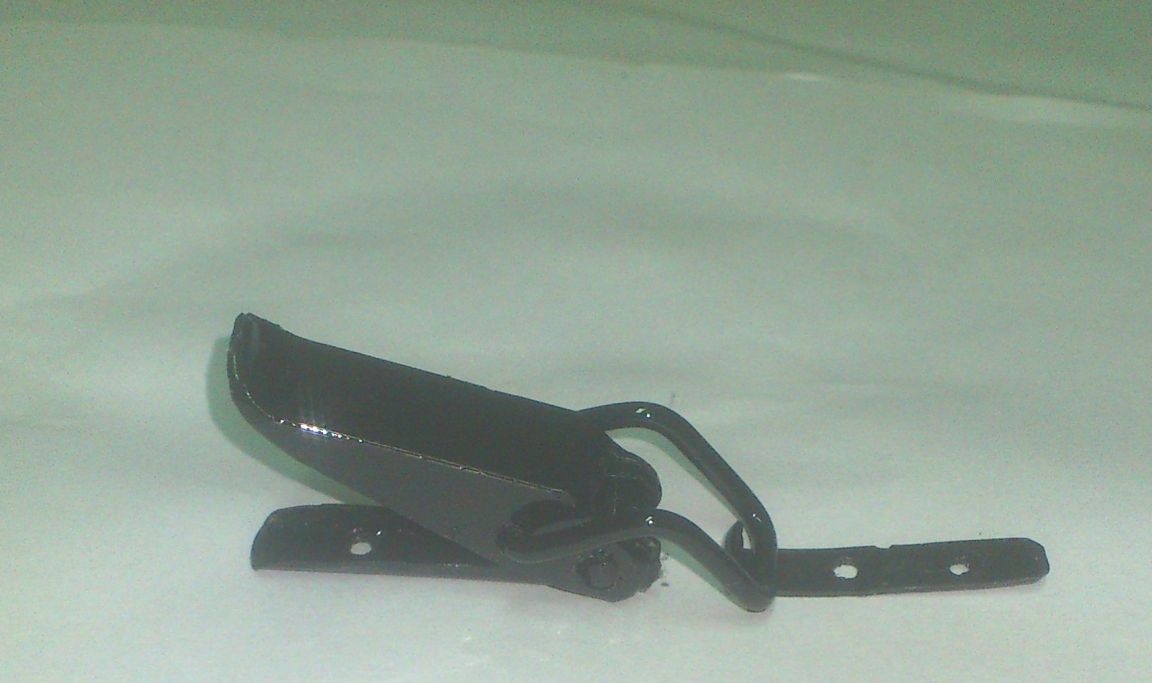
I got exactly the product I wanted. With the same properties, but much smaller:
Now I can install it. And it took just two hours to make three of these fasteners! And next time I will meet in a much shorter time, as I will not take pictures of each process in stages.)))
All the best! Bye! I hope someone will find this description useful!