This article will be interesting to joiners and furniture makers.
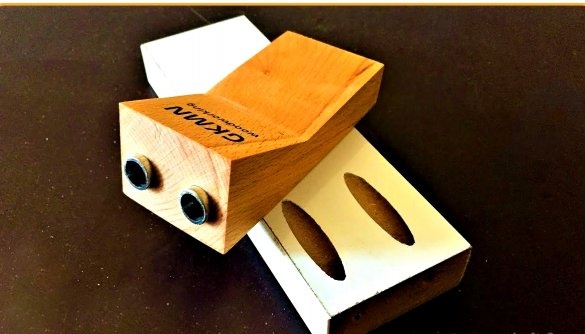
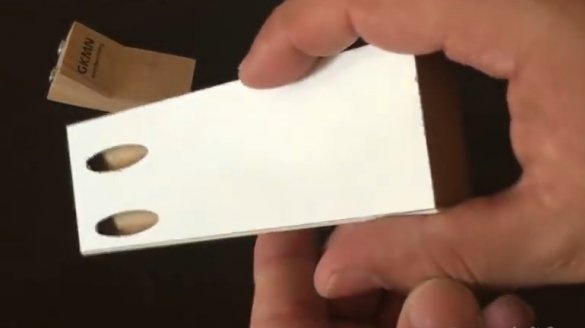
In it, the author of the YouTube channel "Gökmen ALTUNTAŞ", tells you how to quickly make a conductor for drilling pocket holes.
Using this fixtures you can make hidden pocket holes in wood.
Materials
- Steel tube with an external diameter of 10 mm and a wall thickness of 1 mm
- Wooden block 80X45X40 mm
- Wood screws with a 8 mm head.
Instruments, used by the author.
- Drilling machine
- Band-saw
- Bulgarian
- Wood drill 10 mm
- Two-stage drill for pocket holes 8 mm
- Goniometer, pencil
- Vise, hammer
- Electric jigsaw with metal blade
- Orbital sander
- clamps
- Screwdriver
- long bit
- Laser engraving machine.
Manufacturing process.
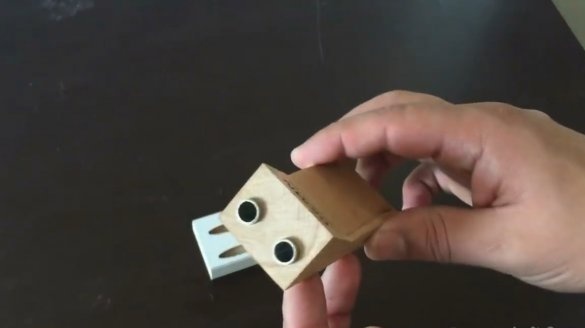
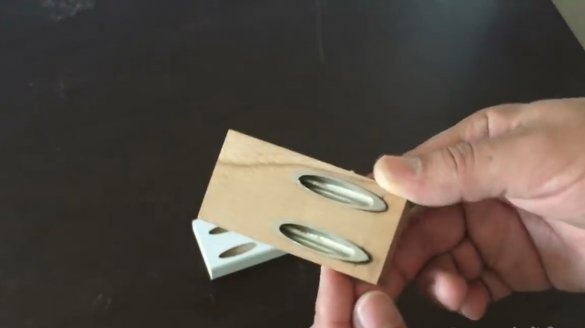
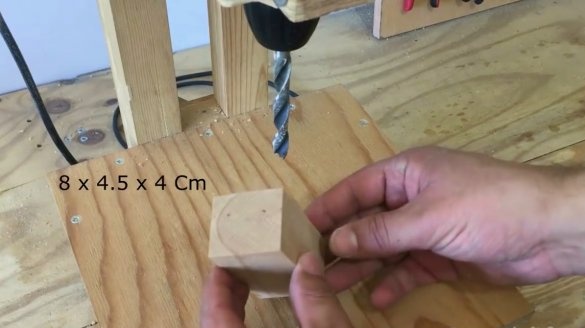
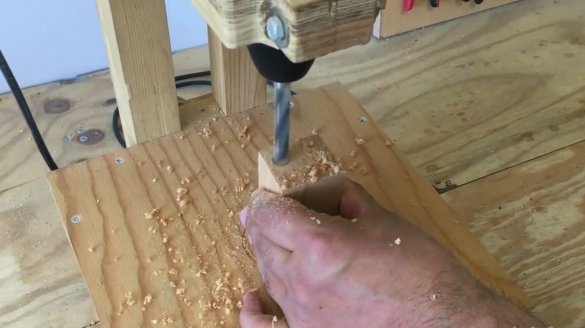
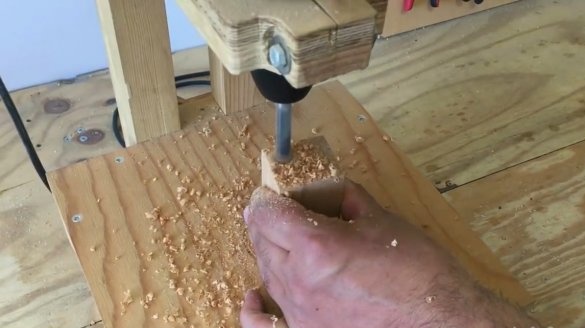
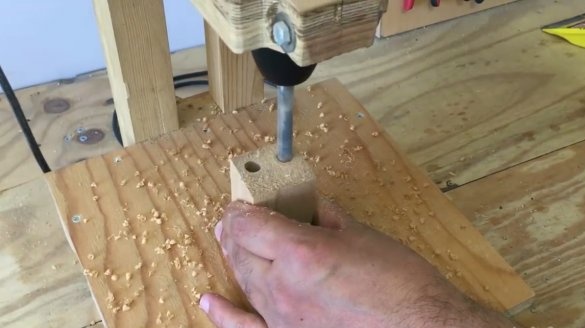
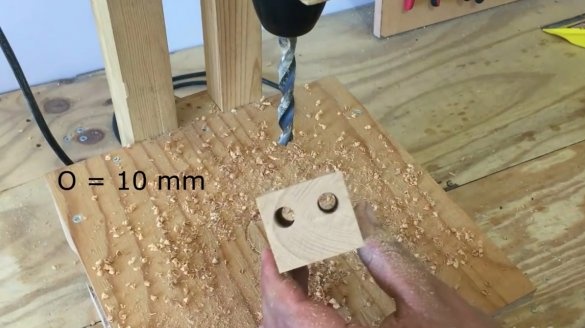
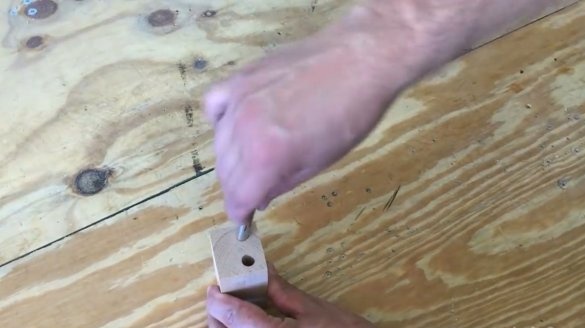
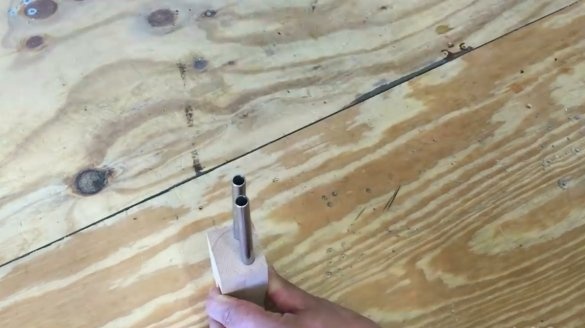
So, the first thing the master drills two 10-mm holes in a block of solid wood. Drilling produces along the fibers of the workpiece.
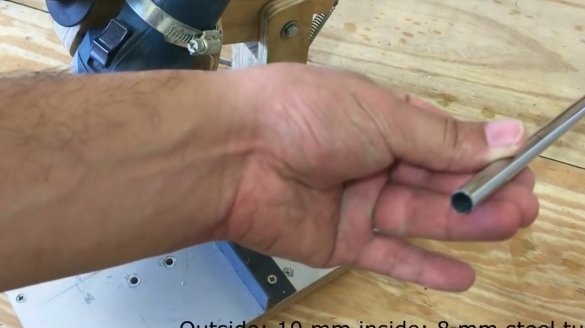
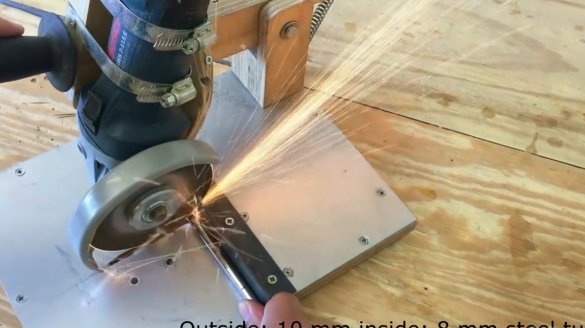
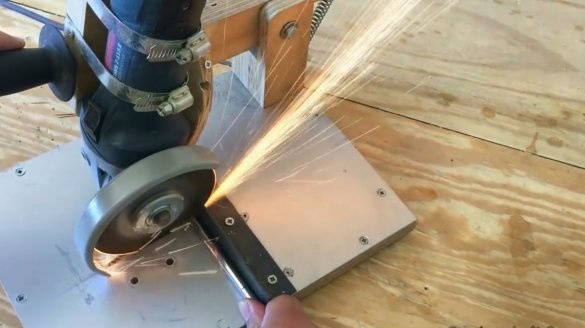
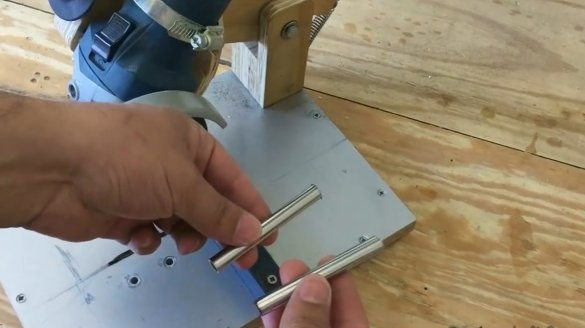
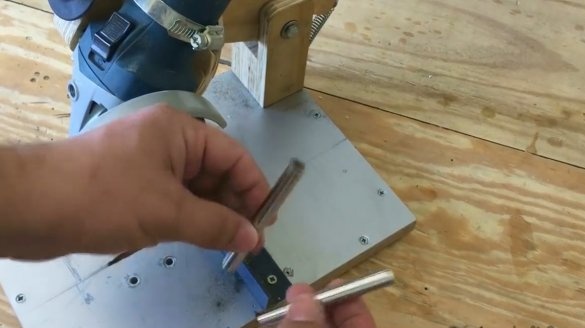
With the help of a simple device for a grinder, he cuts a couple of blanks from a 10-mm steel tube. The wall thickness of the tube is 1 mm, and the inner diameter is 8 mm. The sharp edges of the tube must be sharpened.
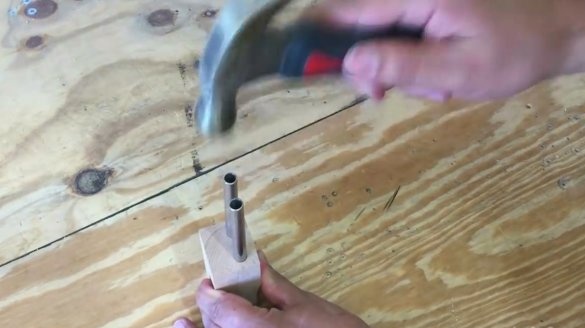
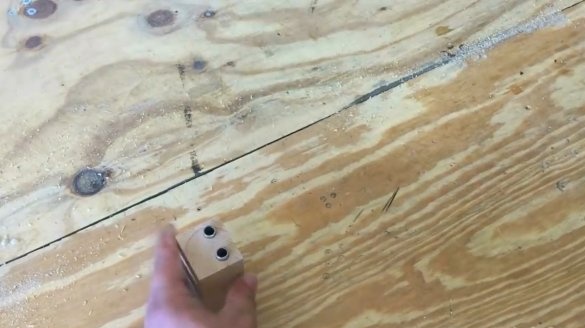
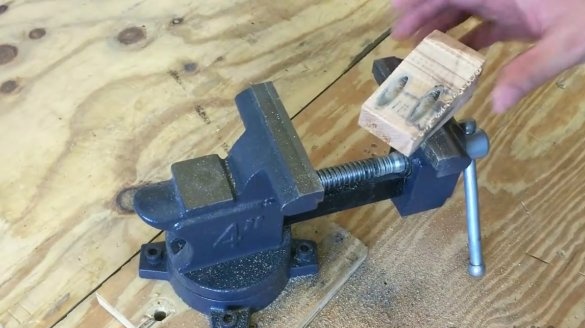
Then he simply inserts the tubes into the holes and hammers them with a hammer, but not completely, leaving a small ledge.
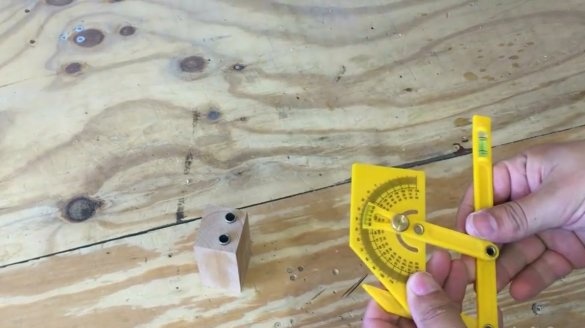
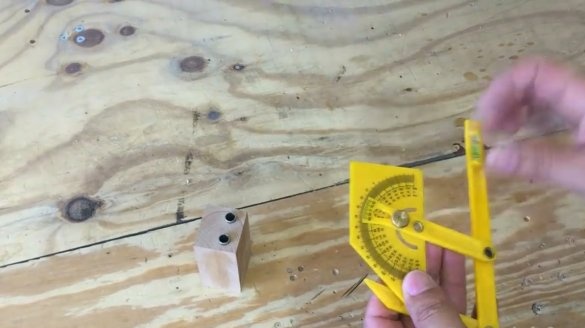
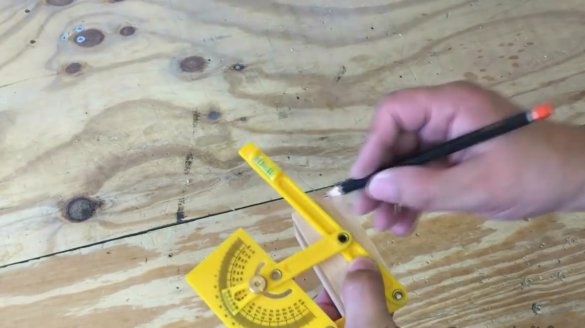
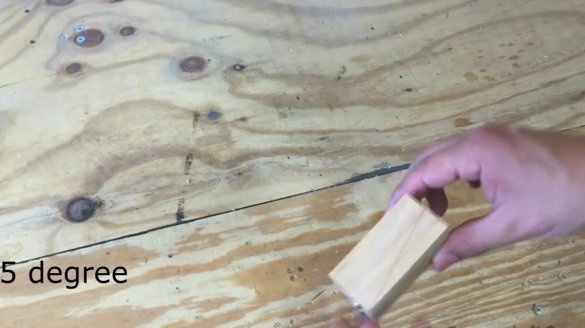
On the goniometer sets an angle of 75 degrees, and fixes it. Then he makes markings on the side of the bar.
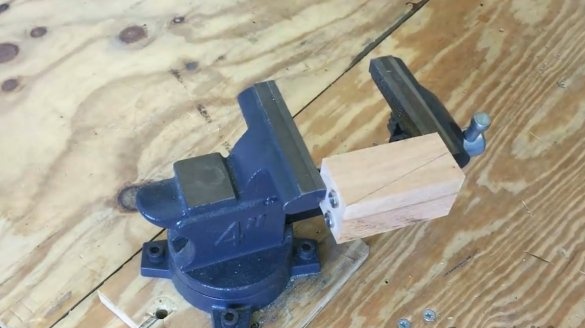
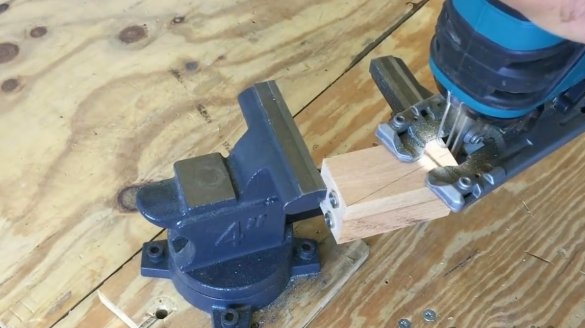
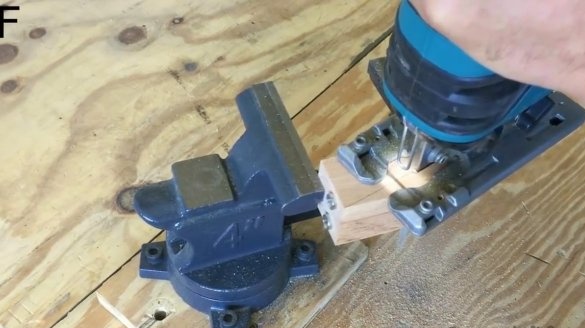
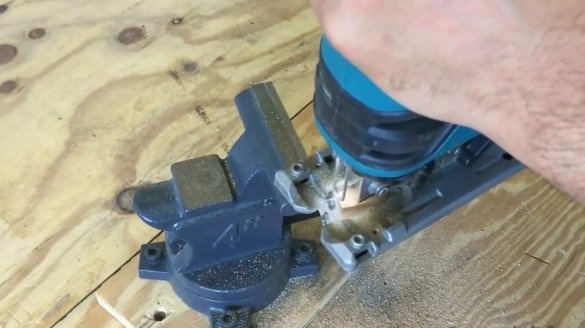
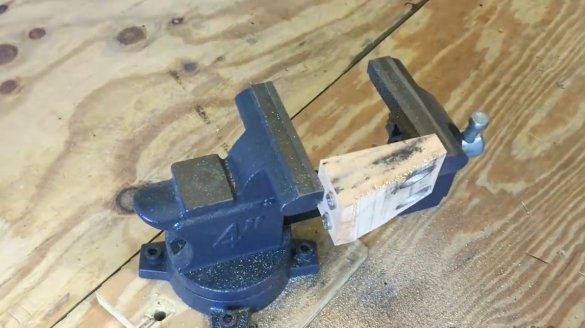
Clamps the workpiece in a vise. Installs a metal blade in an electric jigsaw and cuts it off. This is not a very fast process.
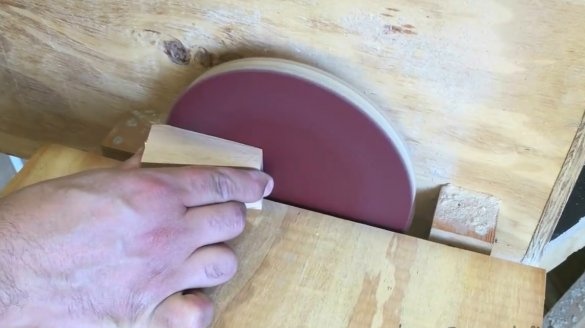
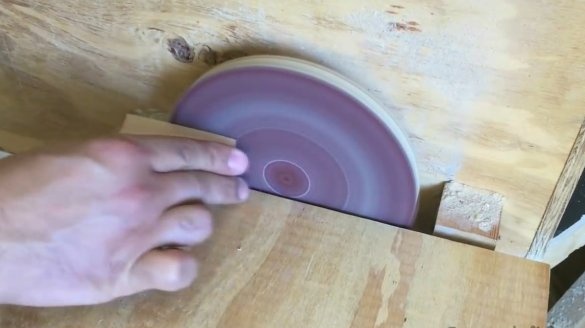
The place of cut on the workpiece is processed using an orbital sander. It should be perfectly flat, because it is a work surface.
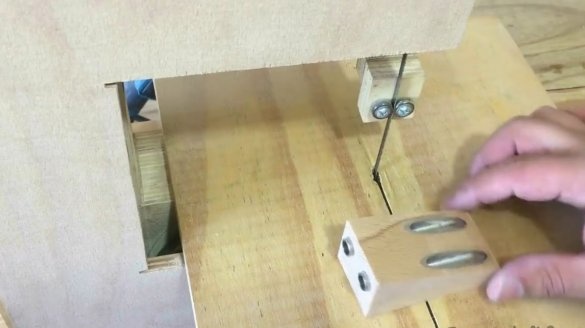
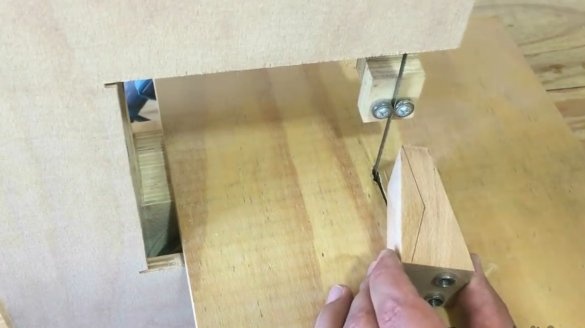
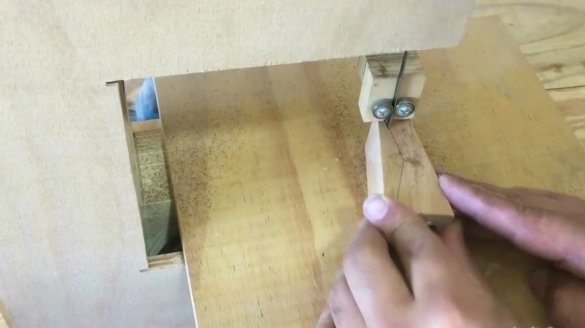
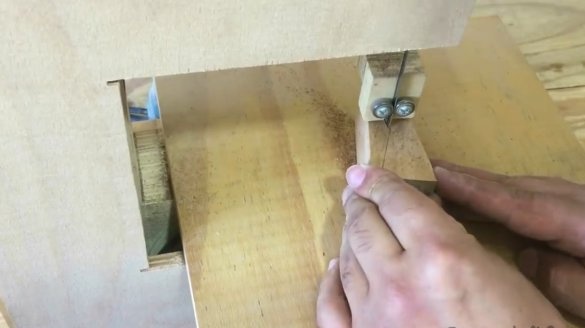
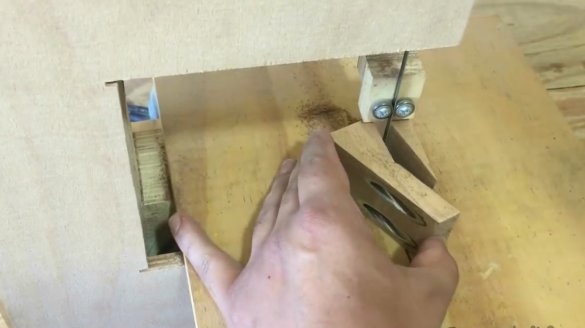
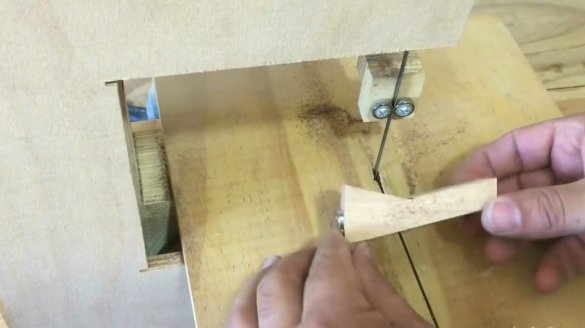
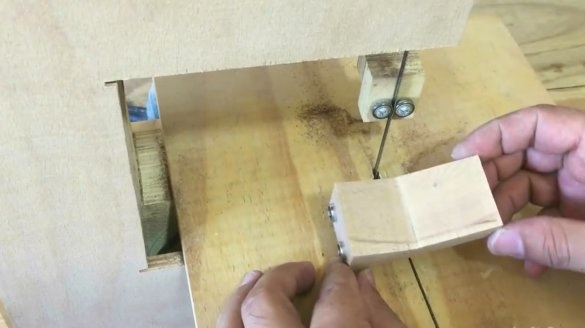
Now on the band saw cuts off the upper part of the workpiece.
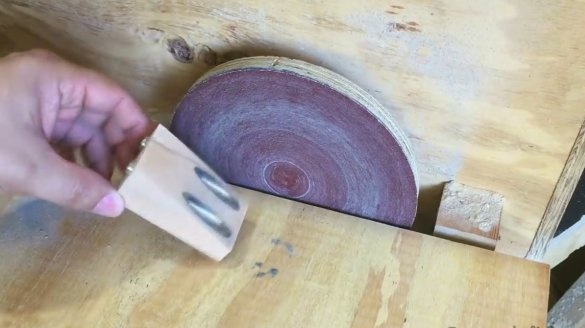
The resulting sections are also polished.
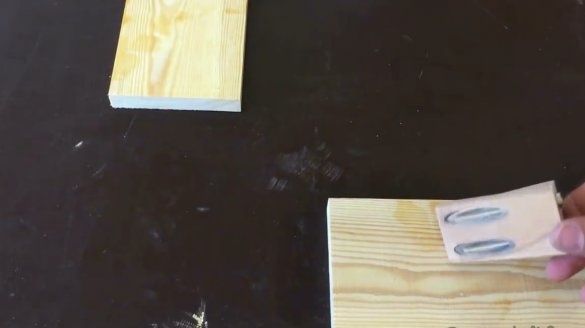
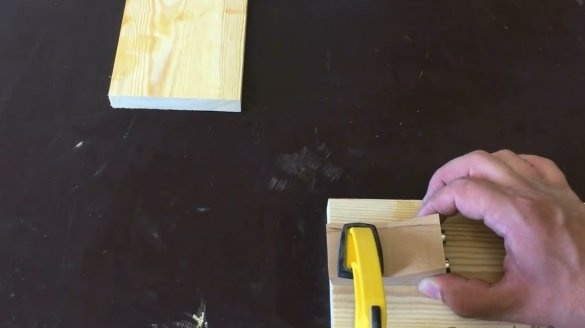
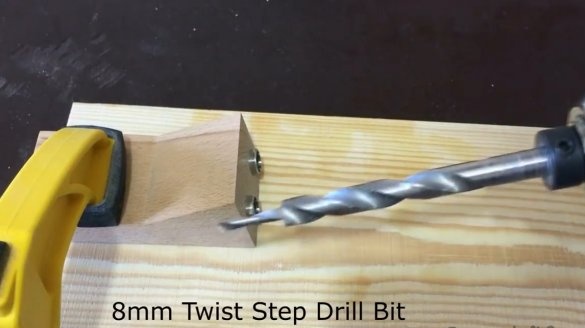
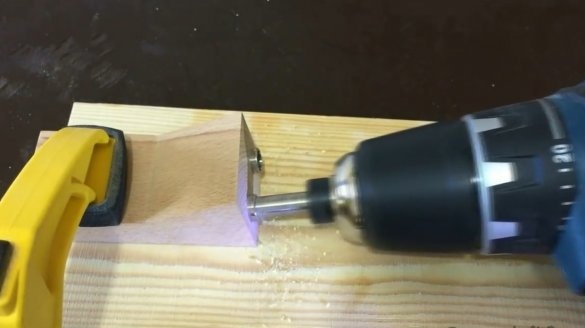
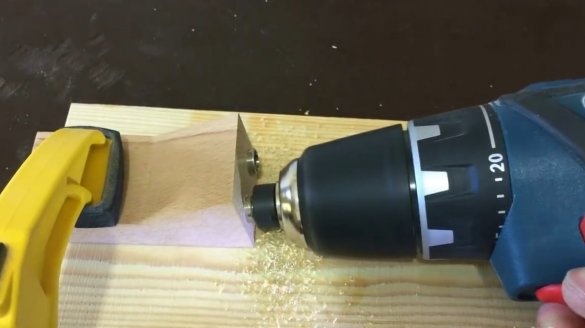
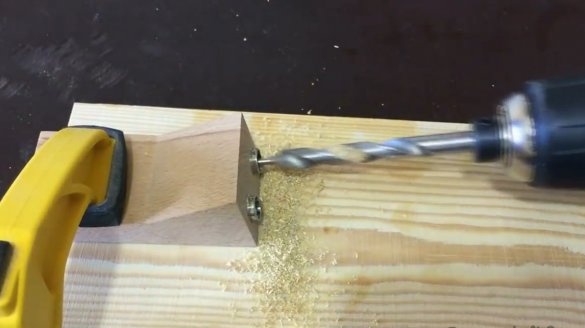
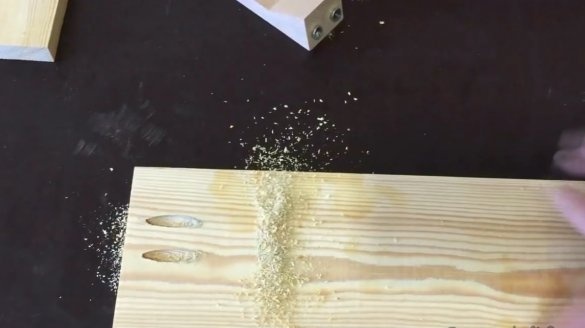
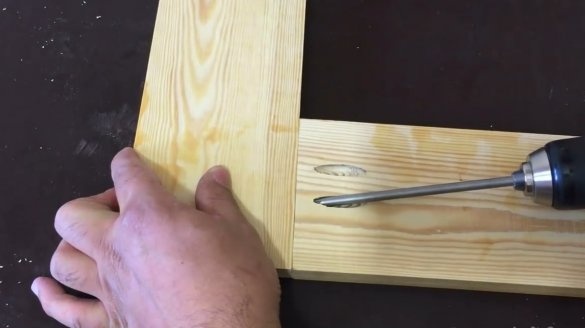
Everything, the tool is ready to work. Presses it to the edge of the board with a clamp, and installs a two-stage drill in the screwdriver. This is a special drill for such holes. It simultaneously makes a hole for a self-tapping screw and a groove for a hat.
If you do not have such a drill, then in this article I have already described a device for double-sided drilling of such holes with drills of various diameters.
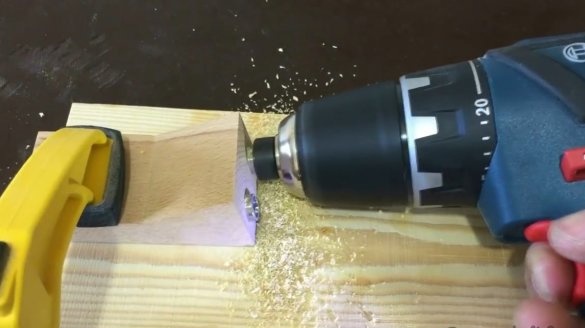
The master begins to drill holes.
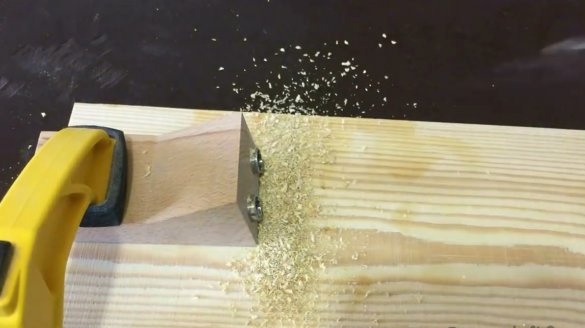
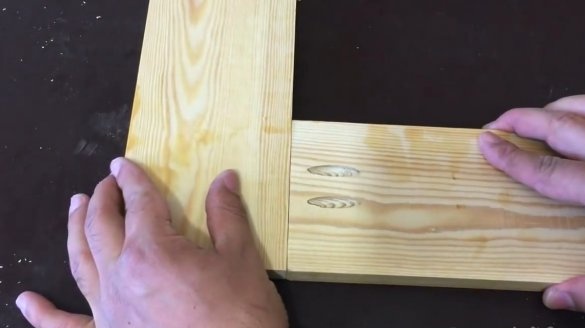
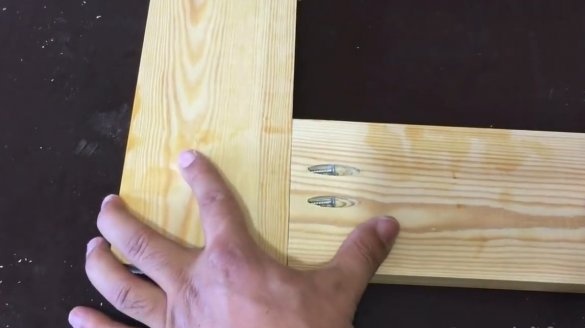
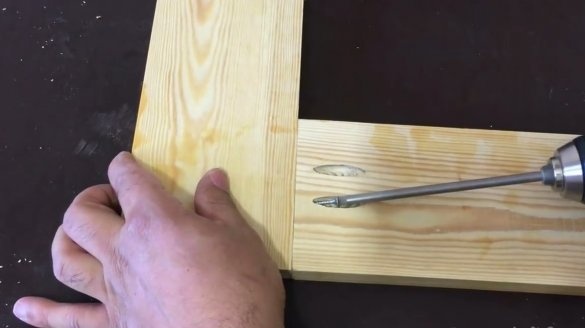
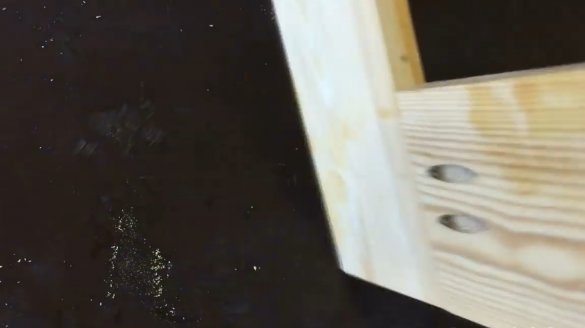
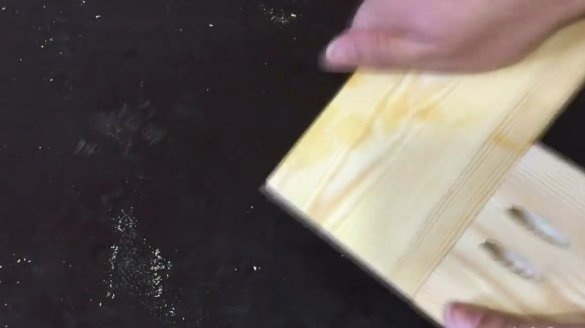
Here are the holes and ready, presses the second to the end of the board, and screw the screws with a long bit.
This connection is very tough.
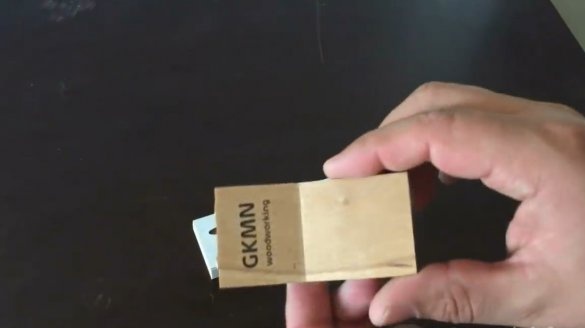
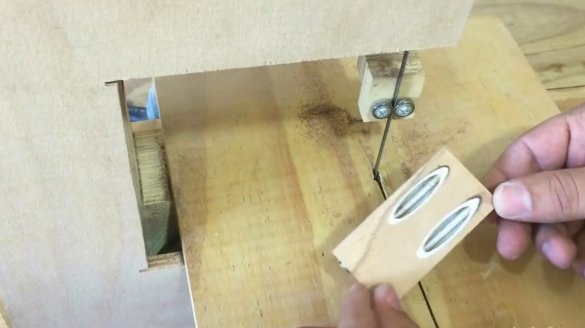
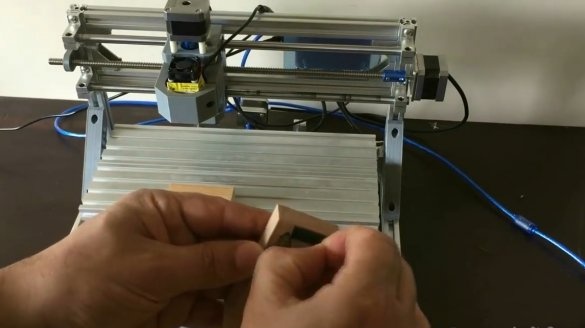
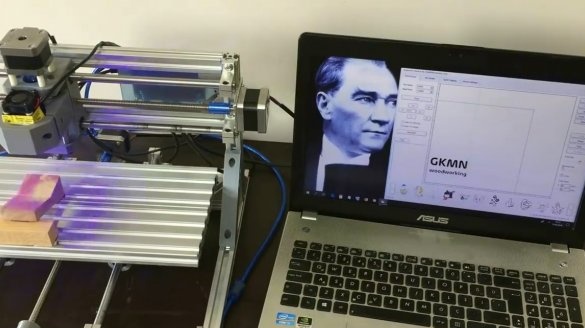
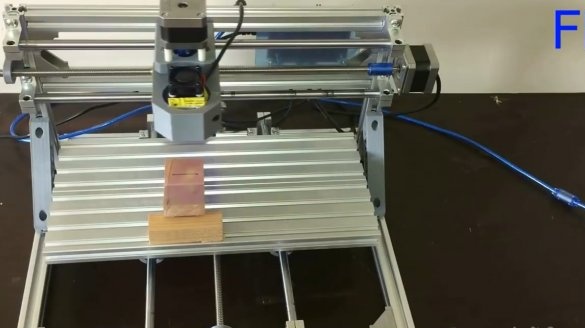
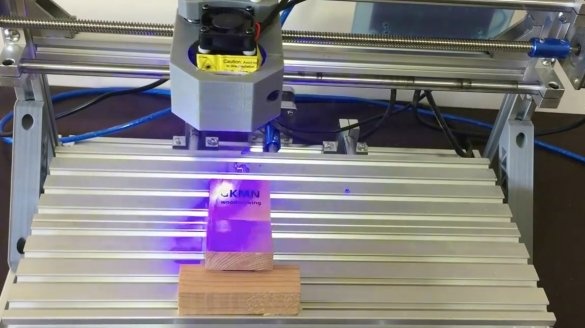
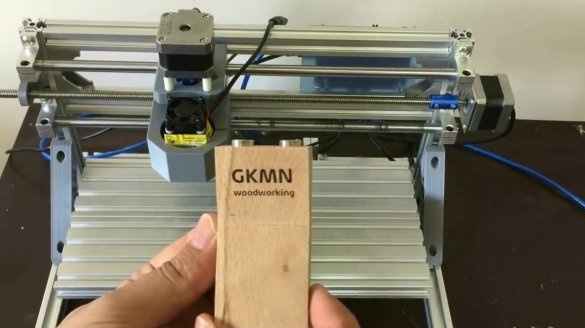
The author has a laser engraving CNC machine, so he puts his logo.
After laser engraving, the resulting device must be impregnated with oil, and then wax. This will give the tree protection against moisture, and a more beautiful appearance.
Thanks to the author for a simple but useful carpentry fixture!
All good mood, good luck, and interesting ideas!

