» Fixtures » Instruments »Do-it-yourself linear laser pointer

Do-it-yourself linear laser from a pointer

Hello dear readers and the inhabitants of our site!
In this article, the author of the YouTube channel "jisaku-kobo" will tell you how to make very useful out of a regular laser module or pointer device for home and workshop.

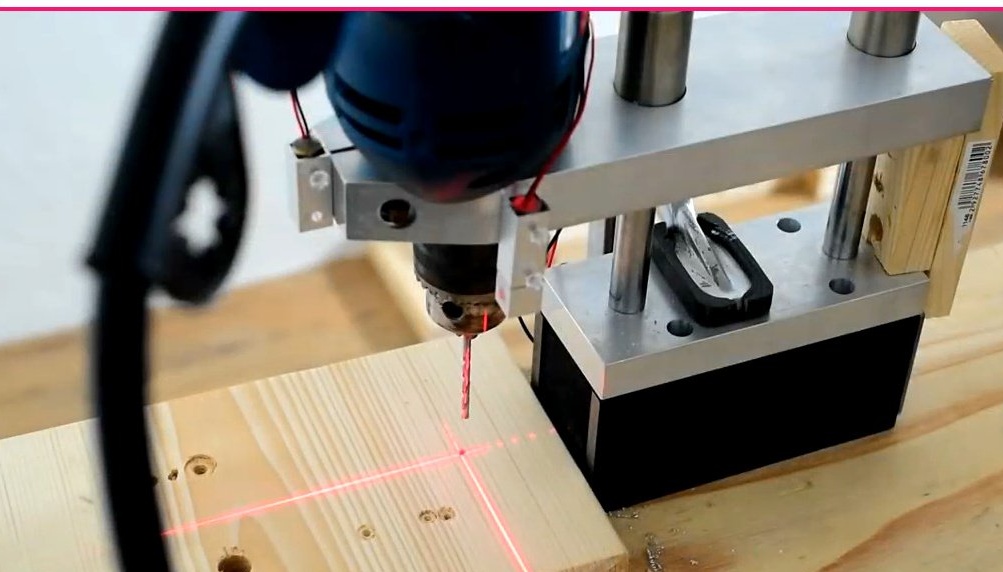
This simple design will make a point laser linear.


With its help, it will be possible to make linear pointers for various machines, which will greatly facilitate the work.
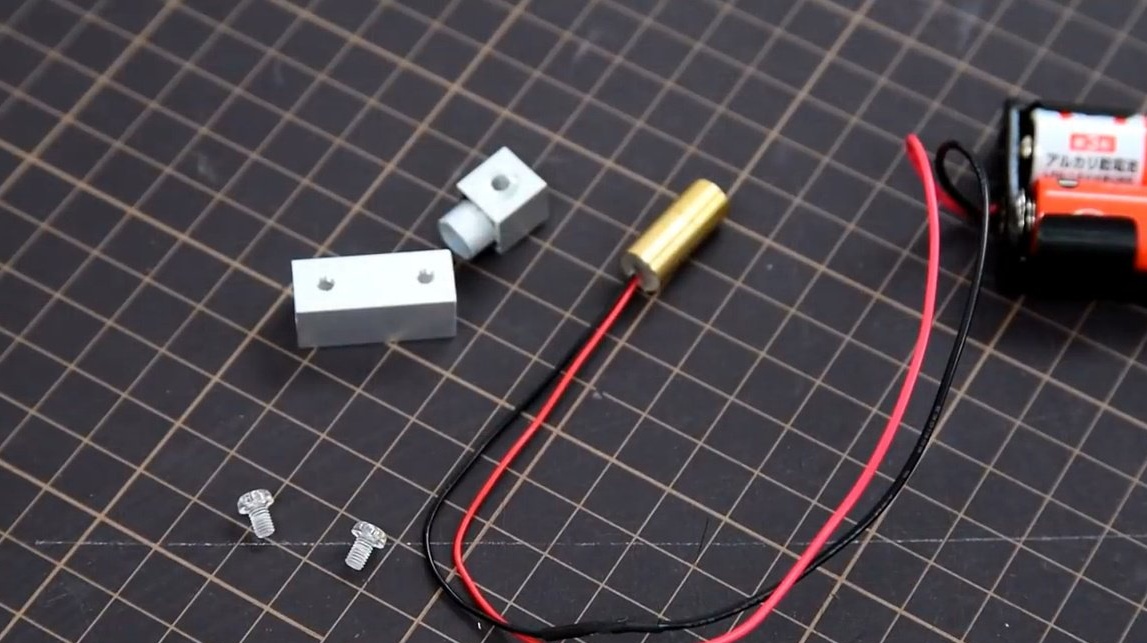
Materials
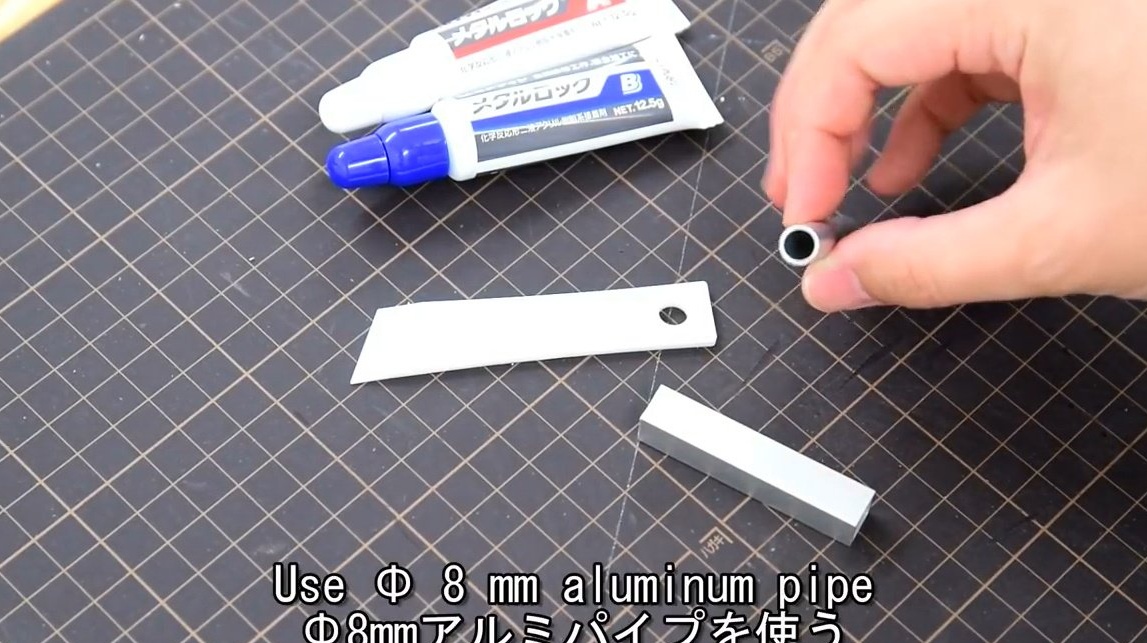
- Aluminum tube with an external diameter of 8 mm and a wall thickness of 1 mm
- Profile aluminum pipe 10X10 mm, wall thickness 1 mm
- Laser module
- Plastic bolts
- Holder for two finger batteries
- Heat shrink tube, solder
- Two-component epoxy resin
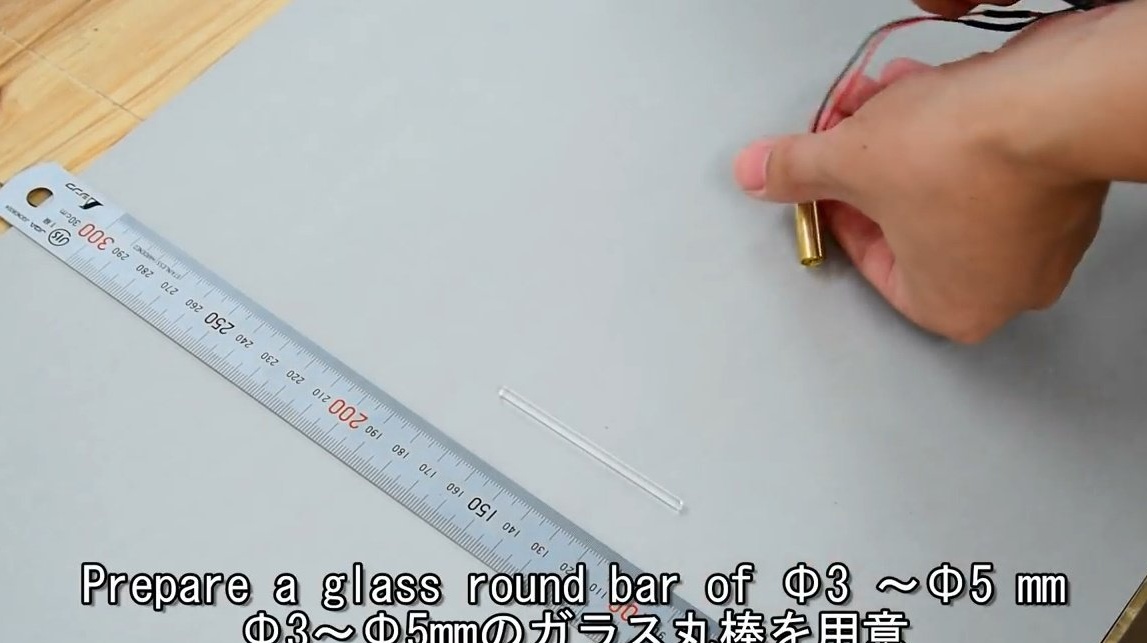
- Glass round bar with a diameter of 3-5 mm
- masking tape
- Two AA batteries.

Instruments, used by the author.
- soldering iron
- A small circular saw, or a hacksaw for metal
- clamp
- Flat and Phillips screwdrivers
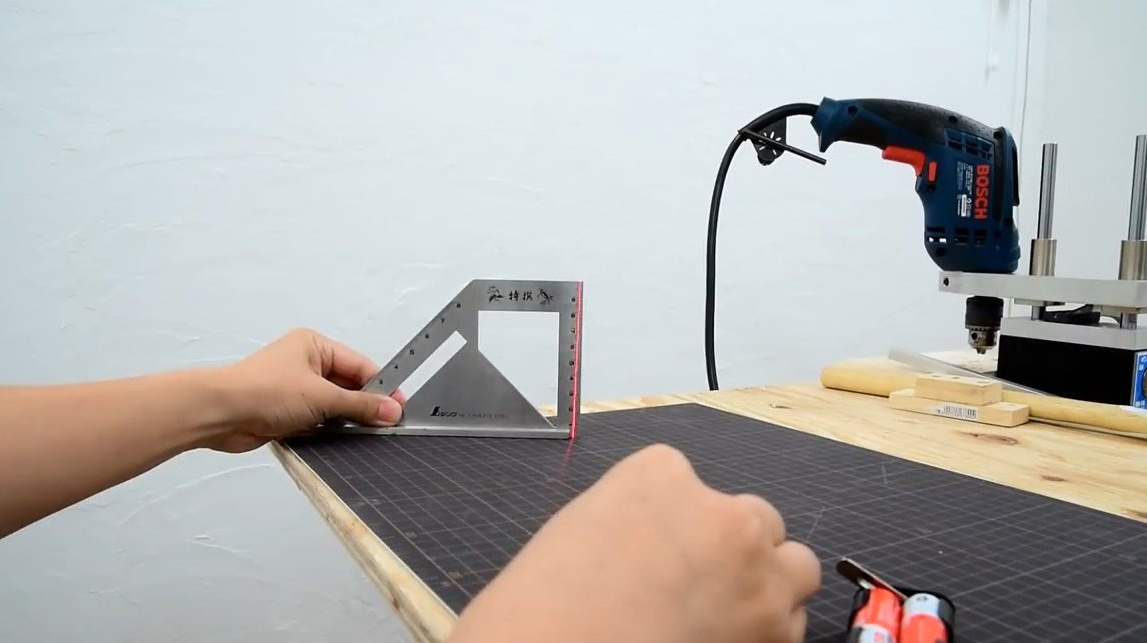
- Drilling machine
- Square
- tap
- Diamond file.

Manufacturing process.
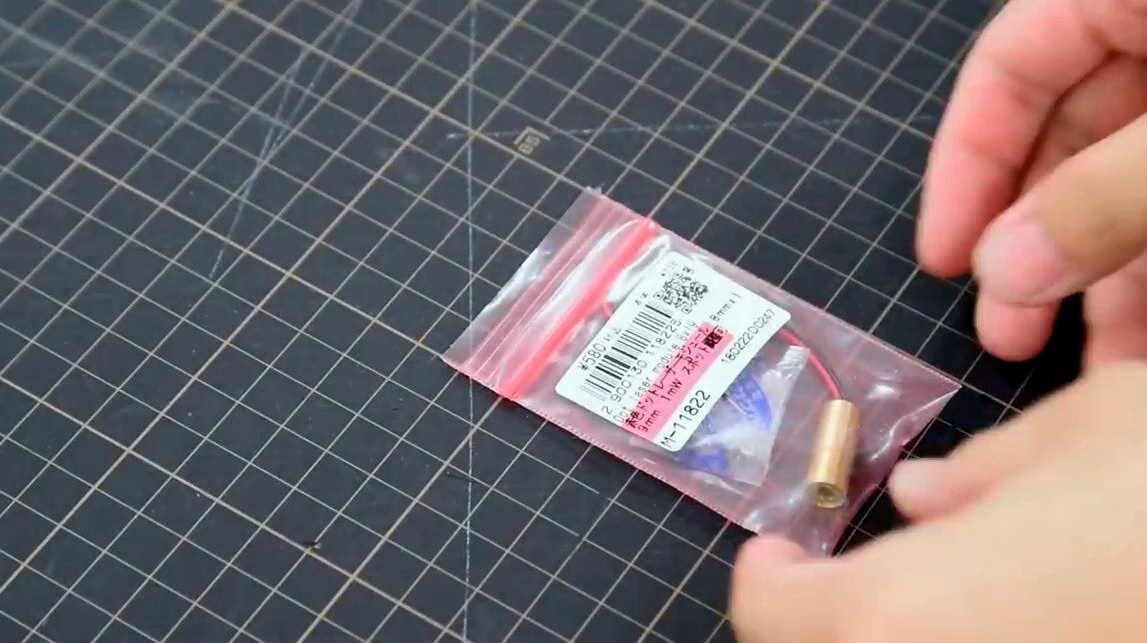
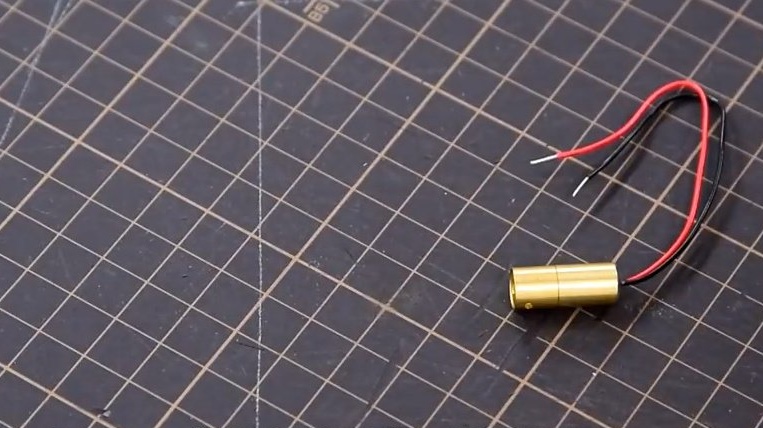
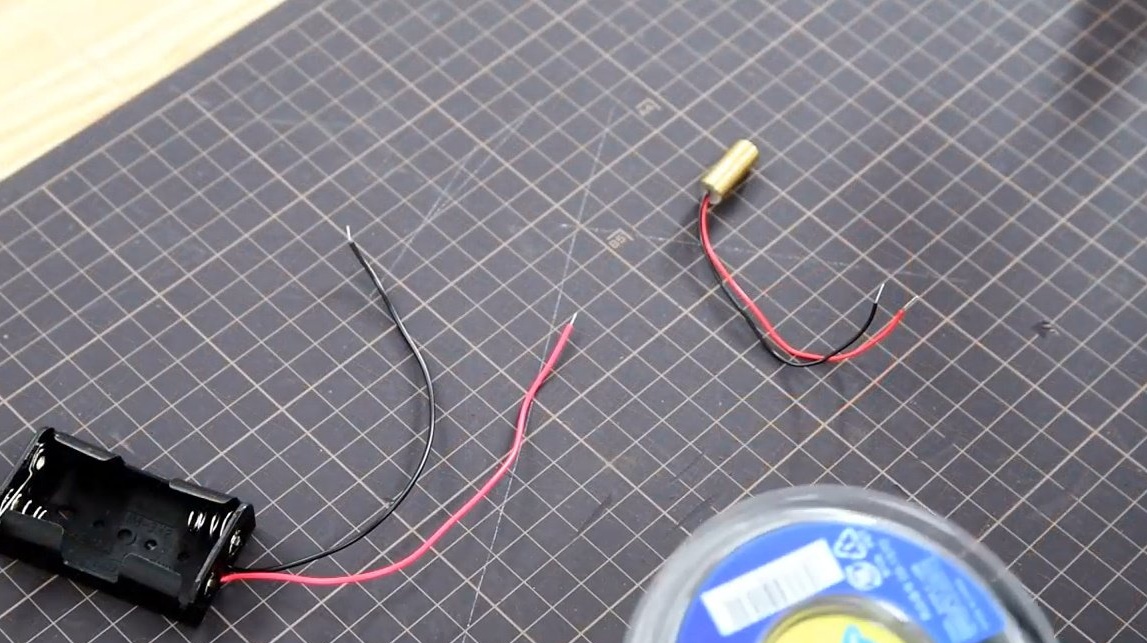
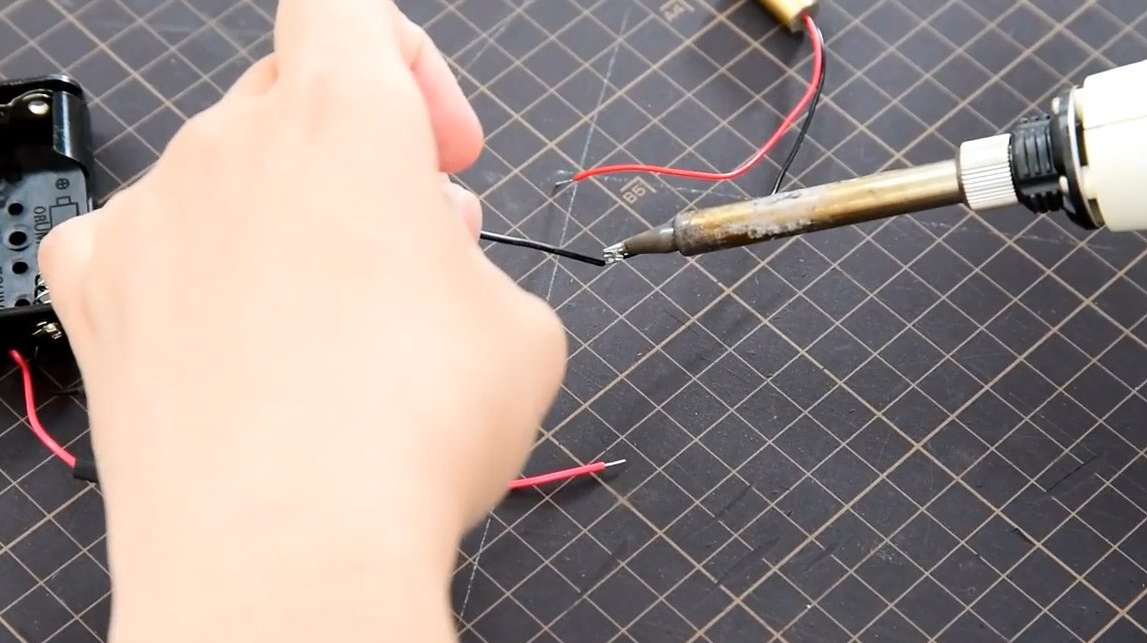
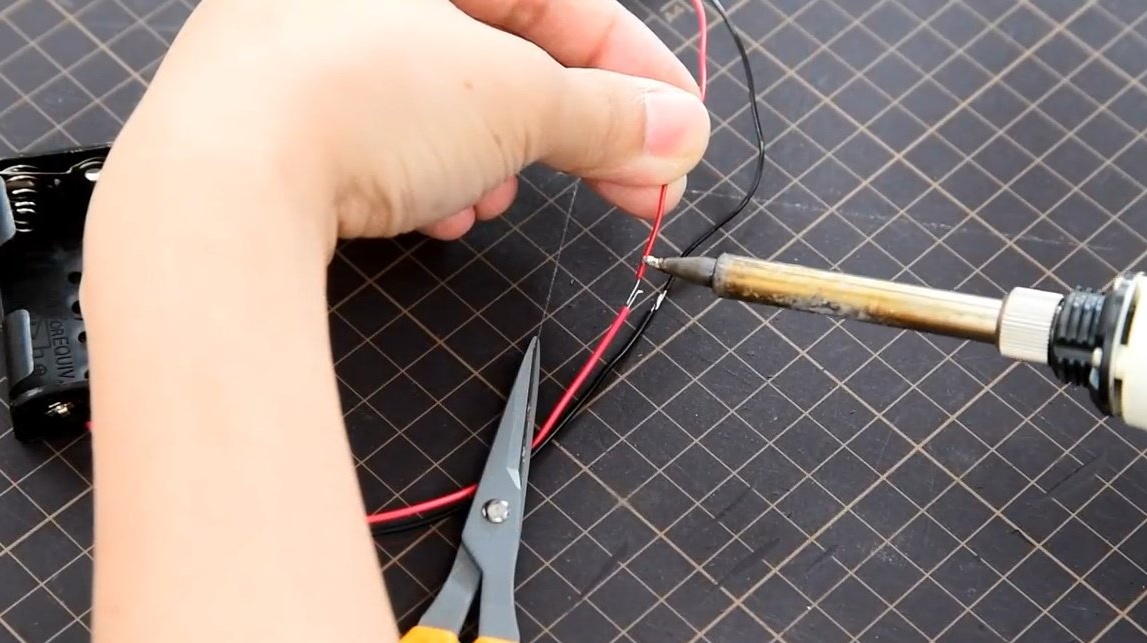
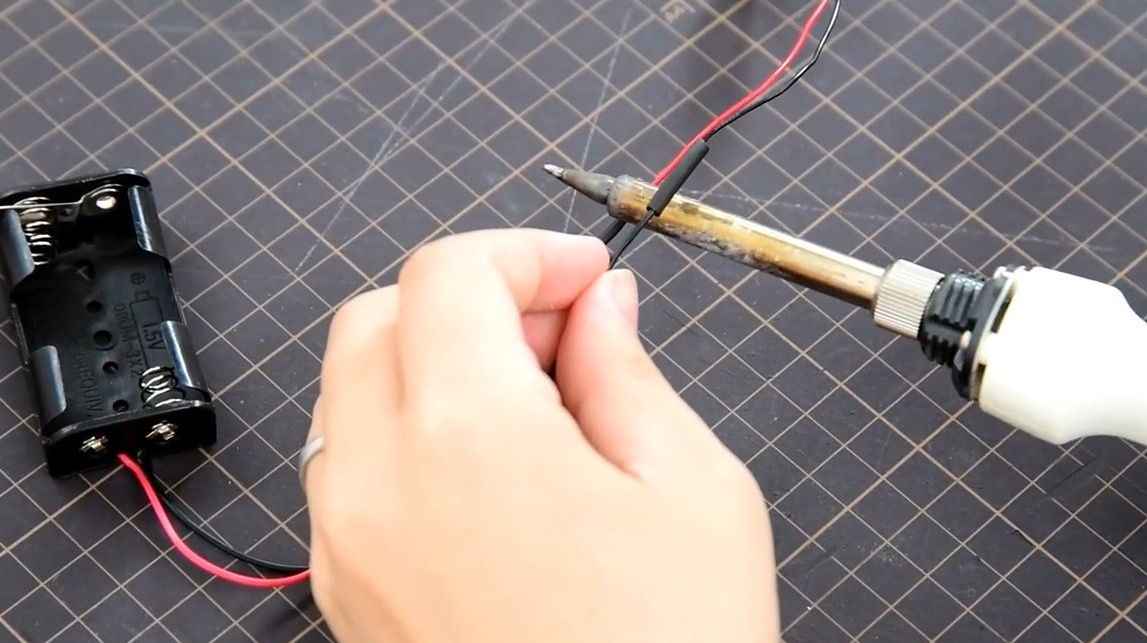
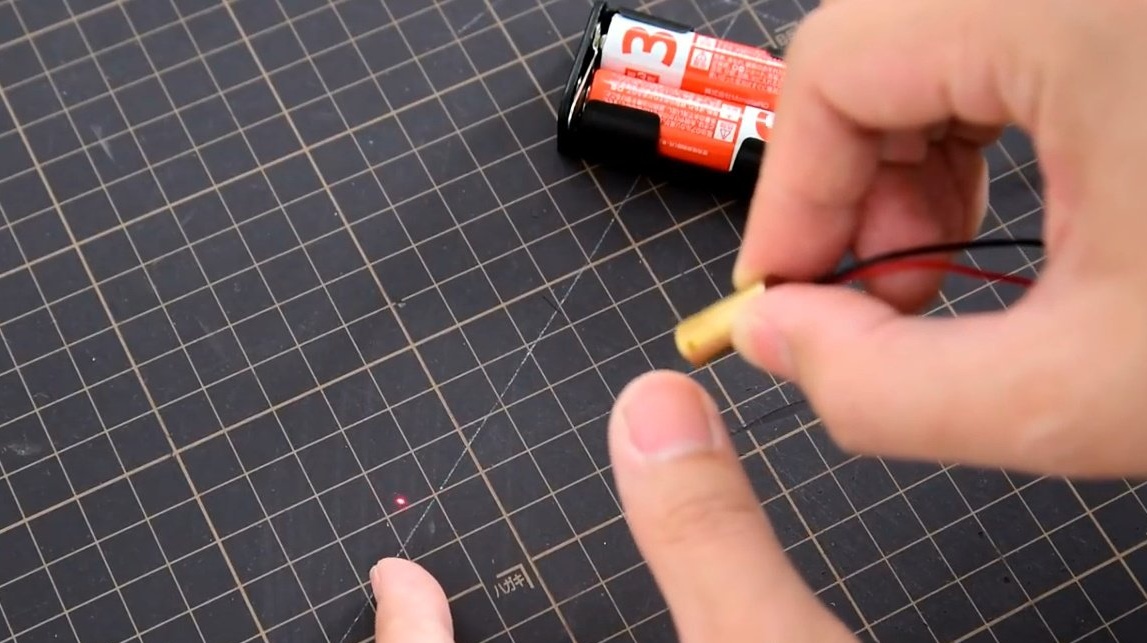
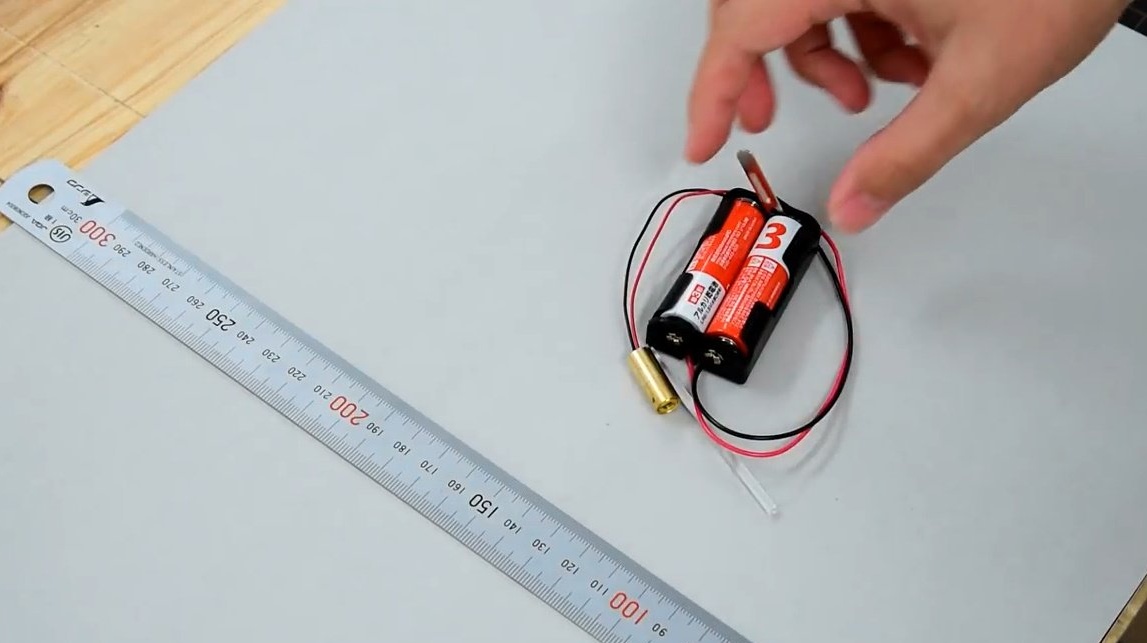
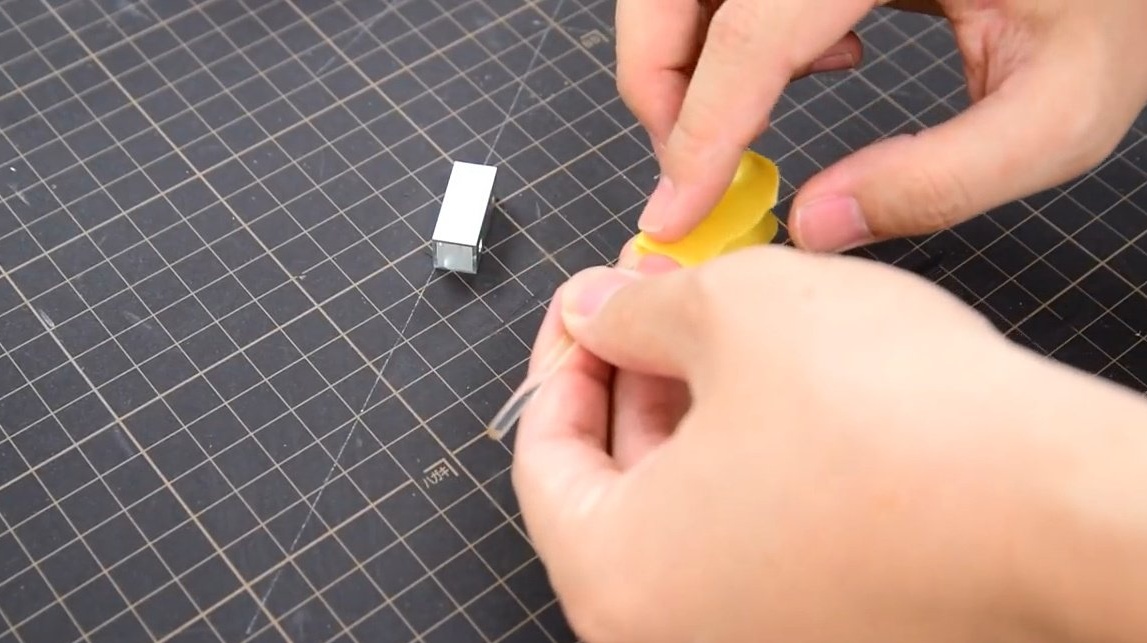
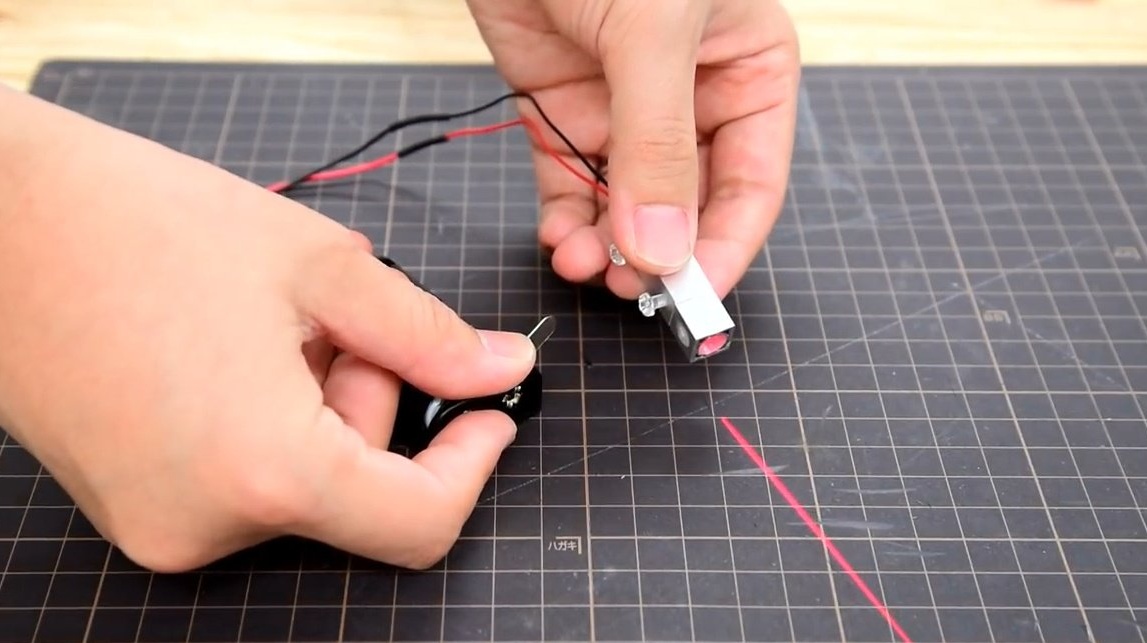
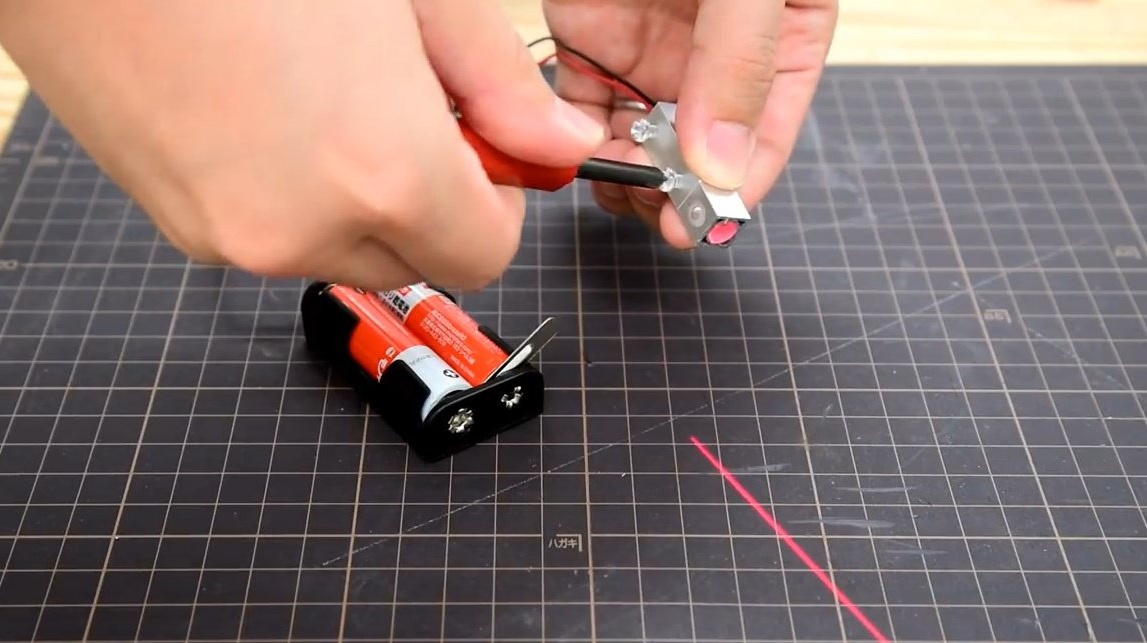
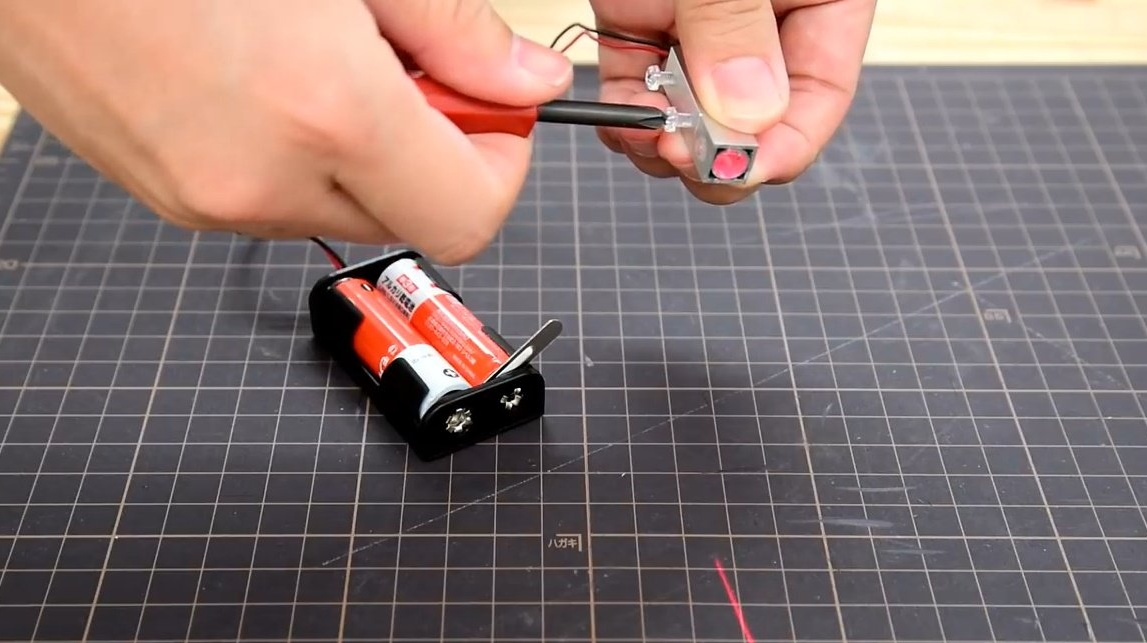
So, the author acquired a laser module with a wavelength of 580 nm, and a battery compartment.


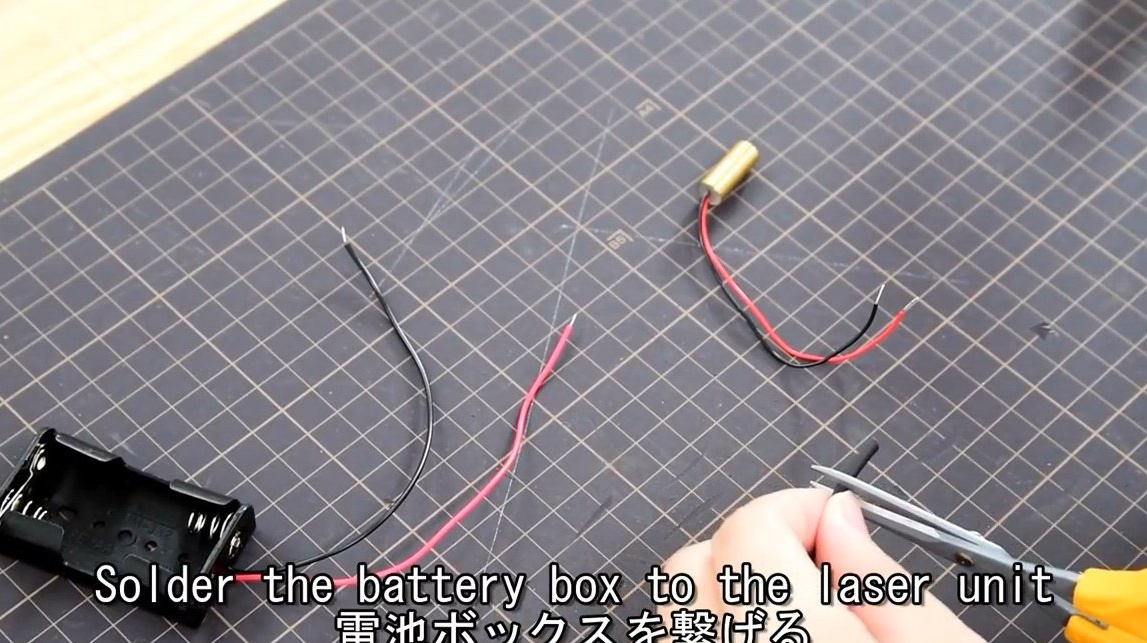
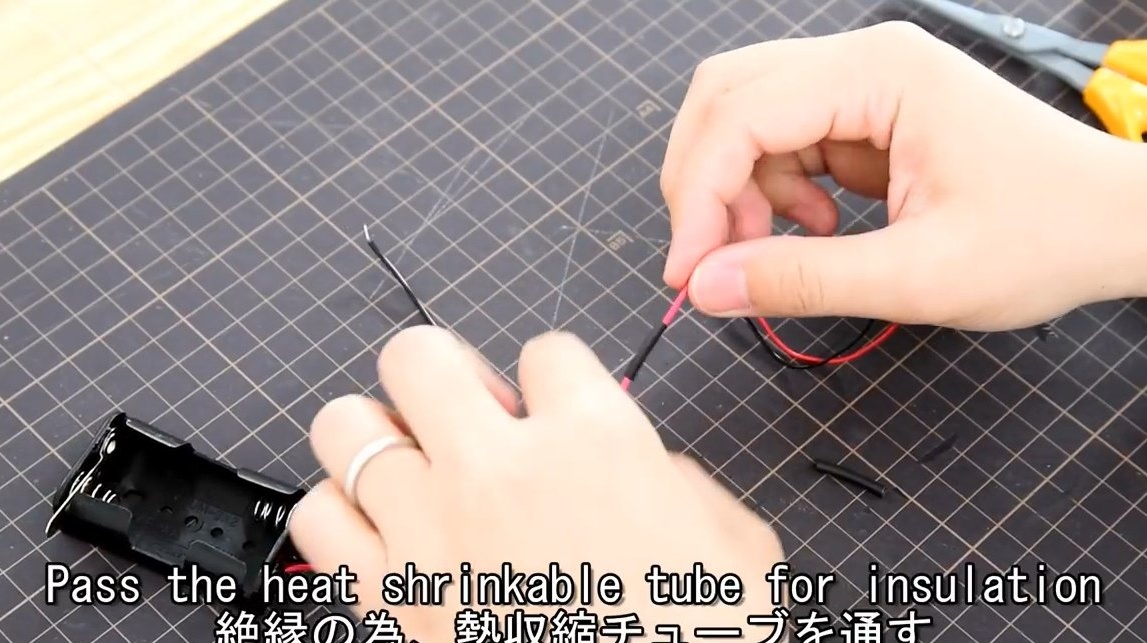
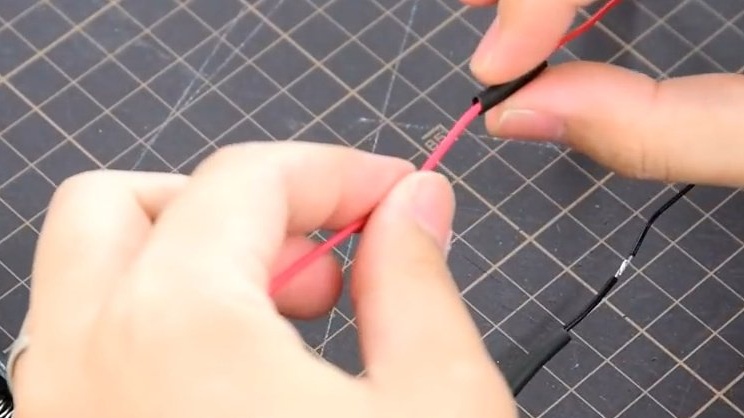
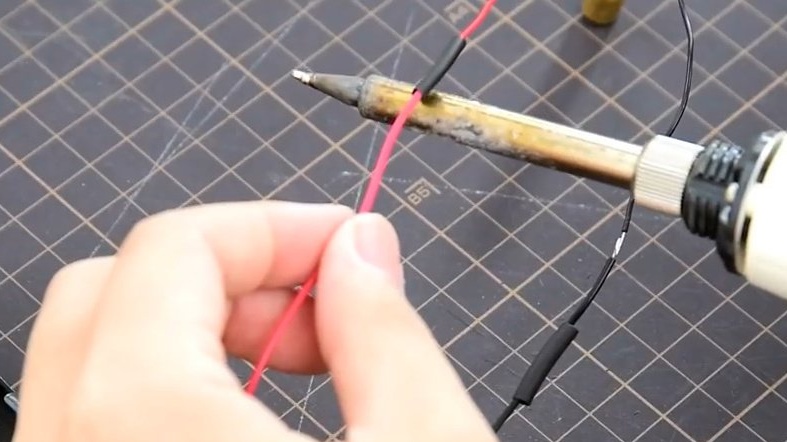
Then he cut the heat shrink tube and put it on the wires. Then he disappeared the joints, moved the tubes on them, and heated them for shrinkage.


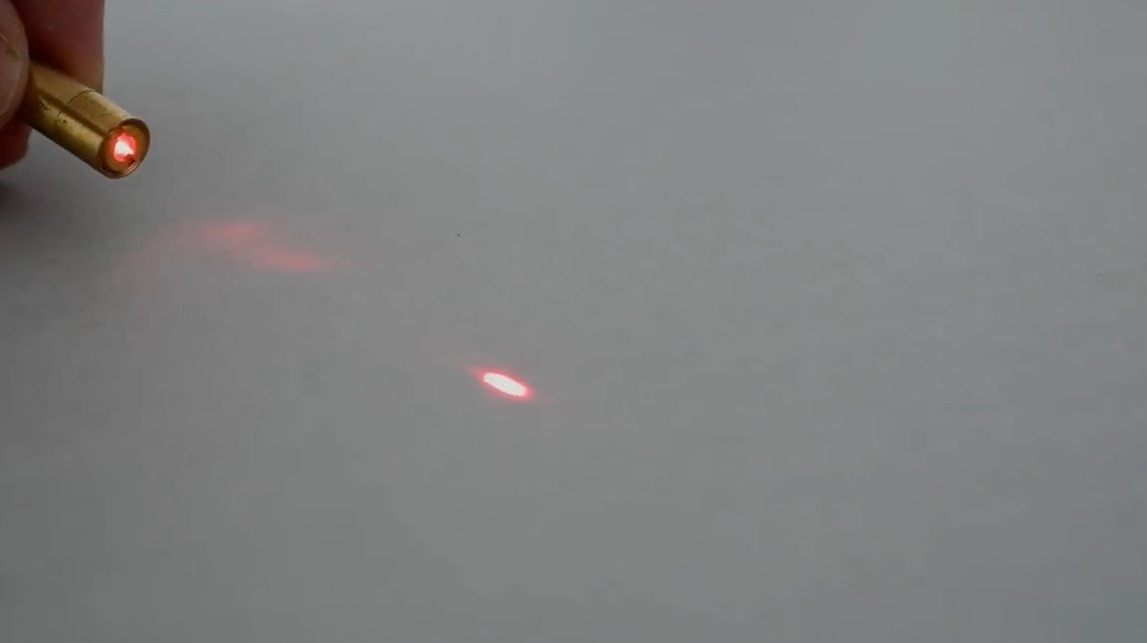
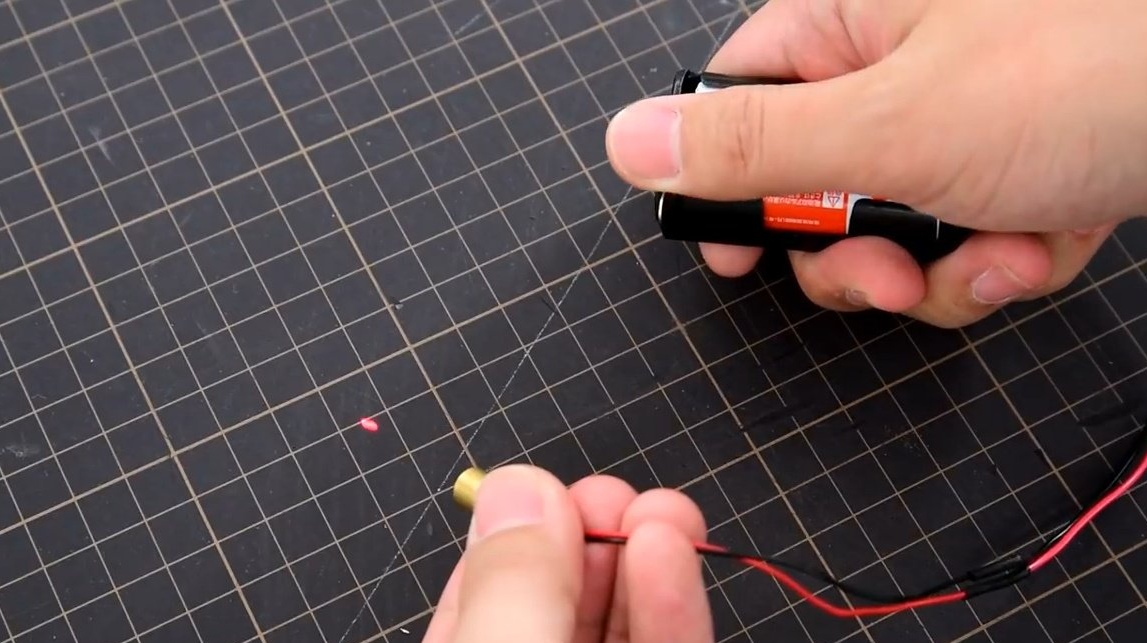
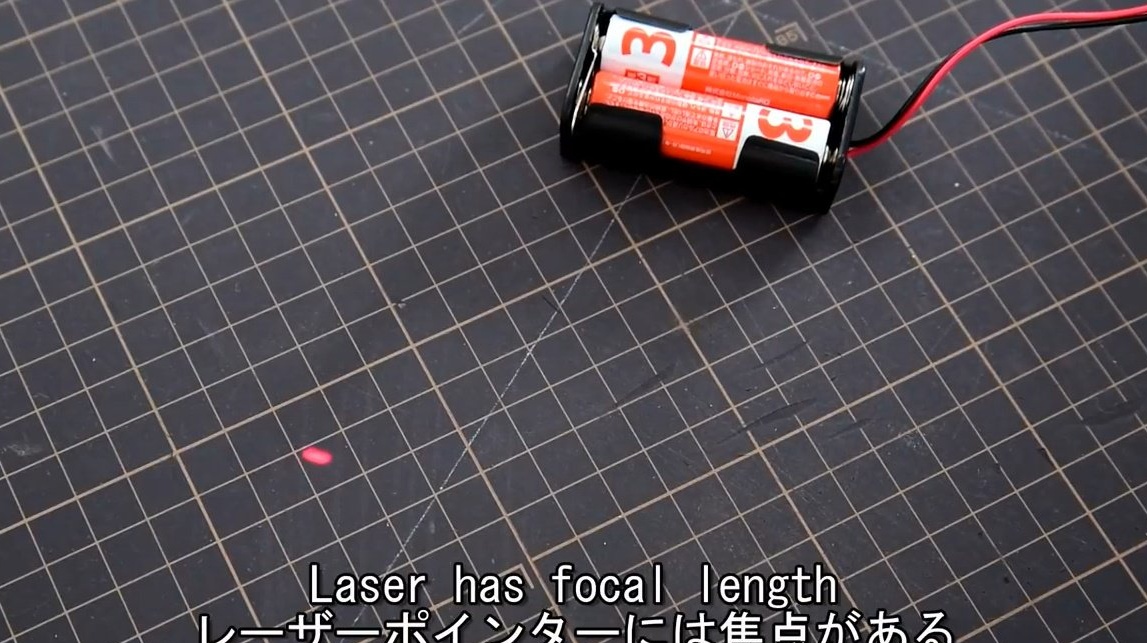
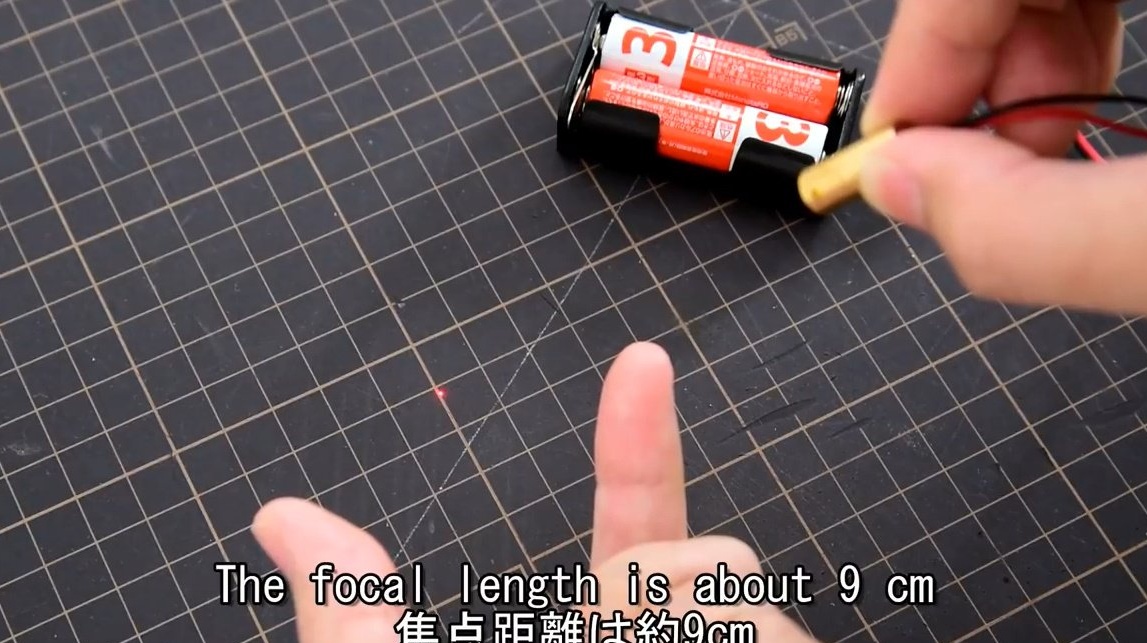
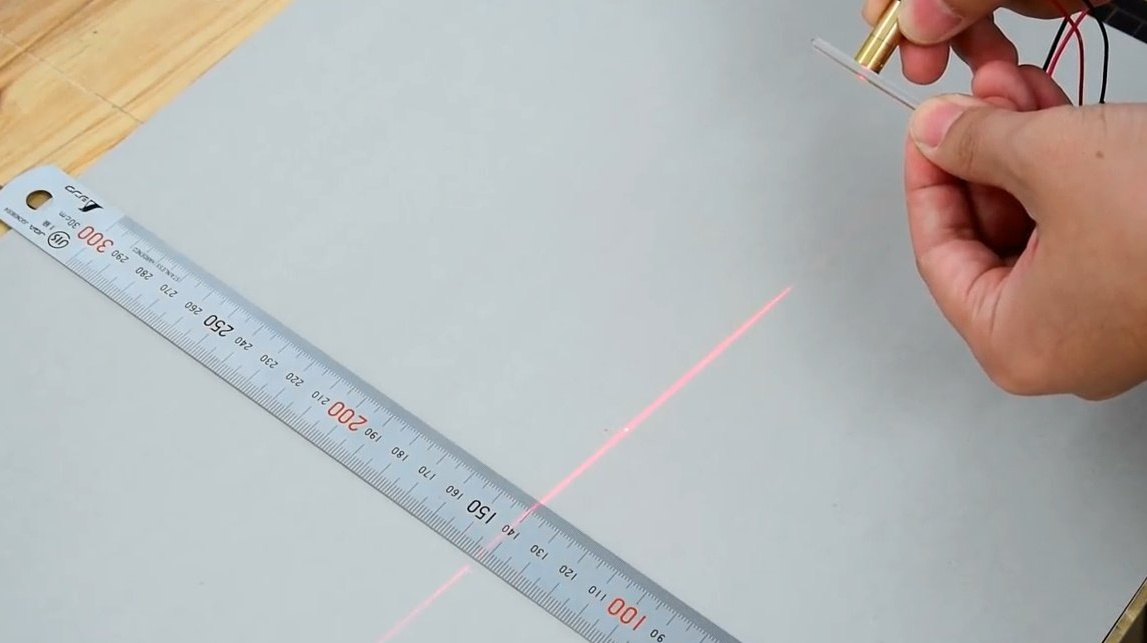
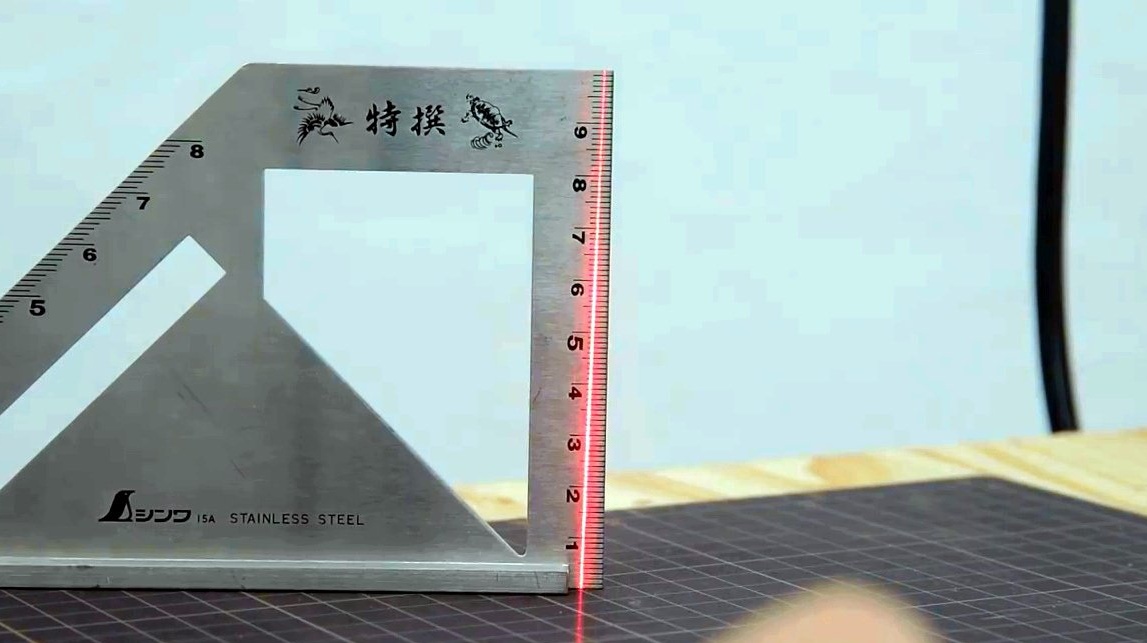
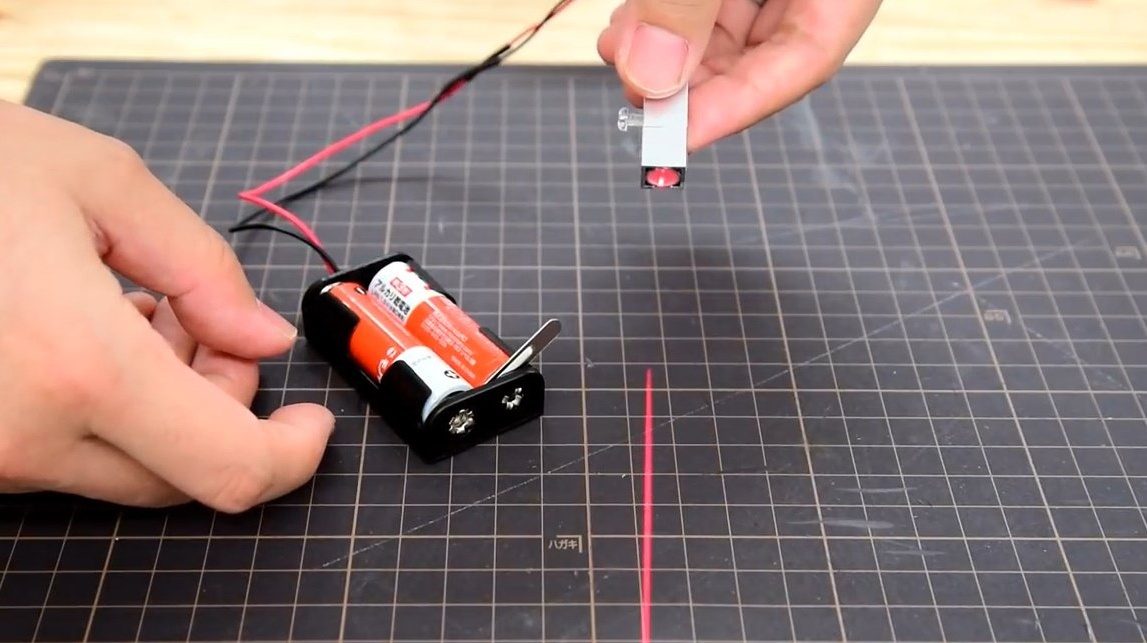
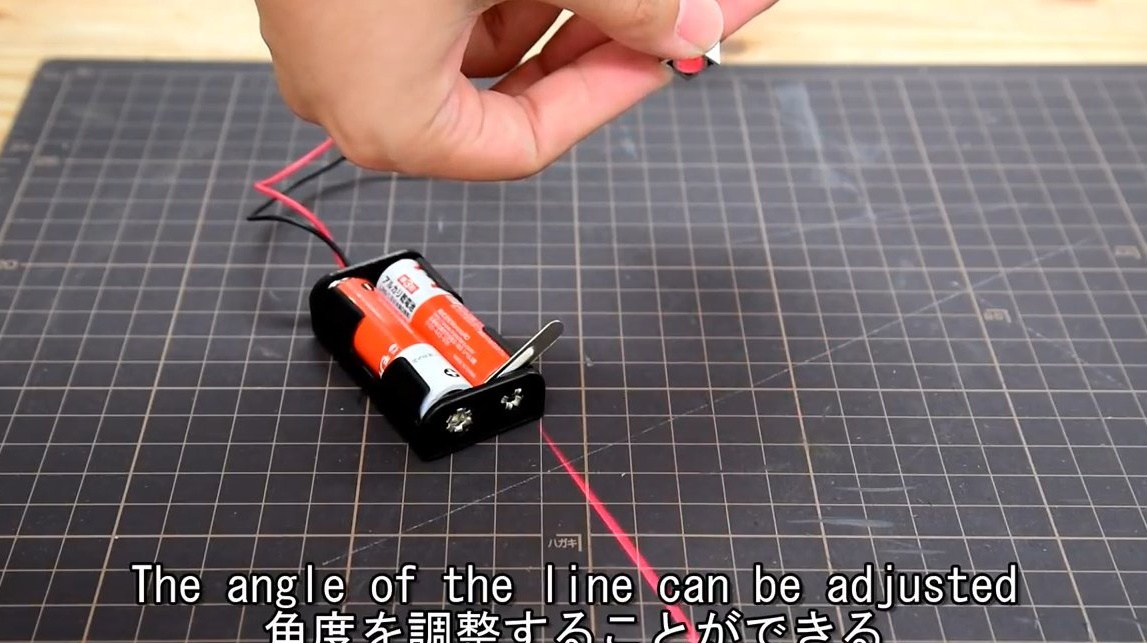
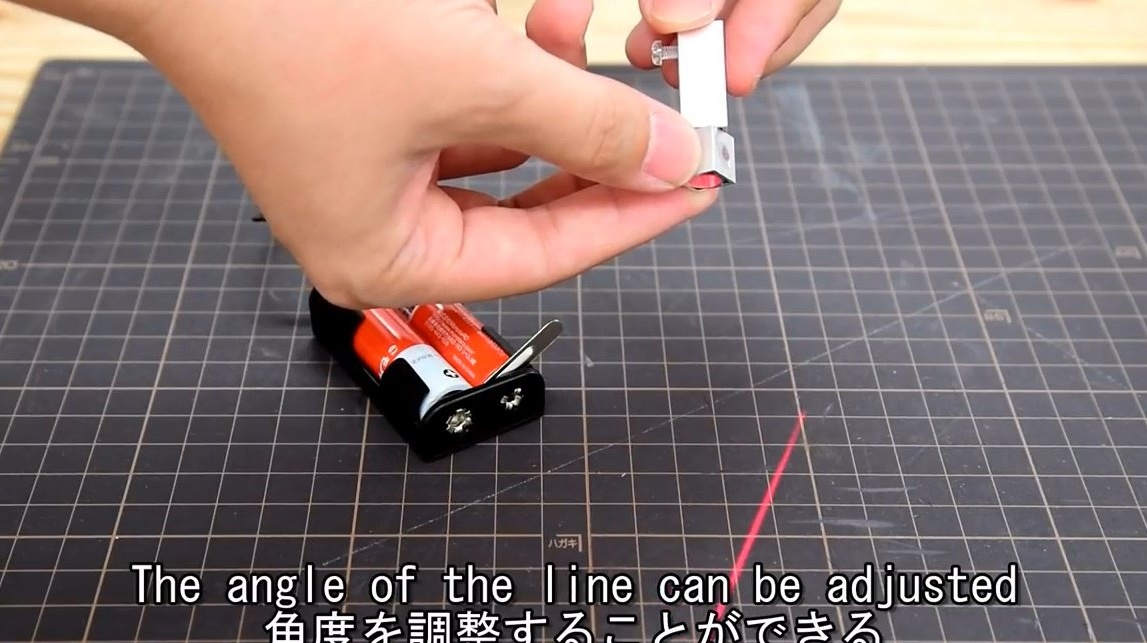
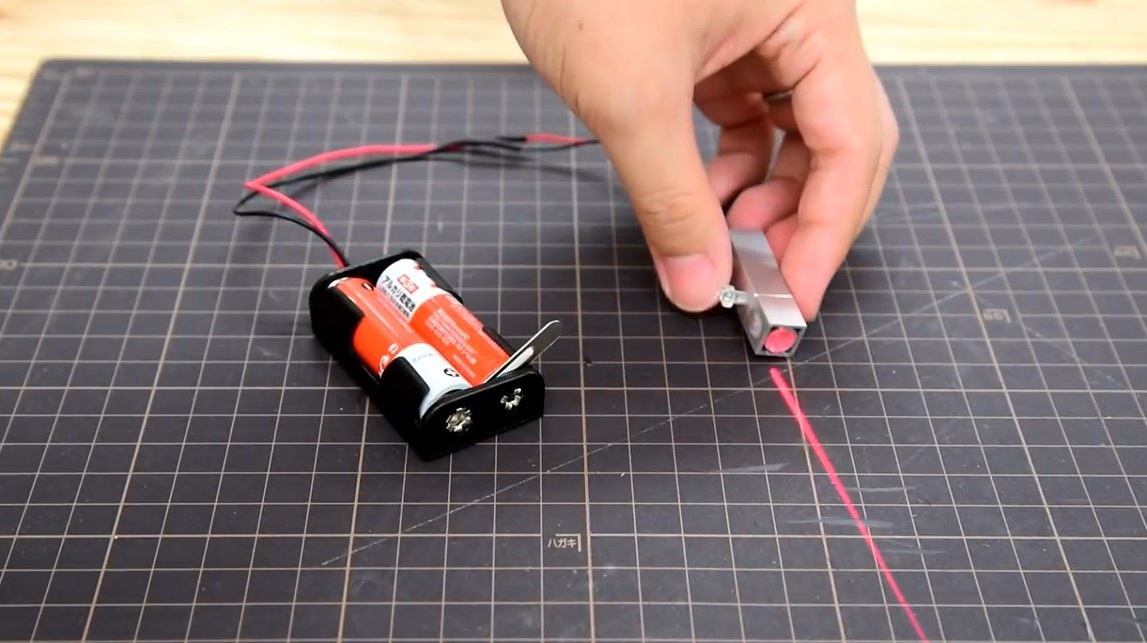
I installed the batteries and turned on the laser. As you can see, the focal length of the module is about 9 cm.


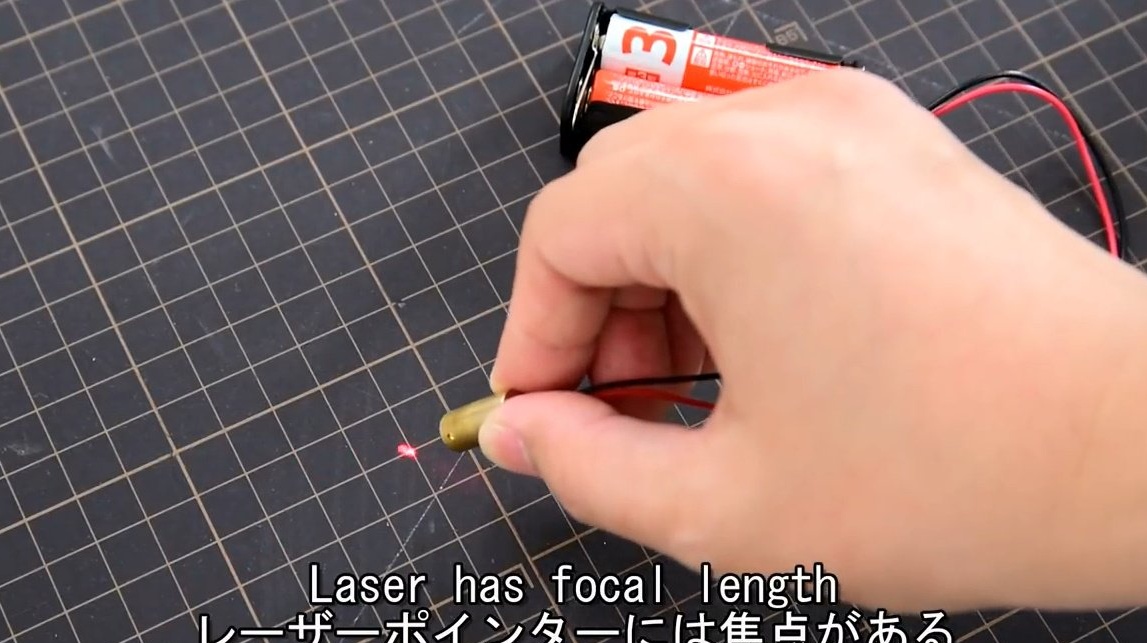
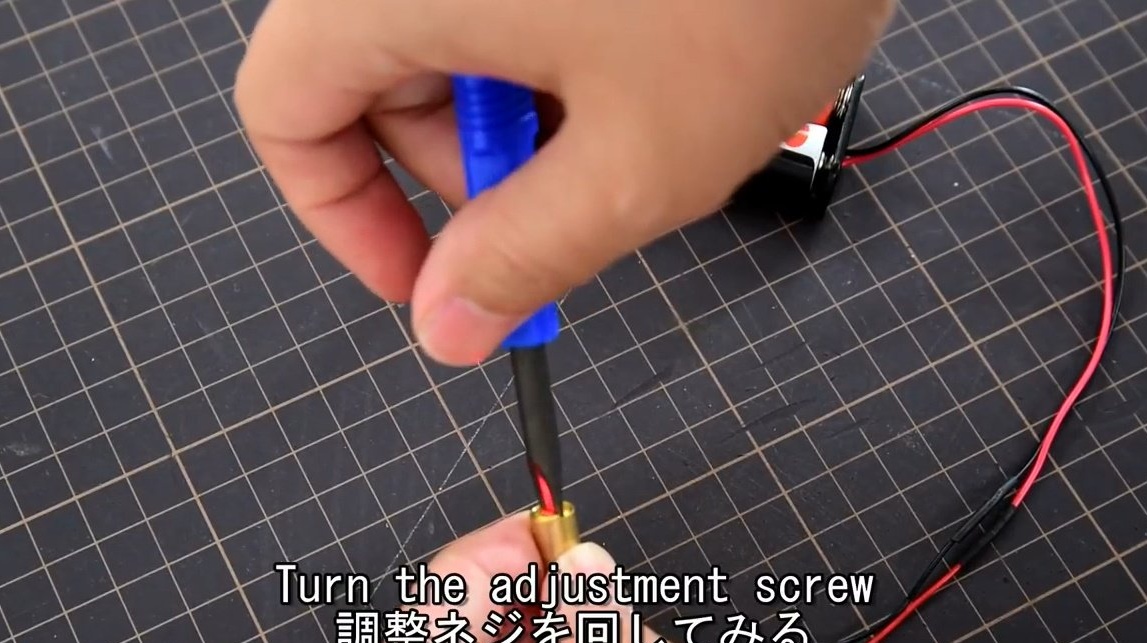
Turning the adjusting screw, the author changes the focal length to 4 cm.


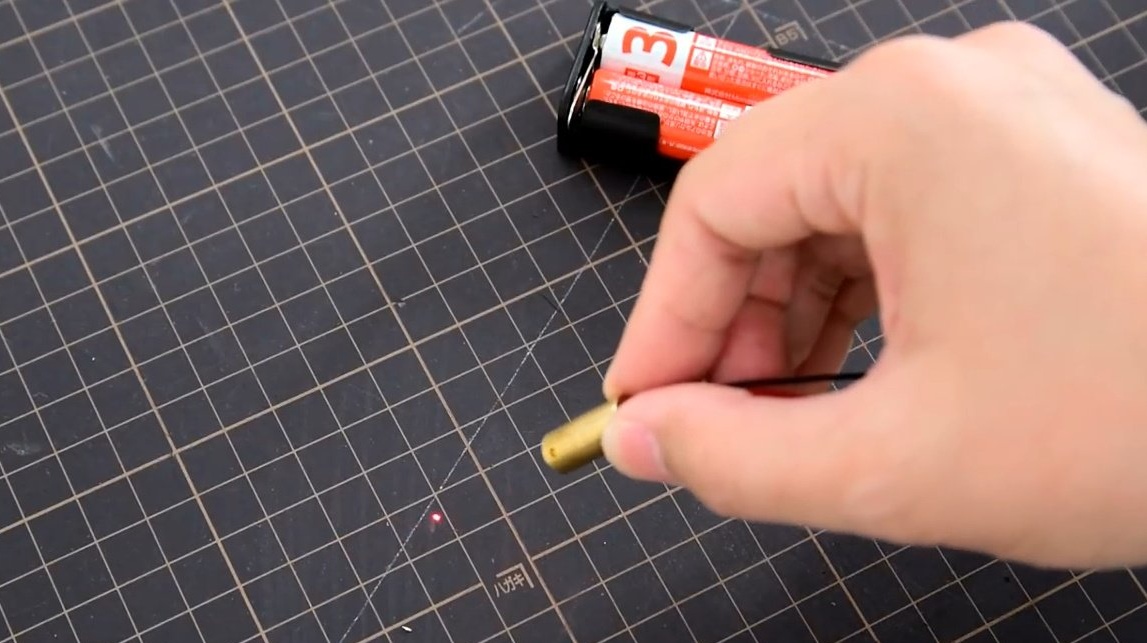
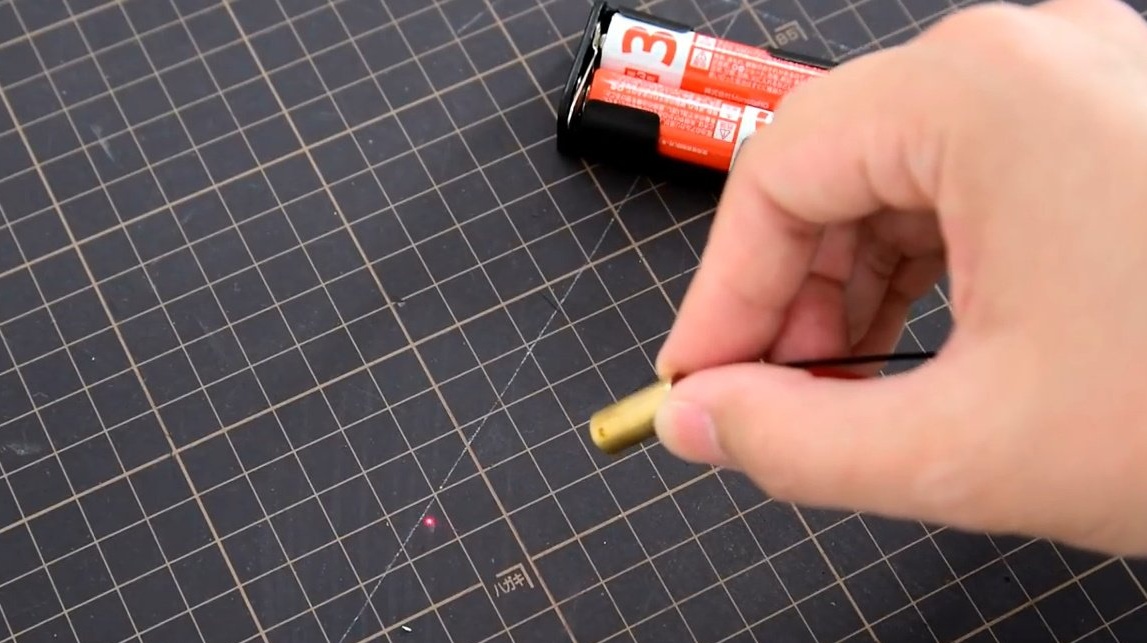
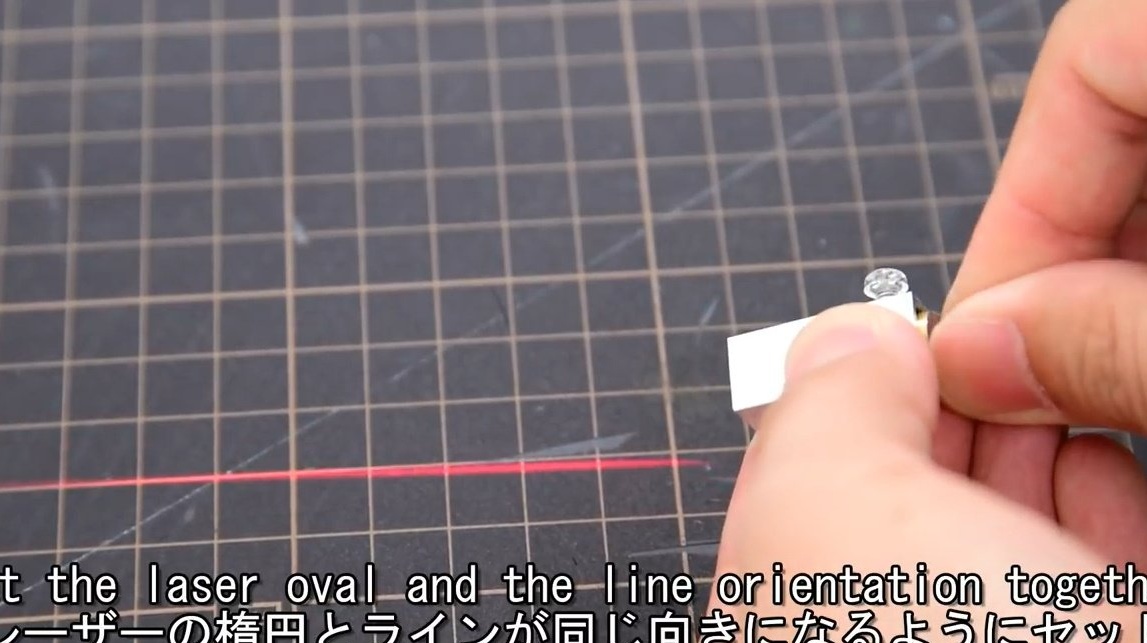
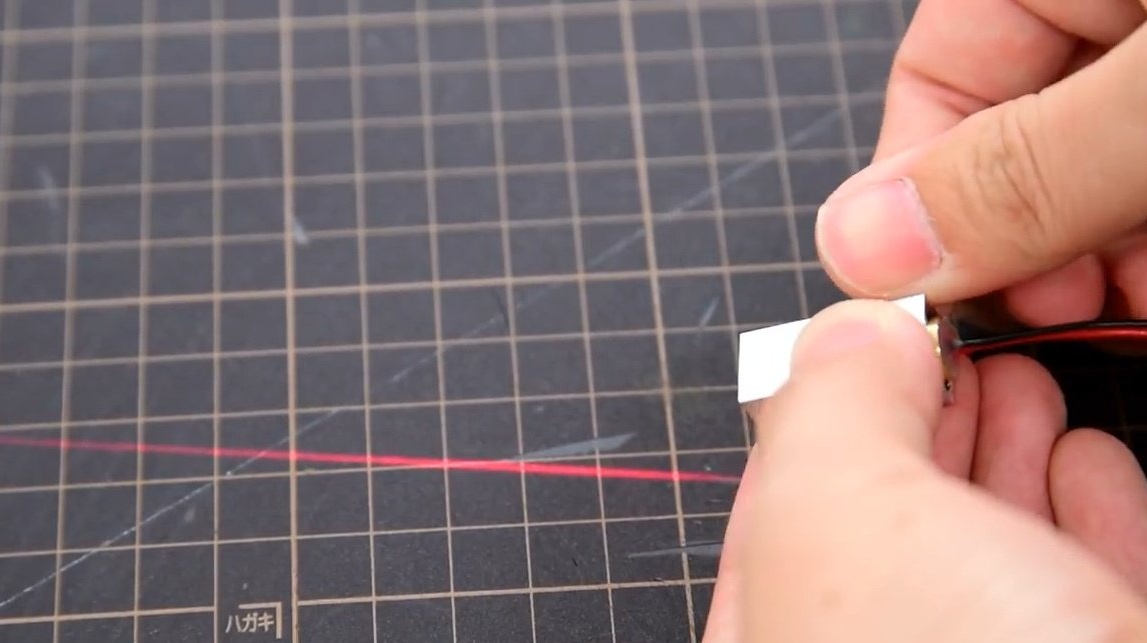
As you can see, the spot from the beam has an elliptical elongated shape, you need to make a mark on the module so that when assembling this spot lies perpendicular to the glass rod. This is important for getting a straight line.


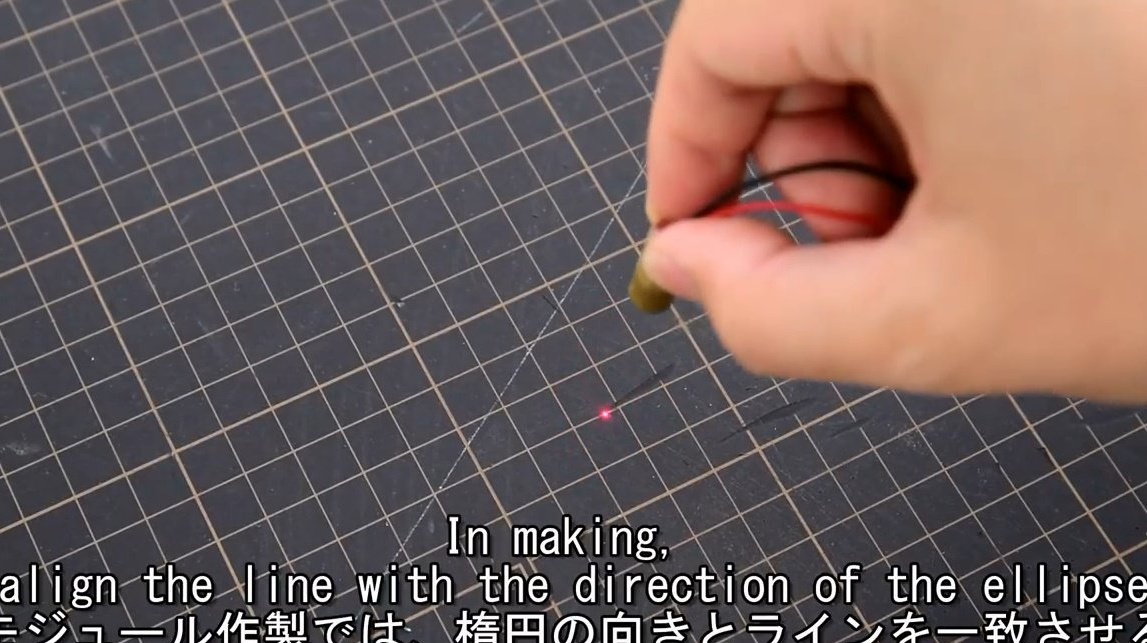
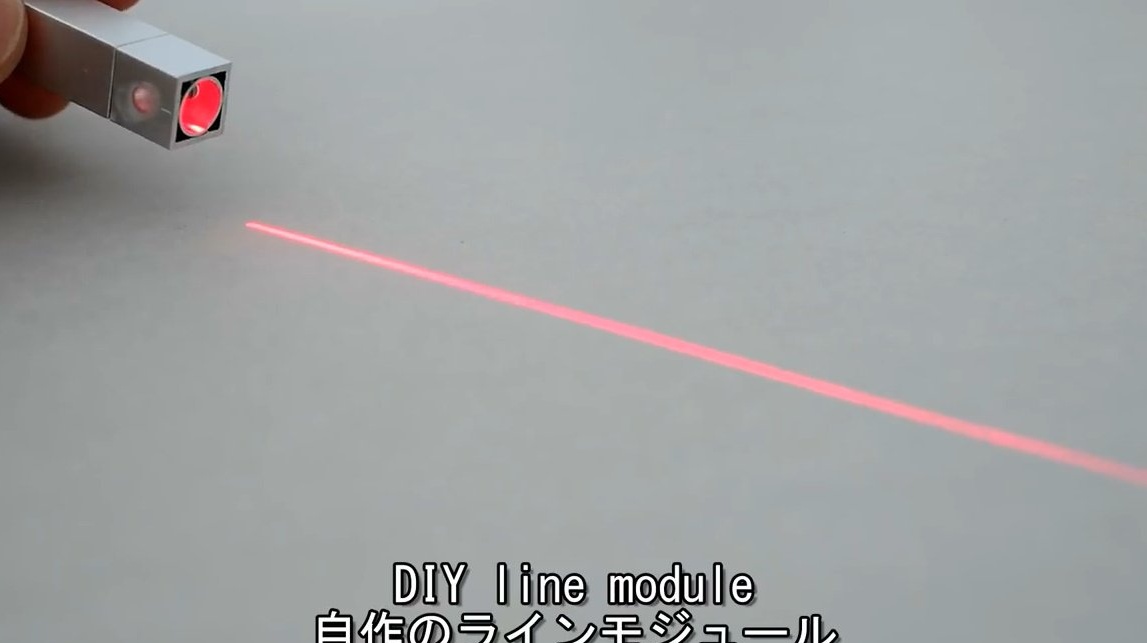
Now the master rests the glass tube against the end of the pointer, and instead of a point, a very clearly visible, bright line appears.


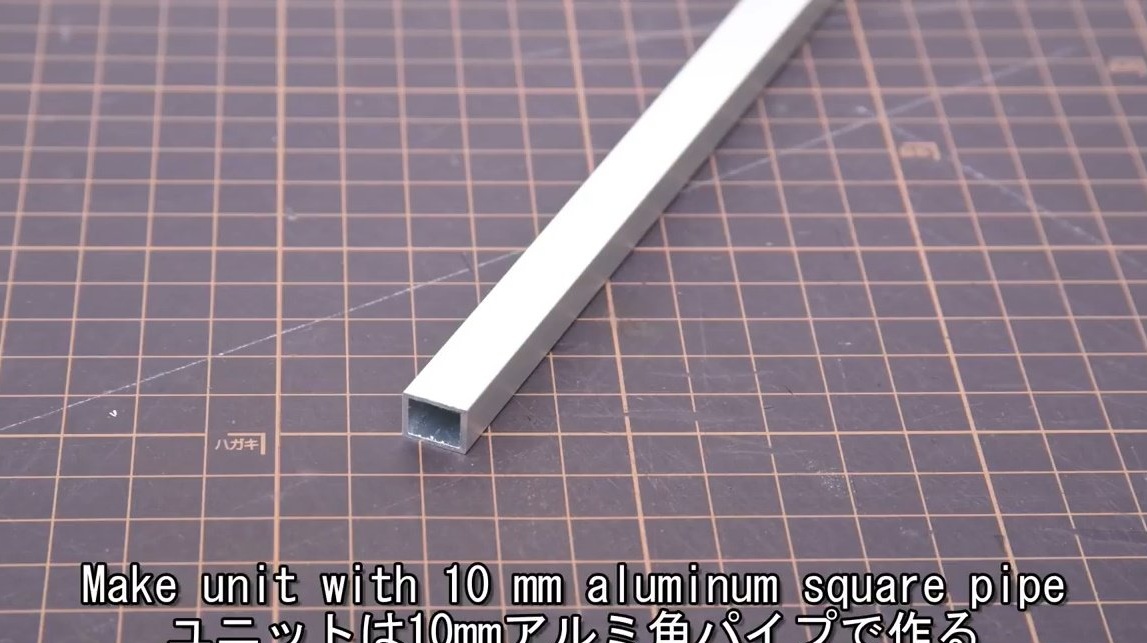
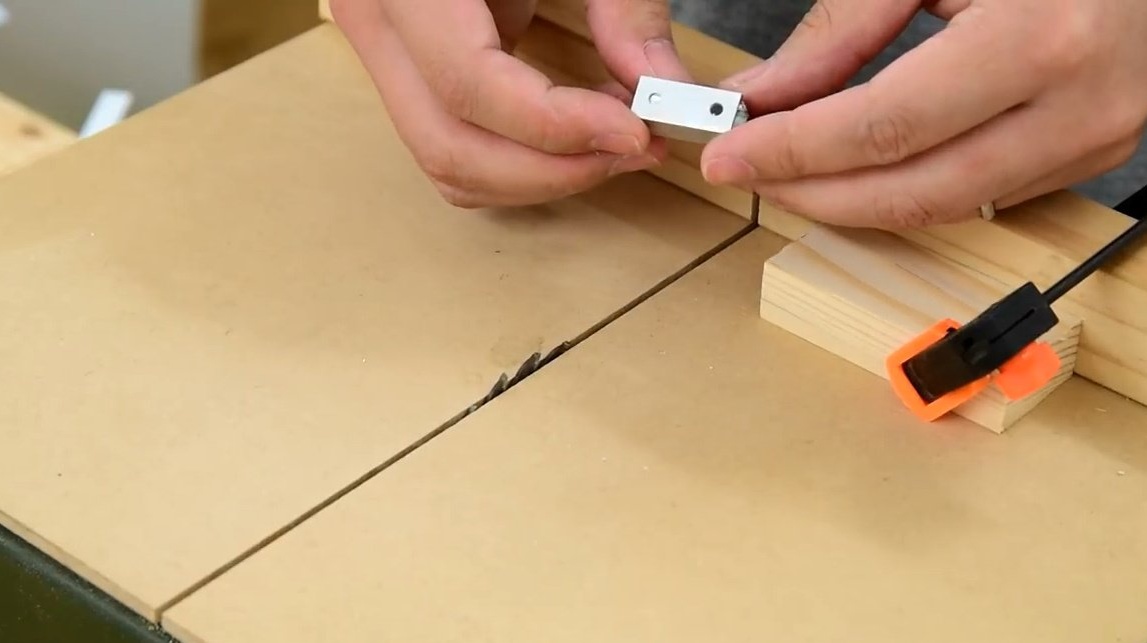
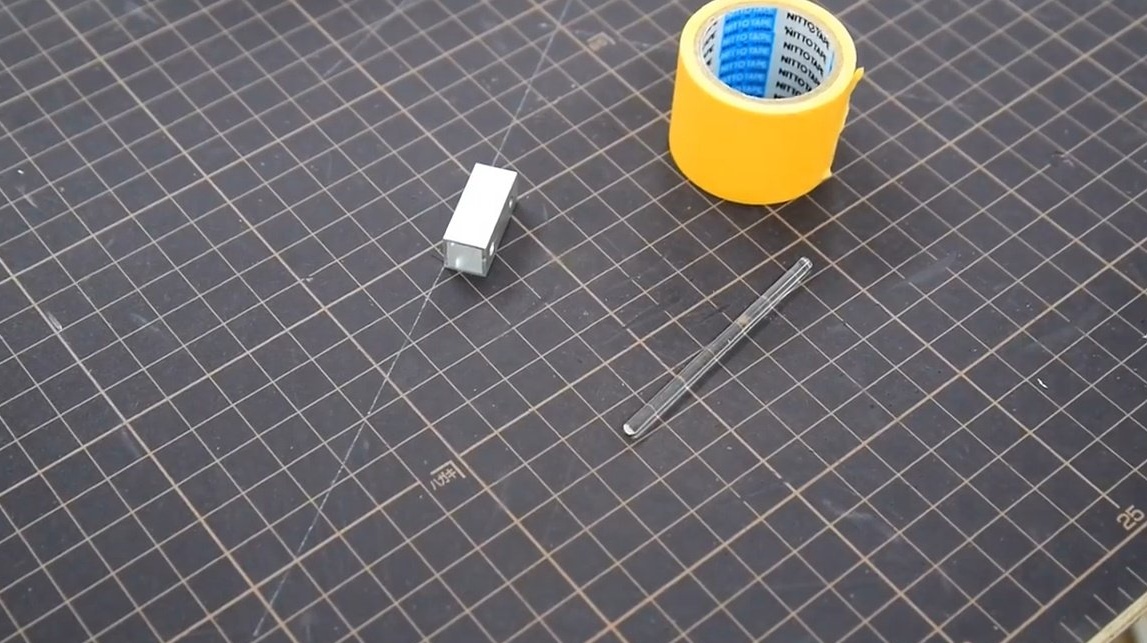
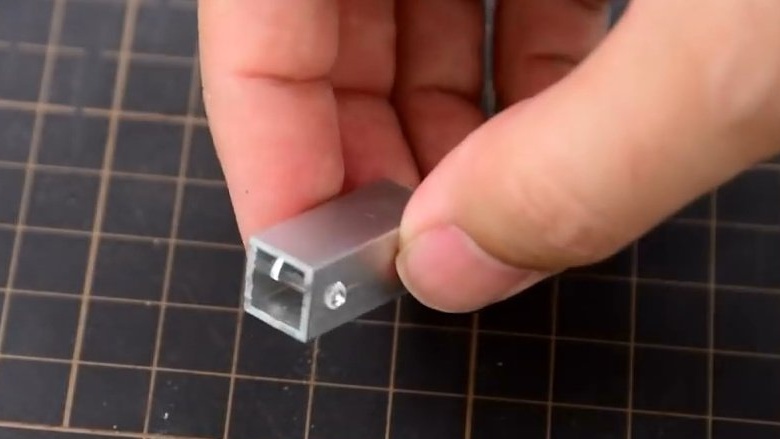
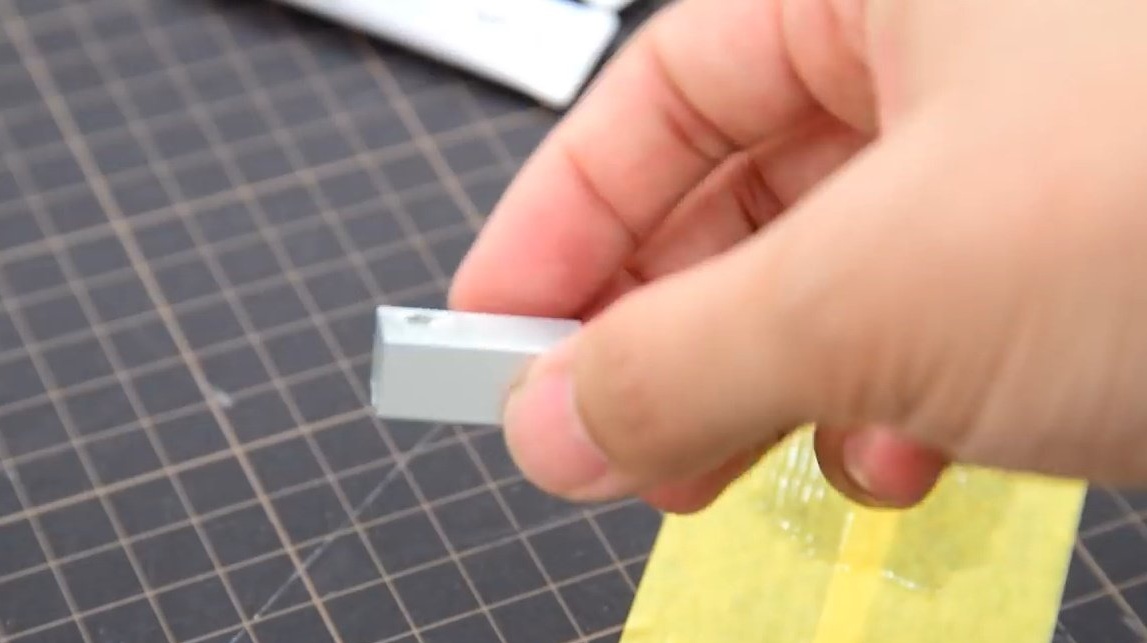
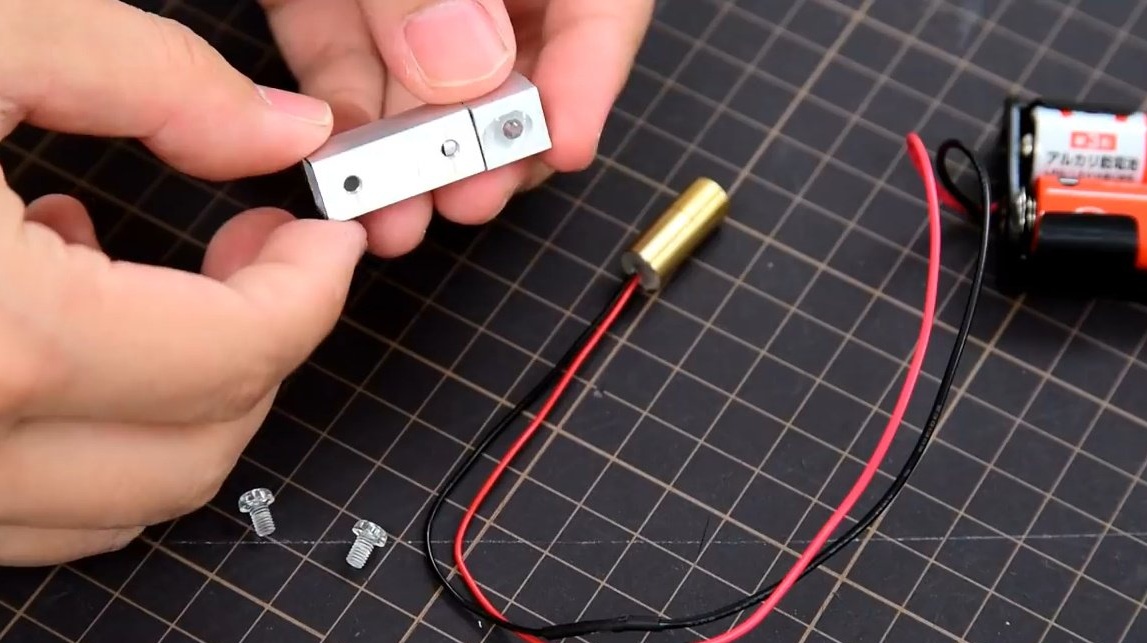
He will make a case for a laser and a glass lens from an aluminum profile pipe 10X10 mm.

And here is a drawing of the case itself.

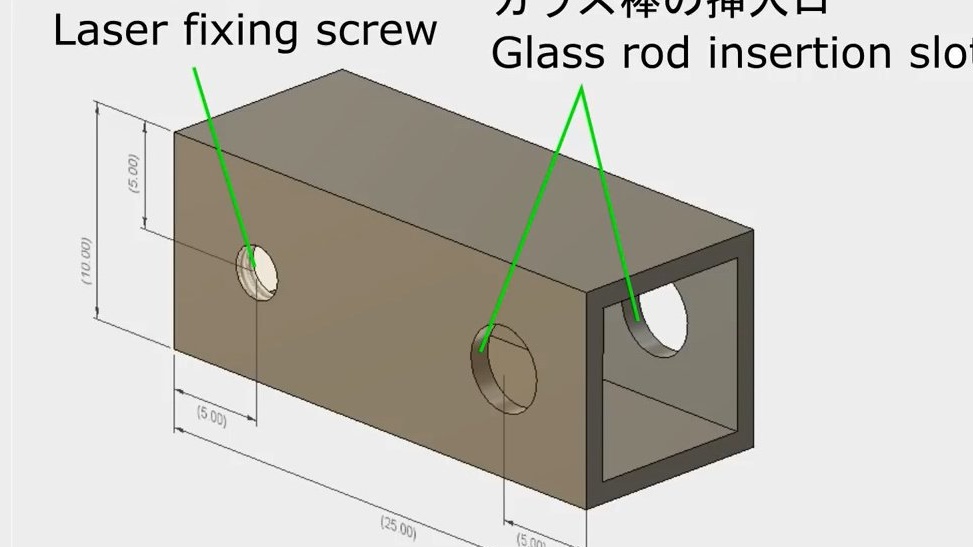
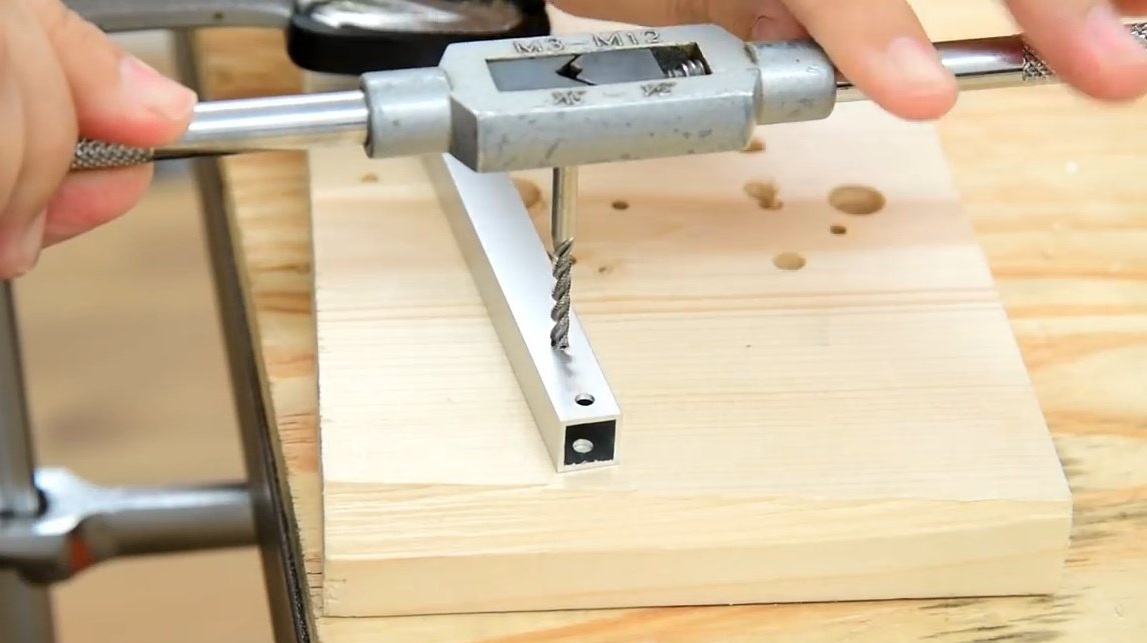
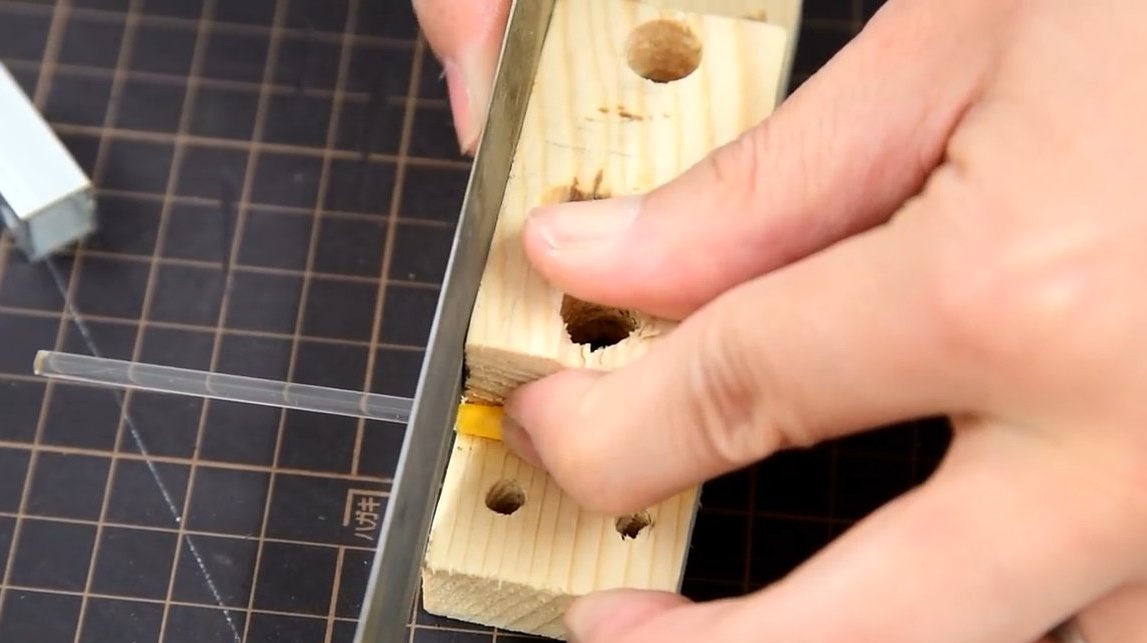
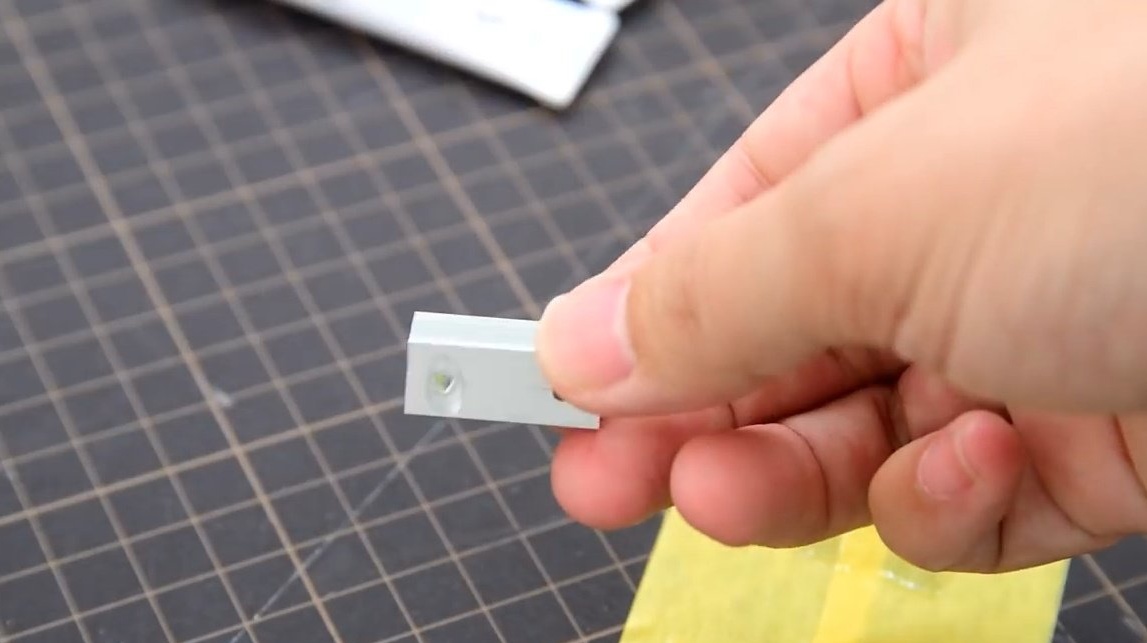
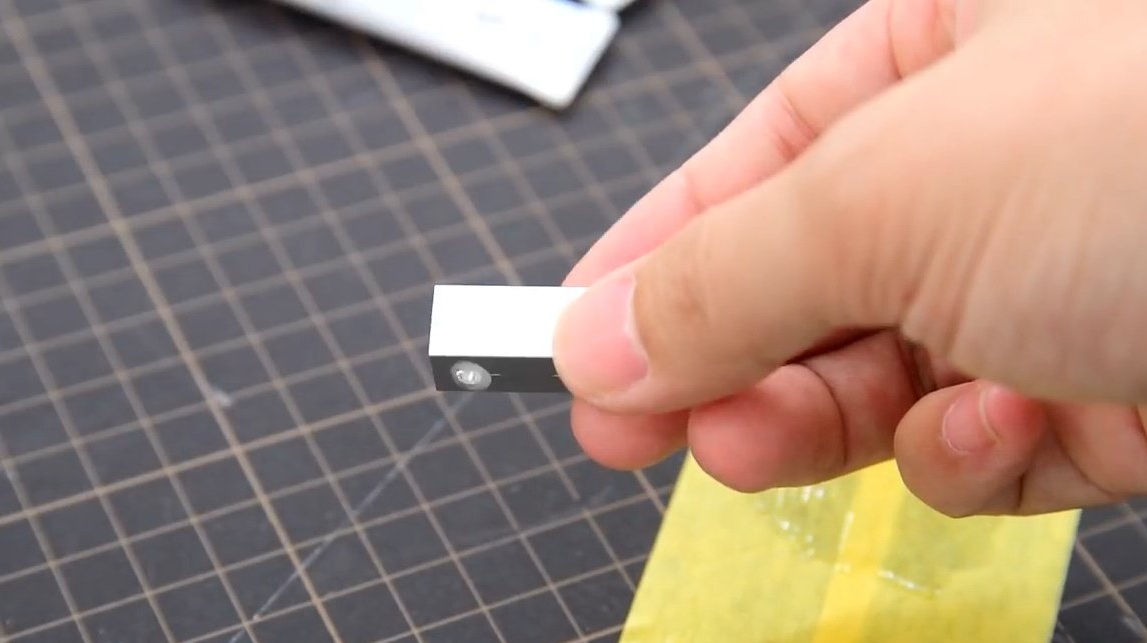
Drills holes for a glass rod, and an M3 clamp bolt. It is very important to make the holes for the lens strictly aligned.


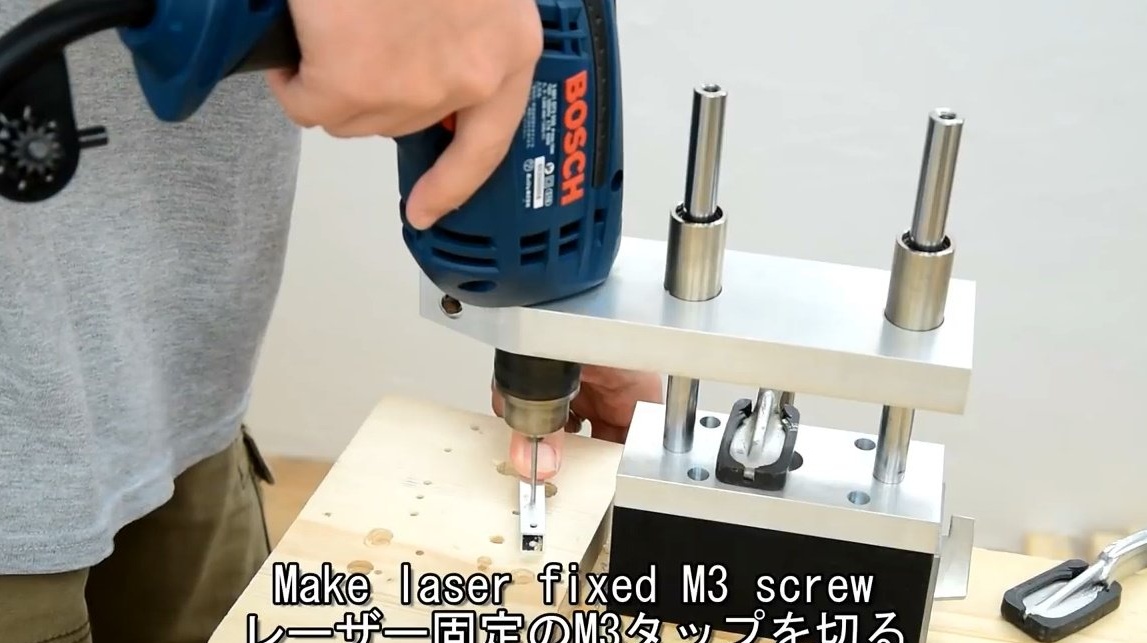
Taps the M3 thread for the bolt with a tap.

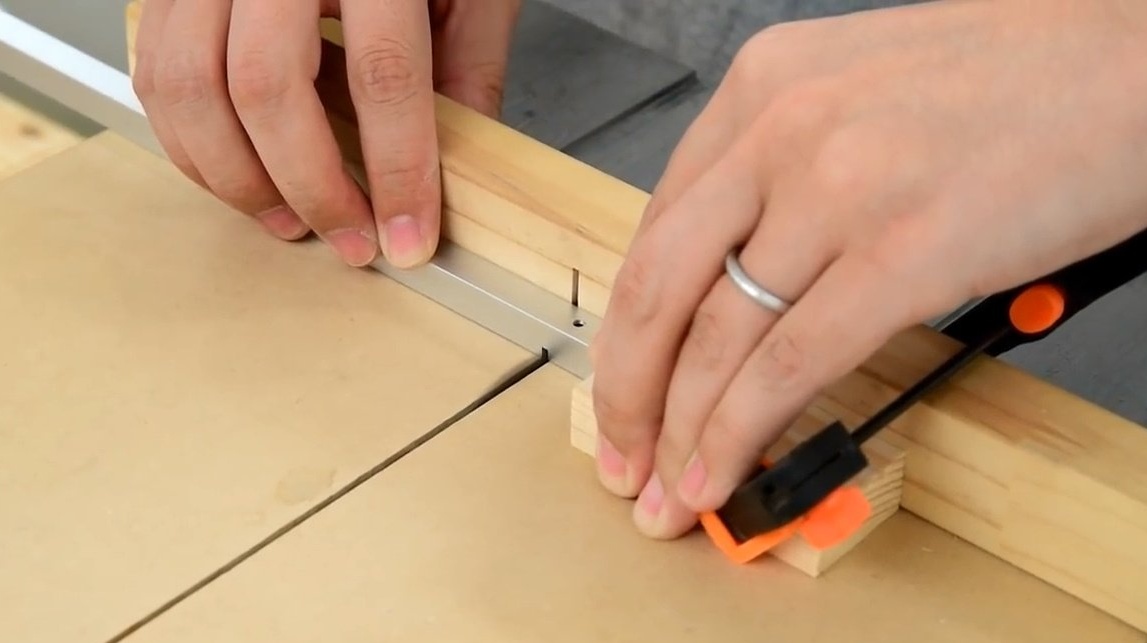
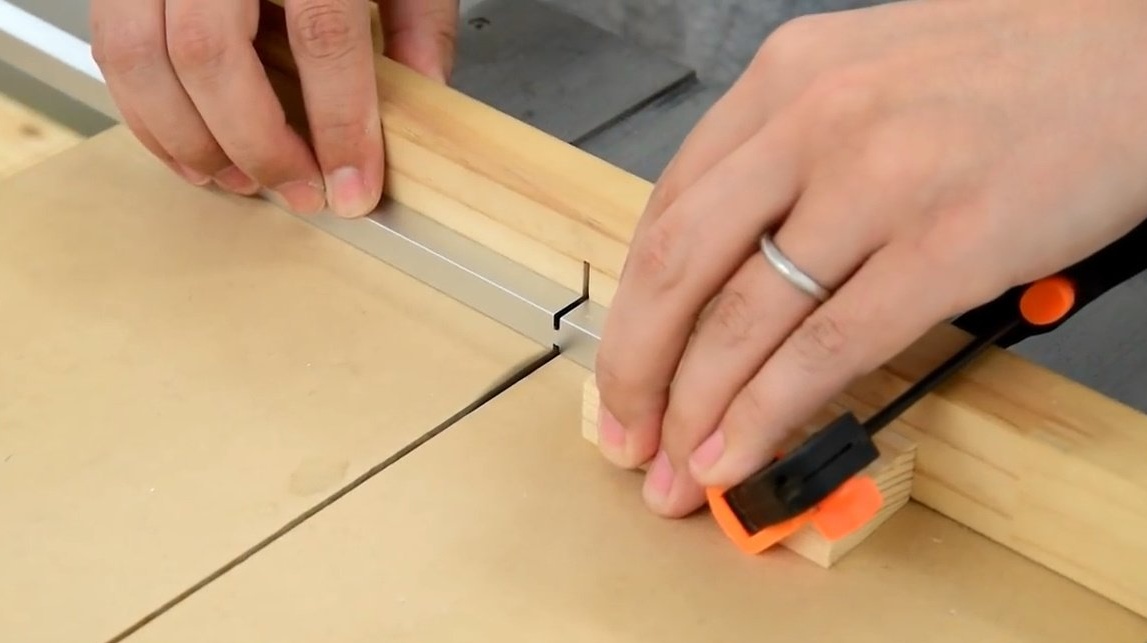
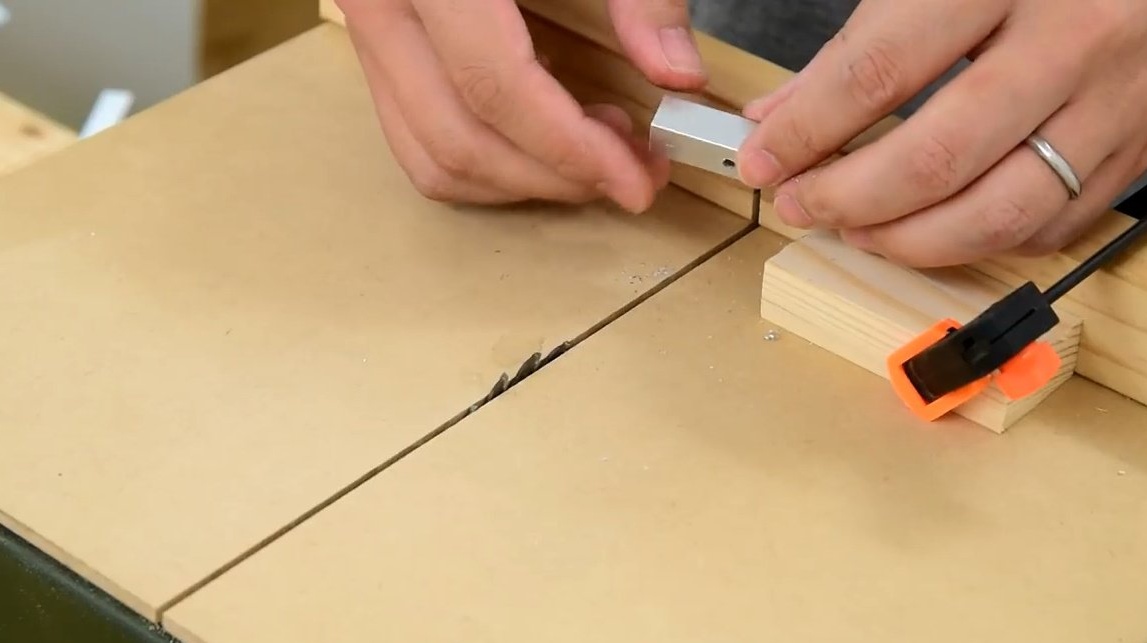
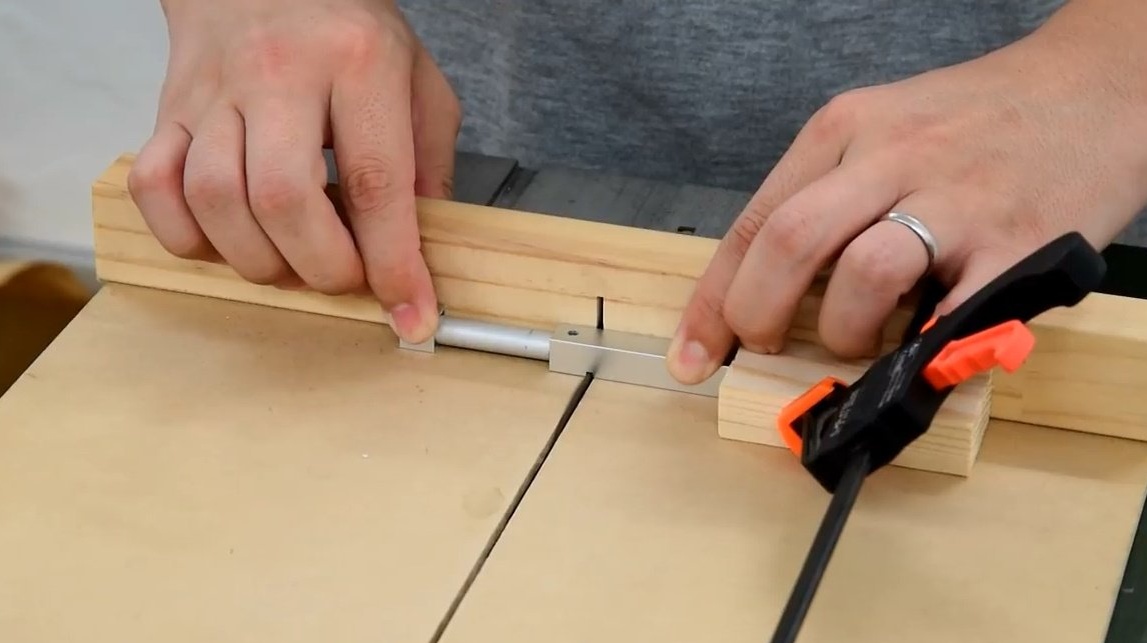
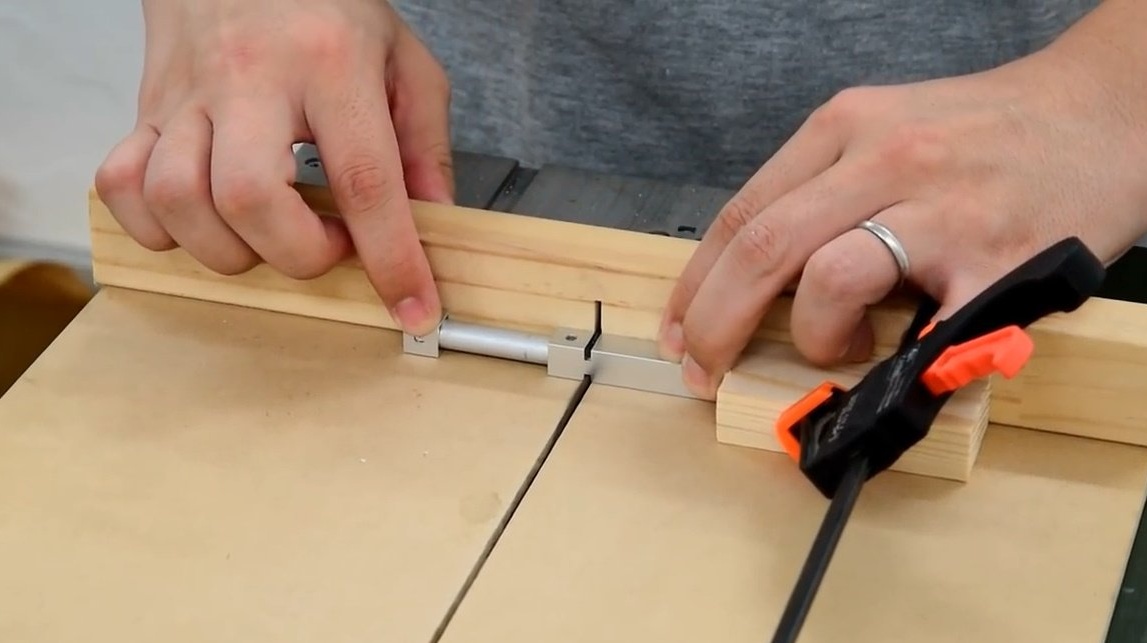
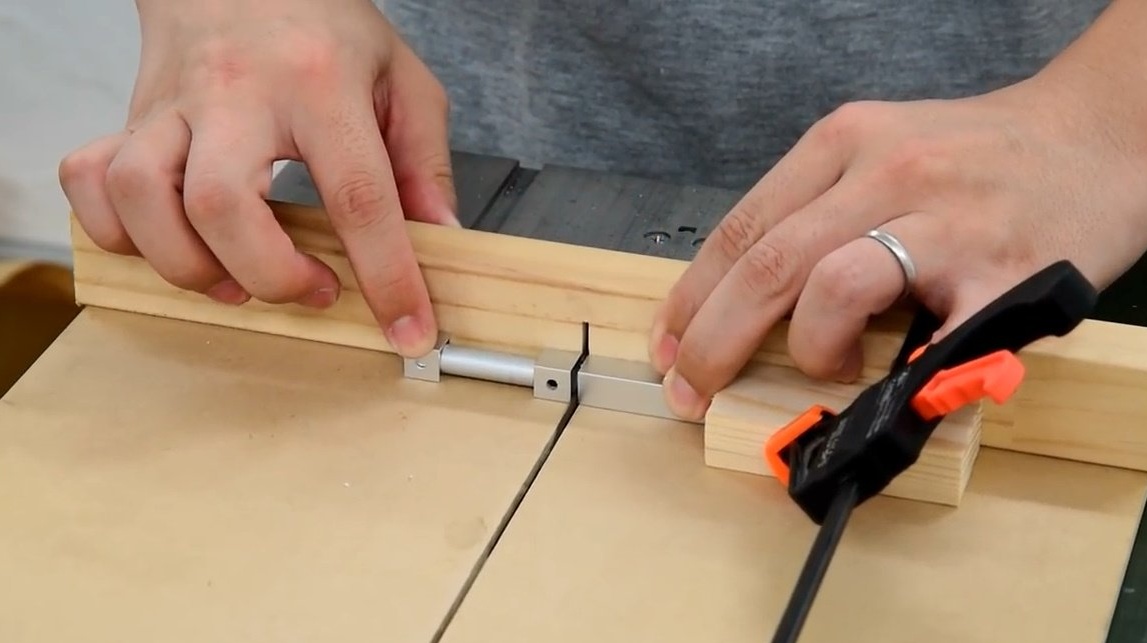
On a miniature circular saw, the cutting disc is slightly extended, sets the stop along the length of the workpiece, and fixes it with a clamp.


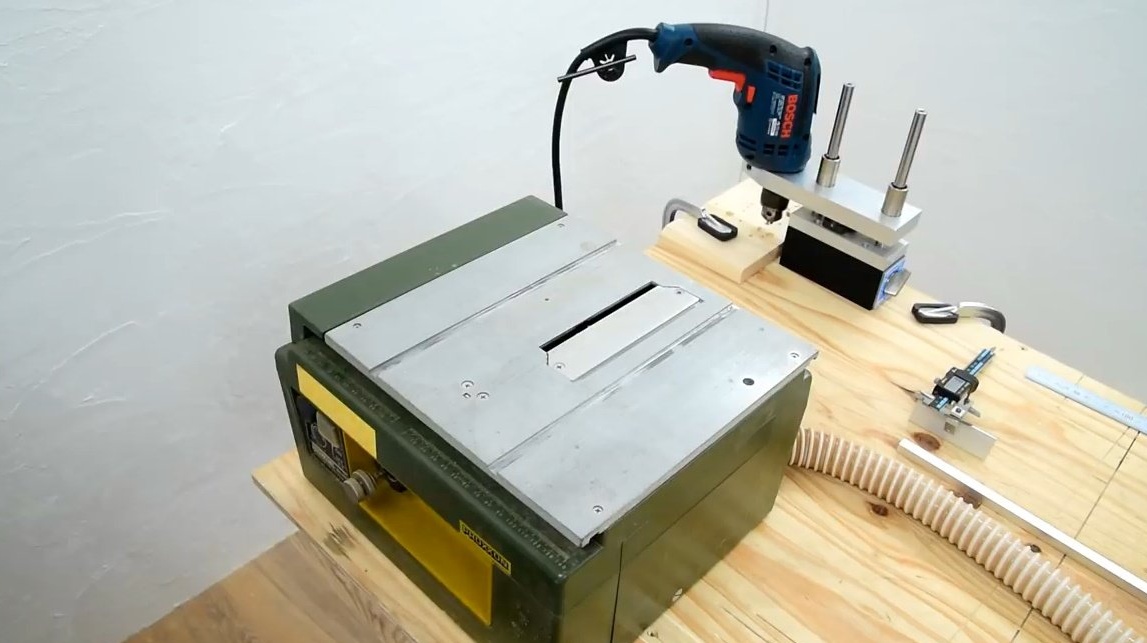
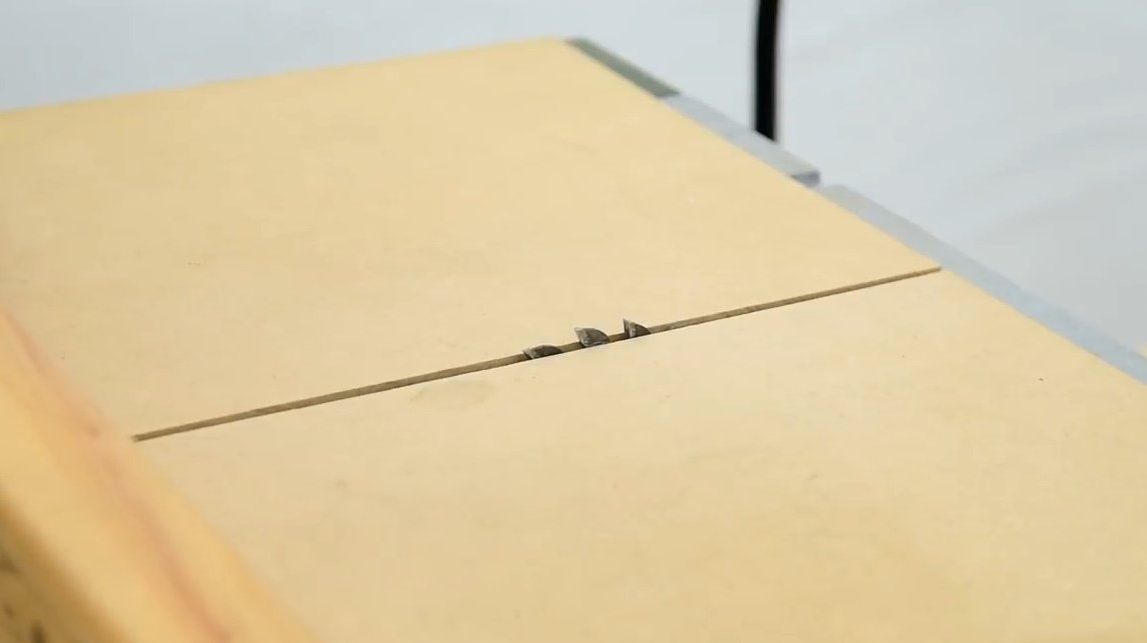
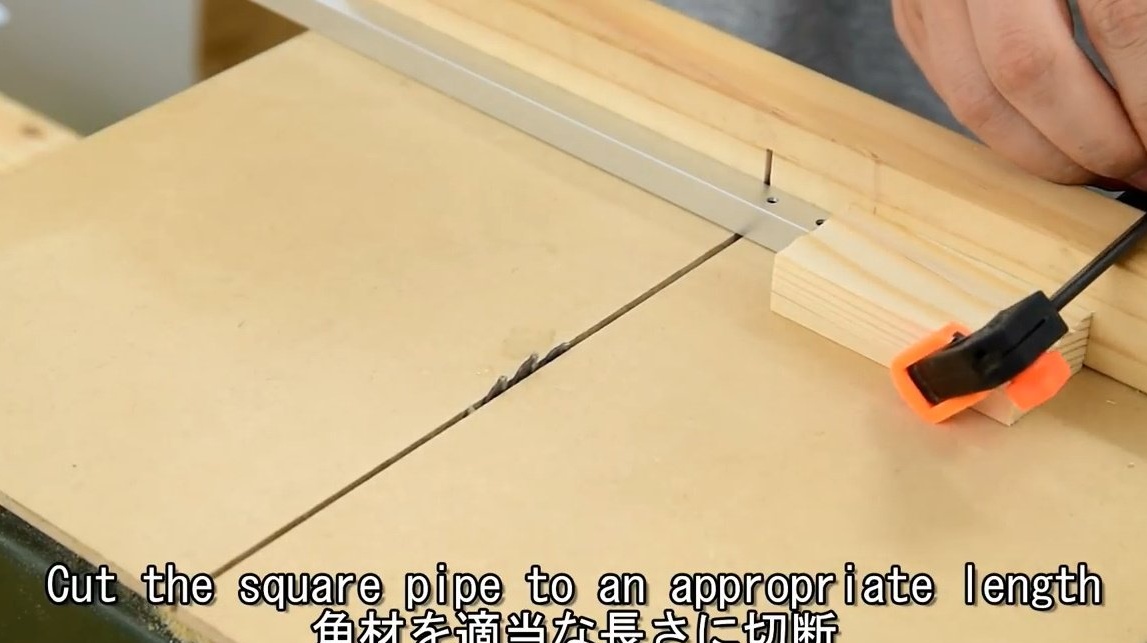
Pressing the end face of the workpiece against the stop, and turning it over makes cuts on the pipe from all sides.


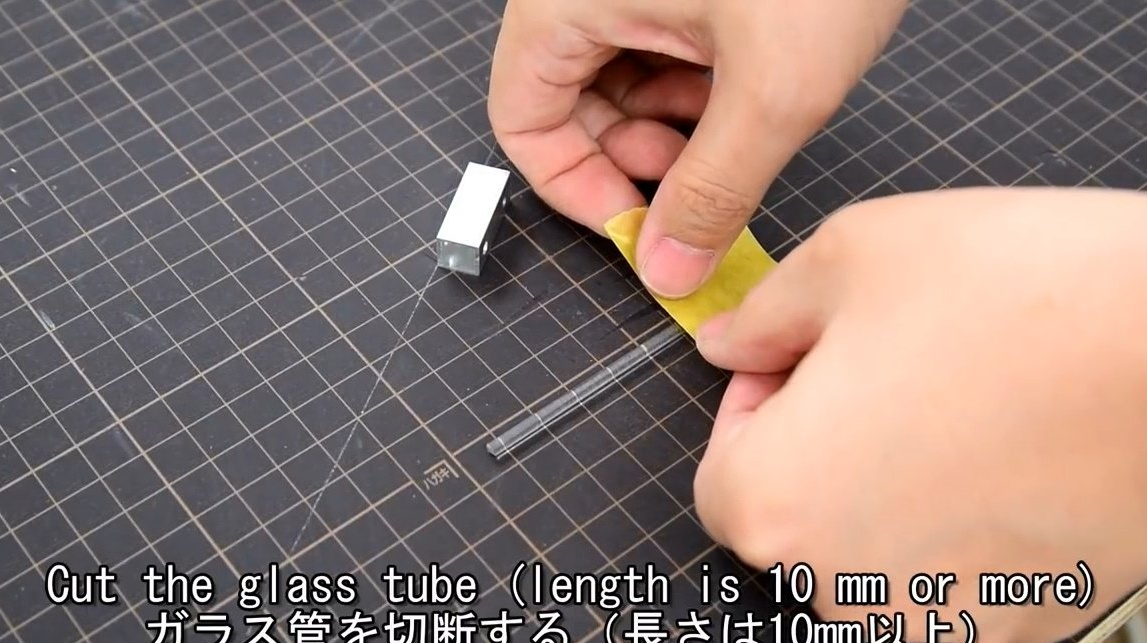
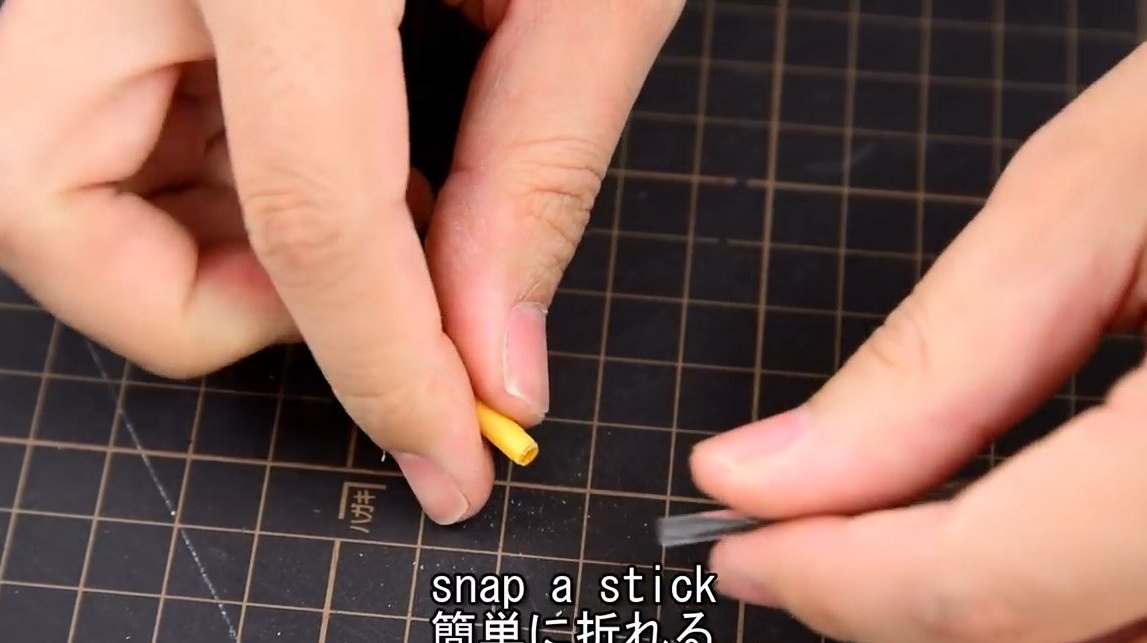
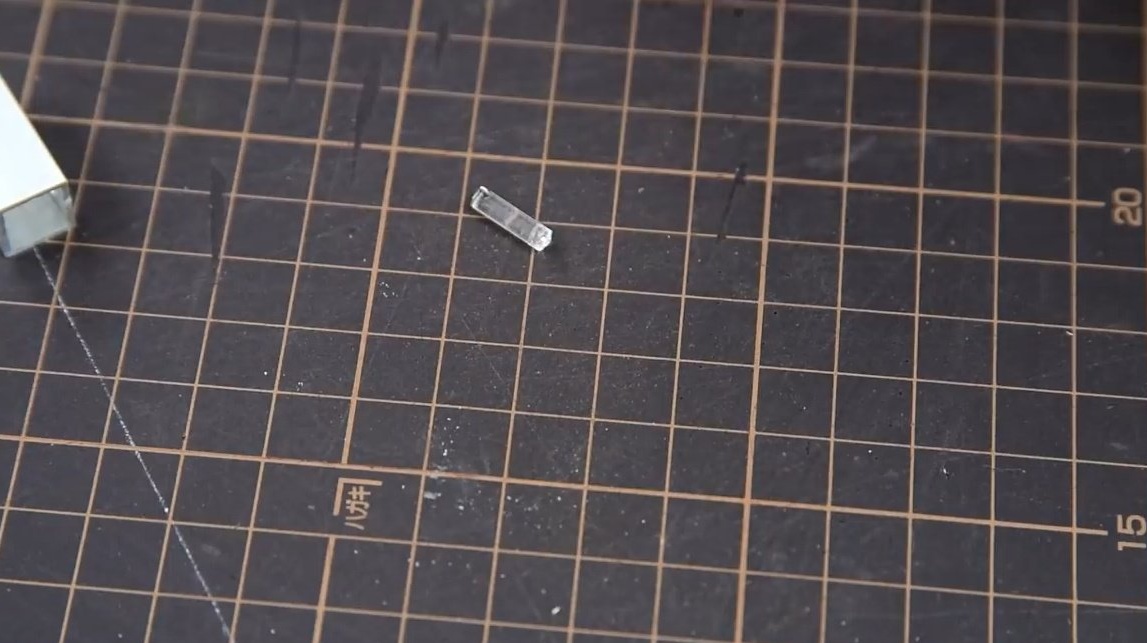
And here is a glass rod with a diameter of 5 mm. The author winds up one of its edges to a length of 10 mm with masking tape.


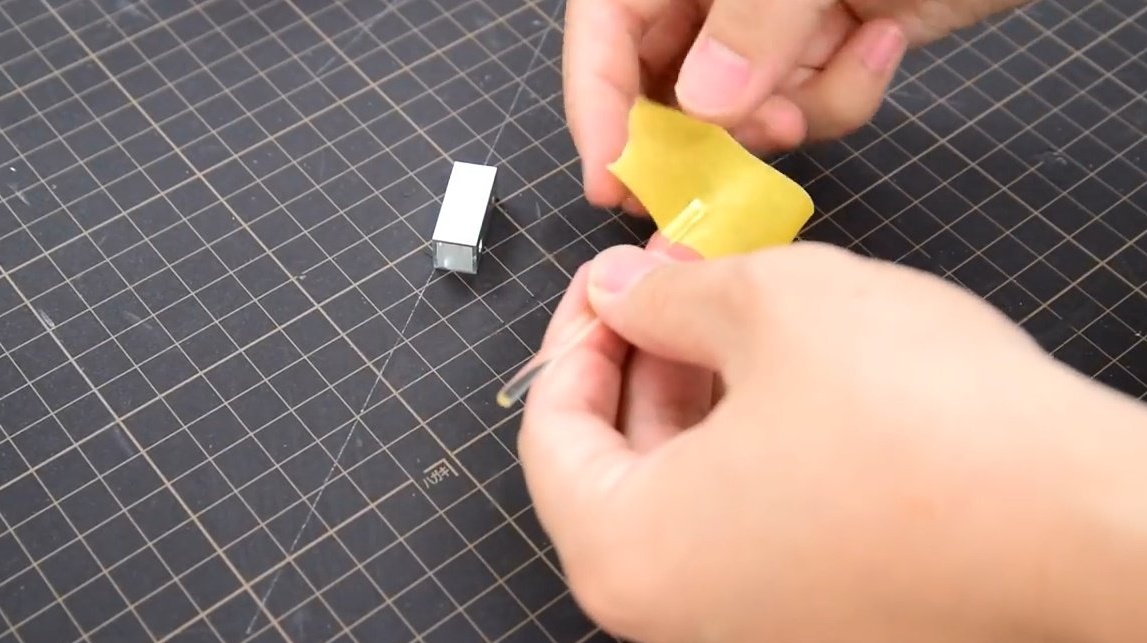
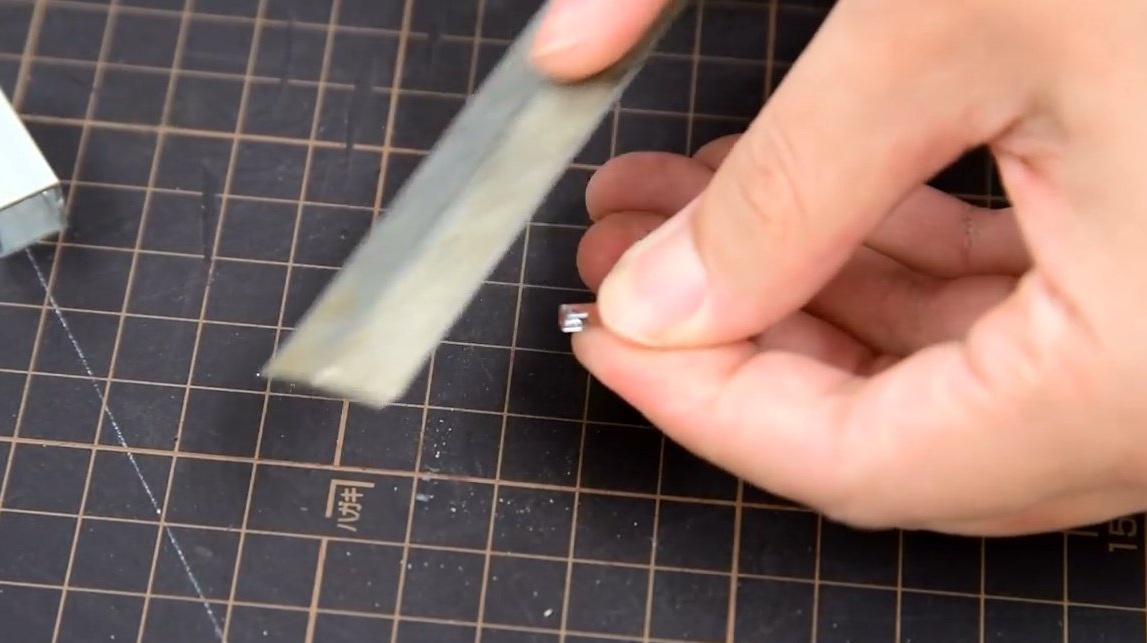
Then he makes a pair of cuts with a diamond file, and simply splits it in half.


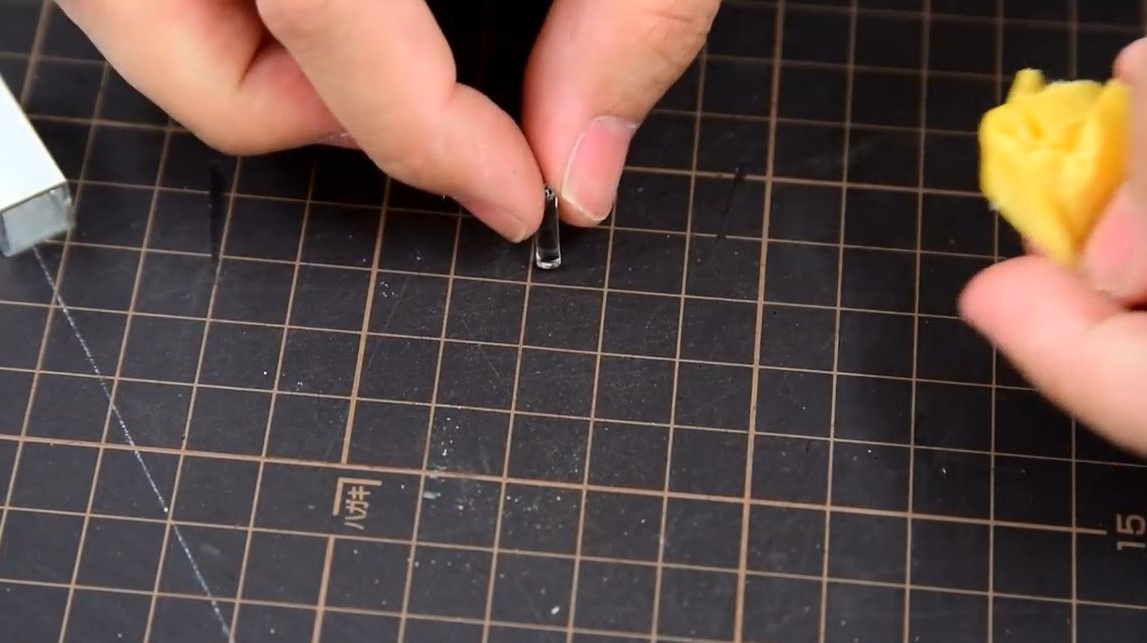
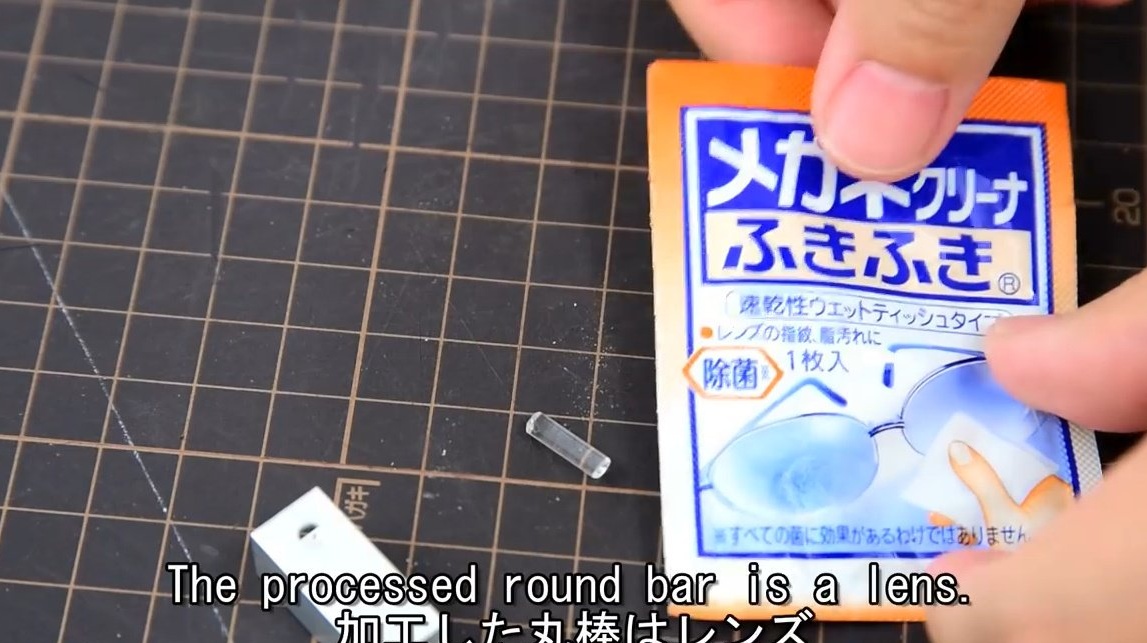
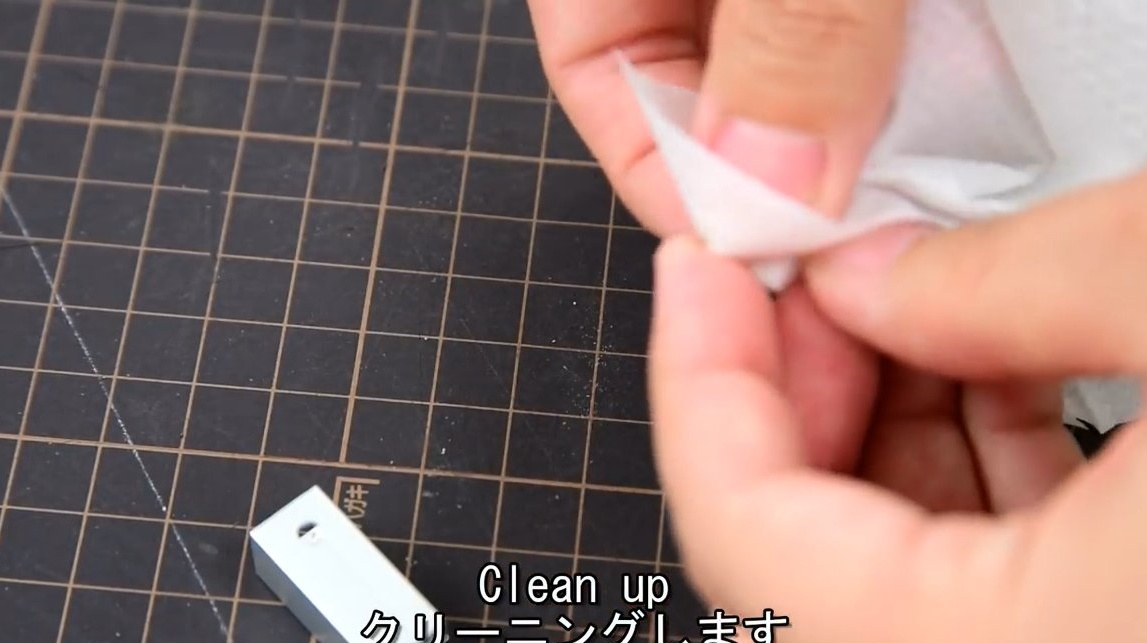
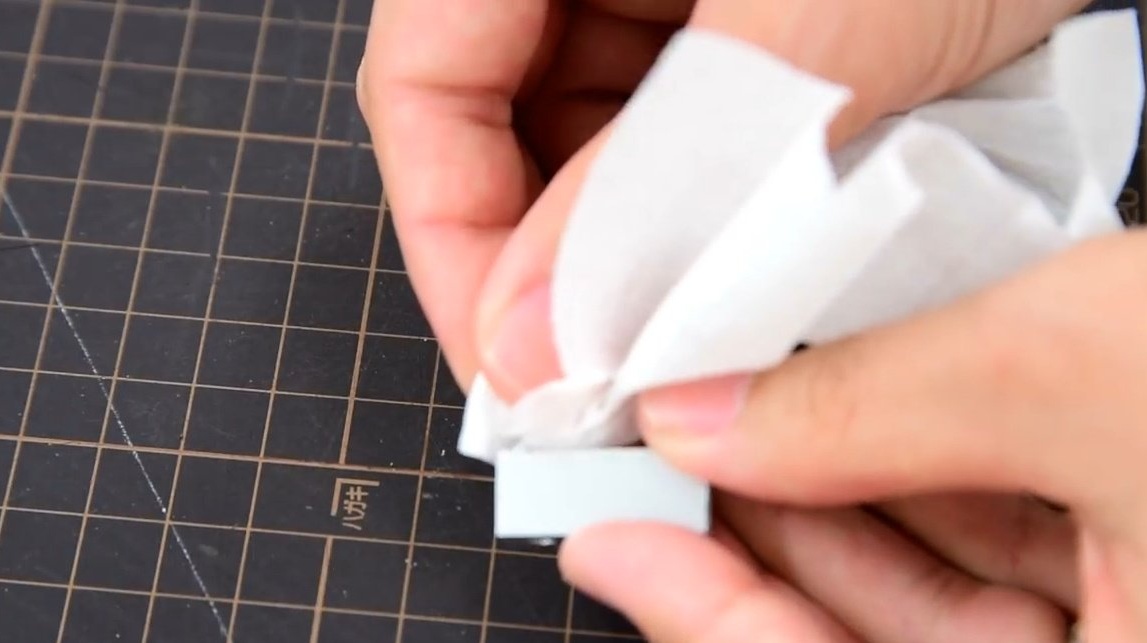
The lens is almost ready, the author removes masking tape, and processes the edges of the chip with a file. After that, thoroughly cleans its surface with an alcohol cloth.


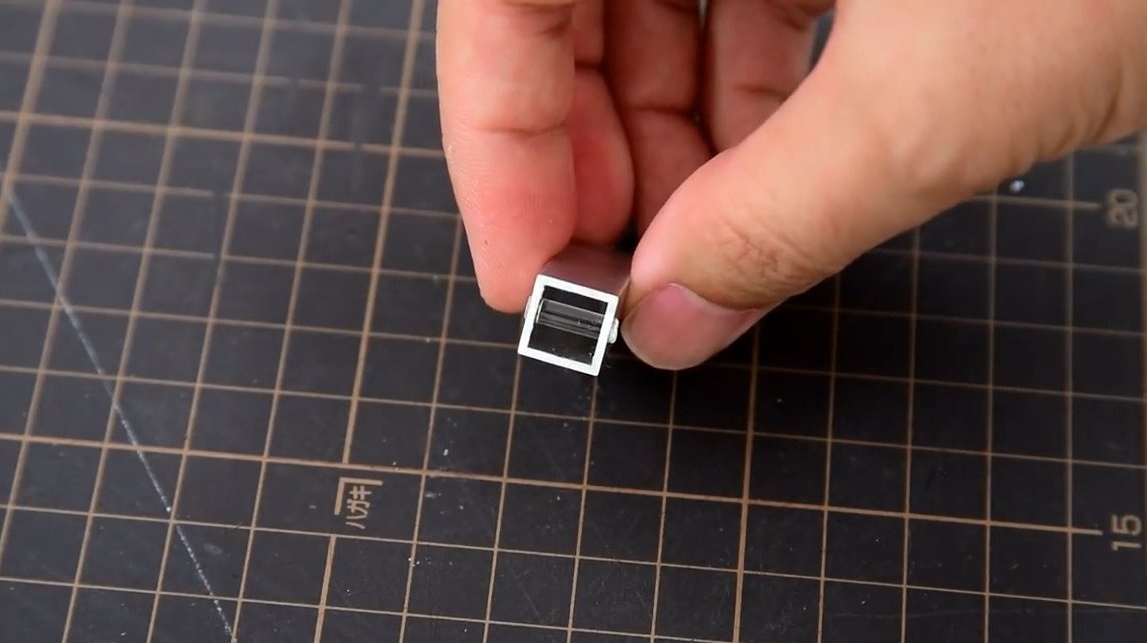
Holding the lens with a napkin, inserts it into place in the housing.


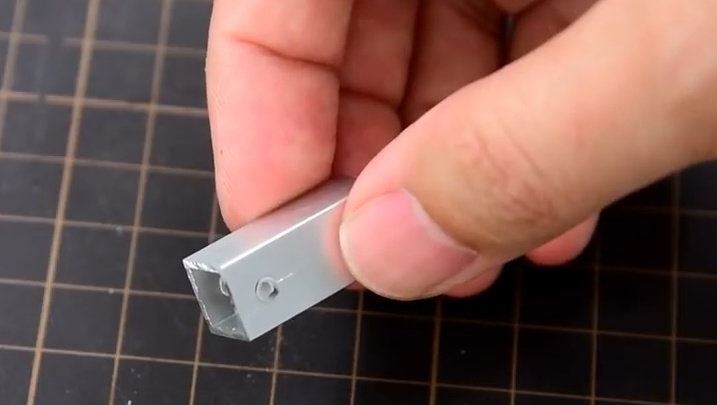
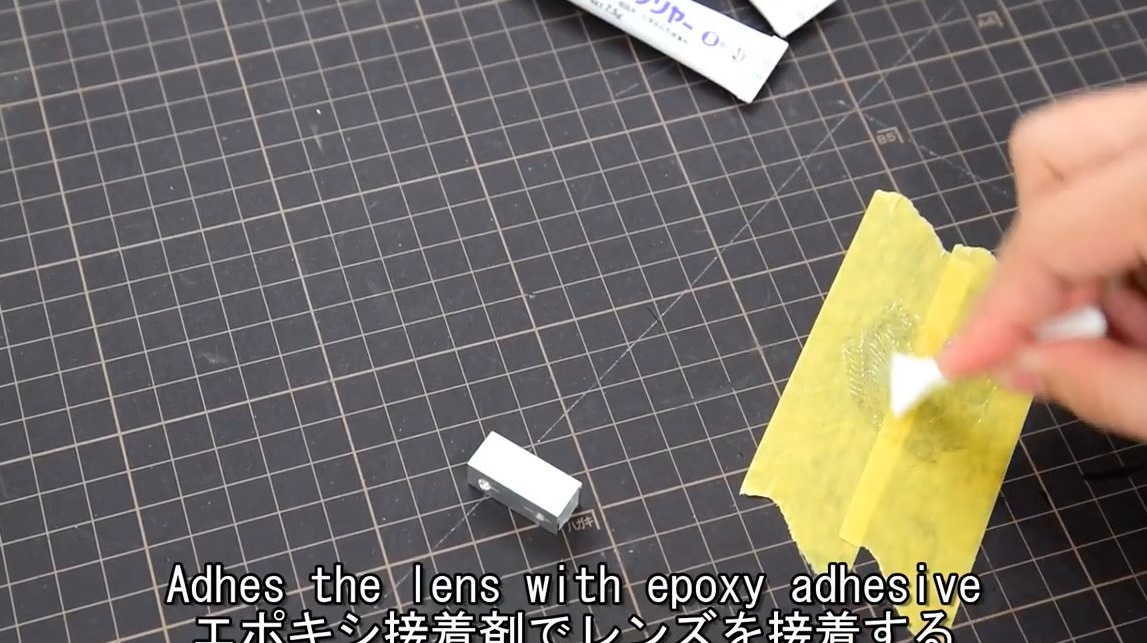
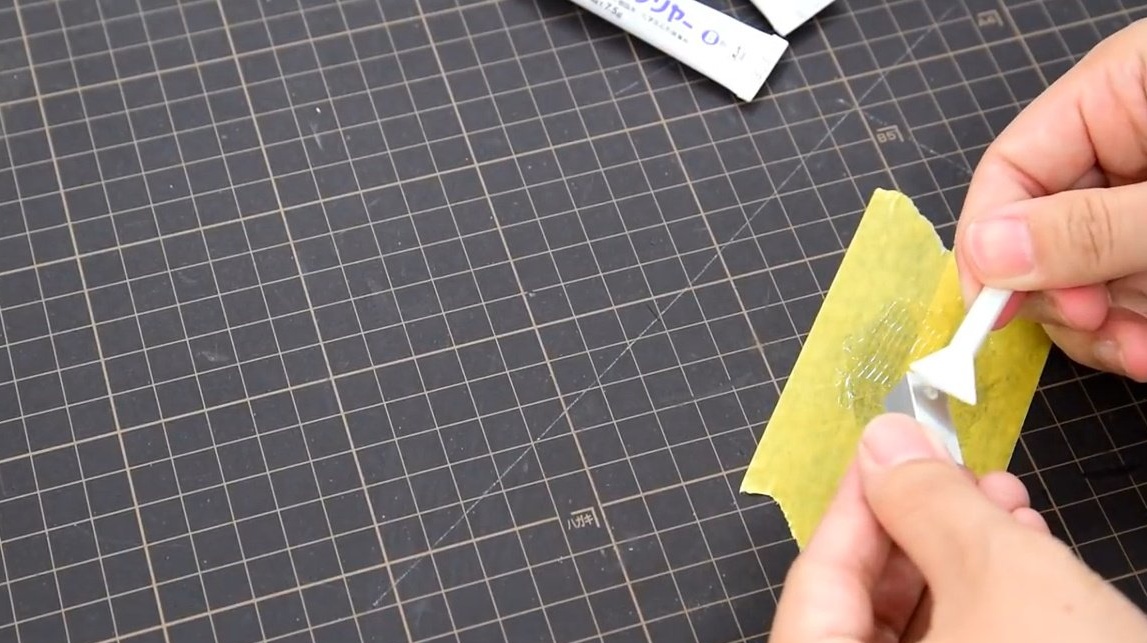
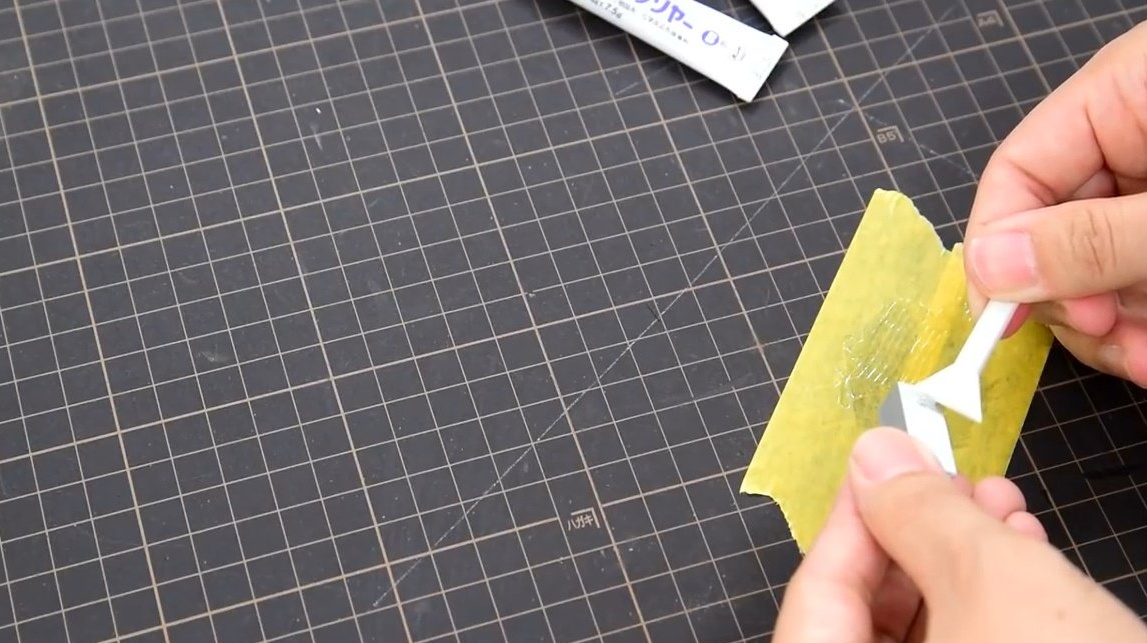
It mixes the components of epoxy resin, and lubricates the junction of the housing and lens from the outside. It is important that the resin does not get on the inside of the lens.


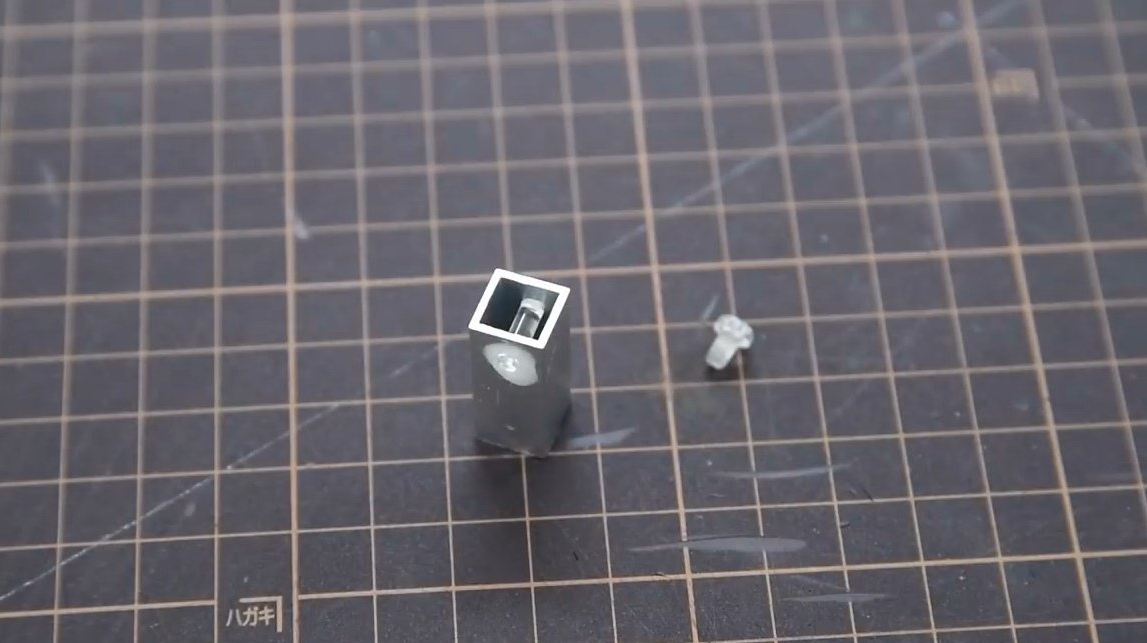
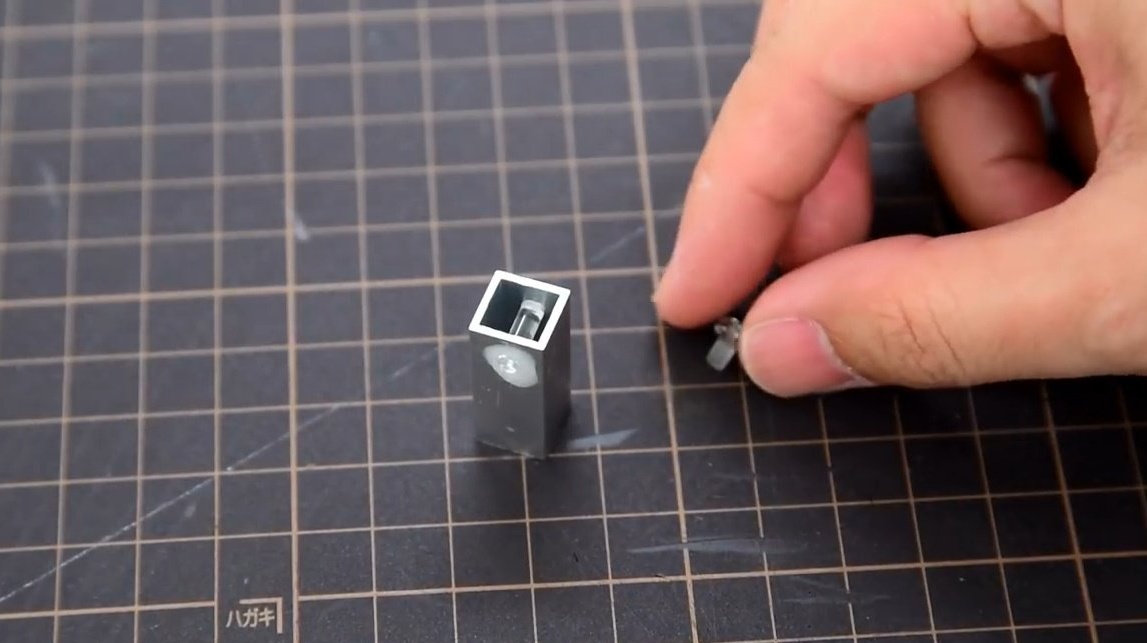
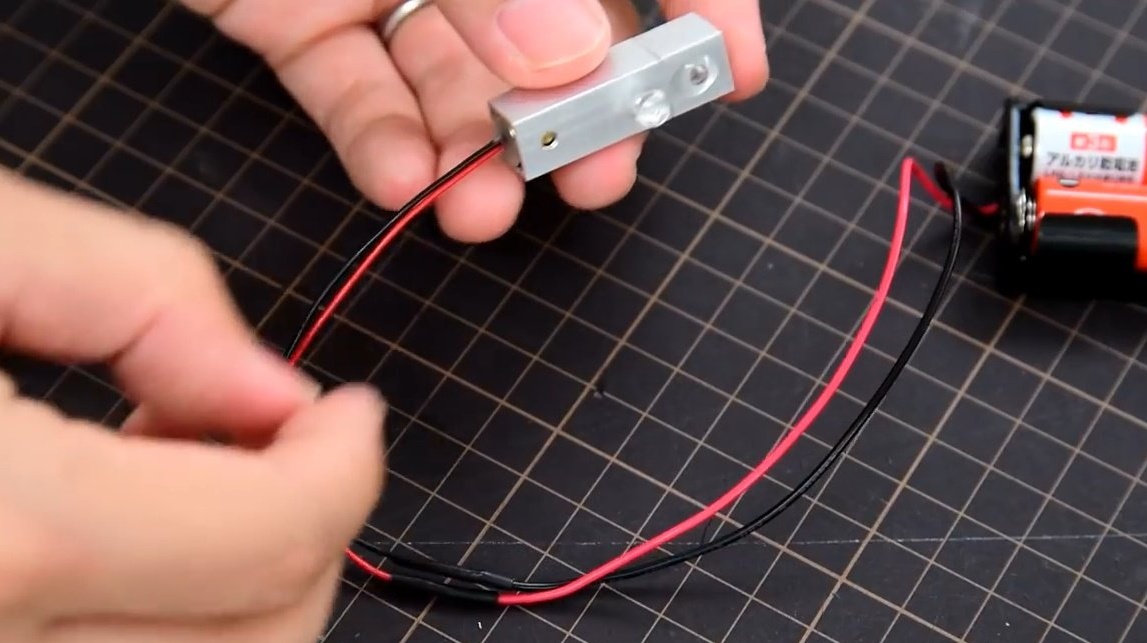
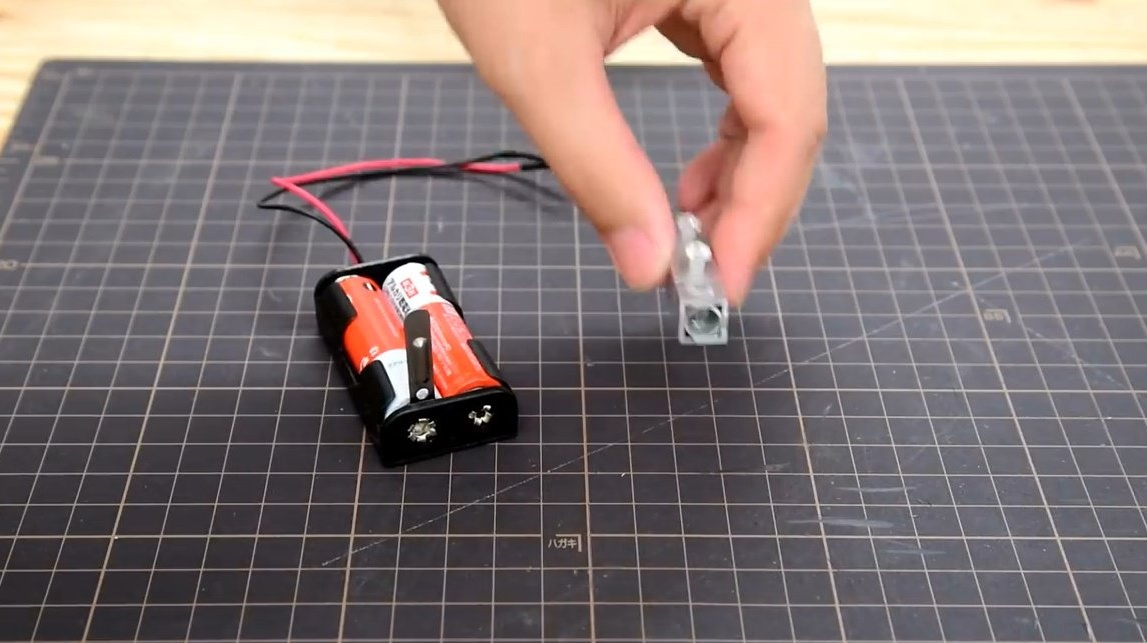
After polymerisation of the resin, the casing looks like this.


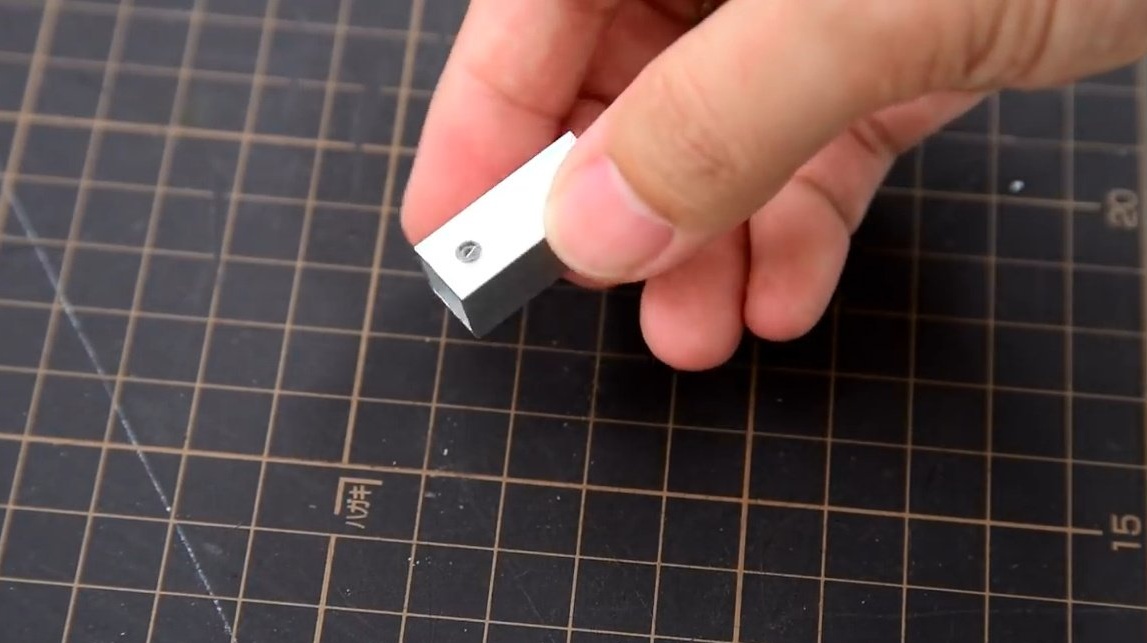
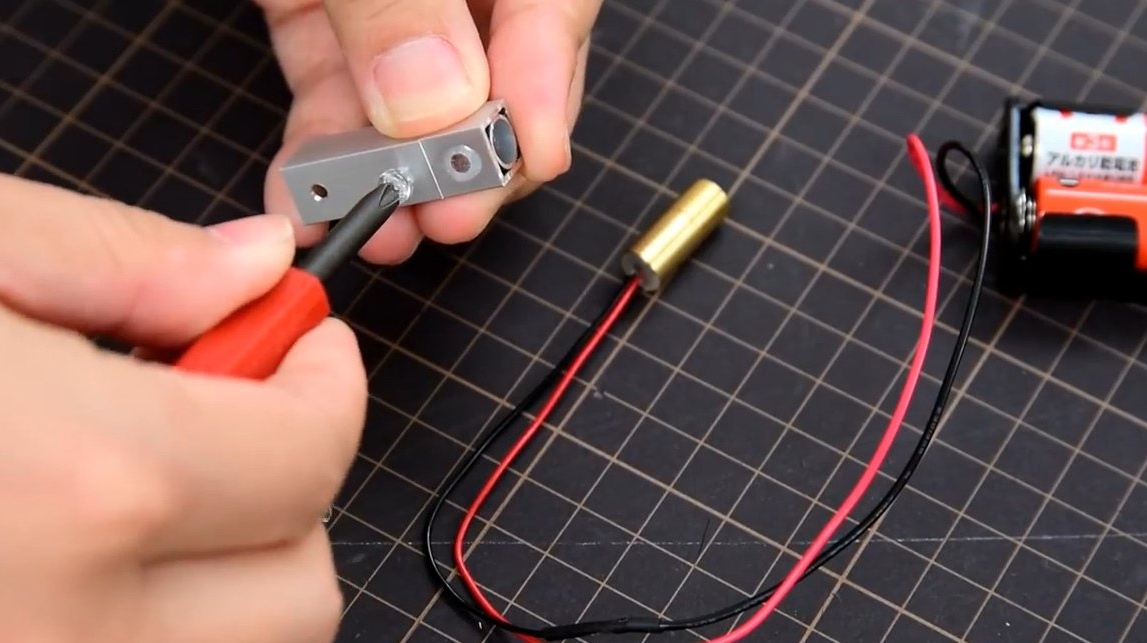
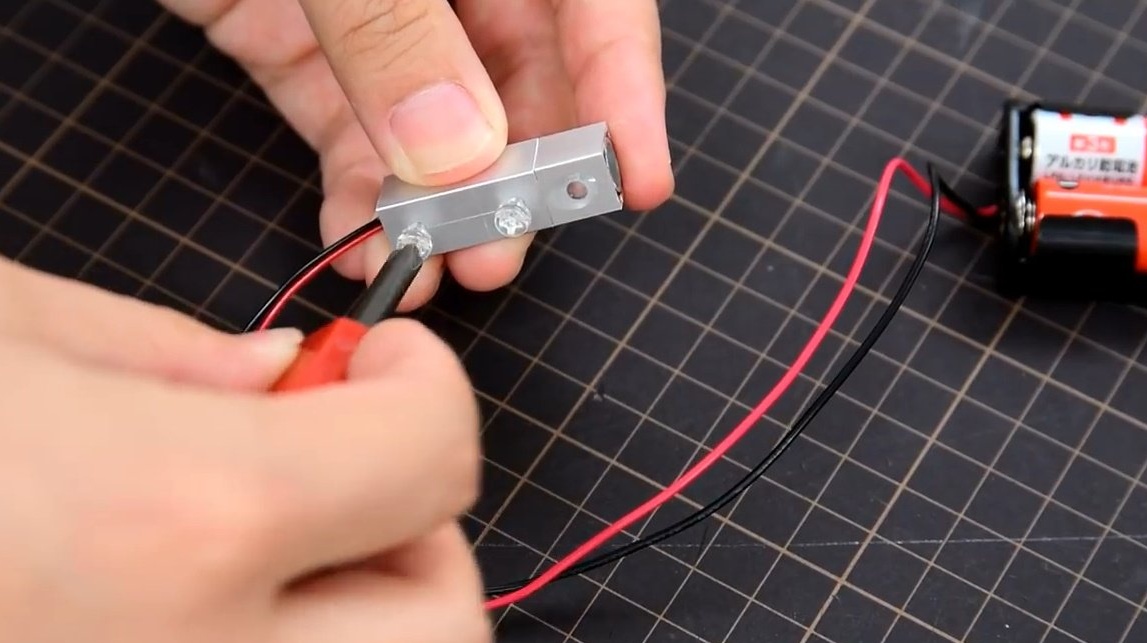
Screws in a plastic bolt, clamps the laser in the case.


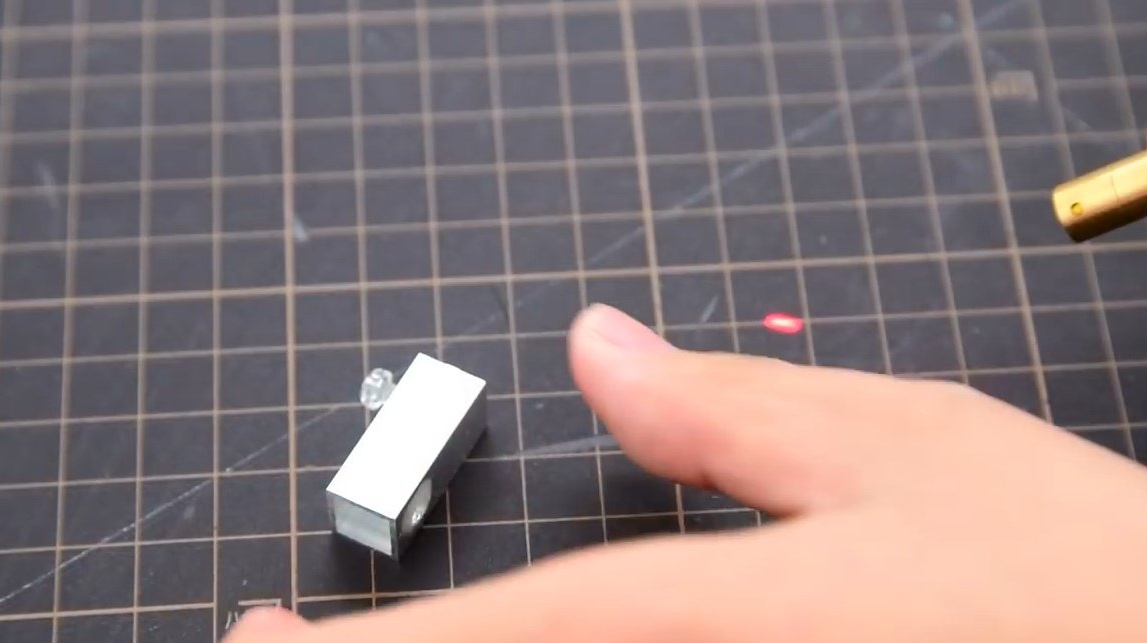
Then he achieves an even line, setting the axis of the ellipse of the laser beam perpendicular to the lens.


But, at a great distance, it became noticeable that the line is not perpendicular to the surface. Will have to finish it.


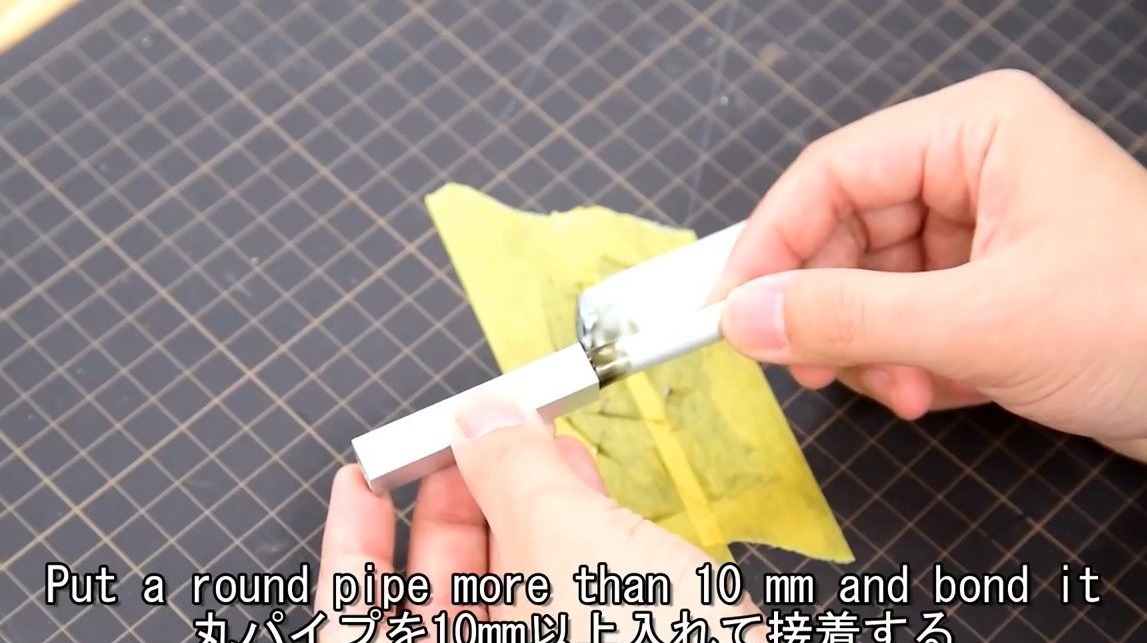
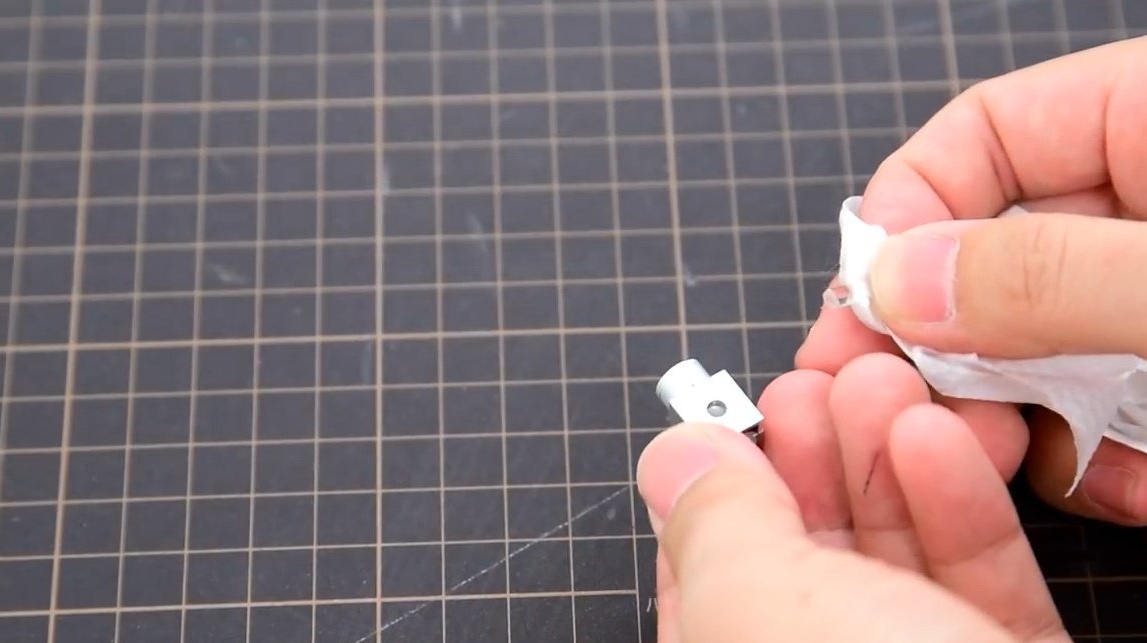
For improvement, the author needs an aluminum tube of 8 mm diameter, and the same square profile of 10X10 mm.


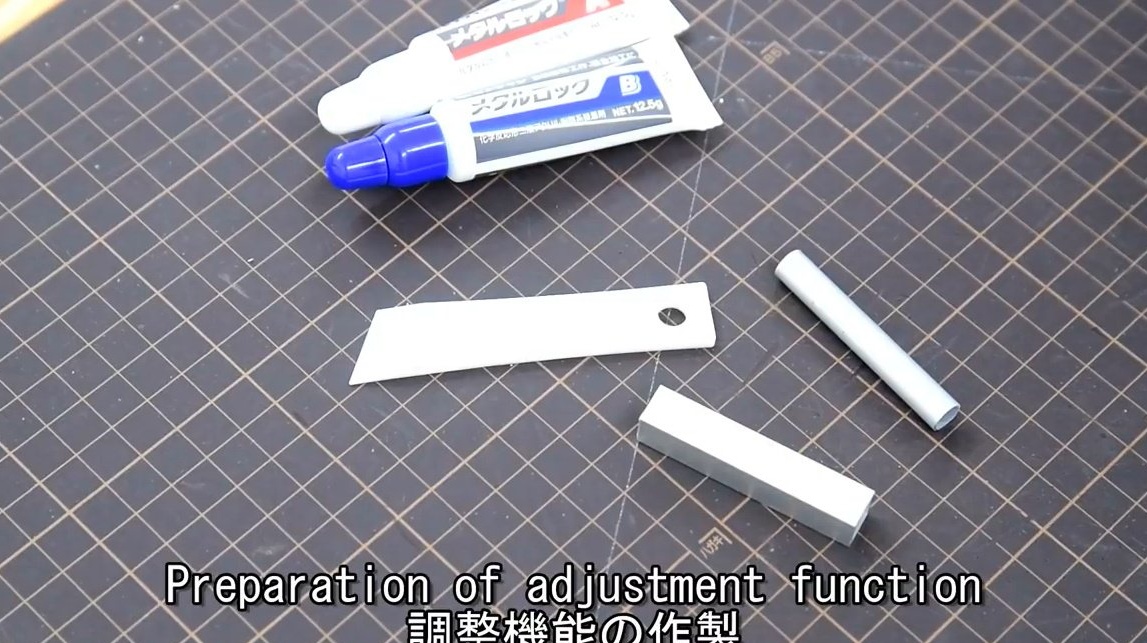
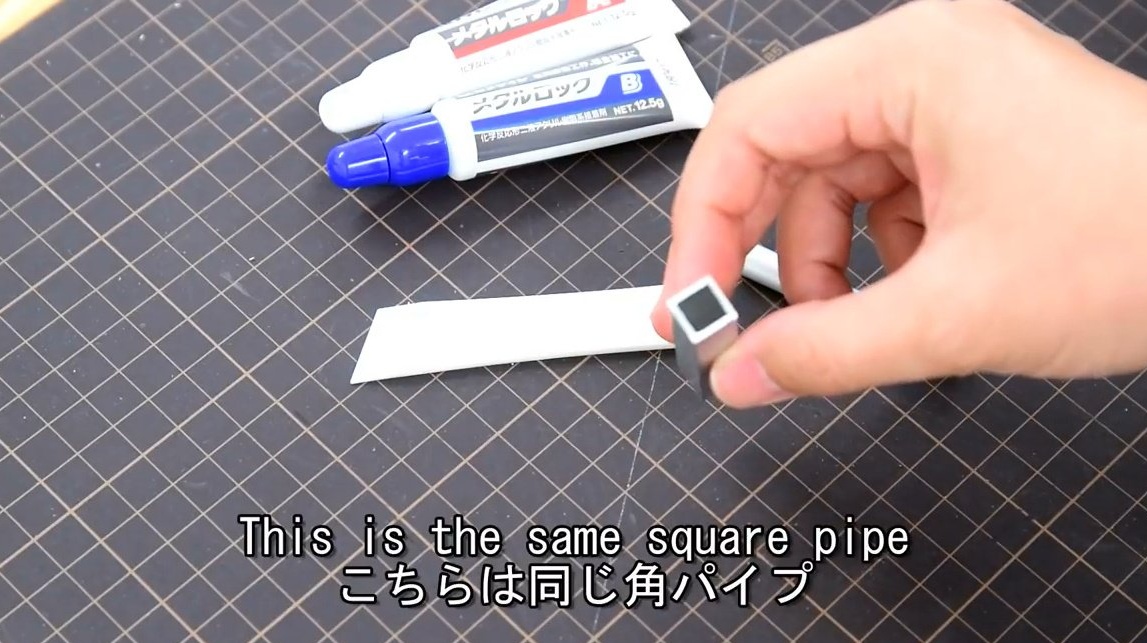
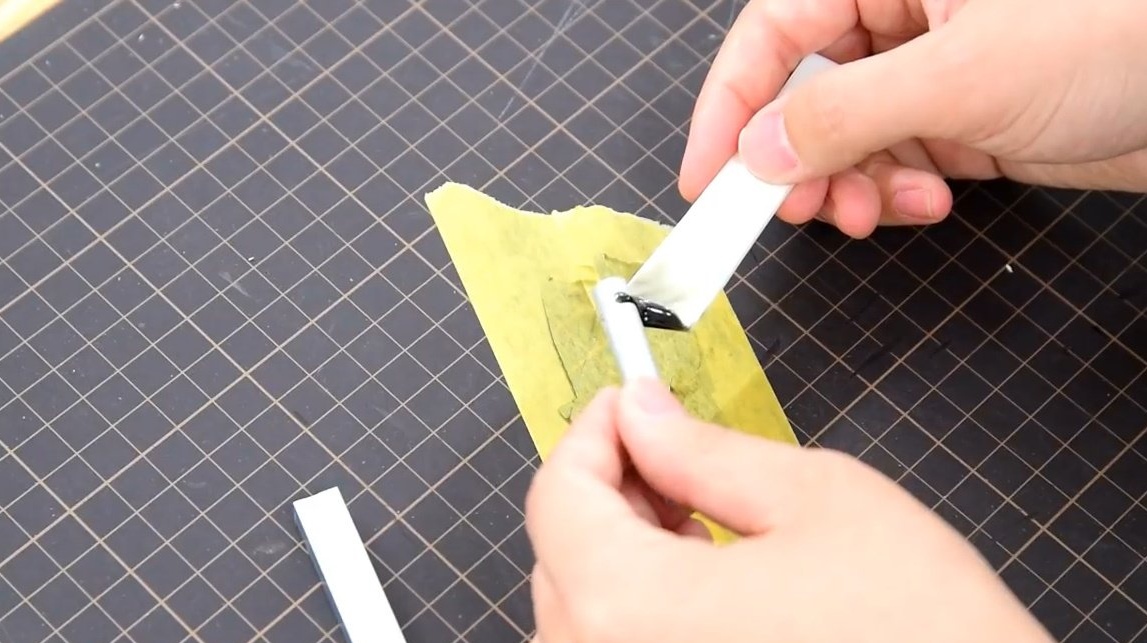
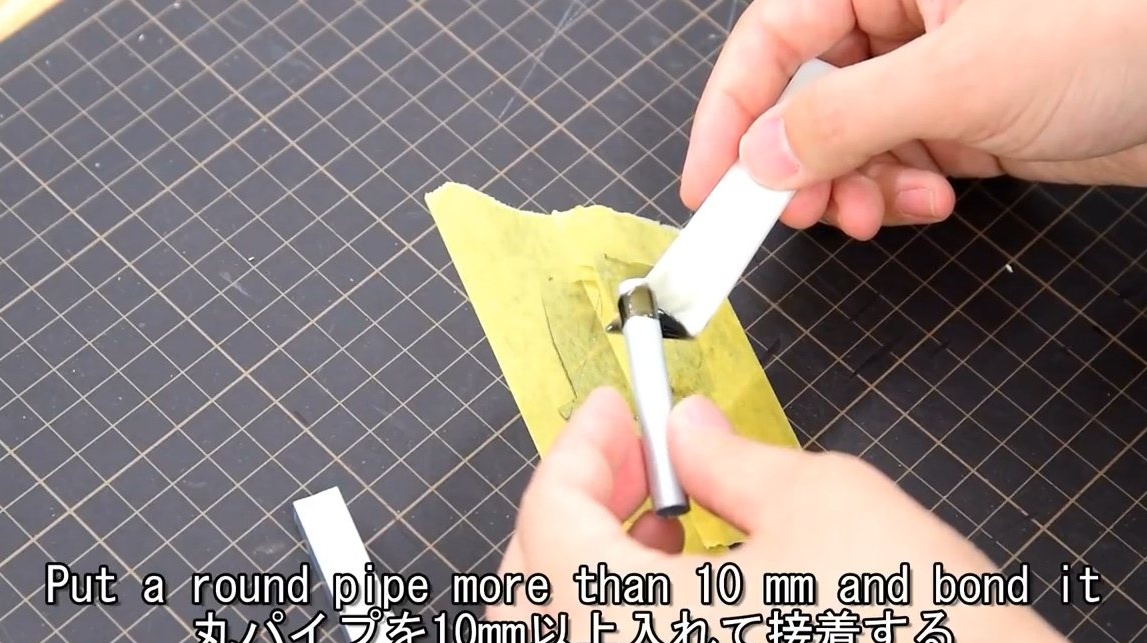
Using epoxy, glues the tube inside the square to a depth of about 10 mm.


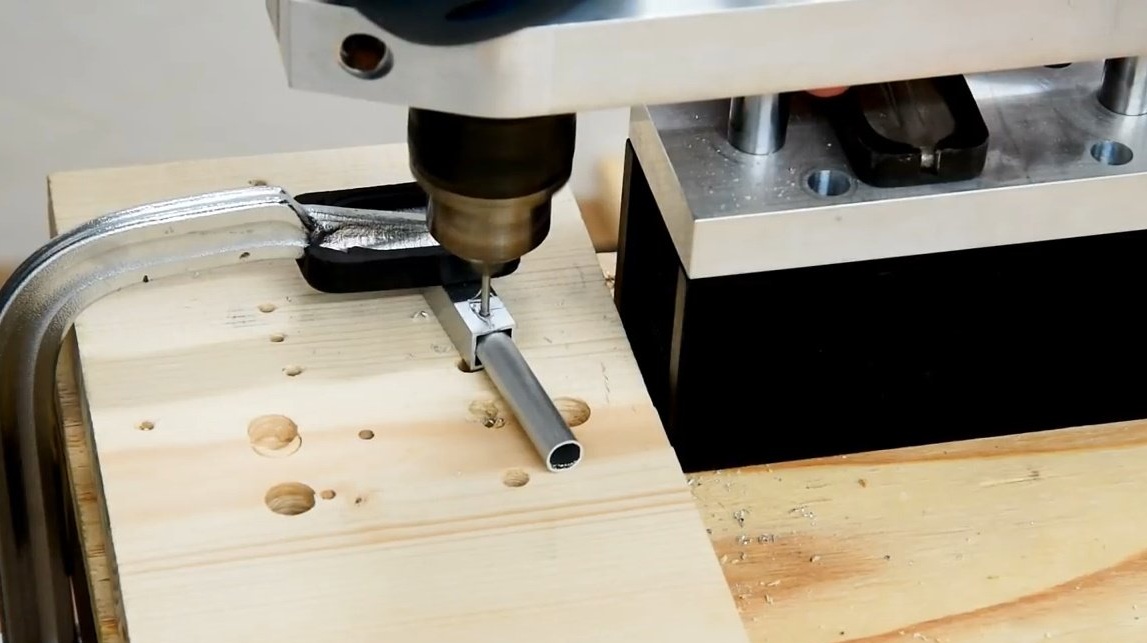
Strictly in the center drills a hole for the lens. Then he cuts off the adjustable head.


According to a familiar method glues the lens.


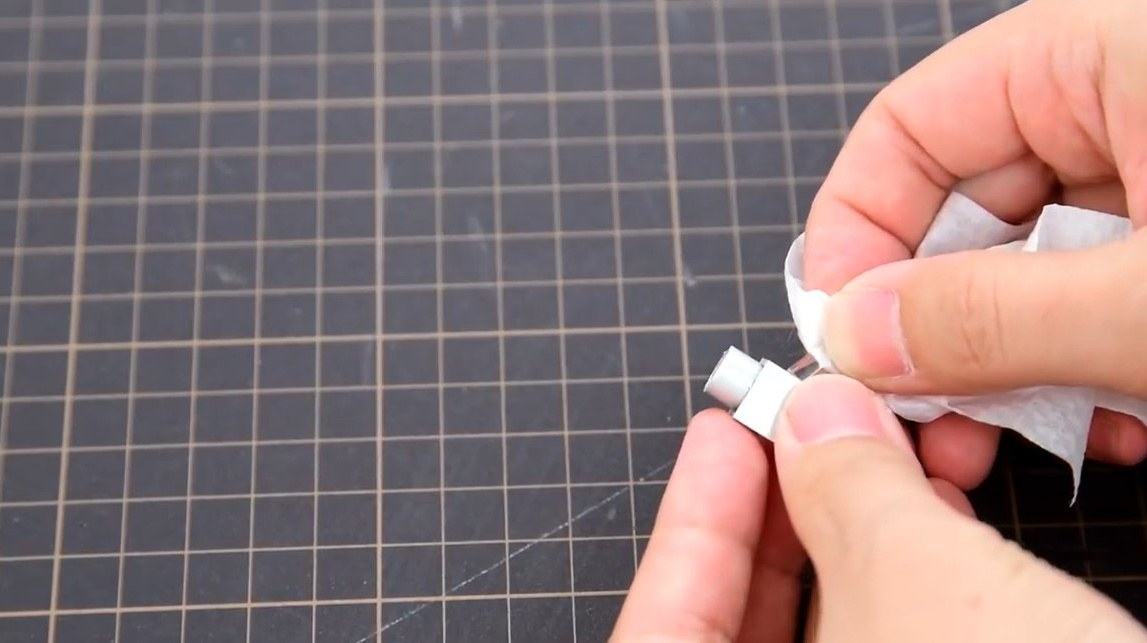
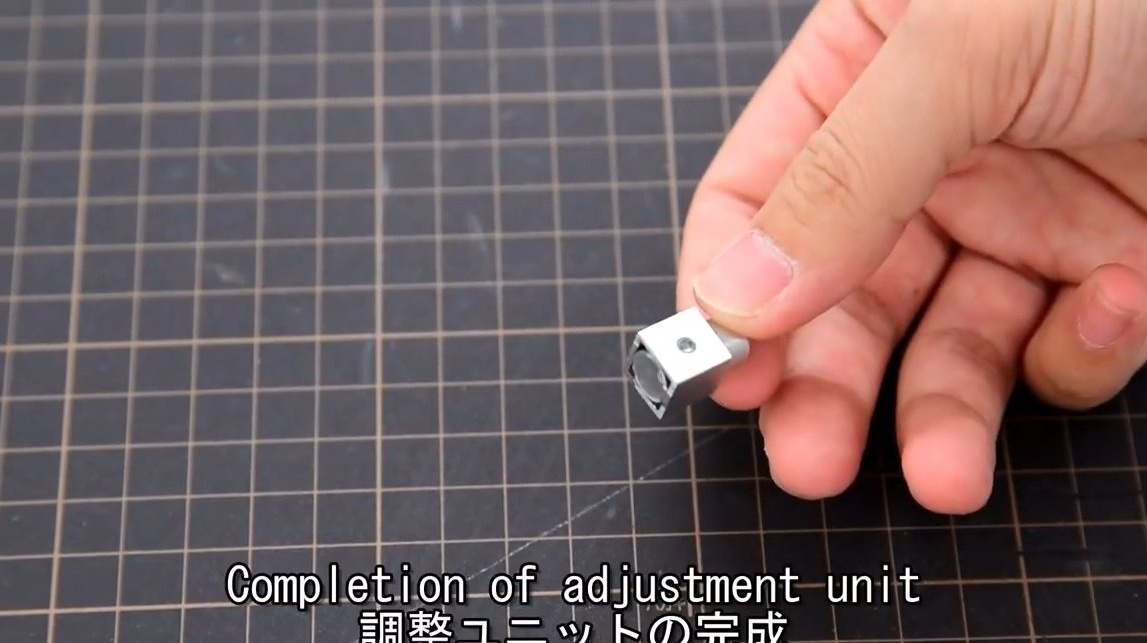
It inserts it into the case, clamps the laser and the head with bolts.


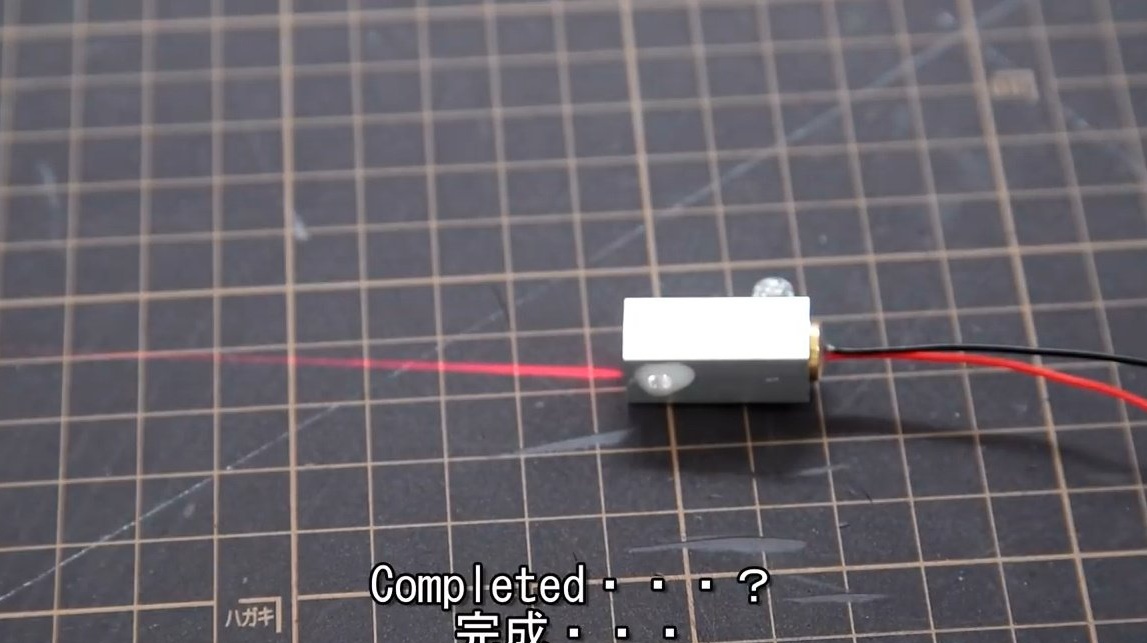
Now, by rotating the head, you can adjust the deviation of the line from the axis.


That's all! The device is ready to go. You can install!

Thanks to the author for a simple but useful tool for the workshop and at home!

All good mood, good luck, and interesting ideas!
8.6
8.9
8.9

Add a comment

    • smilesmilesxaxaokdontknowyahoonea
      bossscratchfoolyesyes-yesaggressivesecret
      sorrydancedance2dance3pardonhelpdrinks
      stopfriendsgoodgoodgoodwhistleswoontongue
      smokeclappingcraydeclarederisivedon-t_mentiondownload
      heatirefullaugh1mdameetingmoskingnegative
      not_ipopcornpunishreadscarescaressearch
      tauntthank_youthisto_clueumnikacuteagree
      badbeeeblack_eyeblum3blushboastboredom
      censoredpleasantrysecret2threatenvictoryyusun_bespectacled
      shokrespektlolprevedwelcomekrutoyya_za
      ya_dobryihelperne_huliganne_othodifludbanclose
18 comments
The stray for a drilling machine is more harmful than useful - after all, shiny objects have to be drilled, and the reflected laser beam (even a low-power one) is not the best thing you can think of for the eyes. You can, of course, turn it on - off as needed, but from my experience I can say one thing - good local lighting and proper layout - and you are guaranteed success when drilling anything.
Yeah, and the connoisseur of delicate taste is actually a French "gourmet".
As for the definitions in accordance with GOST, it turns out there is complicated: all the texts. the defining concepts of “screw” and “bolt” are written in the worst traditions on the principle “so that everything is correct, but nothing is clear”. Something is said about the screw, such as that it is screwed into the part, because the nut is also a part. If you try to understand what the authors of these GOSTs wanted to express, then the "institute" definition that I gave earlier is correct. Yes, and old textbooks, written and verified-cross-checked by experts, say the same thing.
True, it is not clear how to deal with torxes and external / internal hexagons!
Anto fso intrigues of imperialism! smile
I was taught - the screw is screwed with a key, the screw - with a screwdriver! smile

This is the most common "popular opinion" ... Yes, and normal ... (True, it is not clear what to do with Torxes and external / internal hexagons!))))) They also happen with keys and screwdrivers)))) And now there are almost as many as they are ordinary ...
But GOSTs thought differently ... (too lazy to look)))).
But it so happens that "official is right - one thing", and "popular opinion" is even more correct ...
For example, the word "gourmet" means a person - a glutton who eats everything a lot and indiscriminately ... But here, on the contrary, we call a gourmet a "fine connoisseur of taste" ...That is, exactly the opposite! And after all, no one is correcting ...
Bolt - a fastener in the form of a rod with an external thread, usually with hex head wrench
Screw (from German. Gewinde - threading, through polish. Gwint) - fastener for connecting parts, one of which can be with internal thread. The screw has the form of a rod with an external thread at one end and a structural element for transmitting torque at the other [1]. The transmitting force element may be various kinds of heads, slots at the end of the rod etc. A screw is a type of screw

I was taught - the screw is screwed with a key, the screw - with a screwdriver! smile
And others, like, very well distinguish the word "screw" from the word "bolt"?
Author
I do not use it
Quote: LeoBrynn
And about isolation and all figoteni - stick a piece of lavsan.
The author did not provide for this, therefore there is a reasonable assumption that this product is DIY for DIY.
Quote: LeoBrynn
How does a bolt differ from a screw?
I learned from the institute: a bolt boltscrew in the hole andwinessealed in the part.
Well, to be more precise and picky, this is an optical SCAN of the laser beam. And there is also a mechanical beam scan (previous) and so on. And not a “linear laser”, but an ordinary p / p diode laser.
For the sake of interest, "drove back and forth" by the Google translator article title:
Line laser from the pointer do it yourself hands - Line laser from the pointer do it yourself hands do it yourself with hands - Linear laser from the pointer do it yourself hands - Linear laser from a pointer do it yourself - DIY line laser pointer - Linear laser pointer DIY.

Finally, no errors or distortions of meaning !!! ok
Author
I propose to put on a fingertip and a piece of lavsan in the face. xaxa
Author
And when translating - BOLTS. That’s the difference between Chinese and Russian.
Vanya, where are your articles. give it to neigh too!
Author
Cheto had not seen you for a long time. Already missed you!
Author
Vanya, I’m answering the topic of a mechanical laser. There was even more rzhacha.
This one article.
And about isolation and all figoteni - stick a piece of lavsan.
How does a bolt differ from a screw? Stick accepted. HERE
As you can see, the focal length of the module is about 9 cm.
Not "Apparently", but "As the author defined."
The end of the tube is not closed by anything. How will dust affect the quality of the line, which is more than enough in the air of a construction site or a place for processing wood? The author even inserted the lens, holding it with a napkin, so as not to contaminate. And at the place of use of the sterility device is not expected.
And I'll walk on this!))))

Threads M3 for bolt tap.

And what for goat button accordion thread a bolt? He is with a nut! smiles
Inserts it into the case, clamps bolts laser and head.

So this is cogs-and-and !!! dontknow

As one merchant at Privoz told me: "Do you want ???. Well, here you go!" xaxa
Author
Well, where is the sharp discussion of the last article (not mine) - I promised - I did.

We advise you to read:

Hand it for the smartphone ...