

The appearance on a wide sale of a special photosensitive (hereinafter referred to as MF) film allowed the master to place home Workshop affordable, simple, fast and inexpensive process for the accurate transfer of black and white line art on copper and its alloys. It can be scales, nameplates, front panels, plates, etc. The most widespread process was among radio amateurs - the manufacture of printed circuit boards. The exact repetition of the figure, here, among other things, allows the widespread use of SMD components with all their advantages. For artisanal studies, this is, first of all, savings on labor-intensive drilling operations, low cost of components, installation well corresponding to the requirements of RF circuits. In relatively low-voltage circuits, the reverse unused side of the fiberglass plate can be used as one of the walls of the device, including shielded ones. On a material with double-sided foiling, a more compact device can be designed with a reasonable mounting density - by placing parts of the circuit on different sides of the board.
In a word, this is another degree of freedom for the master and the amateur radio operator, which does not require special expenses. Among other things, the process does not involve toxic (such as photosensitive varnish - the elder brother of the film) and caustic (strong alkali for developing the varnish film) chemicals. All work can be performed in room conditions without special equipment. If we take into account the existence of etching solutions for copper and alloys that are more cultured than, say, ferric chloride, for example, based on hydrogen peroxide and citric acid, you can, under supervision, also allow young ladies. For example, it can be a masterclass on performing decorative work on metal, making jewelry. Compared with the mentioned photosensitive varnish, a whole layer of work on applying and drying varnish is omitted, and this is a possible cause of failure.
Compared with the widespread LUT, the described process does not require a laser printer, and cheaper and more common inkjets are also suitable.In addition, an inkjet printer is even more preferable - it does not heat up the film when printing, the image accuracy is high without any shamanism with correction and preliminary heating. For printed circuit boards, this is a valuable property.
So, we will consider the sequence of work on the example of manufacturing a simple printed circuit board.
What was used for work
PC with a specialized program for tracing printed circuit boards, an inkjet printer, transparent film for printing on an inkjet printer.
Foiled fiberglass, SCH film (look in radio stores, on AliExpress), a piece of glass (plexiglass) for pressing, an ultraviolet (UV) lamp (soft UV - black “Wood lamp” or UV LED), a clock (timer). Dishes for chemicals - cuvettes or flat containers, preferably metal enameled (heating). Chemicals - soda ash (look at a hardware store), any of the pickling solutions for copper and its alloys, and little things.
Let's get started
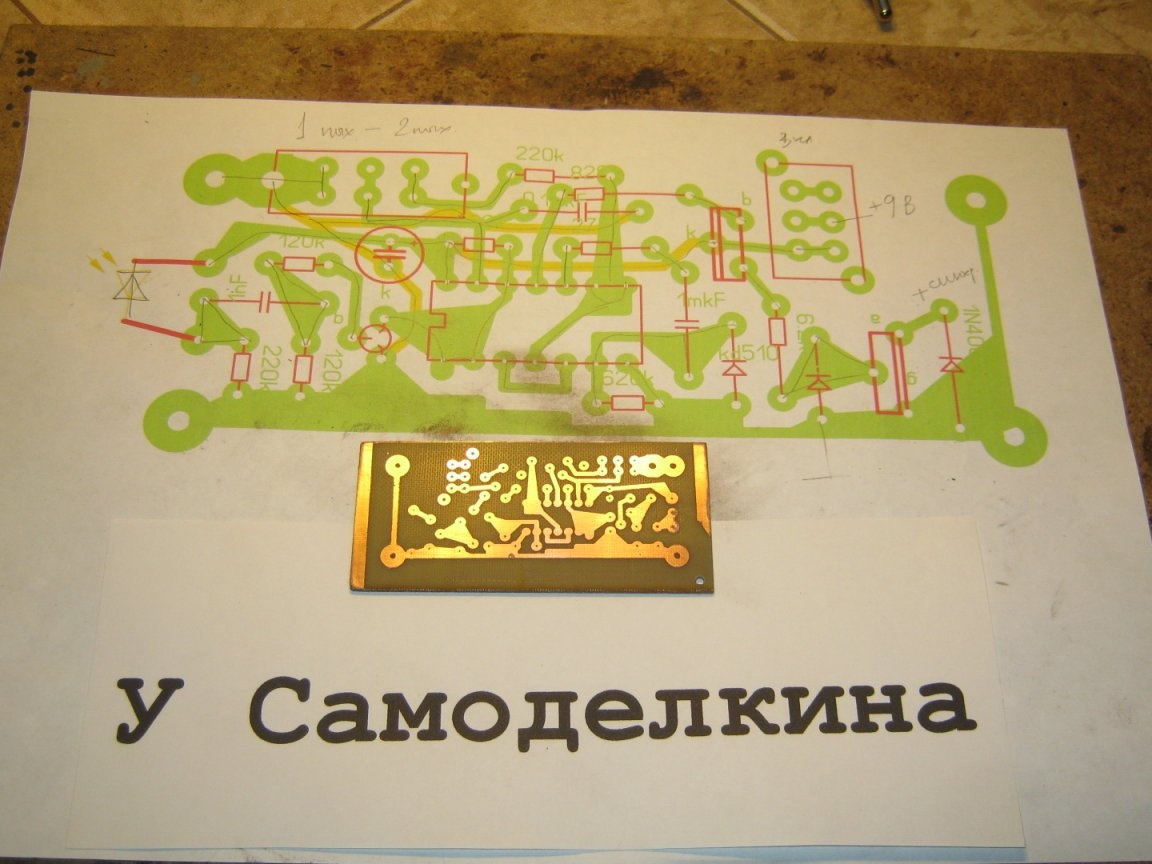
We design a printed circuit board using special software. Oh, it's a magical process, like folding a puzzle is a pleasure. We have to keep in mind and take into account more than one factor. In difficult places makes you creak your brain, but the more pleasant the result. It used a simple Sprint-Layout program. The green layer M2 - as expected, for the lower tracks. It should be said that when contact printing - exposing a blank of PCB with a glued film, the photomask should be applied with the printed side. This eliminates the moire around the tracks, the fuzzy border of the image - even a negligible film thickness additionally scatters the rays of light.
Having climbed into the printer’s print settings, we ask him not to be greedy with ink - we need a photo mask so that the ink does not shine through. For not too thin lines, I was well able to print twice in the same place. The photo template was printed as usual, allowed it to dry for 5 ... 10 minutes and printed again on the same film with the same settings. If you carefully insert the sheet, the printer completely gets into.
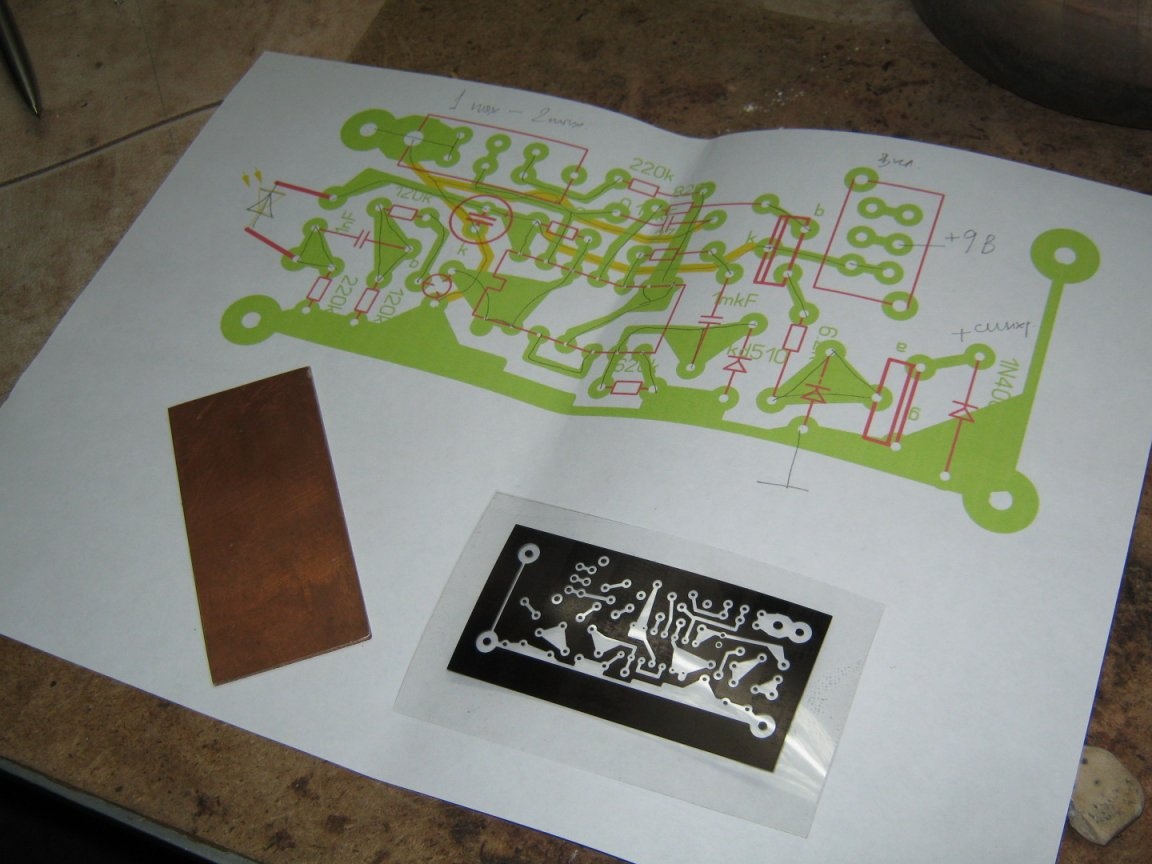
Dry the photo template, cut it out.
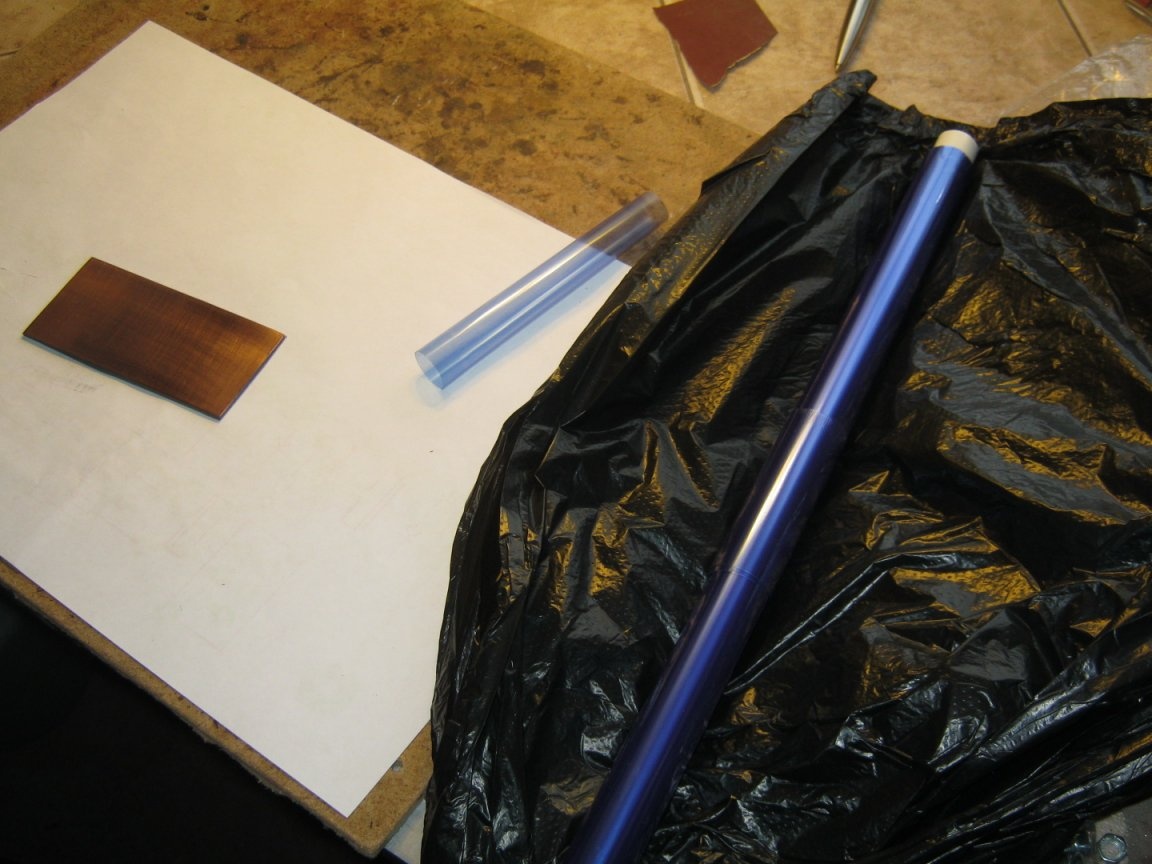
Procurement of foil material. We select a suitable piece of material, cut the workpiece with an allowance of 3 ... 5 mm. The more you like it, even with a hacksaw for metal, even with a special cutter with a tooth from a hacksaw blade, even with scissors for metal. Level the edges, blunt the sharp edges. The side with the foil is carefully cleaned. If the textolite is fresh, pink, you can do with clerical gum - an eraser. It includes crushed glass. If the material is old, stale, with greens, we use a fine sandpaper. Slightly larger than "null" or her darling. Several times we change the direction of movement - along and across. When tearing off the foil to prevent touching your fingers, hold the workpiece only by the ends, like a glossy photo. You can use HB work gloves. It is convenient to hold the left inoperative hand in the glove. It is not necessary to degrease the workpiece with solvents, it can even reduce the adhesion (adhesion) of the film.
Sticking midrange film. Our film is sensitive to UV light, you can work with it for a short time in dim natural or artificial light. Scissors cut a piece of film from the roll, slightly exceeding the size of the foil blank, hide the roll from the light.
To stick on the prepared copper layer, the protective film on one side must be removed. It is convenient to do this in the process of gluing. Like that.
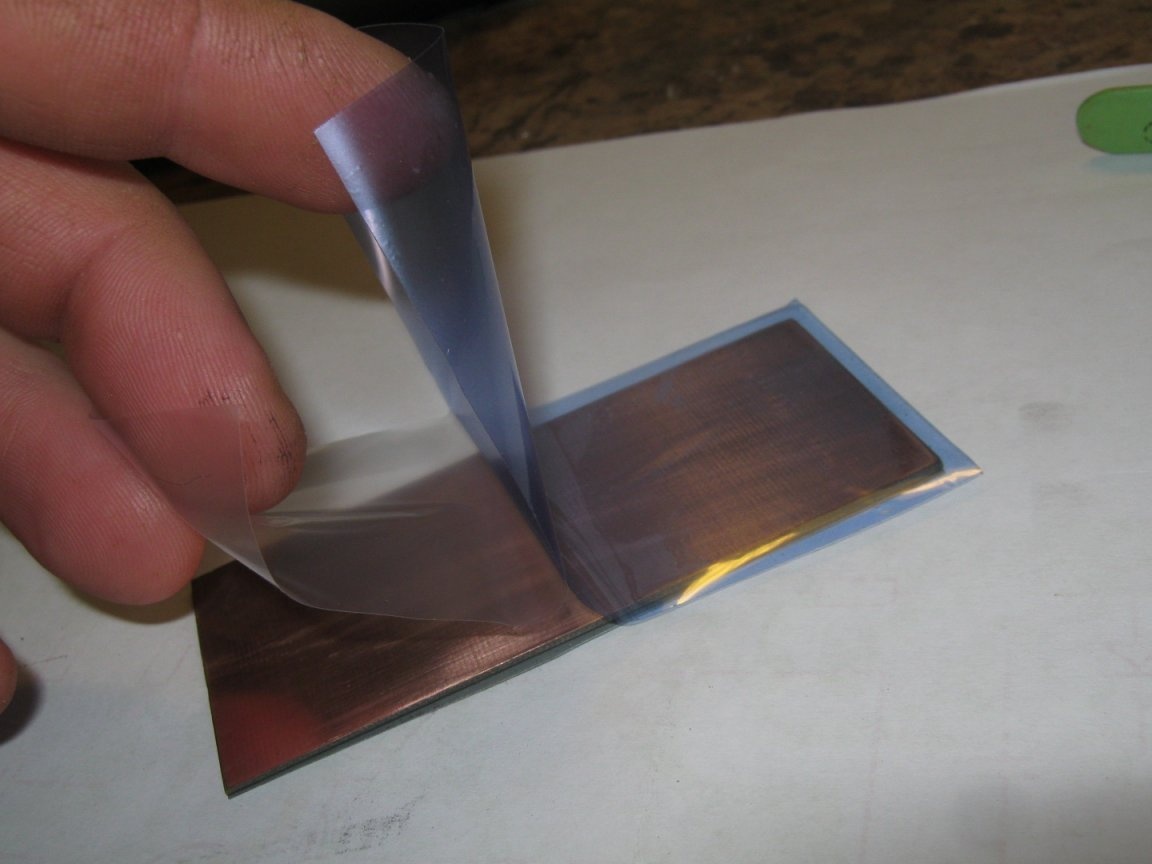
With a needle, we pry the protective film on the edge of the piece and evenly fasten the liberated part onto copper. The rest is obvious. On small workpieces, you can smooth out with your fingertips. As when gluing wallpaper - from the middle to the edge, expelling likely air bubbles. They should not be under the film. This is not difficult to achieve. Such gluing minimizes the amount of debris and fingerprints trapped inside.
Scissors protrude the protruding parts of the film.
Exposure. To exhibit the prepared workpiece, we assemble a sandwich - on the copper side of the workpiece glued with mid-frequency film, put the photo mask (paint down, onto the film) and press it with a piece of glass.
Here, a few words should be said.
Ordinary glass, window glass, so to say glass, UV does not pass very willingly. This missing part, however, is enough to process the midrange film or varnish. The thicker the glass, the less UV it passes. Glasses 1 ... 4 mm thick work quite well. Exposure time - from units of minutes to a half dozen, depending on the power of the lamps and the distance to them. Organic glass allows UV to pass through much better; it will work much faster.
- an important point. If it does not fit snugly to the workpiece, there will certainly be the defects described above - moire, fuzzy borders, low resolution. Blanks made of foil laminate (textolite, fiberglass) are all the more even, the thicker they are. The workpieces are thin, even fresh, often slightly curved. The defect is exacerbated for however large the workpiece is. Flat glass in this case presses the photomask unsatisfactorily.
For uniform and tight fit of a flexible photomask with contact printing, vacuum is successfully used. Like lamination or vacuum packaging. External air pressure reliably presses the pattern. Homemade exist fixtures for fast vacuum clamping, for example [1]. An ingenious amateur radio idea makes it possible to make a uniform and completely reliable clamp by very simple means - laying a plastic mattress filled with air between the glass and the photo mask.
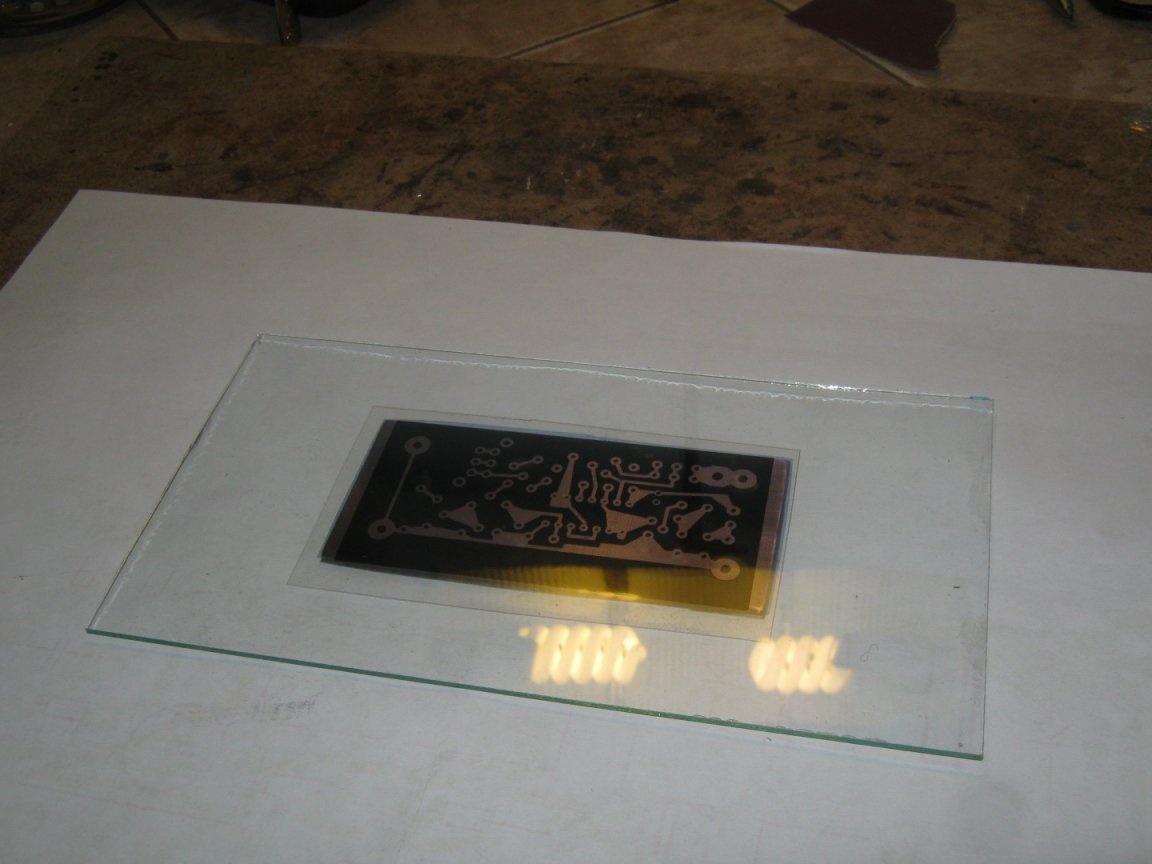
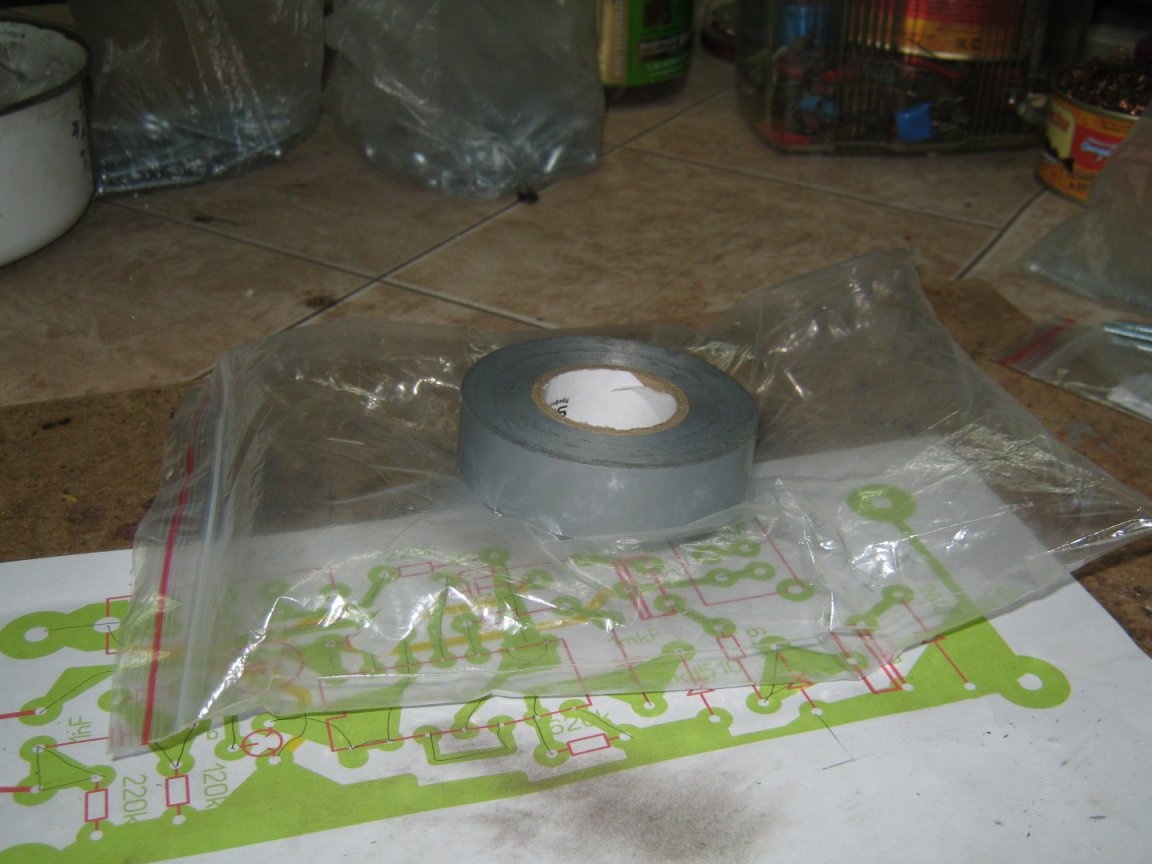
It is easy to solder a mattress from a piece of plastic film with a soldering iron tip through a layer of paper. Sachets of the right size with an implanted, sealed zipper work well. It is better to choose a thicker, heavier glass for pressing. A “window” thickness of 4 mm is enough.
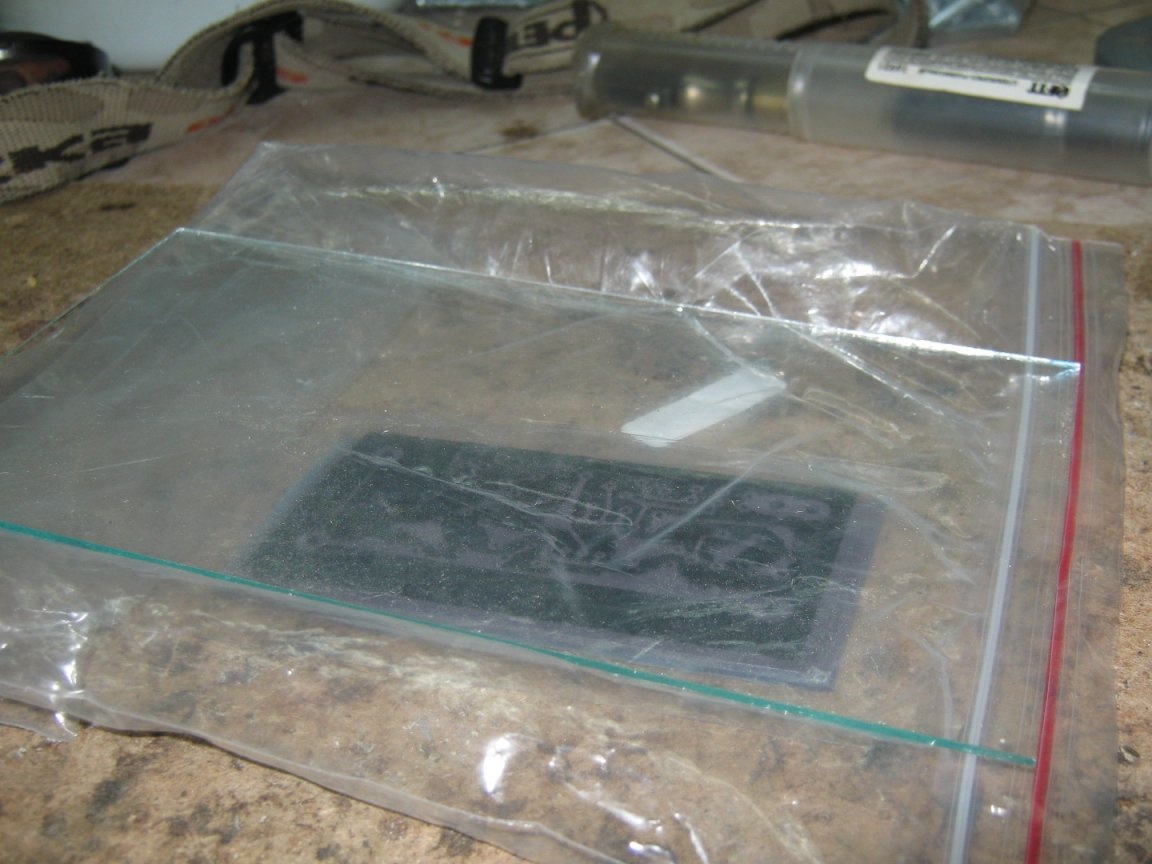
Putting it in a pile - we cover the blank with a pasted mid-frequency film with a photo mask. On top of it we put our mattress from a bag with a zipper slightly filled with air and press it all with glass.
Exposure time depends, including on location and power UV lamp. A very simple way to determine it is empirically. We make a photo template with the numbers 1 ... 10 in a row and light them in the working position for as many minutes as signed. That is, we close everything with the opaque material except the number “10” and expose it for 1 minute, move the curtain further, opening the number “9”. Light up a minute, open another digit, etc. After developing, the clearest prints should be considered the right time. Remember them, and it’s better to write them in a workbook.


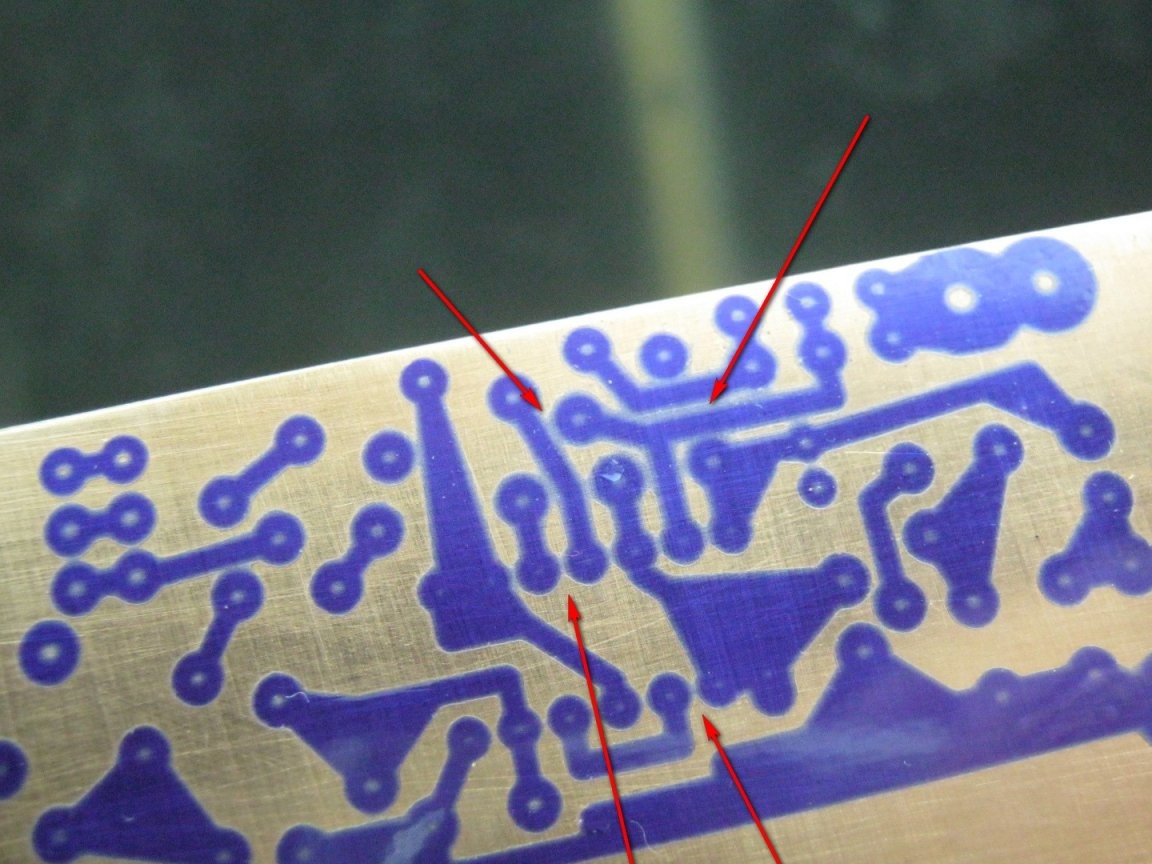
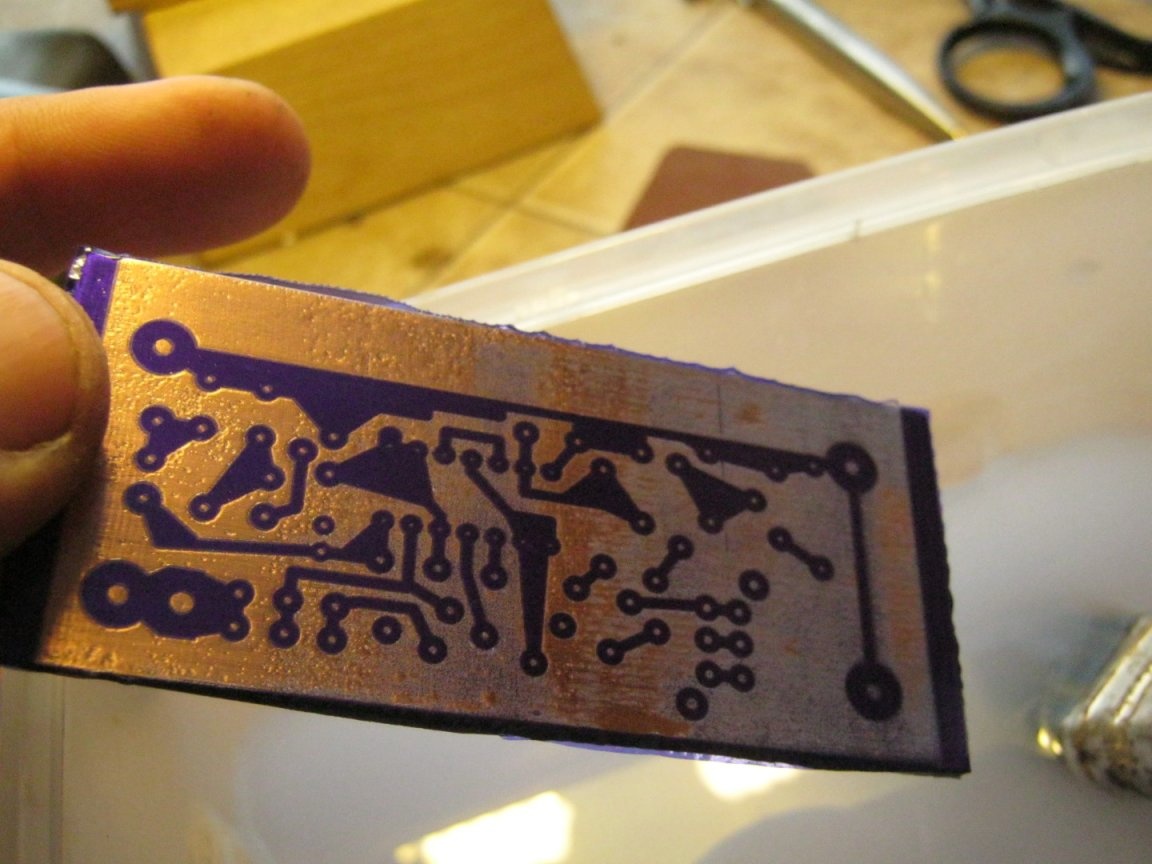
After exposure, the irradiated spots on the bluish-colored film become discolored. The figure is clearly visible.
We prepare the developer in advance - a weak solution of soda ash (Na2CO3, sodium carbonate). It is sold in hardware stores as a means to wash, clean, and soften water.
Convenient utensils for frequent medium-sized work (developing and pickling) - sealed food containers. It is only necessary to pick up with a good sealed, but opening without much effort cover, otherwise accidents cannot be avoided. Preparation - a teaspoon of soda in 0.5 liters of water. Solutions can be used repeatedly, stored directly in containers, if necessary processing small workpieces in them. Containers can be placed on a not very hot surface for heating. In winter, I use the cast-iron hob of a newly-heated wood stove in the workshop, in the summer I use an old photo-glosser laid to one side.
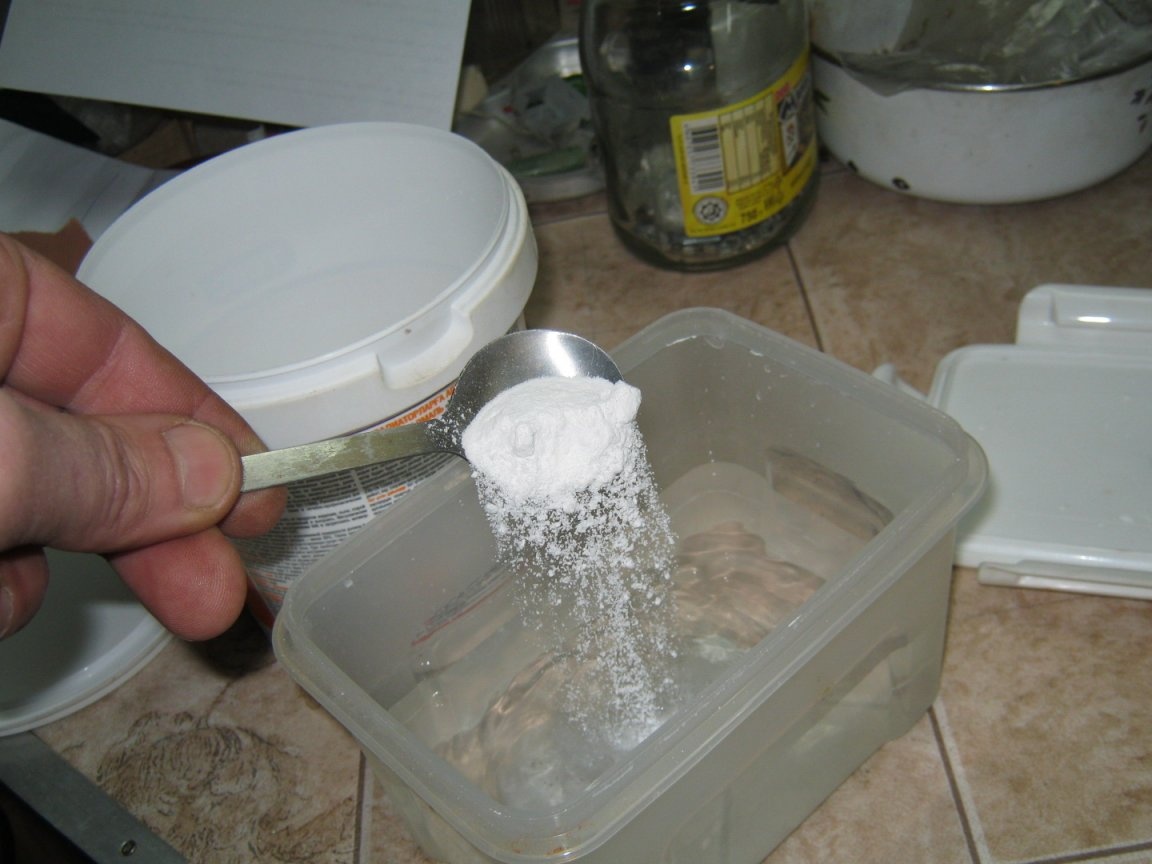
Soda ash is hygroscopic, its long storage requires tight dishes.It is convenient to pour it immediately after purchase from a cardboard box or plastic bag into a plastic jar with a sealed lid, for example, a bucket from PVA glue, water-based paint, etc.
The exposed blank from under the UV lamp is immediately placed in the trough with the developer. Unlike a similar process with photographic varnish, it is not necessary to withstand the exposed blank in the dark.
It is important not to forget to remove the second protective film from the midrange film - pick up the edge with a needle and tweezers. Otherwise, the developer simply will not get to the sensitive layer.

It is convenient to hold the workpiece in a solution for five minutes and after swelling of the unlit areas of the film, help them dissolve with a soft brush. The process is not instant.
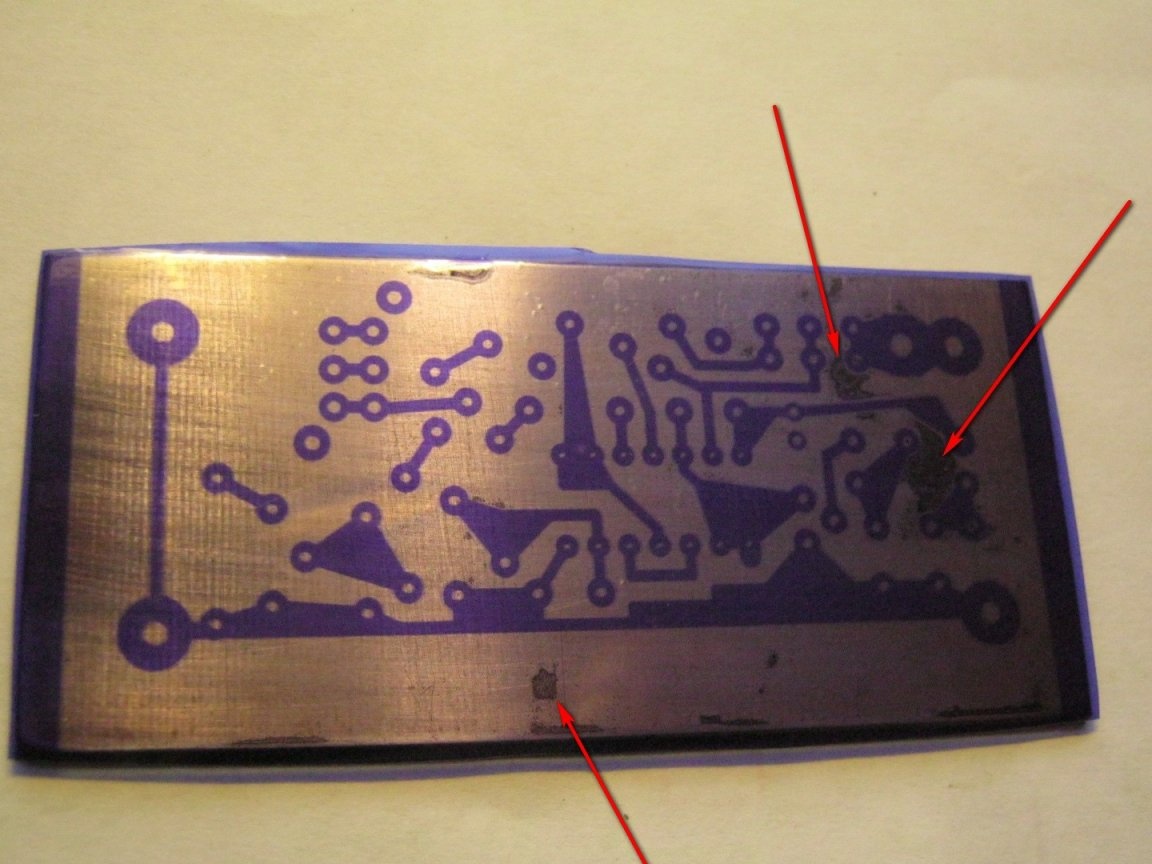
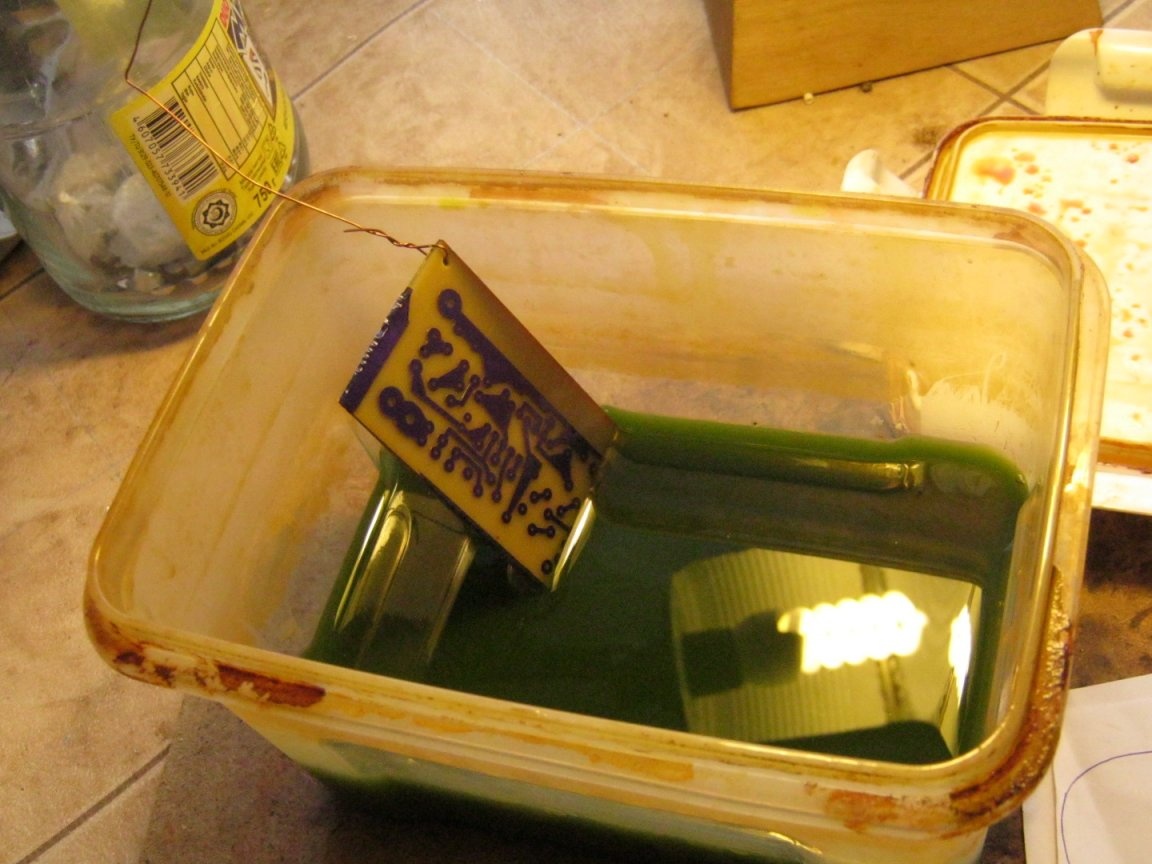
It was made good old ferric chloride. In the same trough. In the corner of the headscarf, I drilled a small hole for the wire handle. Copper winding wire in varnish insulation. The wire should stick out of the solution beyond the edge of the can. It is convenient to pull out the blank for inspection. With the same wire, he raised one edge of the scarf in the thickness of the solution, while the workpiece is located face down. The products of the chemical reaction are then freely removed from the etching surface by ascending flows (when heated), without interfering with the flow of fresh solution. Etching is fast and almost without any tricks.
done with acetone. This is the only odorous moment in the whole process. A cloth impregnated with acetone must be impregnated with the film so that it swells. After a minute or two, it will begin to wear off. An option for working with children is to have the same capacity (flat sealed, as for the developer and the pickling solution) with acetone. Having collected the workpieces, immerse them in a solvent for a known excess time. Soaking occurs in a closed container. To activate the process, the vessel can be shaken periodically. The film should swell and fall off on its own. The loading of blanks into the solvent and their extraction (drying) can be done outside the workroom. In the end, UV-cured film can be peeled off with fine sandpaper.
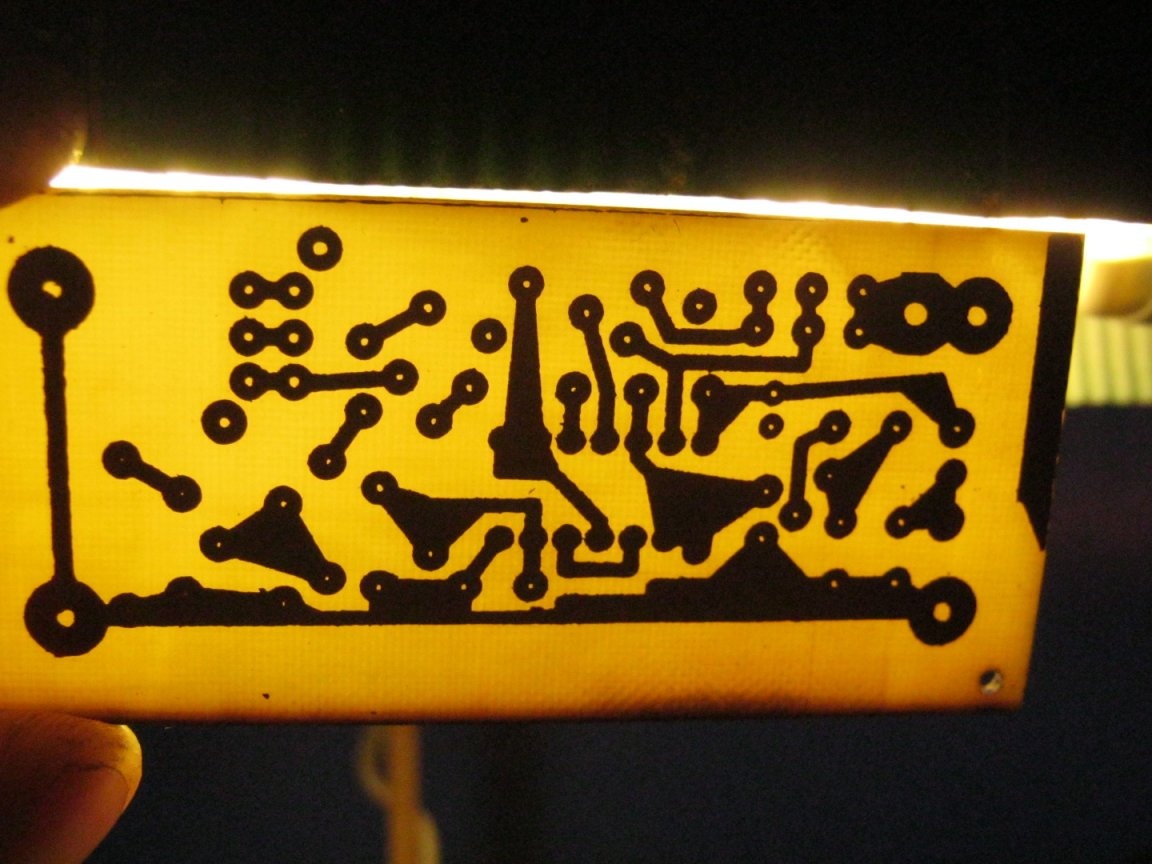
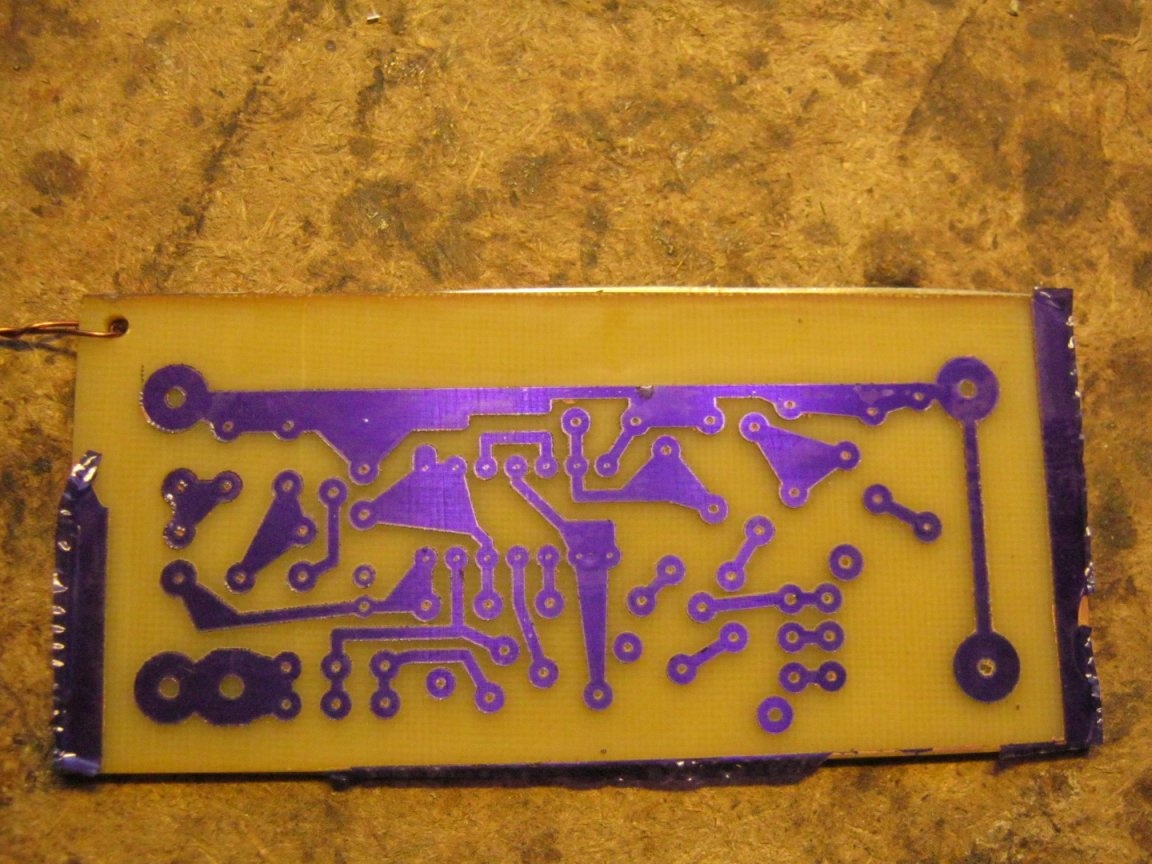
Our pattern is etched. If we are talking about printed circuit boards, this is followed by several more steps - drilling holes (if there are elements with wire leads; you may first have to tilt the centers), removing burrs with a fine skin, coating with a liquid flux, tinning.
When decorating or obtaining technical images (nameplates, scales), an inexpressive etched pattern should be contrasted by filling the recesses with a dark color. Looks spectacular simple reagent induced patina.
Bibliography
Babay Mazay, December, 2019