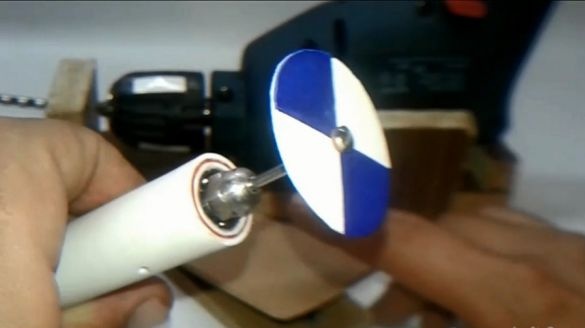
Hello!
Some small and delicate projects are impossible bor machine, but not everyone can afford to buy it for amateur business.
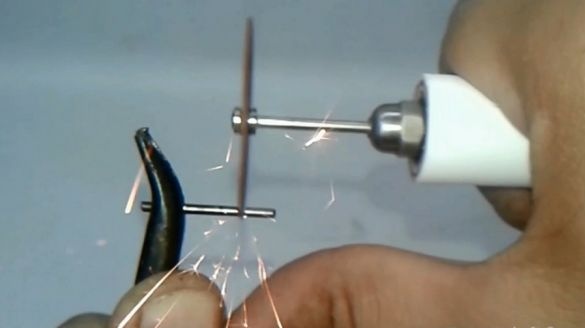
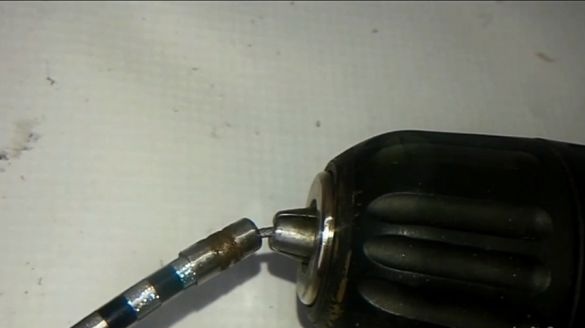
In this article I will tell you how to make a drill, a nozzle for a screwdriver from improvised materials and I will be pleased if my idea is useful to you.
Materials and tools:
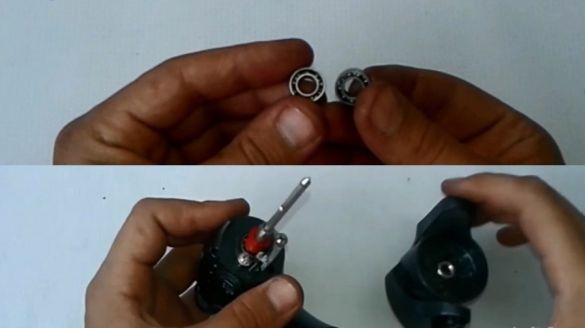
- 2 bearings from inertia reels
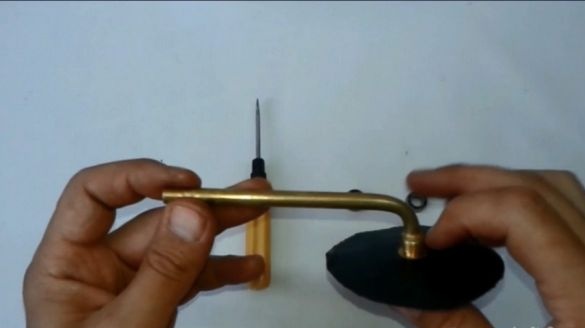
- valve from the truck’s wheel chamber
- screws for nut 10
- cap nut 10
- bicycle brake cable
- plastic pipe for hot water at 20
- screwdriver
- hacksaw
- file
- soldering iron
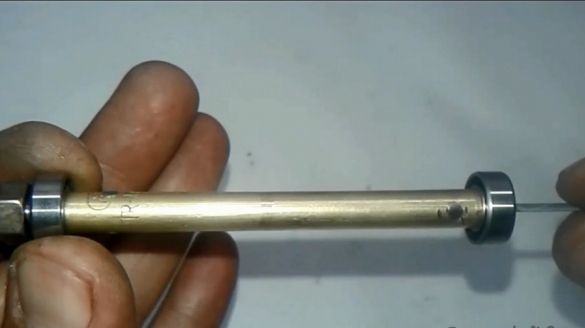
And so, let's start with the most complex mechanism of this device, namely with the tip.
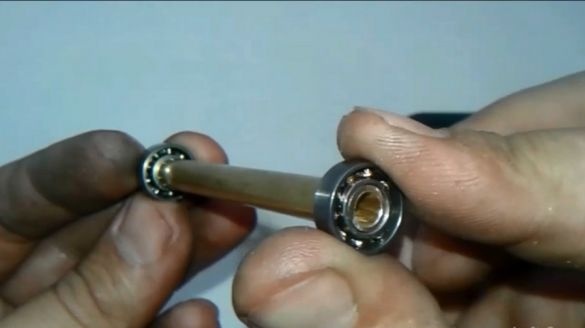
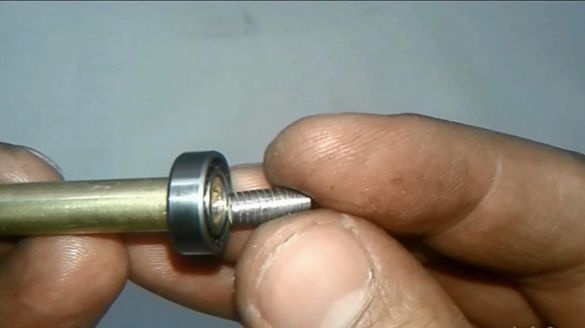
For him, we need two bearings from inertialess coils. I saw similar bearings on sale bearings in a shop of radio details. I did not buy them, because I had available broken coils.
And as a shaft for the bearings, I used a brass valve from the truck’s wheel chamber.
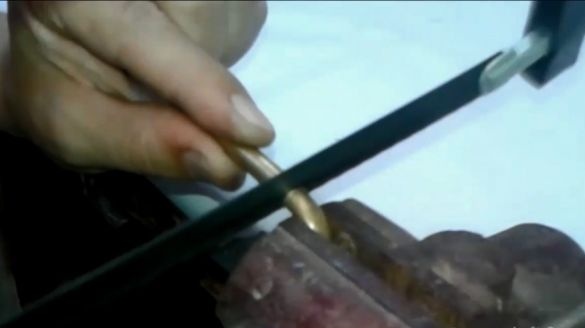
Cutting off the excess
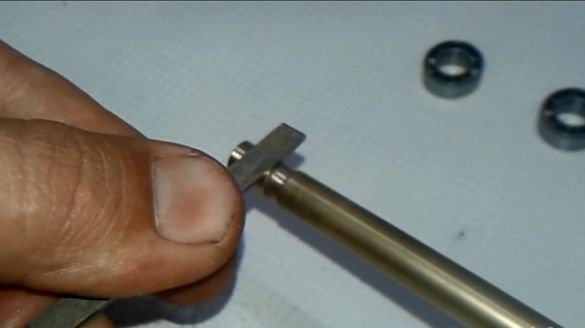
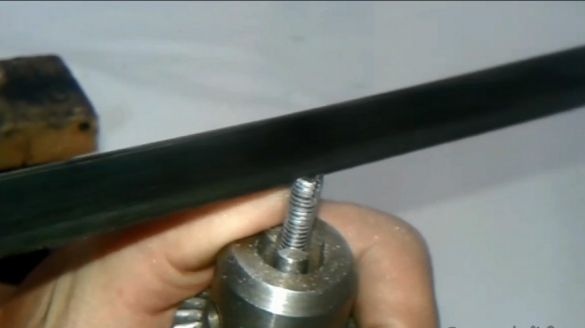
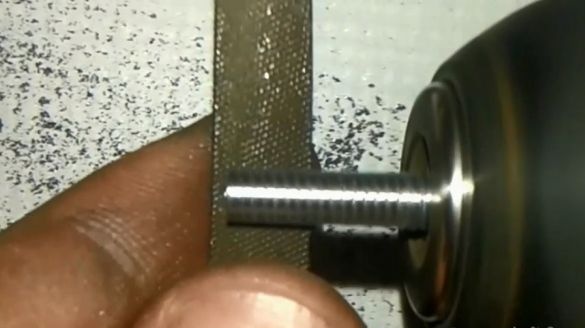
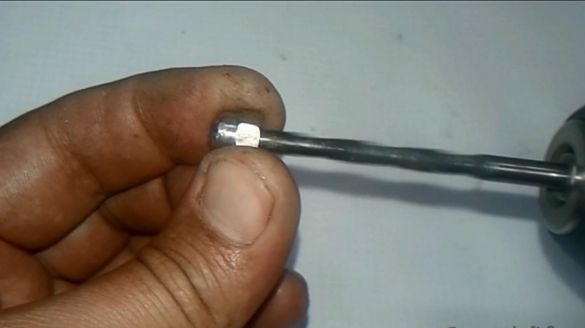
we clamp the future shaft in the chuck of a screwdriver and rotating it, file the necks for bearings with a file.
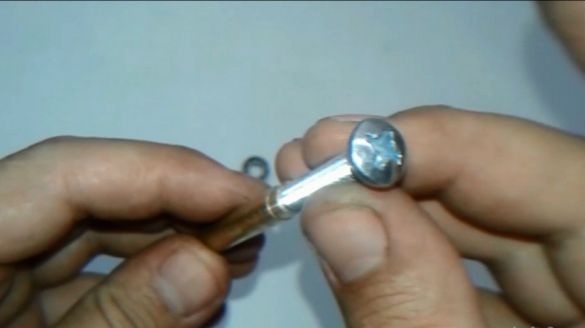
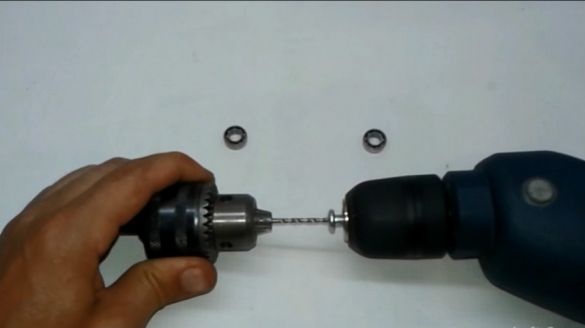
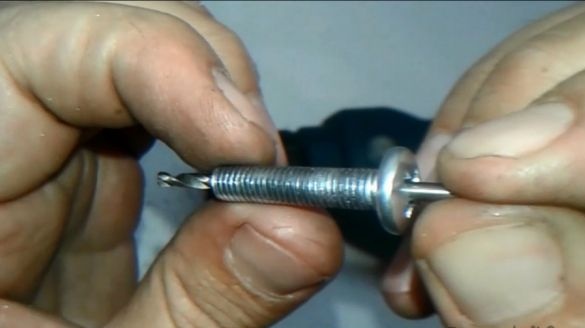
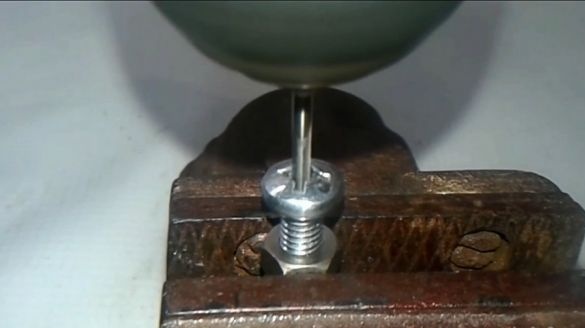
After this, you need to make a crimping mechanism for nozzles or collets. To do this, I decided to drill a screw suitable for the nut by 10. Having fixed the screw itself in the chuck of a screwdriver, and setting the drill 2.5 mm in another, or rotating the screw in a vice, drill it along the axis.
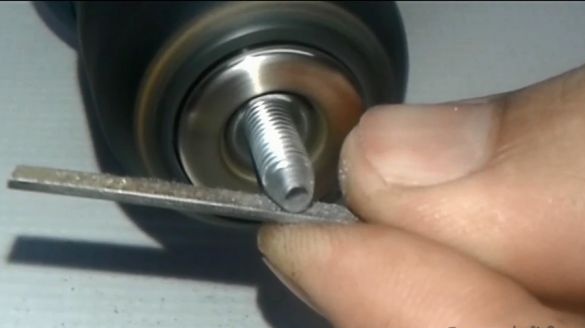
We cut off the screw head and carefully, in the center, make four axial cuts with a depth of 4-5 mm, thereby dividing the end of the part into four parts. If you allow the slightest displacement by making slits or holes, then the clamping jaws will be different, in the future the nozzles will vibrate and the use of such a drill will be difficult.
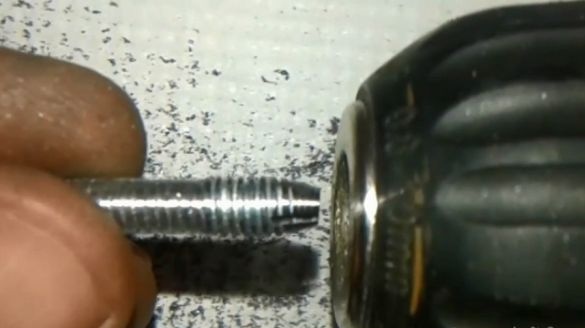
Having set the workpiece with the shank in the chuck of a screwdriver, file the head under the cone with a file.
Then we unfold the workpiece by fixing a 12 mm rod with the conical part in the screwdriver's chuck, grind the thread of the shank, thereby reducing the diameter of the part to 5 mm.And on the shaft itself, we increase the internal diameter with a drill of 5 mm, deepening it by about 2 centimeters.
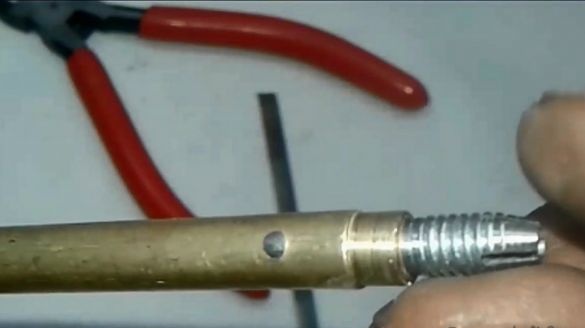
We insert the part into the shaft and drill it with a 2.5 mm drill, pin it with a nail that is suitable for the diameter of the hole, fastening them together.
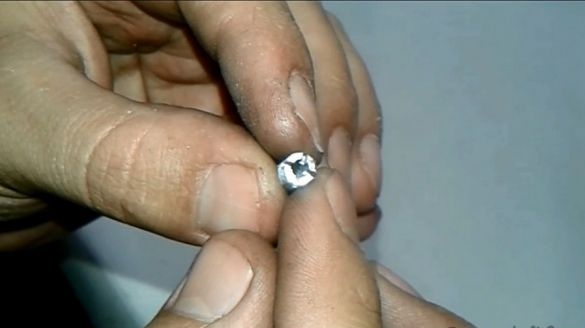
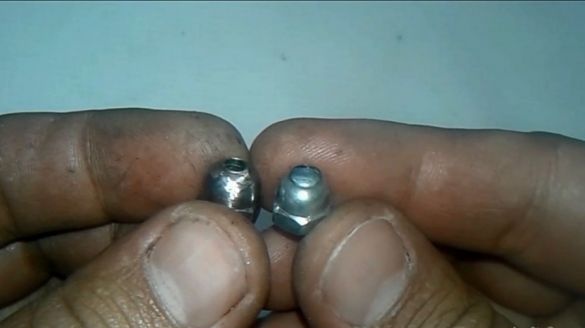
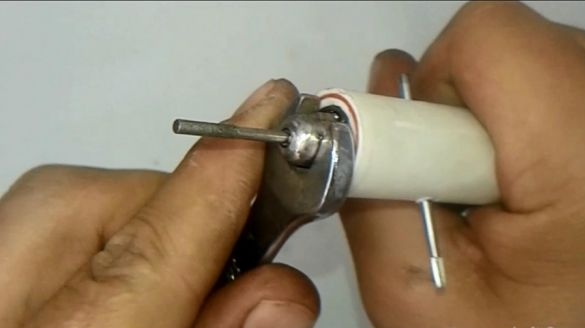
For the second part of the crimping mechanism, I decided to use a steel cap or blind nut at 10. I could not find such a nut on sale and I had to unscrew it from the door handle from a metal profile.
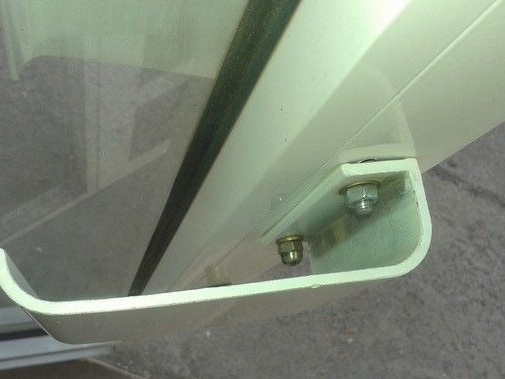
To make a hole exactly in the center of the nut, I drilled another screw and tightly screwed the screw in the nut, drilled a hole in it with the same drill.
Then, measuring the end of the crimping mechanism, using a 4 mm drill, enlarged the hole in the nut and, with a 5 mm drill, removed the chamfer from the inside.
As a flexible sleeve of a car bur, I used a bicycle brake cable. Rotating in a shirt, the cable will transfer the kinetic energy of the screwdriver to the tip.
By the way, the nut from the brake system is not suitable for the collet head. The walls of the cap are too thin for this.
Now you need to connect the cable to the shaft. For this purpose, I drilled another screw, only this time, with a smaller diameter and a long one.
Having measured the thickness of the cable, we drill a screw with a 1.5 mm drill and cut off the cap and reduce the diameter of the rod in the same way.
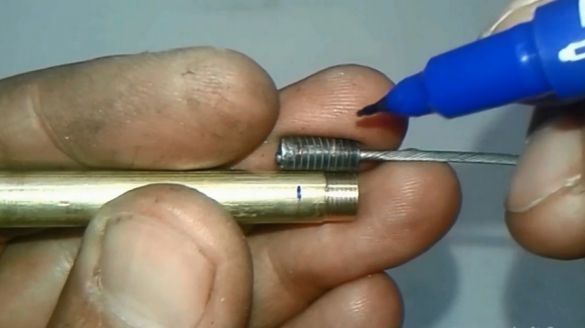
Then solder the cable into the rod about half its depth. For soldering, I used soldering acid and tin solder. We heat the rod with a burner or on a gas stove and solder the cable.
We mark the drilling point and make holes on the shaft, and then in the shaft by installing it in the shaft. After, we pin, fastening the parts together.
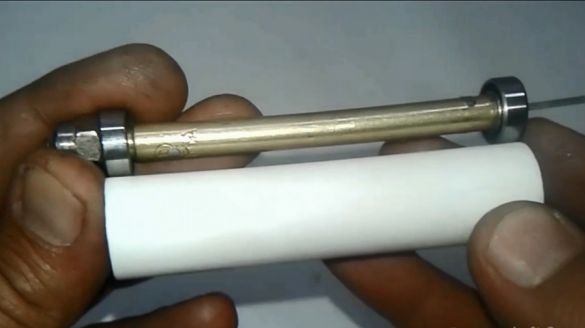
Reinforced plastic pipe 20 was perfect for the housing. The pipe length is the distance from one to the second edge of the bearing
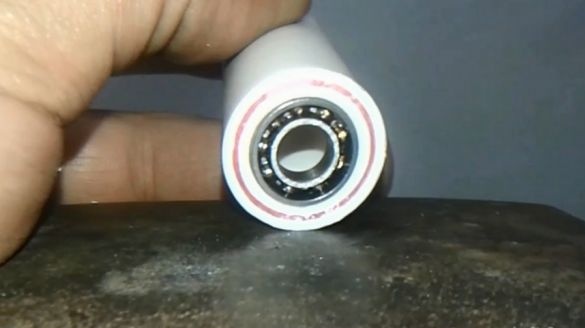
Slightly removing the chamfer from the plastic tube we press in the rear bearing. And then passing the cable through it and installing the shaft in it, we press in the front one as well until the play between the shaft and the bearings disappears.
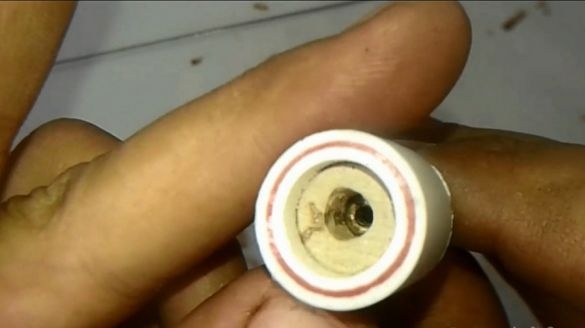
Now you need to fasten the cable jacket to the body of the tip. To do this, cut off a plastic tube 2 centimeters long and make a core for it from a wooden bar. Having made a wooden blank with a diameter slightly larger than the inner diameter of the tube and a length of about 1.5 centimeters, we press it into the tube.
In the center of the core we drill a hole with a slightly smaller diameter of the cable jacket coupling and fix it in it.
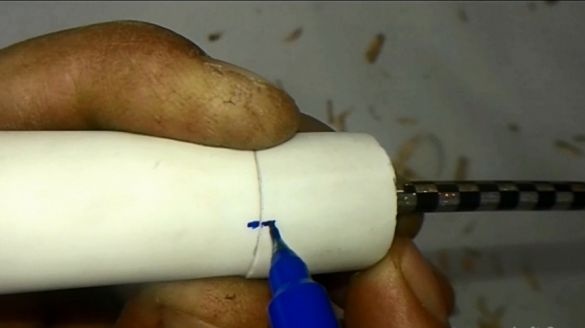
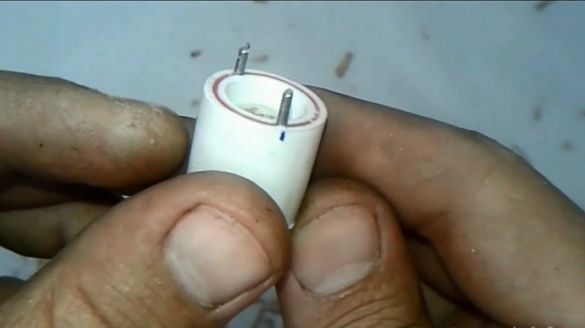
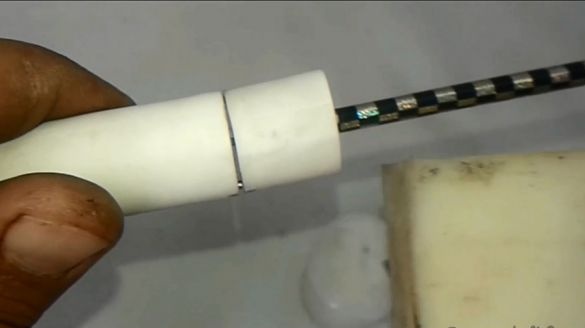
Having folded both parts of the case, we mark the places for their fastening among themselves. According to the marks, drill a hole of 1.5, drill about 5 mm deep and from a suitable nail in diameter, make a fastening pin about 1 cm long.
After inserting the pin into one of the holes, we connect both parts, mark from the back of the case and do the same operation for the second fastening.
Having lubricated the bearings and the cable, we finally fasten both parts of the housing.
I completely forgot about the shaft stopper hole, without it it would be impossible to fix the nozzles.
Drill 2.5 drill the housing, and then the shaft. After that, I had to knock out the bearings, clean them of chips and repeat the assembly operation. Fortunately, it did not take more than five minutes.
On the back of the cable, cut off the excess length. So that the end of the cable does not shag, solder it before trimming.
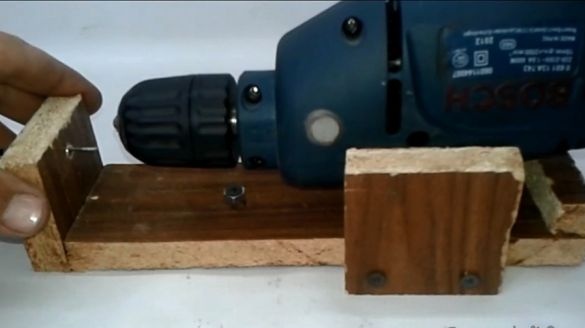
In order to avoid kink and damage to the cable, we assemble the frame for the screwdriver.
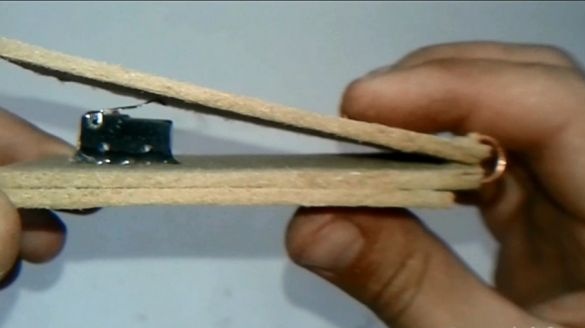
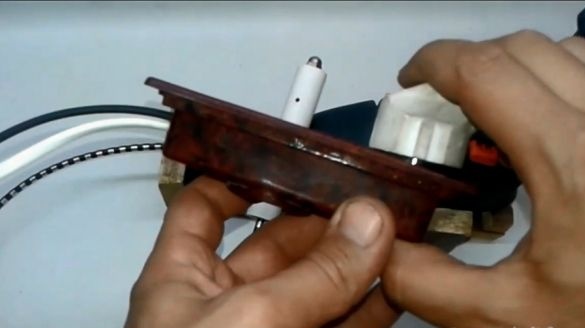
Well, for control, we make a simple pedal.
Of course, you could connect the pedal to the start button, but my screwdriver is not cordless and therefore I decided that it would be easier for me to make the pedal with a socket. And on the screwdriver itself just fixed the button.
If anyone does not have an electric motor lying around, then of course you can make a full-fledged boron machine.
Well, that’s probably all. I wish good luck to all home masters and masters in their creative endeavor.


