» Electronics » Metal detectors "Scheme of a simple and fairly effective metal detector" PIRAT "

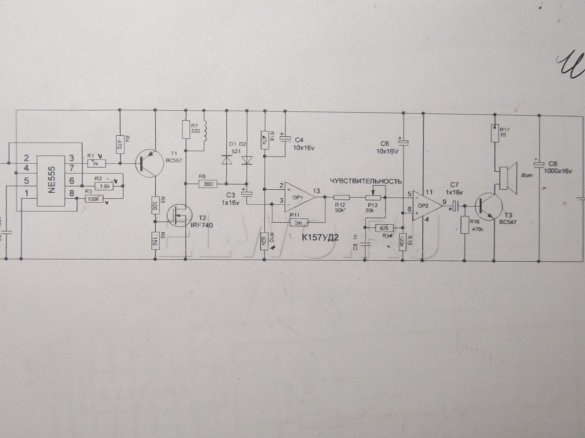
The scheme of a simple and fairly effective metal detector "PIRAT"


To assemble such an apparatus is within the power of everyone, even those who are completely far from electronics, just need to solder all the details as in the diagram. Metal detector consists of two microcircuits. They do not require any firmware or programming.

Power 12 volts, it is possible from finger batteries, but better battery 12v (small)

The coil is wound on a mandrel 190mm and contains 25 turns of wire PEV 0.5

Specifications:
- Current consumption 30-40 mA
- Reacts to all metals no discrimination
- Sensitivity 25 mm coin - 20 cm
- Large metal objects - 150 cm
- All parts are not expensive and easily accessible.

List of required parts:
1) Soldering iron
2) Textolite
3) Wires
4) 1mm drill

Here is a list of necessary details.
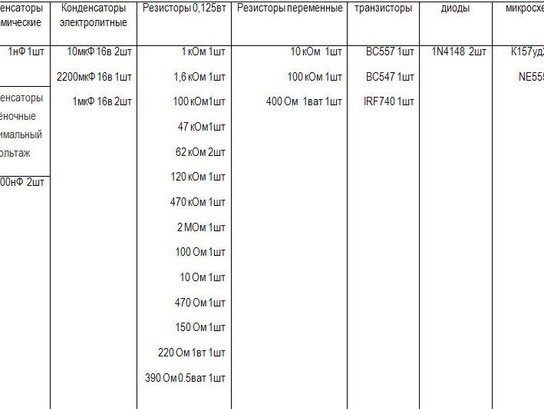
The scheme of a simple and fairly effective metal detector

The scheme of the metal detector


The circuit uses 2 chips (NE555 and K157UD2). They are quite common. K157UD2 - you can pick out the old equipment, which I successfully did
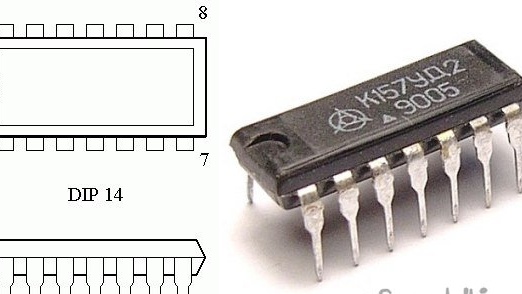
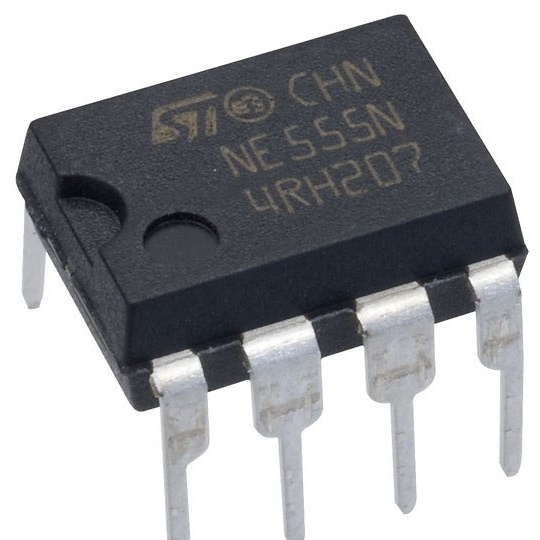
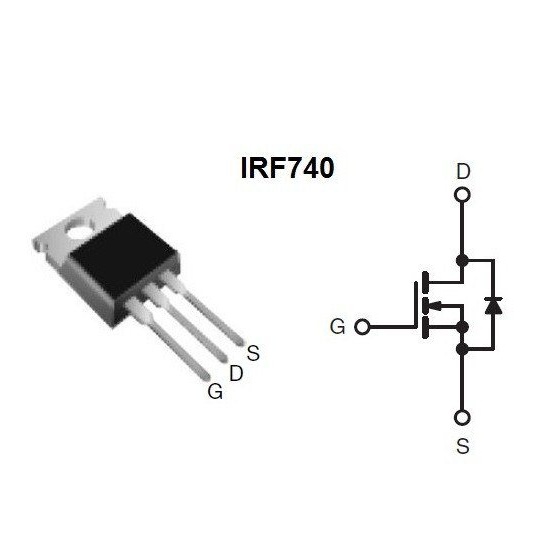
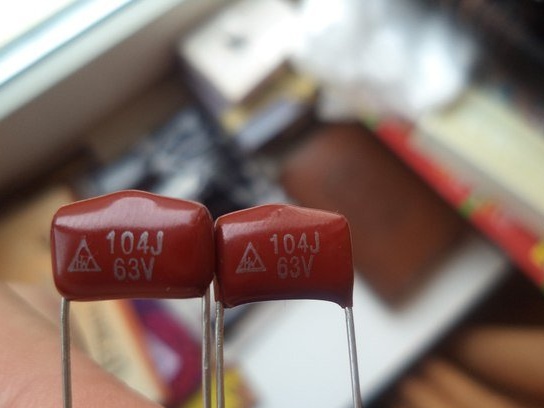
100nF capacitors must be taken with film, here we take as little voltage as possible
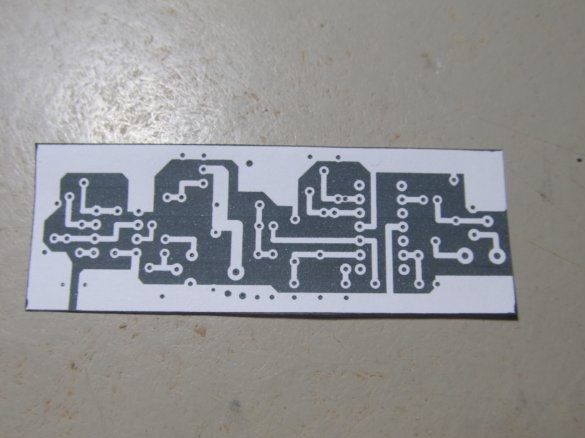
Print a board sketch on plain paper

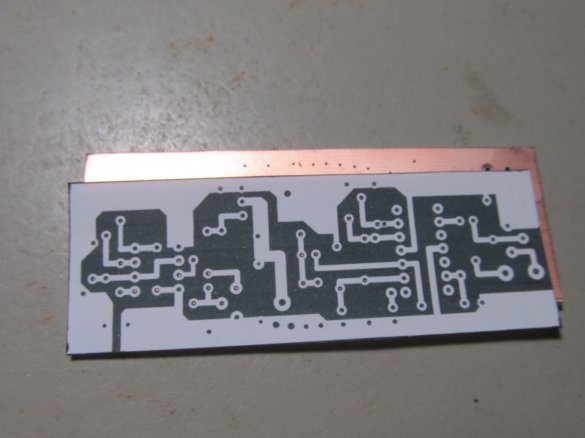
Cut a piece of PCB under its size.

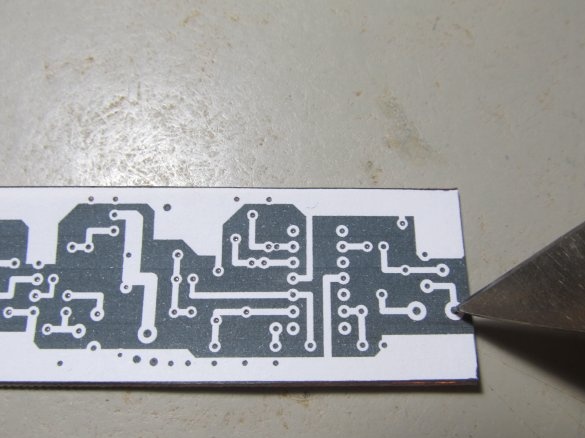
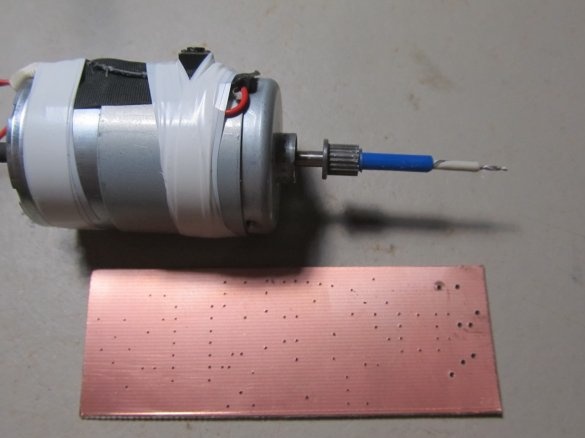
Tightly apply and push with a sharp object over the places of future holes

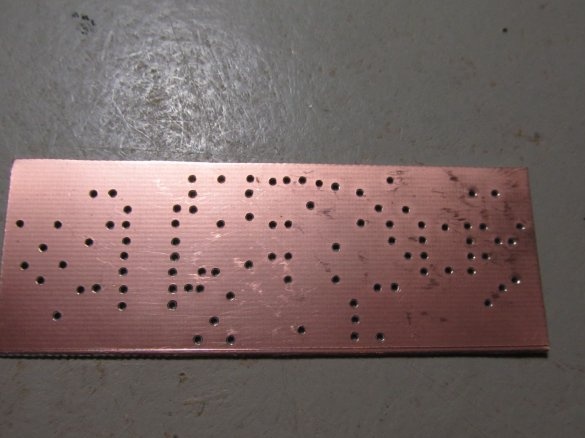
Here's how it should turn out.

Next, we take any drill or drill machine and drill holes


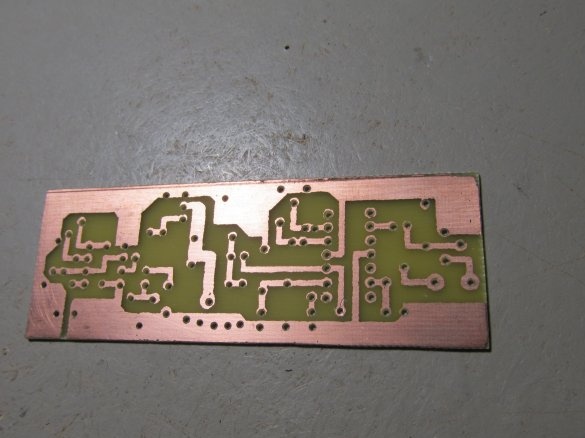
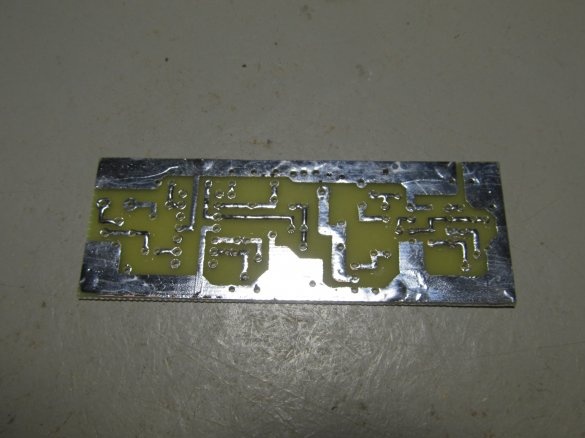
After drilling, you need to draw tracks. Can do it through photoresist, LUT or just paint them with Nitro varnish with a simple brush. The tracks should be exactly the same as on the paper template. And we poison the board.

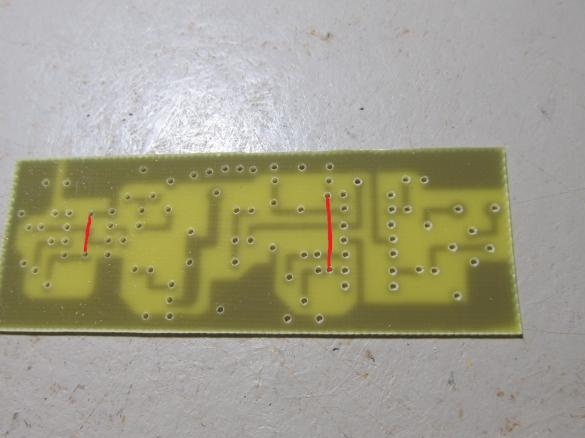
In the places marked in red, set the jumpers:


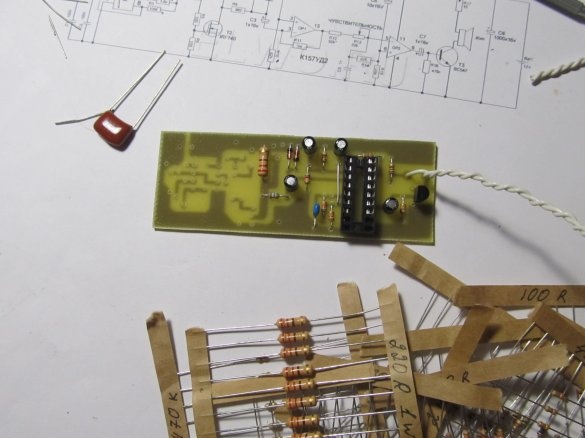
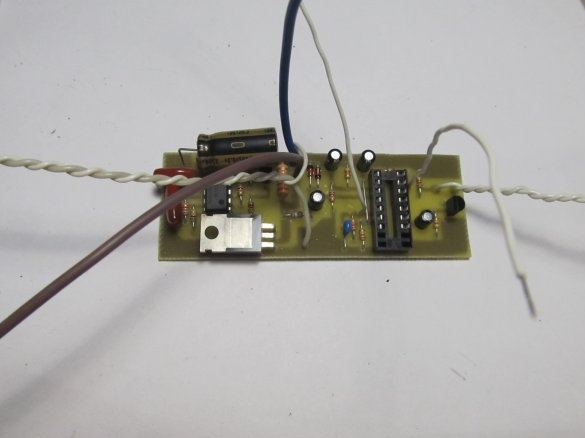
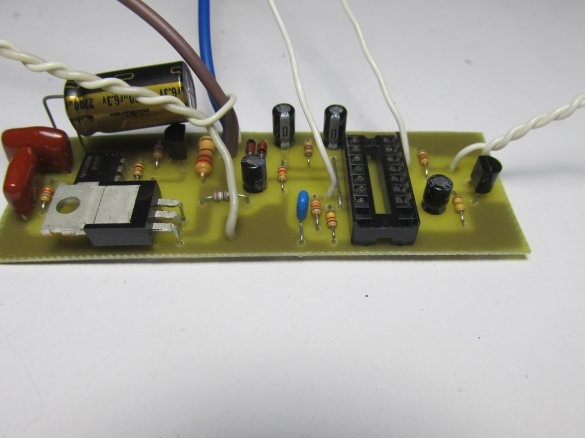
Next, just solder all the components into place.

For K157UD2 it is better to put the adapter socket.


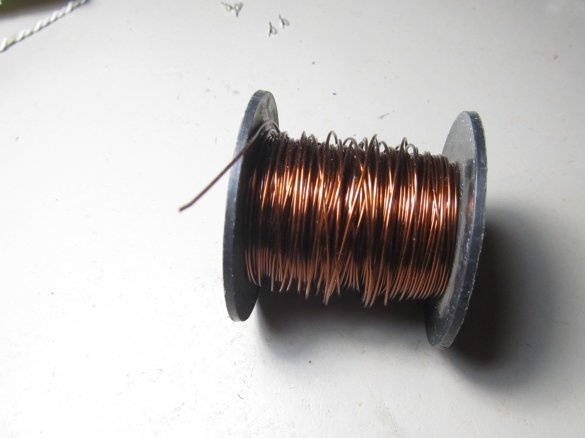
To wind the search coil, you need a copper wire with a diameter of 0.5-0.7 mm

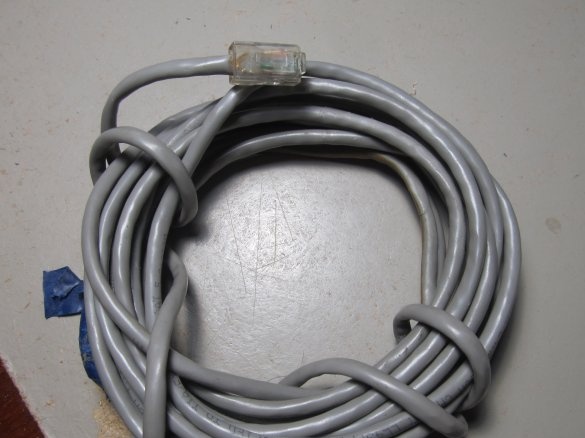
If not, you can use another. My copper lacquered wire was not enough. I took the old network cable.

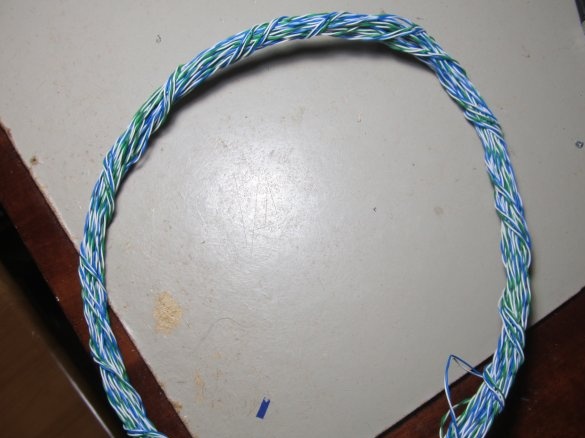
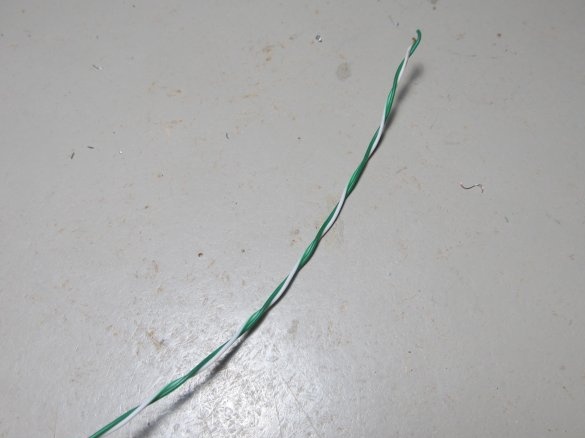
He took off the shell. There were enough wires. Two wires were enough for me, and they also shook the coil.


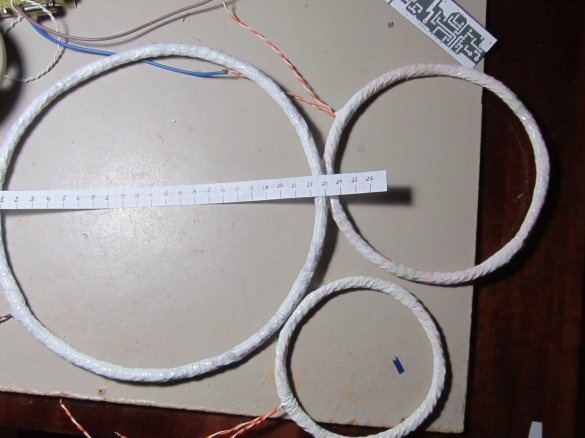
According to the scheme, the coil is 19 cm in diameter and contains 25 turns. I’ll immediately notice that you need to make a coil of this diameter based on what you are looking for. The larger the coil, the deeper the search, but the large coil is hard to see small details. A small coil sees fine details well, but the depth is not great. I immediately wound myself three coils 23cm (25 turns), 15cm (17 turns) and 10cm (13-15 turns). If you need to dig up scrap metal, then put a big one, if you look for small things on the beach, then the coil is smaller, well, you’ll figure it out yourself.

We wind the coil on anything of a suitable diameter and wrap it tightly with electrical tape so that the turns are tightly next to each other.


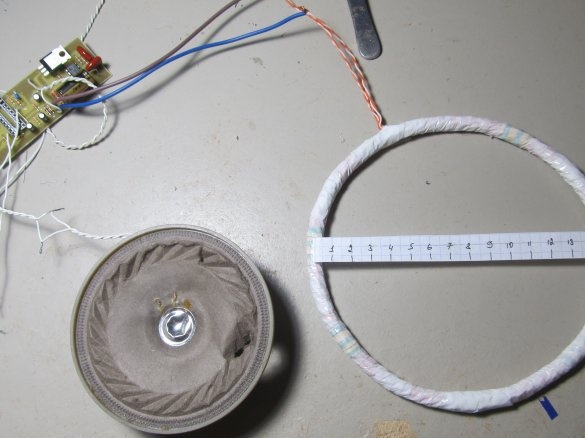
The coil should be as flat as possible. The speaker took the first one.

Now we connect everything and try the operation scheme.

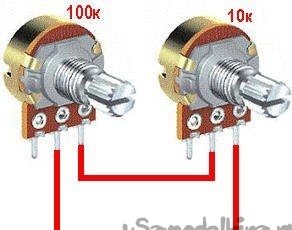
After applying power, you need to wait 15-20 seconds until the circuit warms up. We put the coil away from any metal, it is best to hang in the air. After we start to turn the 100K variable resistor until clicks appear. As soon as the clicks appeared, turn in the opposite direction, as soon as the clicks disappear enough. After that, we also configure the 10K resistor.

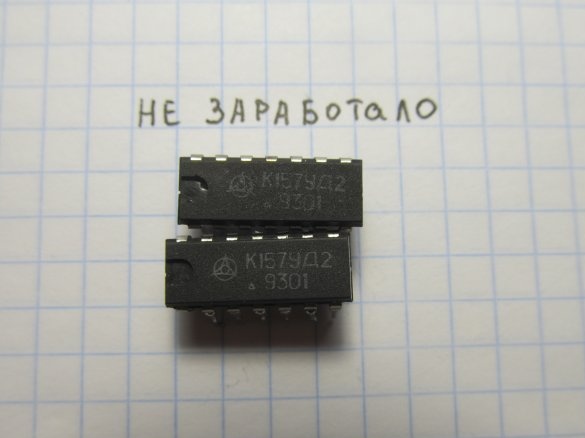
At the expense of the K157UD2 chip. In addition to the one that I picked out, I asked another neighbor and bought two on the radio market. I inserted the purchased chips, turned on the device, and he refused to work. I racked my brains for a long time, until I just put in another chip (the one that I pulled out). And it all worked right away. So that’s why the adapter socket is needed to pick up a live microcircuit and don’t suffer with soldering and soldering.

Purchased Chips

Mine and the one that my neighbor took

Everything is ready, it remains only to make the bar and put the board in the case and in search of treasures)


Here is a VIDEO test


Tests of the house were carried out on an average coil with a diameter of 15 cm. So the golden ring caught 18cm in the air, 30cm scissors. table lamp 50cm. which is not bad enough for such a metal detector.


Download the sketch of the circuit board: imp-MS.rar [11.03 Kb] (downloads: 14728)
10
9.3
9.9

Add a comment

    • smilesmilesxaxaokdontknowyahoonea
      bossscratchfoolyesyes-yesaggressivesecret
      sorrydancedance2dance3pardonhelpdrinks
      stopfriendsgoodgoodgoodwhistleswoontongue
      smokeclappingcraydeclarederisivedon-t_mentiondownload
      heatirefullaugh1mdameetingmoskingnegative
      not_ipopcornpunishreadscarescaressearch
      tauntthank_youthisto_clueumnikacuteagree
      badbeeeblack_eyeblum3blushboastboredom
      censoredpleasantrysecret2threatenvictoryyusun_bespectacled
      shokrespektlolprevedwelcomekrutoyya_za
      ya_dobryihelperne_huliganne_othodifludbanclose
260 comments
I am shaken by laziness and lack of curiosity of modern youth
And we need - I pushed the buttons, and the CNC with the 3D printer ourselves will do everything! I’m waiting for the voice control to be arranged for them, right from the sofa: “Hey, you two, Nuka, a quick shooter from cardboard!” smile
I apologize for the rude word, I am getting angry from the laziness and lack of curiosity of modern youth. ((
Is it really difficult to read the article to the end and follow the link?
Hello, please tell me where to get a sketch of the board to print it on paper.
Hello, please tell me where to get a sketch of the board to print it on paper. I am inexperienced, could you give me a sketch for printing?
Good afternoon. Tell me please. Can I use a dual variable resistor as a 10 kΩ variable resistor?
Can I fix the problem somehow? I do not have less power, which costs 0.25 watts. Can I change the resistor? I put a speaker from the earphone with a resistance of 30 ohms, and the speaker and resistor began to warm up. Why is it buzzing all the time?
put a speaker of lower power, the resistor 10 ohms will stop heating
Hello, I have a problem. I assembled everything according to the scheme, but instead of the resistor 220 ohms 1 watt, I put 220 ohms 0.5 watt, it does not heat up. I turn on the power, the 10 ohm resistor heats up and the speaker buzzes all the time, it reacts to metal.
Either the manufacturer confused the key with the manufacturer (it is extremely rare, but it happens), or you incorrectly soldered it.
I did everything according to the scheme, I connected the 555 chip to the 12-volt power supply, what could be the problem?
Quote: Alex Pavliy
Good evening everyone, I want to know - has anyone encountered a problem? I assembled everything as the author .... at first it didn’t work as I took disk capacitors ..... I sinned on them right away, I immediately dug ceramics .... turned on ..... the board worked, I even set the sensitivity ... .. crimping pliers caught centimeters from 30 ..... late finished work .. about 5 am ... in the morning I turned on to check ..0 reactions, there is no such a clear squeak ..... I powered from the charger 12v 1A ... ... I noticed that irf740 began to bask ..... I have such a hunch that the case is in the coil .... I made D19-25 turns, squeezed it with adhesive tape, made a second one today (but did not wrap it tightly ) D15 -17 turns, irf740 went crazy from her .. I thought he would melt the whole board ..... made the last D 20 - 25 turns, squeak 0 ..... grunts weak ... tell me where to dig pzhlst, I checked all the transkeys, like workers, 740 also checked according to the specified instructions, it seems to work .. I can be wrong .... I will be grateful for any help!

I solved the problem! the leg of the resistor 150th going to Irf740 broke. Everything works fine! first experience of weed boards and the first product successful!
Good evening everyone, I want to know - has anyone encountered a problem? I assembled everything as the author .... at first it didn’t work as I took disk capacitors ..... I sinned on them right away, I immediately dug ceramics .... turned on ..... the board worked, I even set the sensitivity ... .. crimping pliers caught centimeters from 30 ..... late finished work .. about 5 am ... in the morning I turned on to check ..0 reactions, there is no such a clear squeak ..... I powered from the charger 12v 1A ... ... I noticed that irf740 began to bask ..... I have such a hunch that the case is in the coil .... I made D19-25 turns, squeezed it with adhesive tape, made a second one today (but did not wrap it tightly ) D15 -17 turns, irf740 went crazy from her .. I thought he would melt the whole board ..... made the last D 20 - 25 turns, squeak 0 ..... grunts weak ... tell me where to dig pzhlst, I checked all the transkeys, like workers, 740 also checked according to the specified instructions, it seems to work .. I can be wrong .... I will be grateful for any help!
Hello, I looked at the circuit, it is almost correct in the list of capacitors at 2200, but in the circuit 1000 and the sensitivity should be at 100 and 10 com and in the circuit 50 and 20. Why collect according to the list or according to the scheme is the correct scheme and list? Thanks?
Hello everyone, I gathered a pirate, everything works only with a depth of not very coin looking for a 5-10cm sheet of metal meter per meter 40-45cm maximum coil reeled on a rim 23cm 25-24 turns wire05mm. How to increase your search depth
Quote: pogranec
You go, for example, here are more adequate people.

Thank you, I’ll definitely come to that site, but I figured it all works fine now !!! :)
You go, for example, here are more adequate people.
Quote: pogranec
Well done, that gathered without listening to smart advisers. And then it seems that they themselves have accumulated the mind. And they did not consult with anyone, but they ate textbooks for breakfast and everything in their heads was laid out right away in the order as needed.
about
Who will tell you the reasons when you point at the metal, the sound in the headphones somehow arrives late and you still have to constantly adjust why so who knows?
Quote: To Delusam
Quote: Evgen14
Seriously :) it works but is not stable looking for a reason I would put my creation on display but the phone is not convenient and the phone is dead :)

yes Yeah, well, of course, as it was right away, the phone was suddenly killed (it got worn out).
Quote: pogranec
Well done, that gathered without listening to smart advisers.And then it seems that they themselves have accumulated the mind. And they did not consult with anyone, but they ate textbooks for breakfast and everything in their heads was laid out right away in the order as needed.

You won’t believe it, it was just that. And you are seen in childhood poorly fed? It’s good that it’s not rickety ...
xaxa

Quote: Evgen14
Seriously :) it works but is not stable looking for a reason I would put my creation on display but the phone is not convenient and the phone is dead :)


here but the quality is not happy
Seriously :) it works but is not stable looking for a reason I would put my creation on display but the phone is not convenient and the phone is dead :)
Well done, that gathered without listening to smart advisers. And then it seems that they themselves have accumulated the mind. And they did not consult with anyone, but they ate textbooks for breakfast and everything in their heads was laid out right away in the order as needed.
Quote: Ivan_Pokhmelev
Quote: Evgen14
It’s difficult to tell whether or not they’re just clever and give advice
You can tell someone who can use this hint wisely. You are not ready yet for this. ((
They tried to tell you, but you do not understand basic things. ((

Collected as a result, the depth of a small gold ring 7cm maximum iron 15 cm
Quote: Evgen14
It’s difficult to tell whether or not they’re just clever and give advice
You can tell someone who can use this hint wisely. You are not ready yet for this. ((
They tried to tell you, but you do not understand basic things. ((
Quote: Ivan_Pokhmelev
Quote: Evgen14
indicate where to connect a field worker
He’s only there, so there can’t be a "where what". Read books to get started. If you are looking for treasures - buy a ready-made metal detector. If you want to engage in amateur radio - solder a multivibrator first, then a simple receiver, then it will go easier.

It’s difficult to tell whether or not they’re just clever and give advice
Quote: Evgen14
indicate where to connect a field worker
He’s only there, so there can’t be a "where what". Read books to get started. If you are looking for treasures - buy a ready-made metal detector. If you want to engage in amateur radio - solder a multivibrator first, then a simple receiver, then it will go easier.
Quote: Ivan_Pokhmelev
The diagram shows: nowhere is easier.

right ??
Quote: Evgen14
[center] [img = | right or wrong
this is the first product do not judge strictly, well, I don’t understand, here I ask for help

http://prntscr.com/erg7e4 screenshot

this is the first product do not judge strictly, well, I don’t understand, here I ask for help
Quote: Evgen14
Maybe the photo from the board itself is a cartoon and I’ll indicate where to connect which field worker

Can you do something else that you understand?
scratch
Here
Quote: To Delusam
Quote: Evgen14
Where and how to connect variable resistors you can photo please

Instead of R13.

Not entirely correct inclusion of variable resistors connected in series.

Correct the author. Turn on each composite resistor as per R13 circuit.
Maybe the photo from the board itself is a cartoon and I’ll indicate where to connect which field worker
Quote: Evgen14
Where and how to connect variable resistors you can photo please

Instead of R13.

Not entirely correct inclusion of variable resistors connected in series.

Correct the author. Turn on each composite resistor as per R13 circuit.
The diagram shows: nowhere is easier.
Where and how to connect variable resistors you can photo please
I welcome everyone) I’m sharing what I’ve accomplished myself) in general it’s just advice, and then think for yourself) the first thing I want is to use the FV500E flux or any analogue of it, it is washable and thick enough, I haven’t discovered the best for myself, just etched the tracks, we cleaned it with a metal brush for pots, smeared the entire board with flux, carried out a soldering and everything is super, it is important not to overheat the board, then without washing the flux we put the parts back in place, put the tin and solder the legs, then bite off the excess, the wires of minimum length can be immediately pa either with rosin, rinse under the tap and enjoy)) further on the details, it is important that all the condors are not polar, they are film, but in general it’s super-set like MKP-3 or sound, electrolytes are better with motherboards with low resistance, it’s also worth paying attention to K157UD2, they are with gilded and not gilded legs, we take with gilding, I have three md with such microphones as clocks, besides they have great reliability and a small spread of parameters, which is important for repeatability !, also they sometimes fly out from statics, so the whole synthetics To the side of your clothing, touch the battery or ground, and then solder it, taking into account that the higher the soldering speed of the mikruha leads, the less chance there is of overheating, because of overheating, the smell of MD often falls! Also, the width of the tracks plays a role since MD is pulsed, then the larger the cross section of the tracks and wires the better, including the wire to the sensor (coil). Now, for the sensor, in order to increase the depth, it is not always necessary to chase the sensor size! we take a textolite, we cut out the ring of the required diameter and do not forget to leave an inlet, for example, winding a sensor with a diameter of 20 cm, you need 22-23 cm a circle with PCB without copper, then we take a wire 05-07 mm in varnish and stepping a couple of millimeters from the edge of the PCB, we wind along the plane coil to coil winding in the center of the circle, periodically through 5-7 mm dripping with super glue and so that it doesn’t stick itself we press the wire to the PCB with a strip of nylon, for example, from the lid for cans (nylon doesn’t glue with super glue), ending the wire for example on the 15th turn without cutting off we search and solder, check for robustness and notice the range (we remove all metals further on, especially switched on devices, mobile phones, etc.), take a few more turns and get drunk again, check the chuyka so we continue until the chuyka stops growing or even decreases, after remove this from the wiring with insulation or take a thin cambric 2.5-4mm and glue it along the entire outer diameter where we left a place between the winding and the edge of the circle, start winding with copper foil wrapped paper, transferring we eat in the center of the circle (the sensor), we pull the wire through the hole made closer to the place of attachment of the rod, we clean and solder it to the winding and also fix it with glue later, we cut a similar circle with plastic or better than PCB, fill the winding with epoxy at the level of the side with cambric and cover cut out the second round! Like everything))) Such a cat and the combination of the above manipulations I have three times in a row gave the result of 2-2.5 bayonets for Ukrainian 50 kopecks or the Soviet copper nickel, plus with this cat you can even mow the grass, moreover, it is waterproof, light and thin and flat winding increases the efficiency by more than enough))) I hope my kalyaks will not be in vain and maybe someone will come in handy so as not to buy an e-acid, the winding can be filled with simple soda, throw off the excess with Lenie and fill everything just with super glue (tsyanopan!) It will be no worse than eb oxides. Now, like everything, try it!)) Good luck to everyone!)
Hello everyone, tell me if there is an analog chip ud 2
The author please discard the sketch of the circuit board in the mail.
Maybe someone needs a signet on the op-amp lm358.
Do you need to wrap the foil coil or not? І such a question, can it be salted with Selikon (a building in general can be made from Selikon)?
You also wound 25 turns of 19 cm with a twin wire?
Or did they make half as much turns?
Where can I get the k157ud2 chip
Please help, I’m doing the first non-drinking seeker for the first time I realized I could only change the resistors, I can’t do the reverse connection in general with the wires
In your case, it is better to start with something simpler.
1. Not mf, but μF (or uF), not v, but V.
2. If it fits in dimensions, then it is possible.
Tell me. And you can replace the 2200mf 16v capacitor with 2200mf 25v. Thank you in advance.
Zdrasti ... Ia vsio zdelal kak na sheme i kak na foto i voopshe ... Podkliucil k pitaniu i postoiano gudit v kalonke .. Ot cevo podskojite pojalusta ...
Hello, please tell me where to get a sketch of the board to print it on paper.

We advise you to read:

Hand it for the smartphone ...